
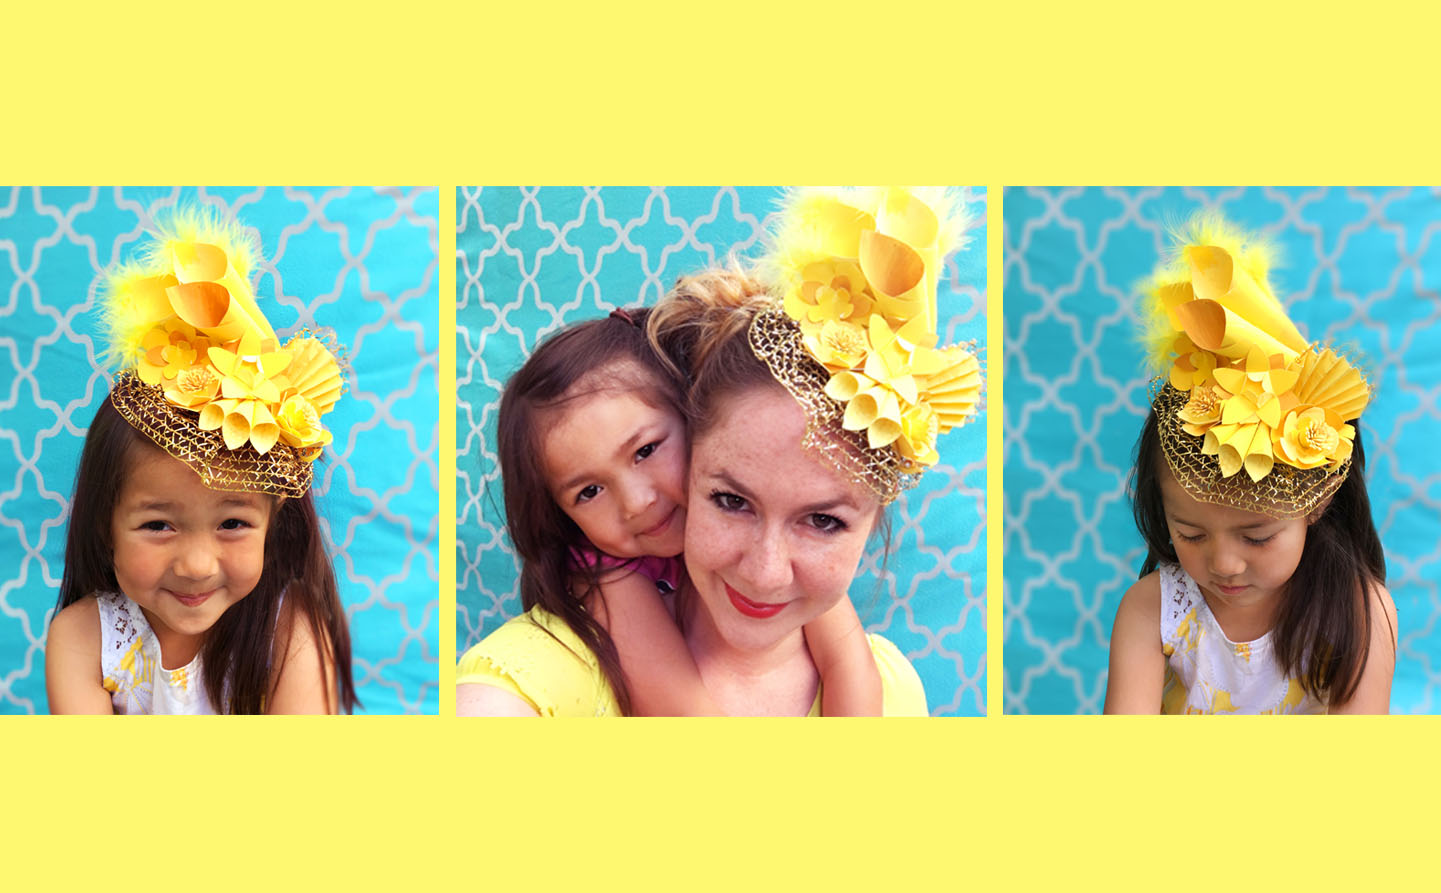
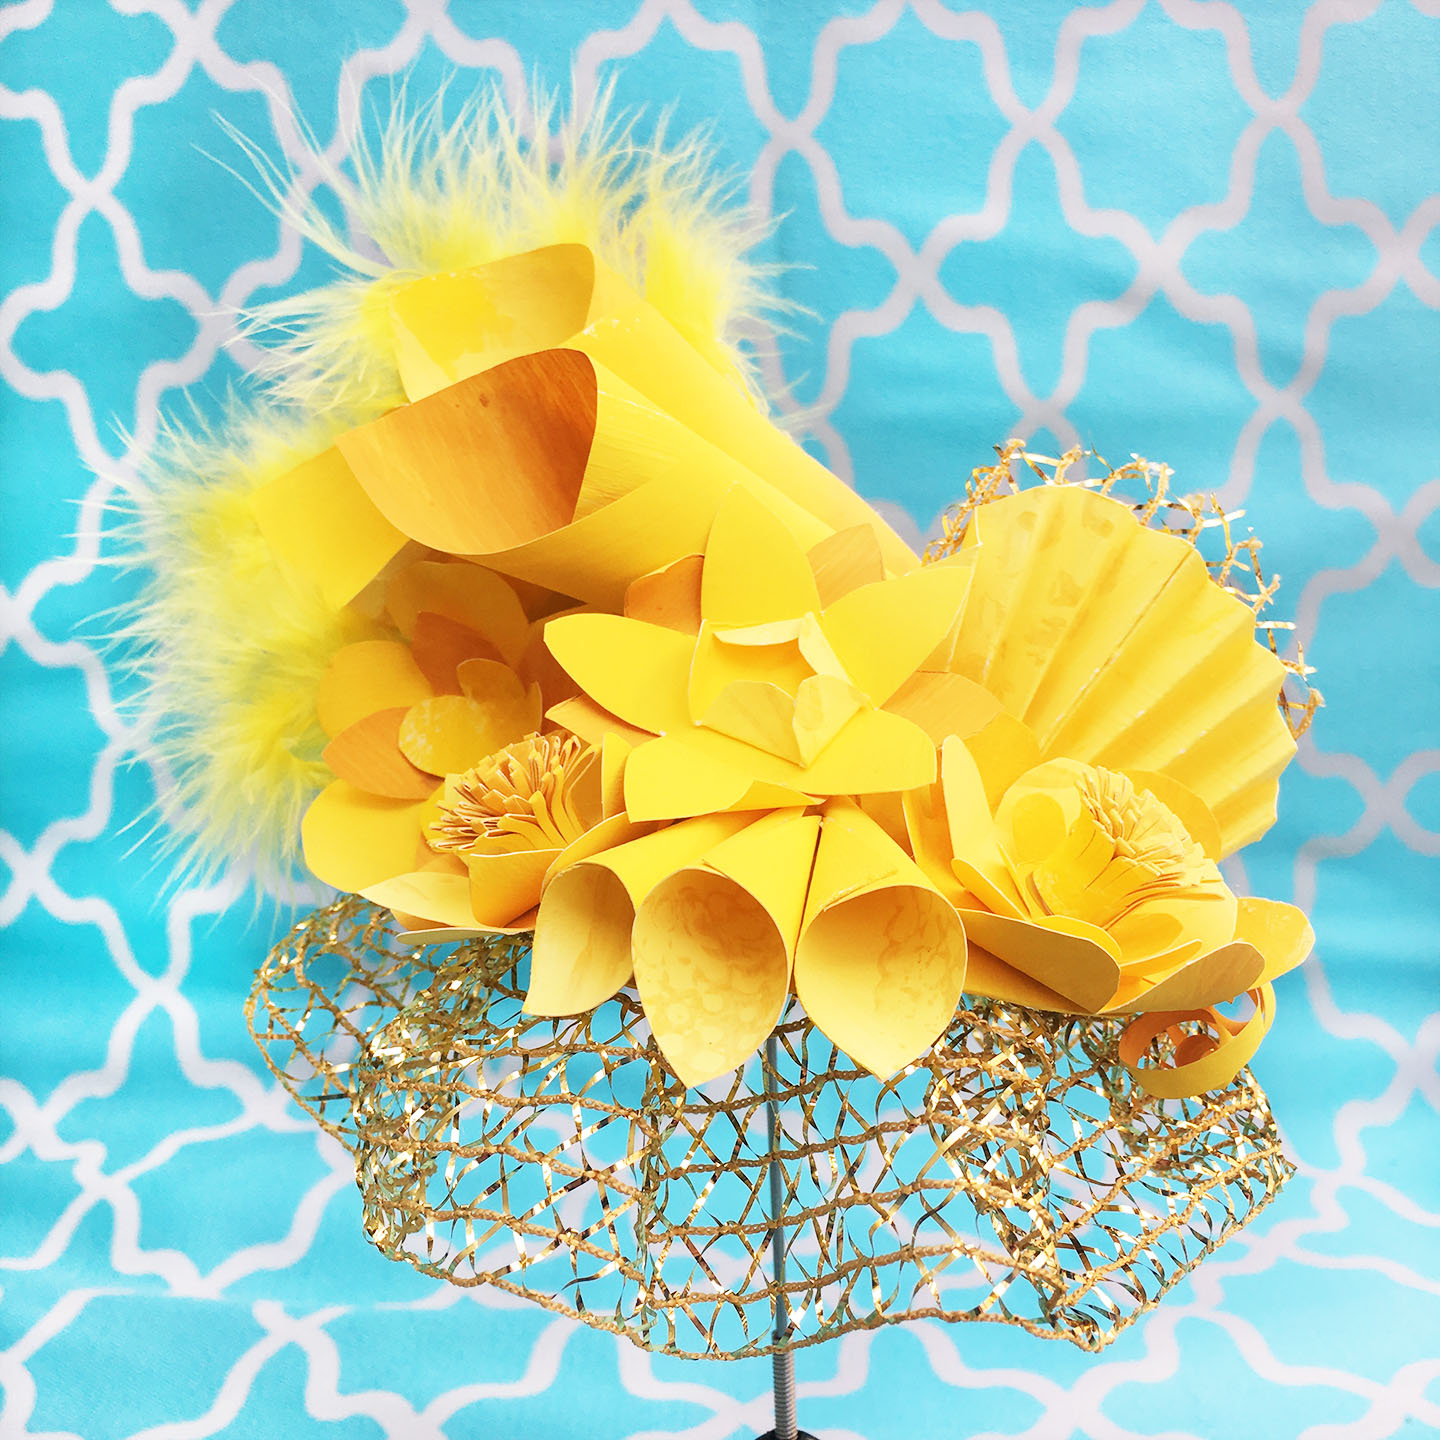
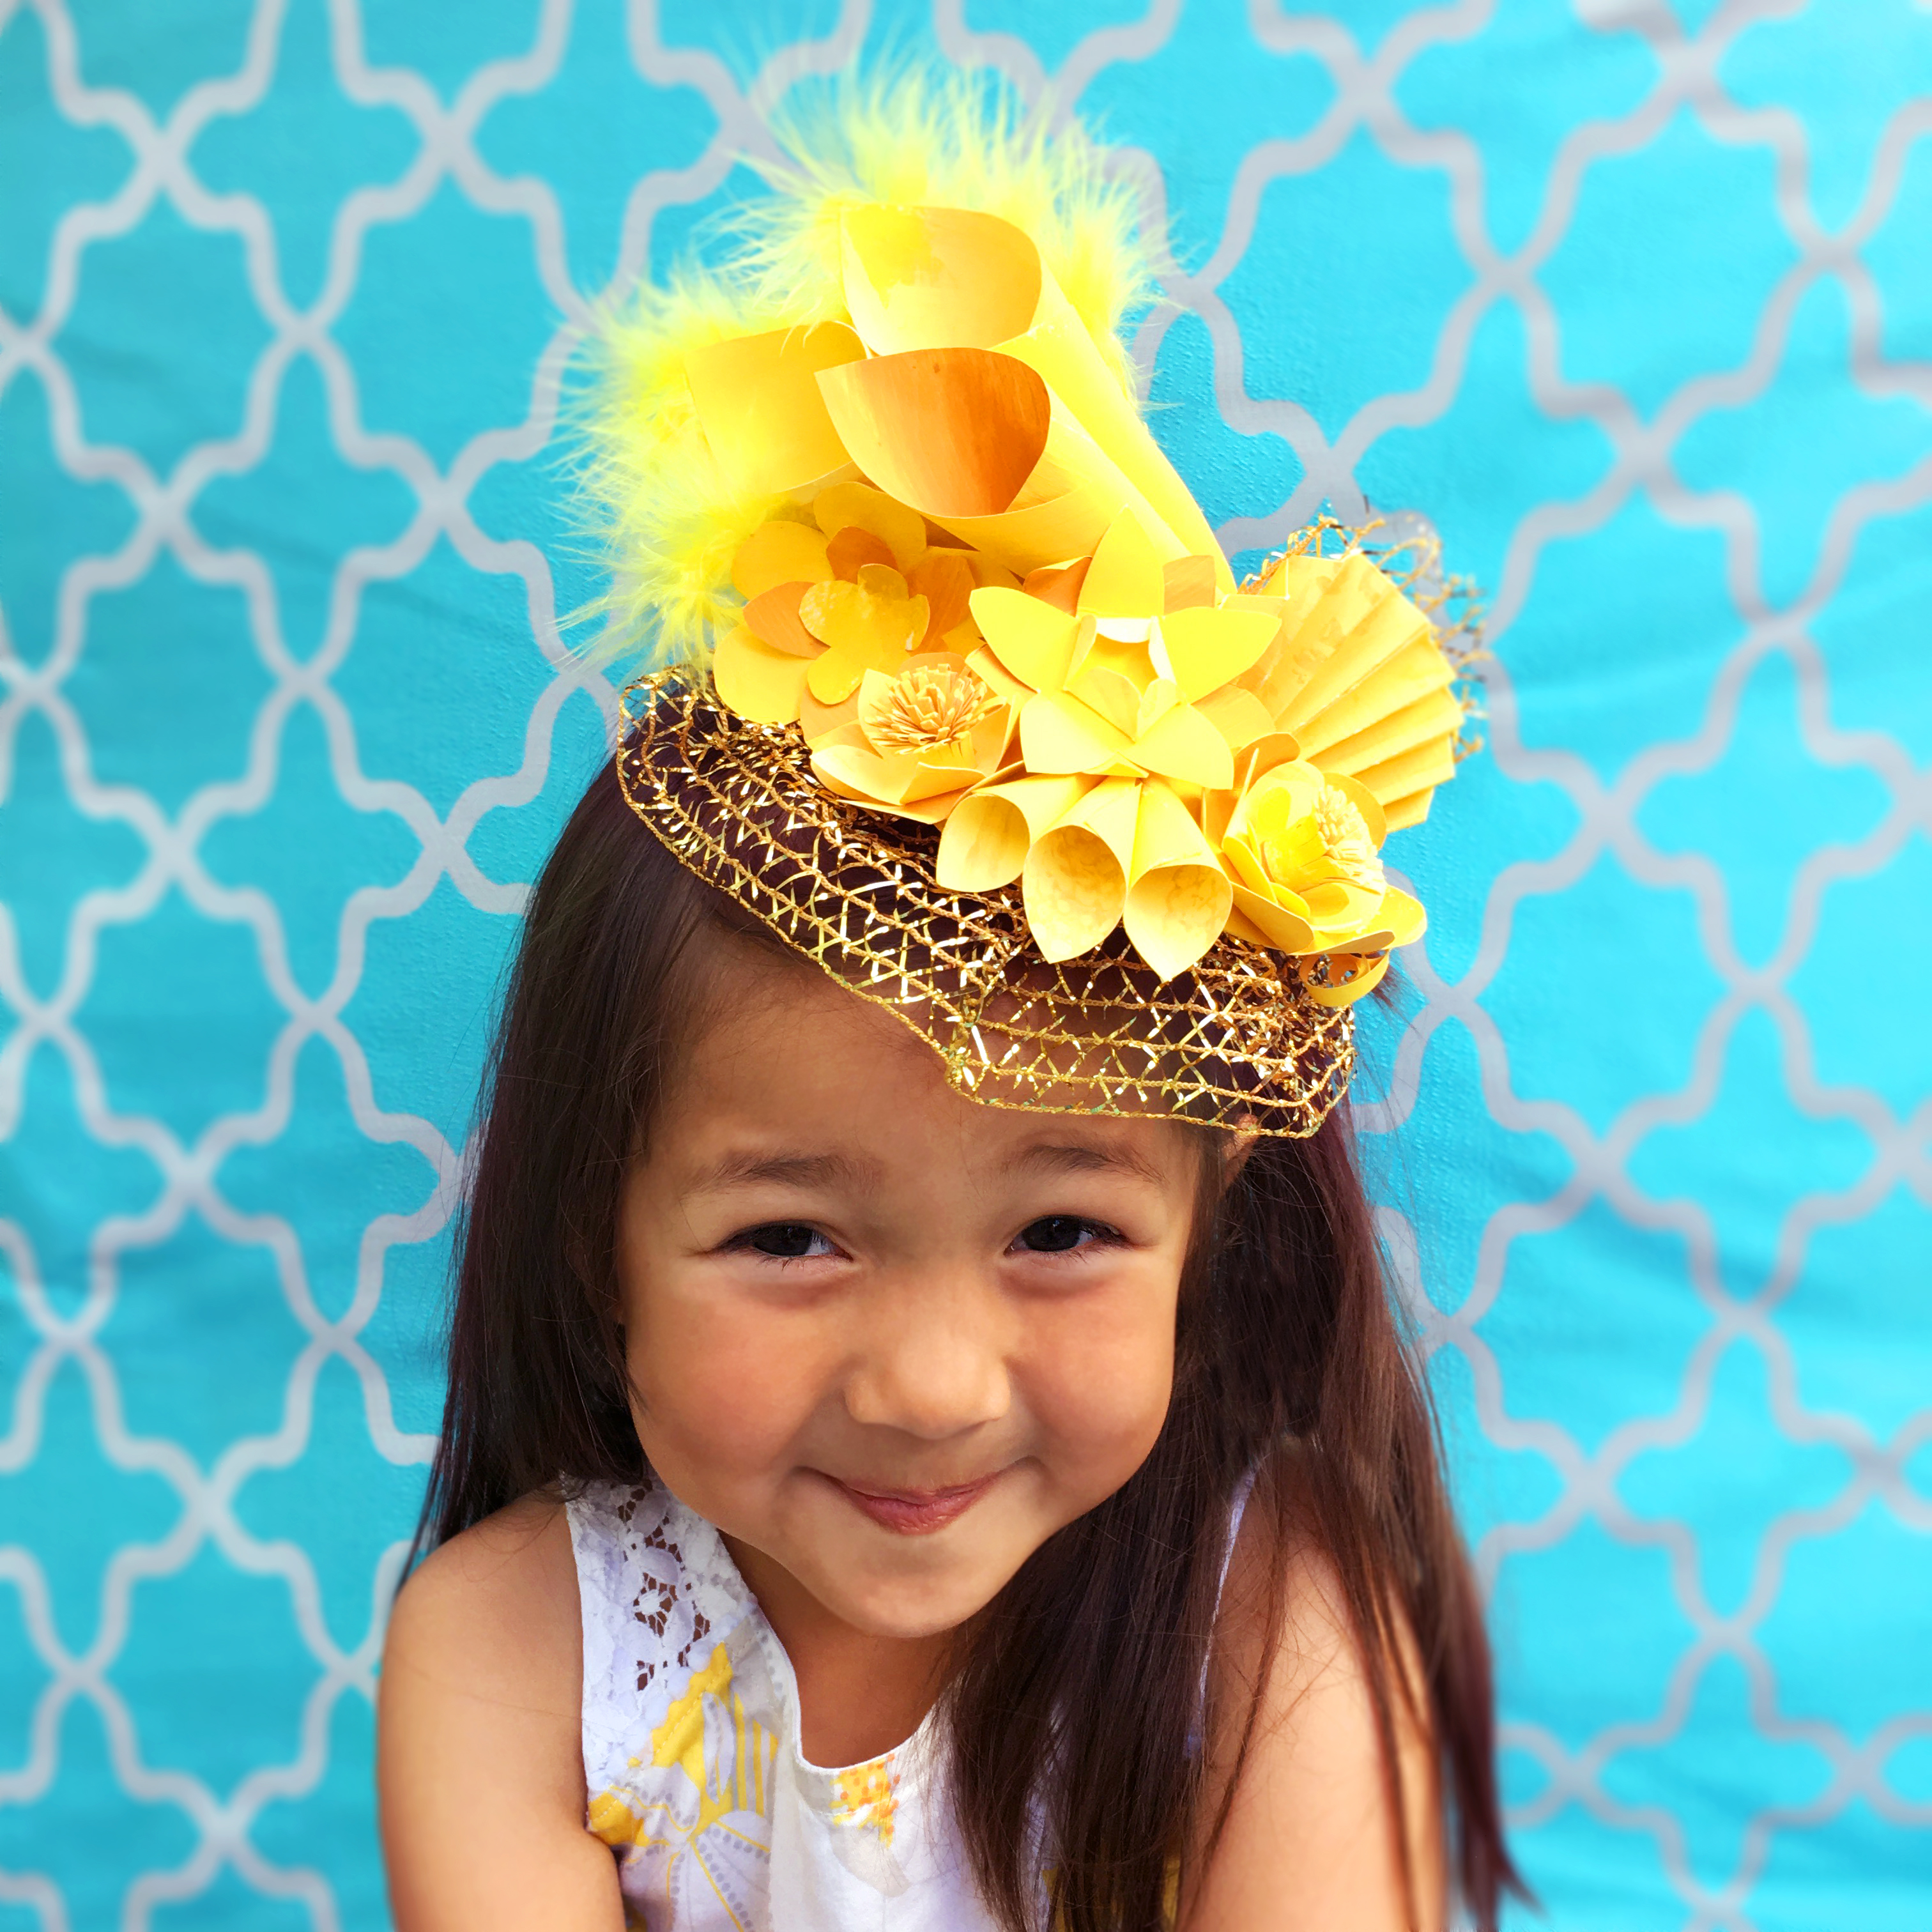
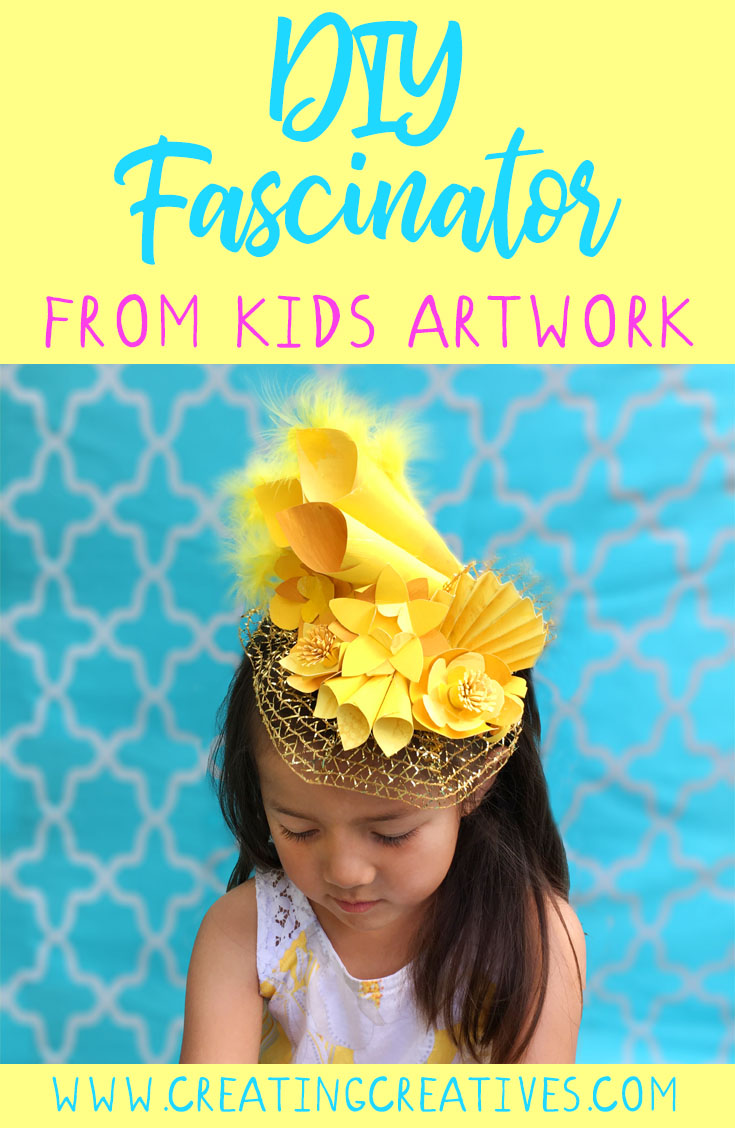
When Amy from Start Creative Studio asked us to be part of an Upcycled Fascinator Rainbow Parade, the obvious answer was YES!!! Rainbows! Upcycling! Fascinators! These are a few of my favorite things. We made our fascinator with a cereal box base and upcycled old artwork to make paper flowers, which you can check out here. Then we added some feathers and gold lacy ribbon to complete the look. We might be donning this one for the Royal Wedding!
DIY FASCINATOR SUPPLIES:
- Cereal Box or Thin Cardboard
- Scissors
- Hot Glue Gun
- Paint
- Paper Flowers, we made ours here
- Flare, feathers, ribbon, lace etc.
- Silver Alligator Clip
MAKE IT: DIY FASCINATOR
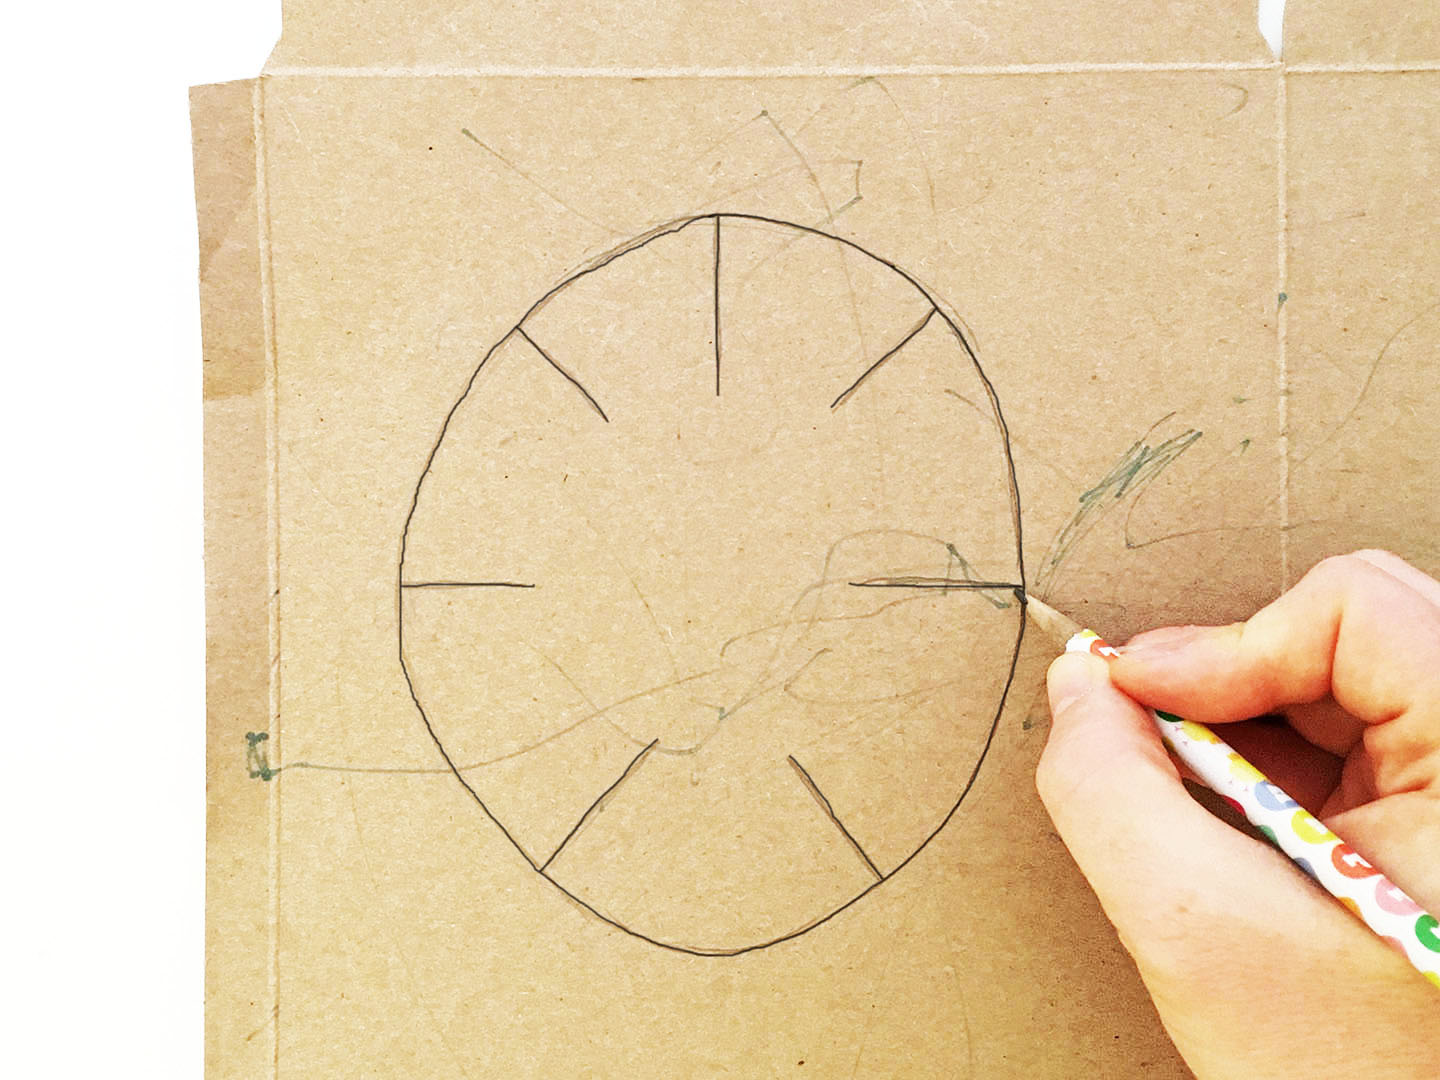
Step 1
Draw an oval shape on the back of a cereal box, about 14cm in diameter,
then draw the 7 lines as pictured below. Each line should be about
2.5cm long.
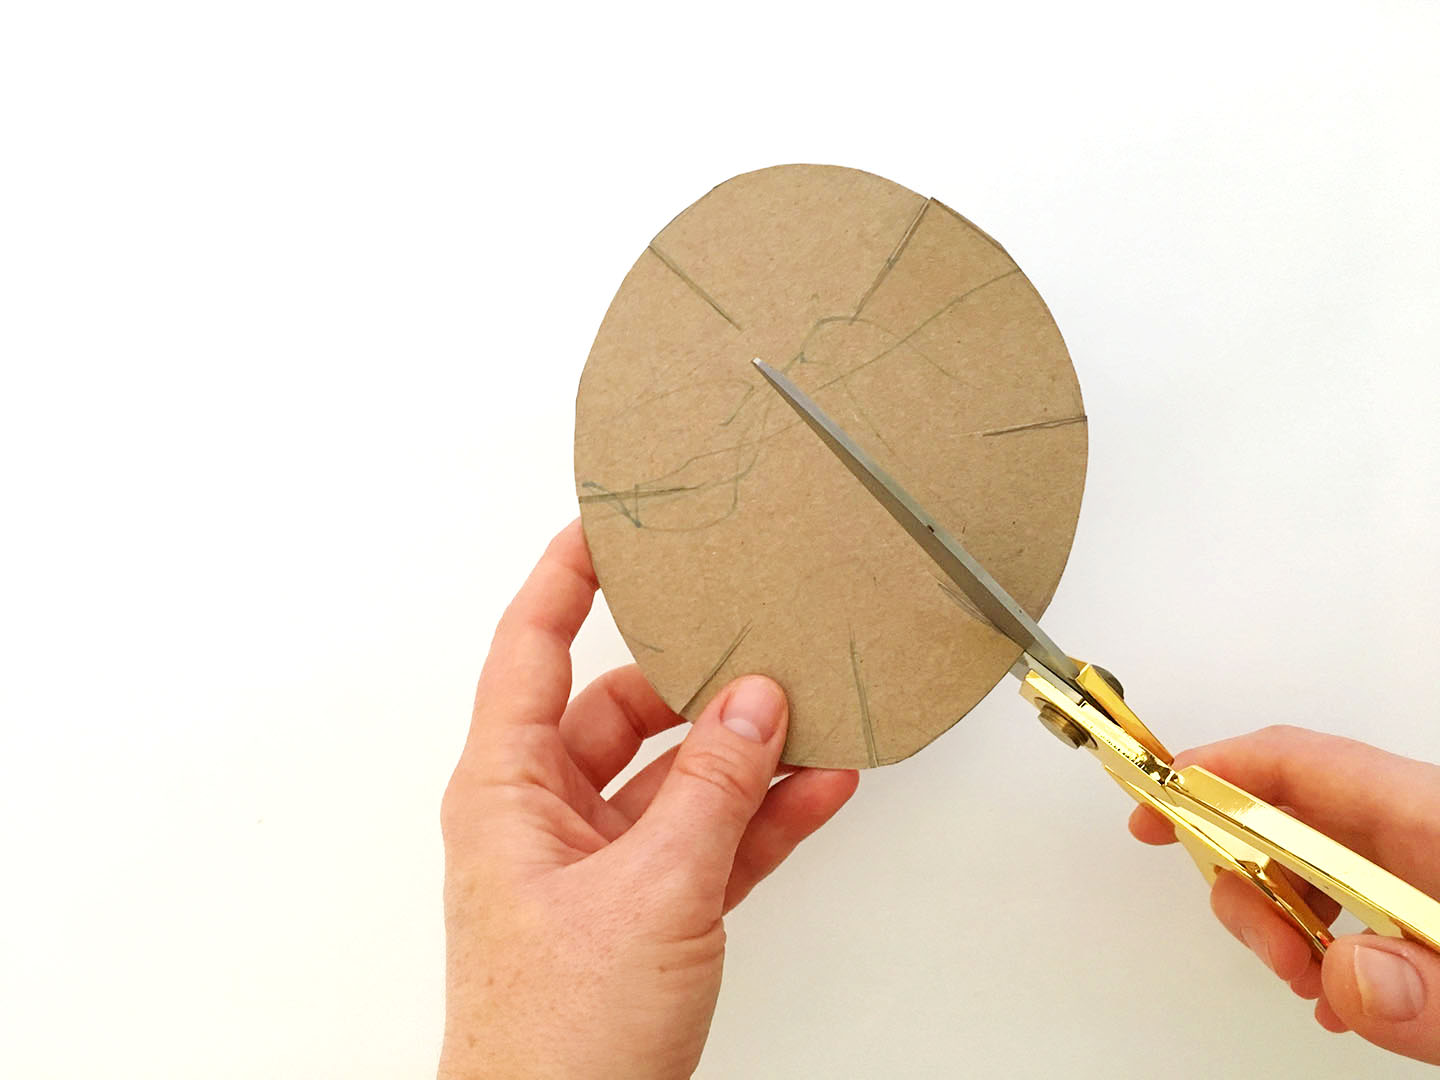
Step 2
Cut out the oval and cut the 7 lines turning them into slits.
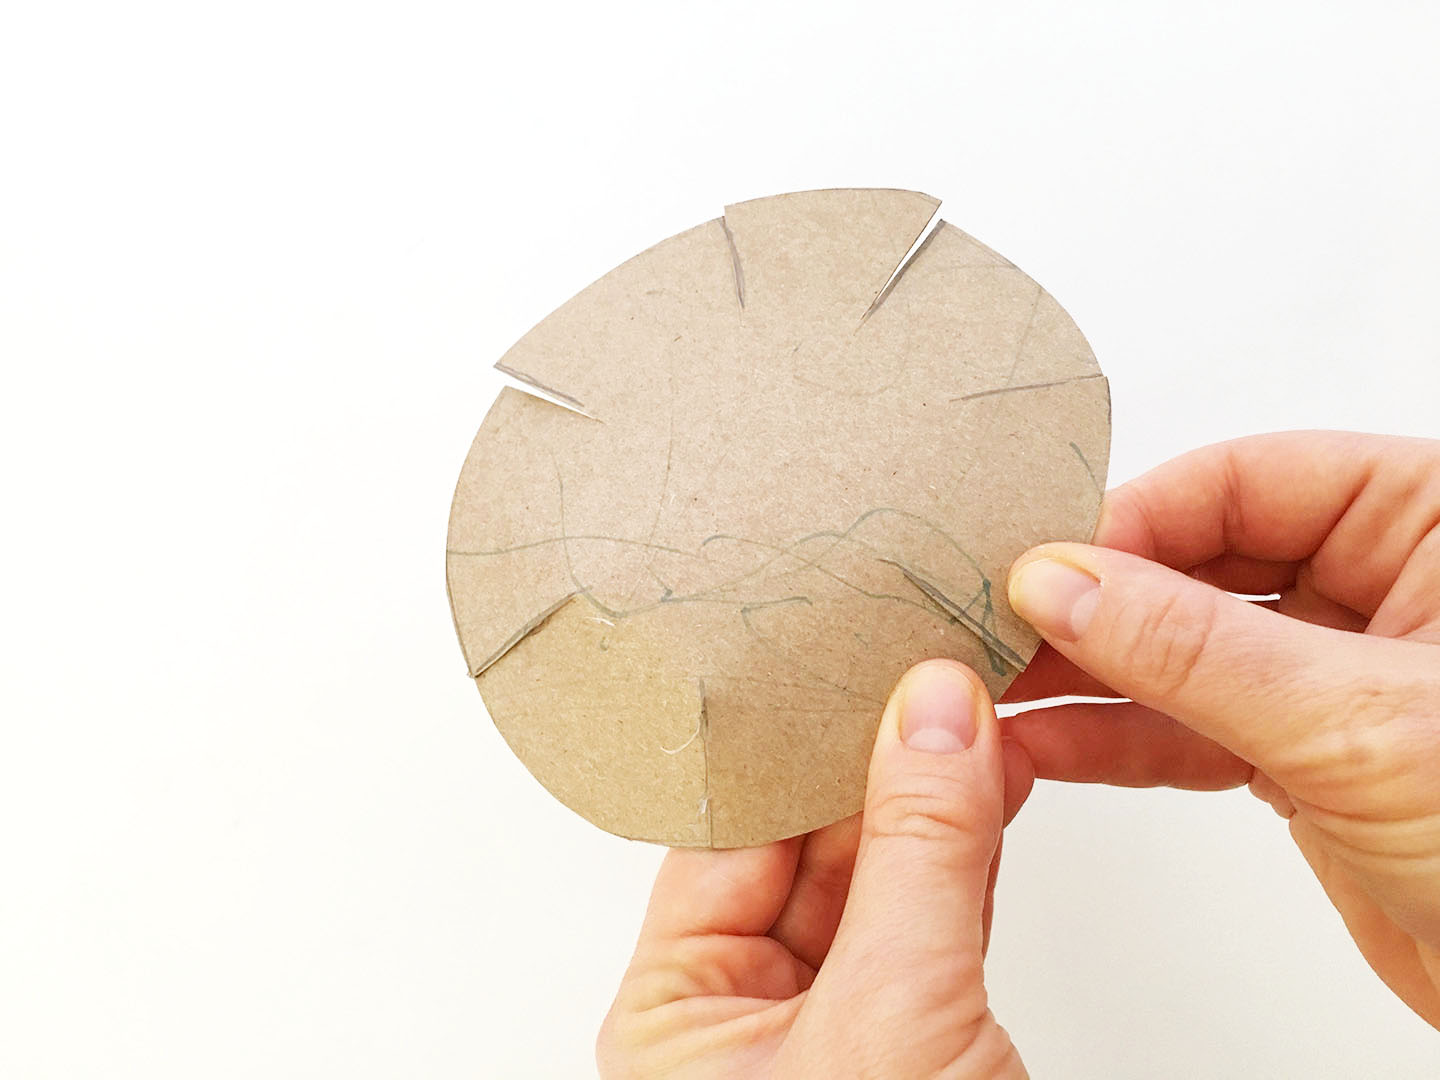
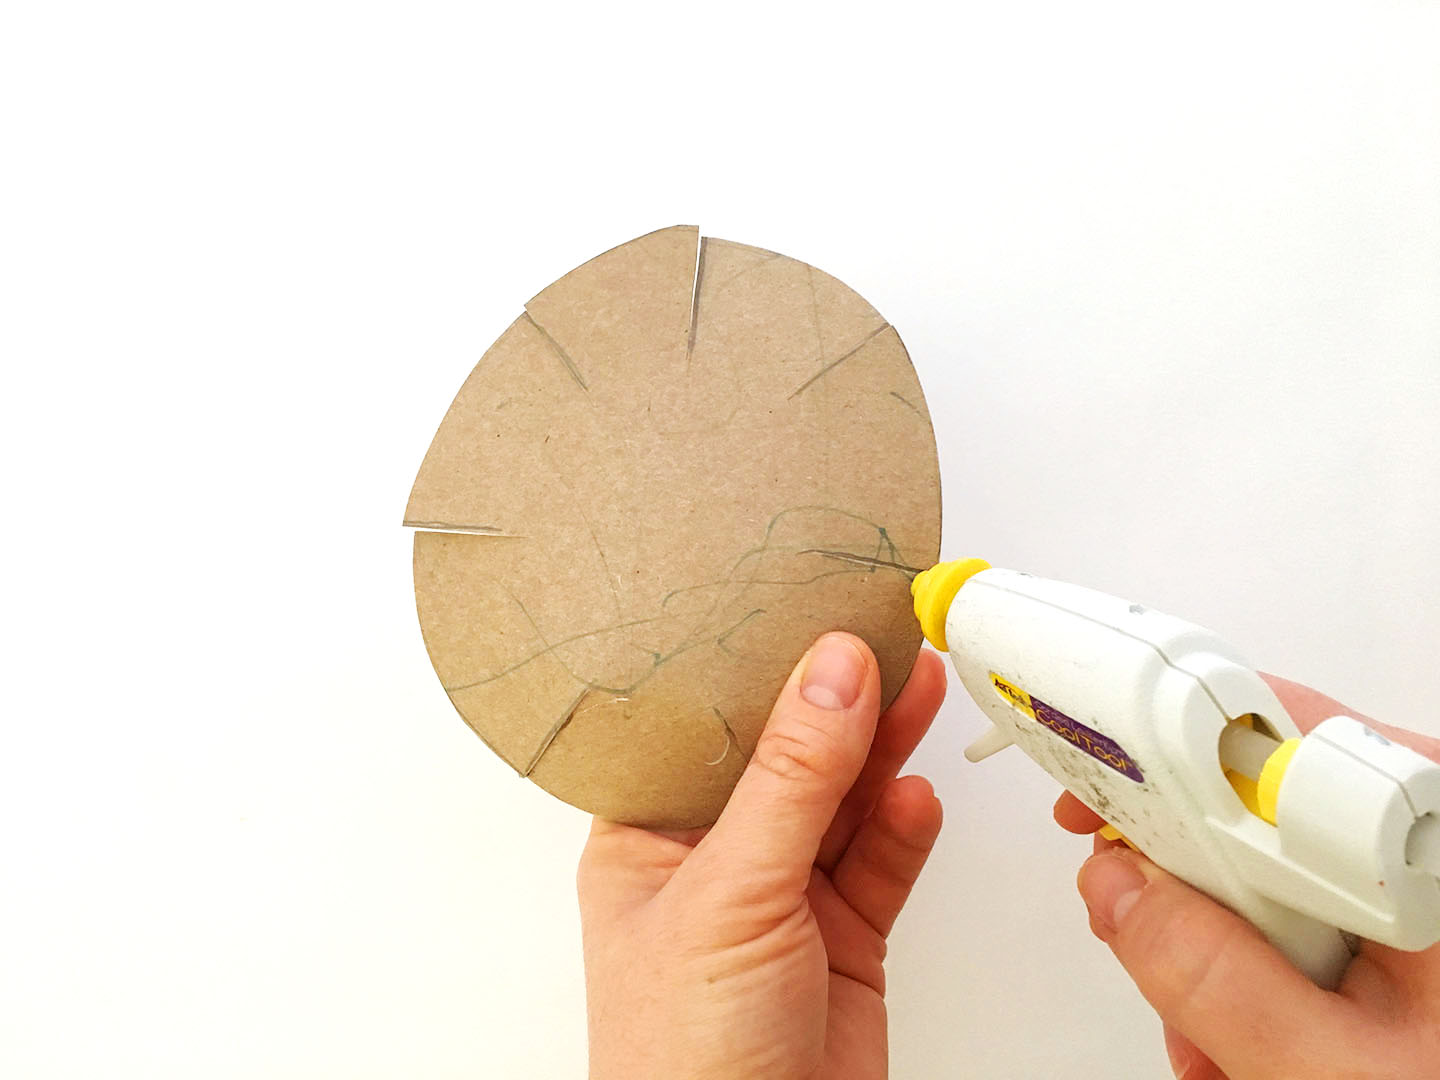
Step 3
Overlap each side of the slit and hot glue together. This is going to create
a rounded base that will fit on your head.
Step 4
Paint the top of your base. We painted ours yellow to blend in with our
yellow fascinator.

Step 5
Now it’s time to decorate your base! We used recycled paper flowers from
kids old art work, which you can find here. Start by layering your flowers
to see how you want to arrange them on your final fascinator.
Keep height in mind, most fascinators have a bit of height to them, which
I think makes them extra fun!
Step 6
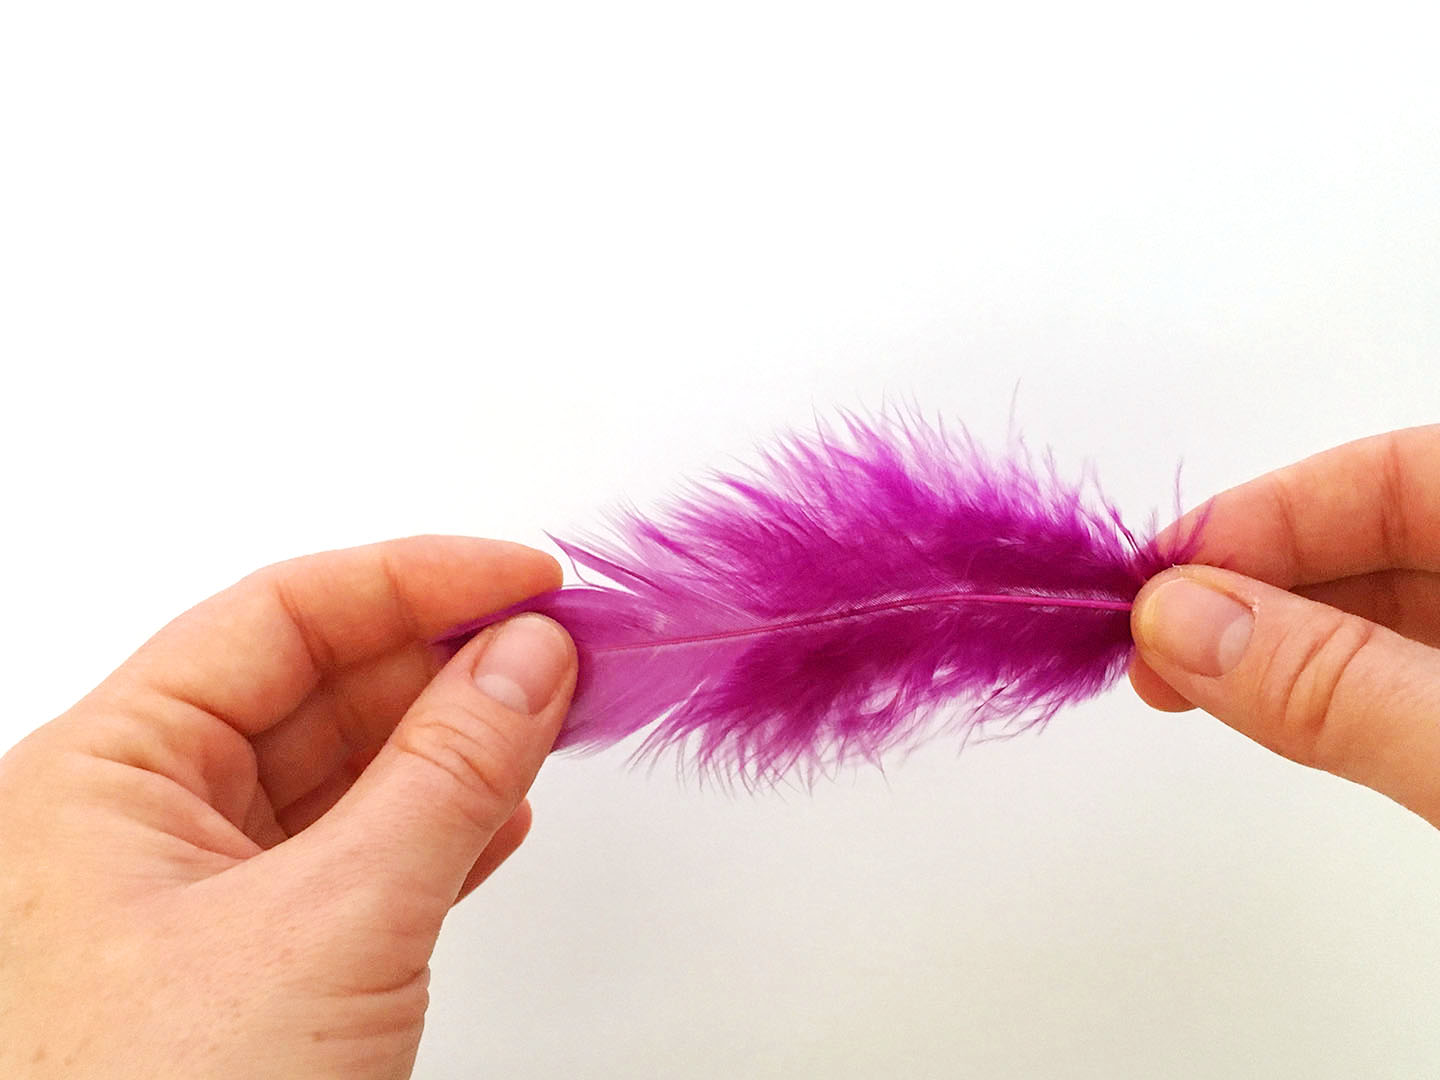
Once you’ve glued all your pieces on you can add a little flare like ribbon,
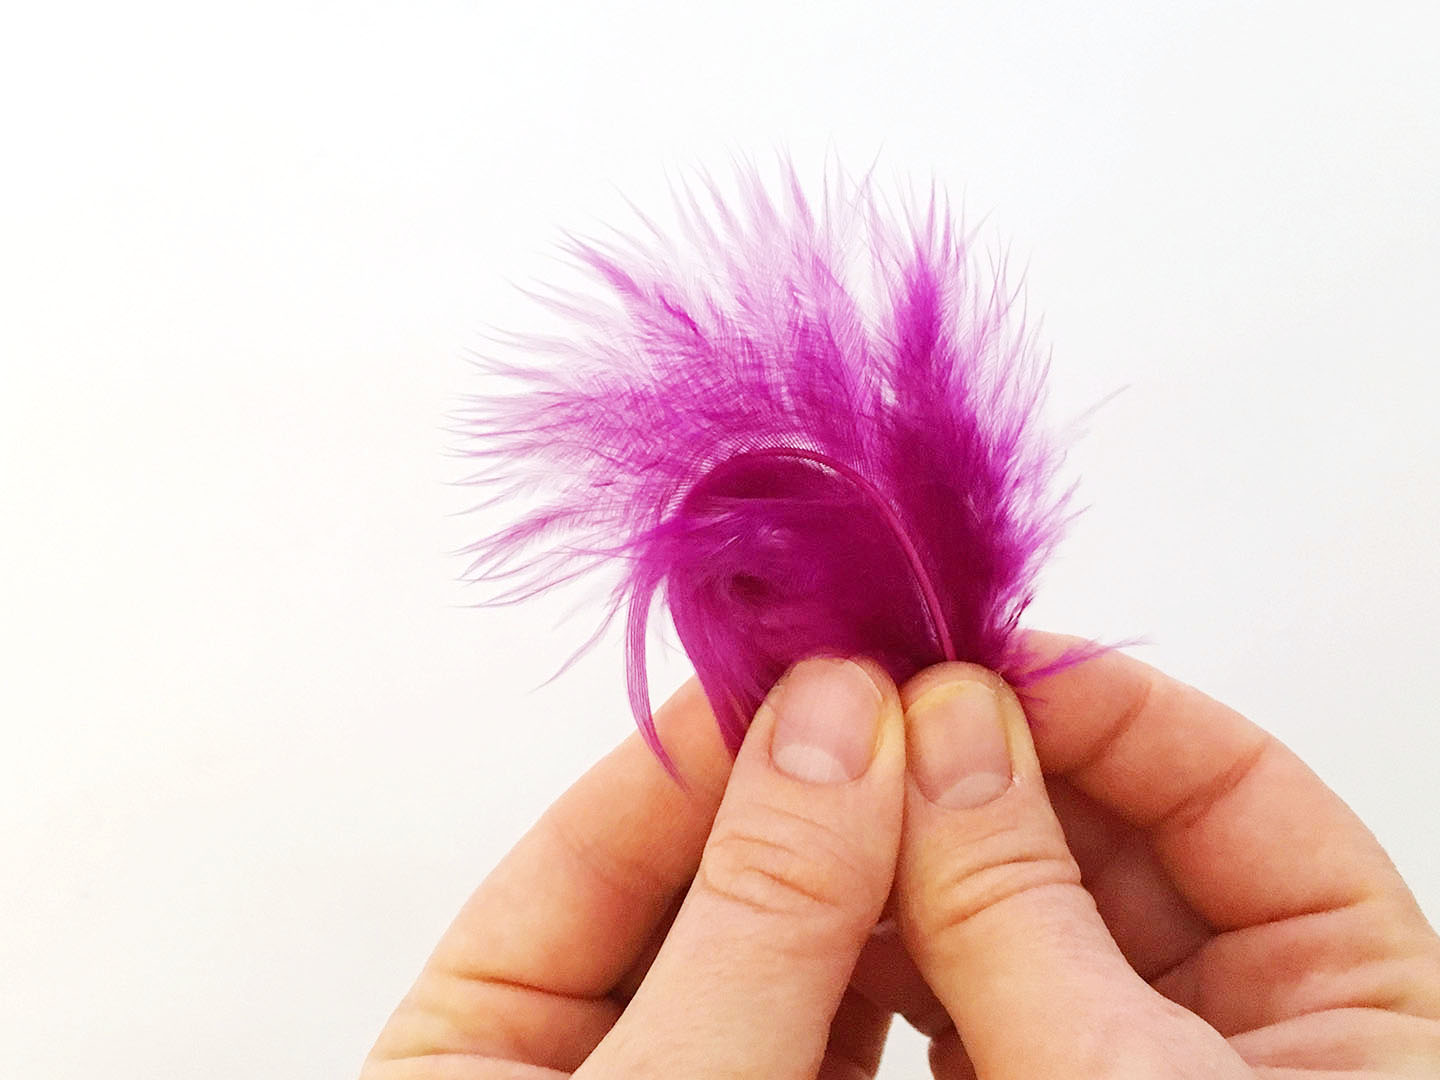
lace or feathers. Here’s a tip for getting the feathers to look all fluffy and
beautiful. Fold it in half then glue it onto the back of one of your flowers.
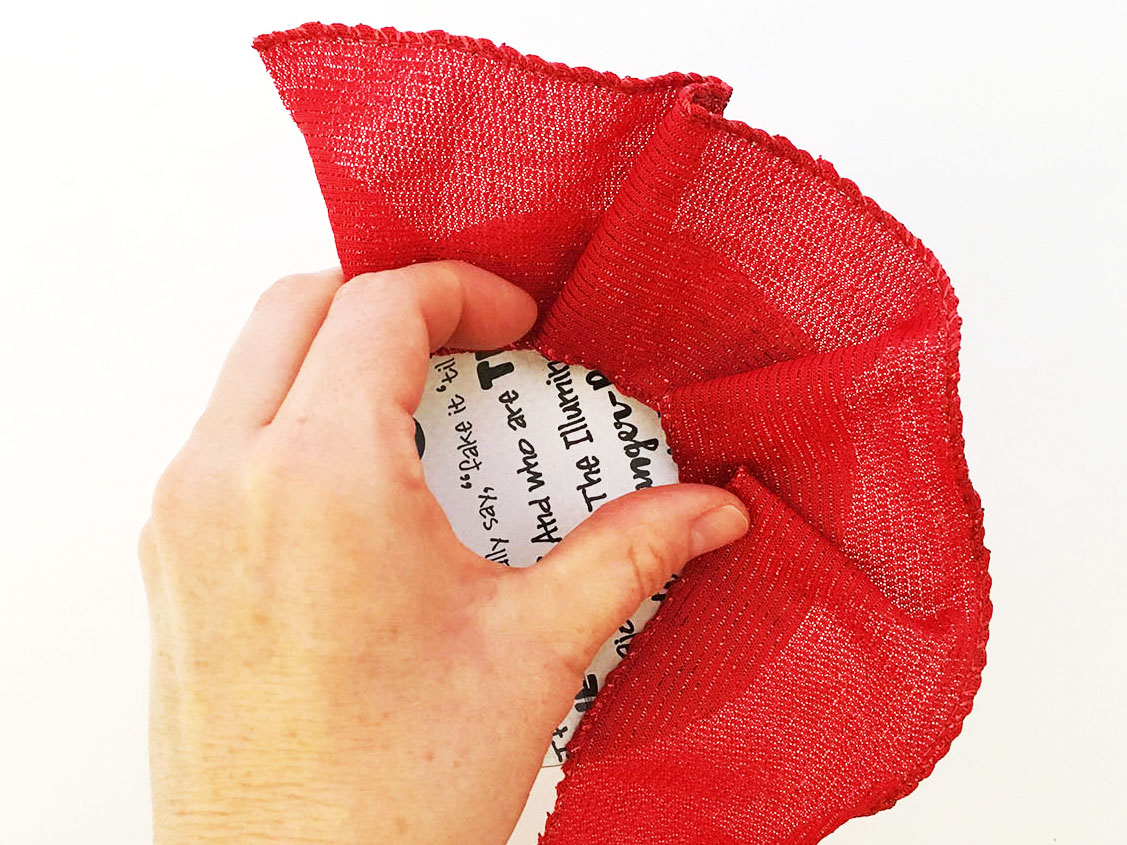
Step 7
Now it’s time to add that ‘fringy bit’. We used a thick gold ribbon, but it’s
easier to see with the red ribbon below. But basically you start on the side
of the fascinator and create folds which you then hot glue around the
bottom of the base.
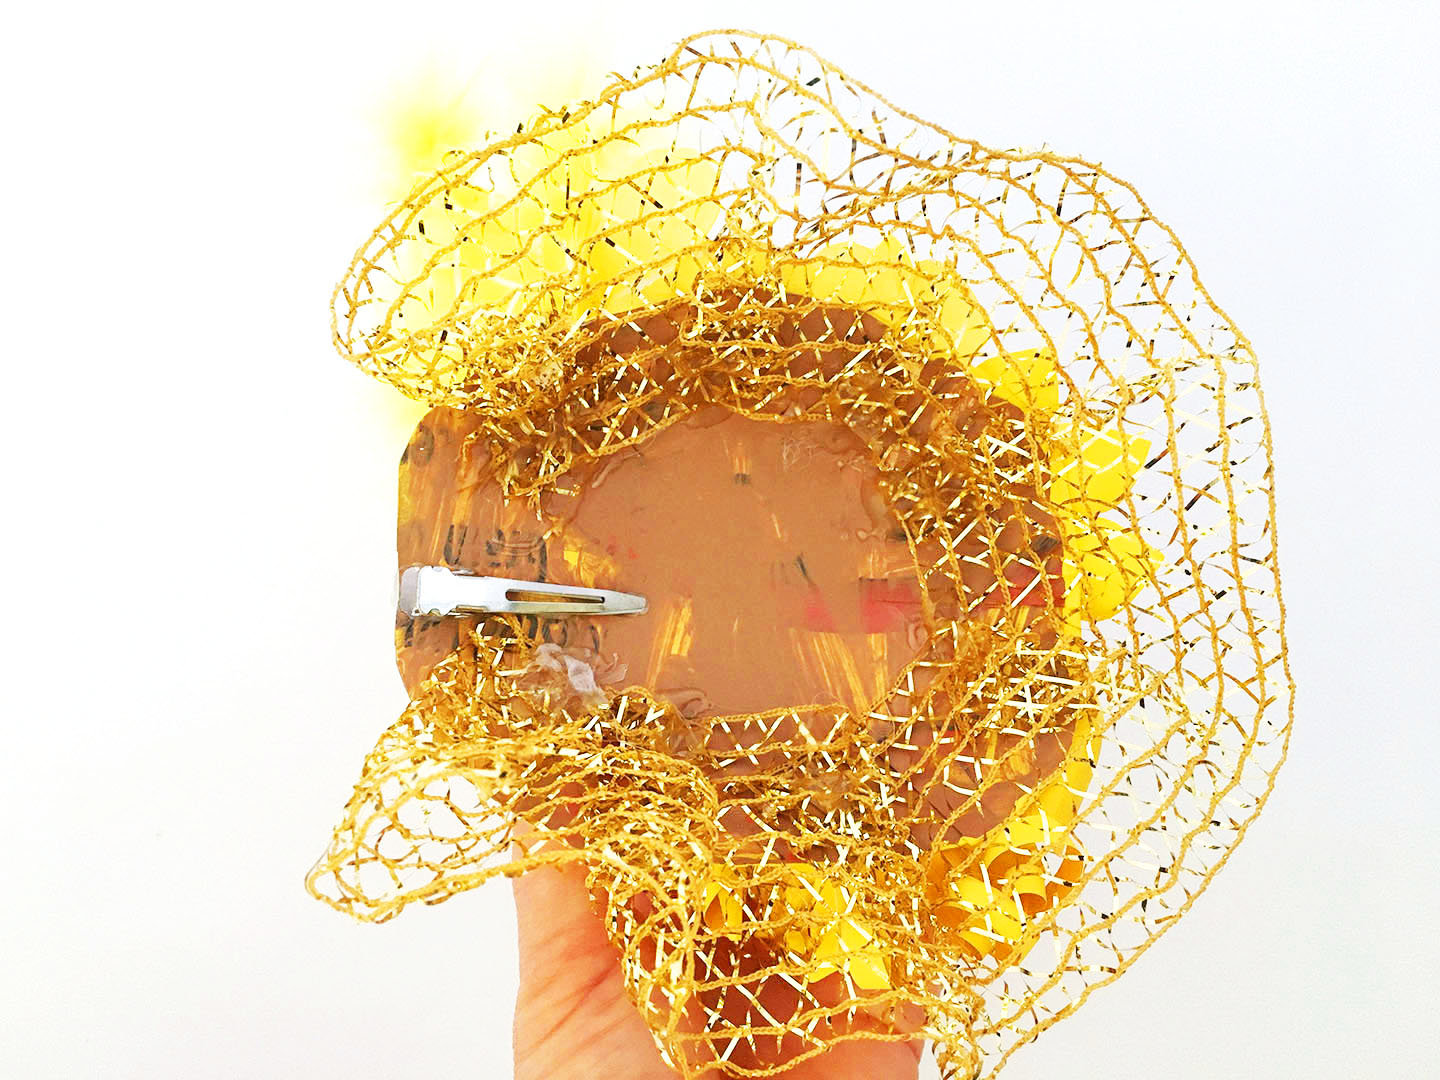
Step 8
Finally hot glue on your alligator clip to your fascinator.
We glued it on the back of ours, but glue it wherever is most comfortable
for you to clip it on.
You’re done! Now find a fancy tea party or wedding and go strut your stuff!


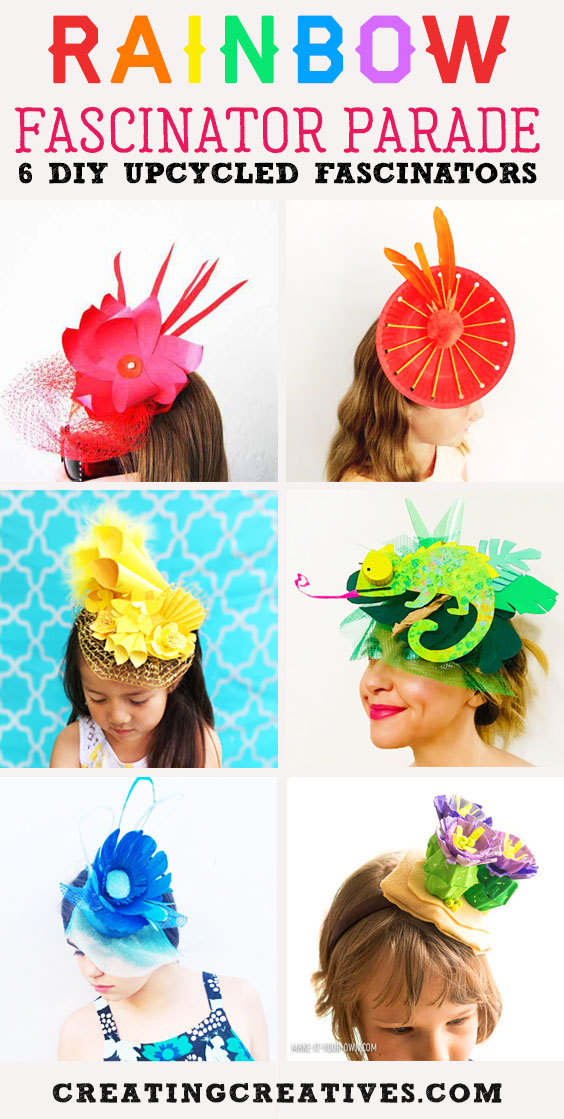
CHECK OUT THE FULL RAINBOW FASCINATOR PARADE!
Red: Start Creative Studio 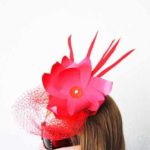
Orange: Cinta & Co. 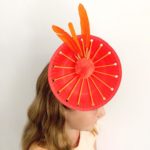
Yellow: Creating Creatives 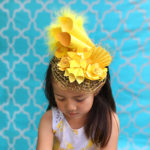
Green: Barley & Birch 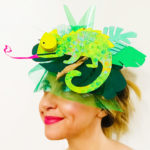
Blue: Art Camp LA 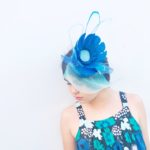
Purple: Make it Your Own 
TAG US IN YOUR DIY FASCINATOR CREATIONS:
We love how projects change with different creative minds, and would love to see how yours turned out! Tag @creatingcreatives on Instagram or @creatingcreativeskids on Facebook.
SHARE IT:
Spread the word and Pin and Facebook share with your friends!
FOR MORE RECYCLED PROJECTS YOU MIGHT LIKE THESE:
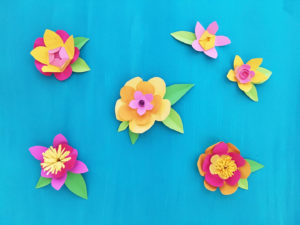
Paper Flowers from Kids Artwork
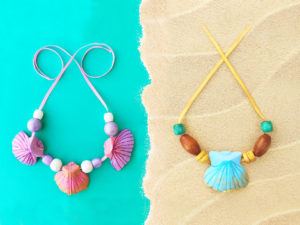
Egg Carton Mermaid Necklace
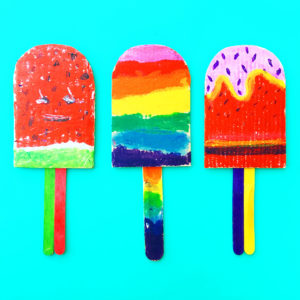
Cardboard Popscicles
