
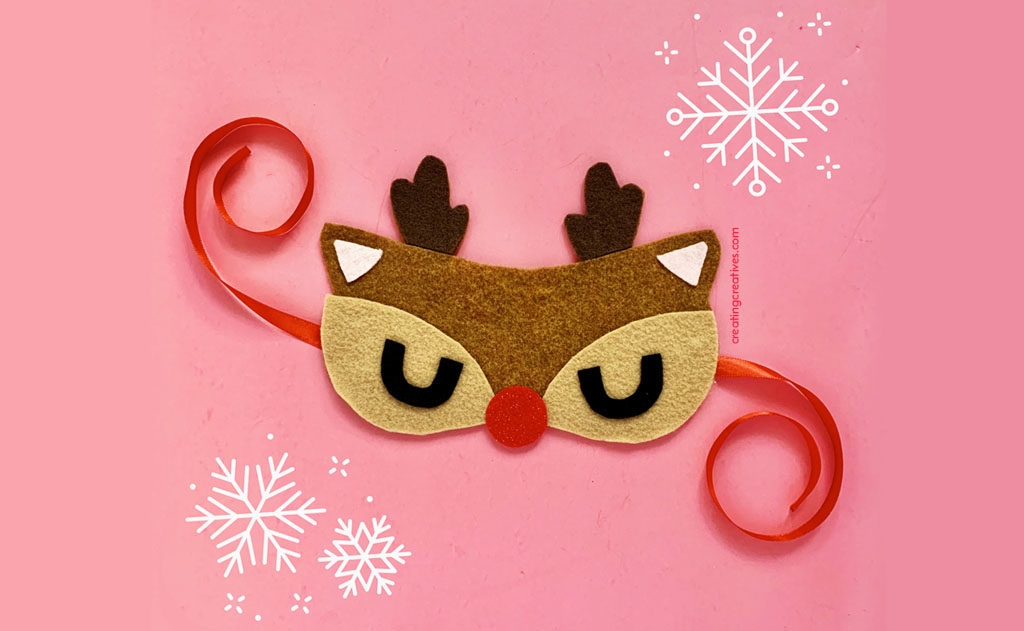
Well they say to slow down for the Holidays, and what better way to slow down than to sleep… with a sleep mask of course! Speaking of slowing down for the Holidays today is the last day of CRAFTMAS kick off week. Craftmas was created by the lovely Little Button Diaries and is basically a week full of new and delightful crafts from creators all over the globe.
This year we wanted to keep things simple, so people can slow down and enjoy time with each other, or next to the person with the other sleeping mask. Every project this year is made from a list of supplies you probably already have at home:
Cardboard/Cereal Box
Egg Carton/ Milk Carton
Paint
Tissue Paper
Cardstock
Yarn/ String
Pine Cones
Sticks/ Twigs/ Leaves
Felt
Dough
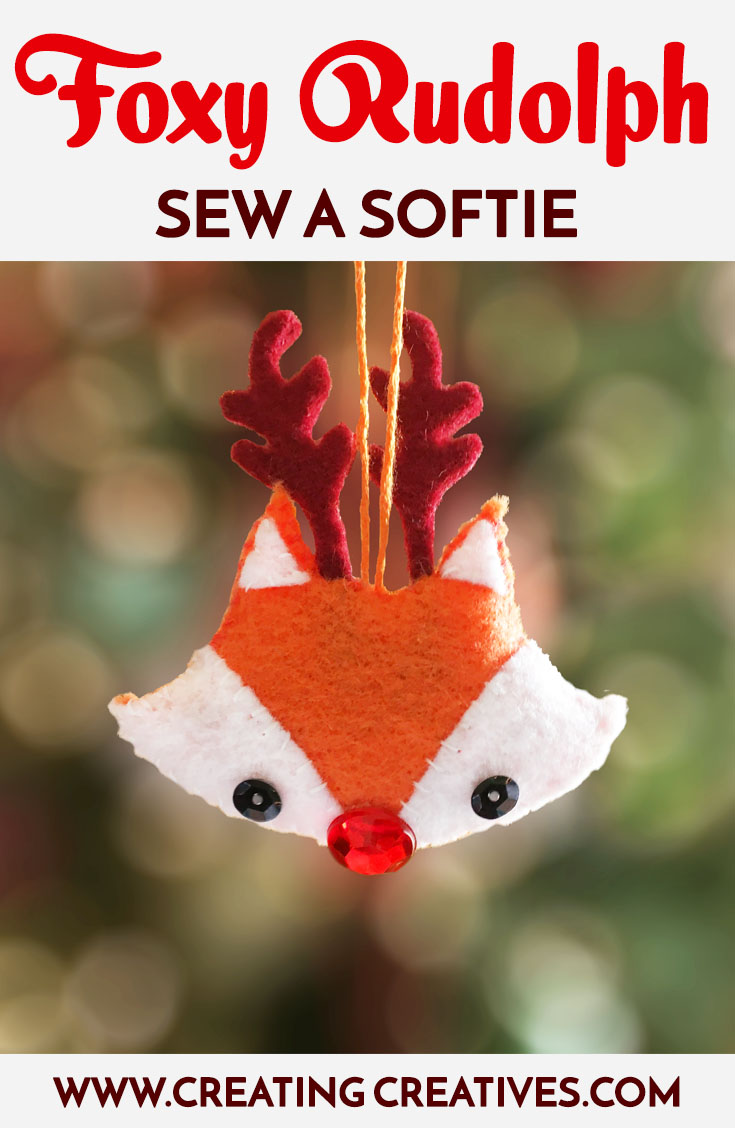
We hope you are able to join in the fun and share your projects with us on Instagram using the hashtag #craftmas or tag me @creatingcreatives and I’ll be sure to share your creations in my stories. Ok ready to make this simple felt project?! Lets go!
Rudolph No Sew Sleep Mask Supplies:
This list contains affiliate links.
- Dark Brown Felt
- Light Brown Felt
- Tan Felt
- Red Felt
- Black Felt
- Light Pink Felt
- Pins
- Scissors
- Tacky Glue
- Hot Glue Gun & Sticks
- Glue Stick (optional)
- Sleep Mask Pattern – Enter your name and email below to sign up to our fun newsletter and I’ll send the you our Sleep Mask Pattern straight away as a gift.
Make It – Rudolph No Sew Sleep Mask:

1. First print and cut out your paper template, then pin the template onto your felt and cut out the pieces.
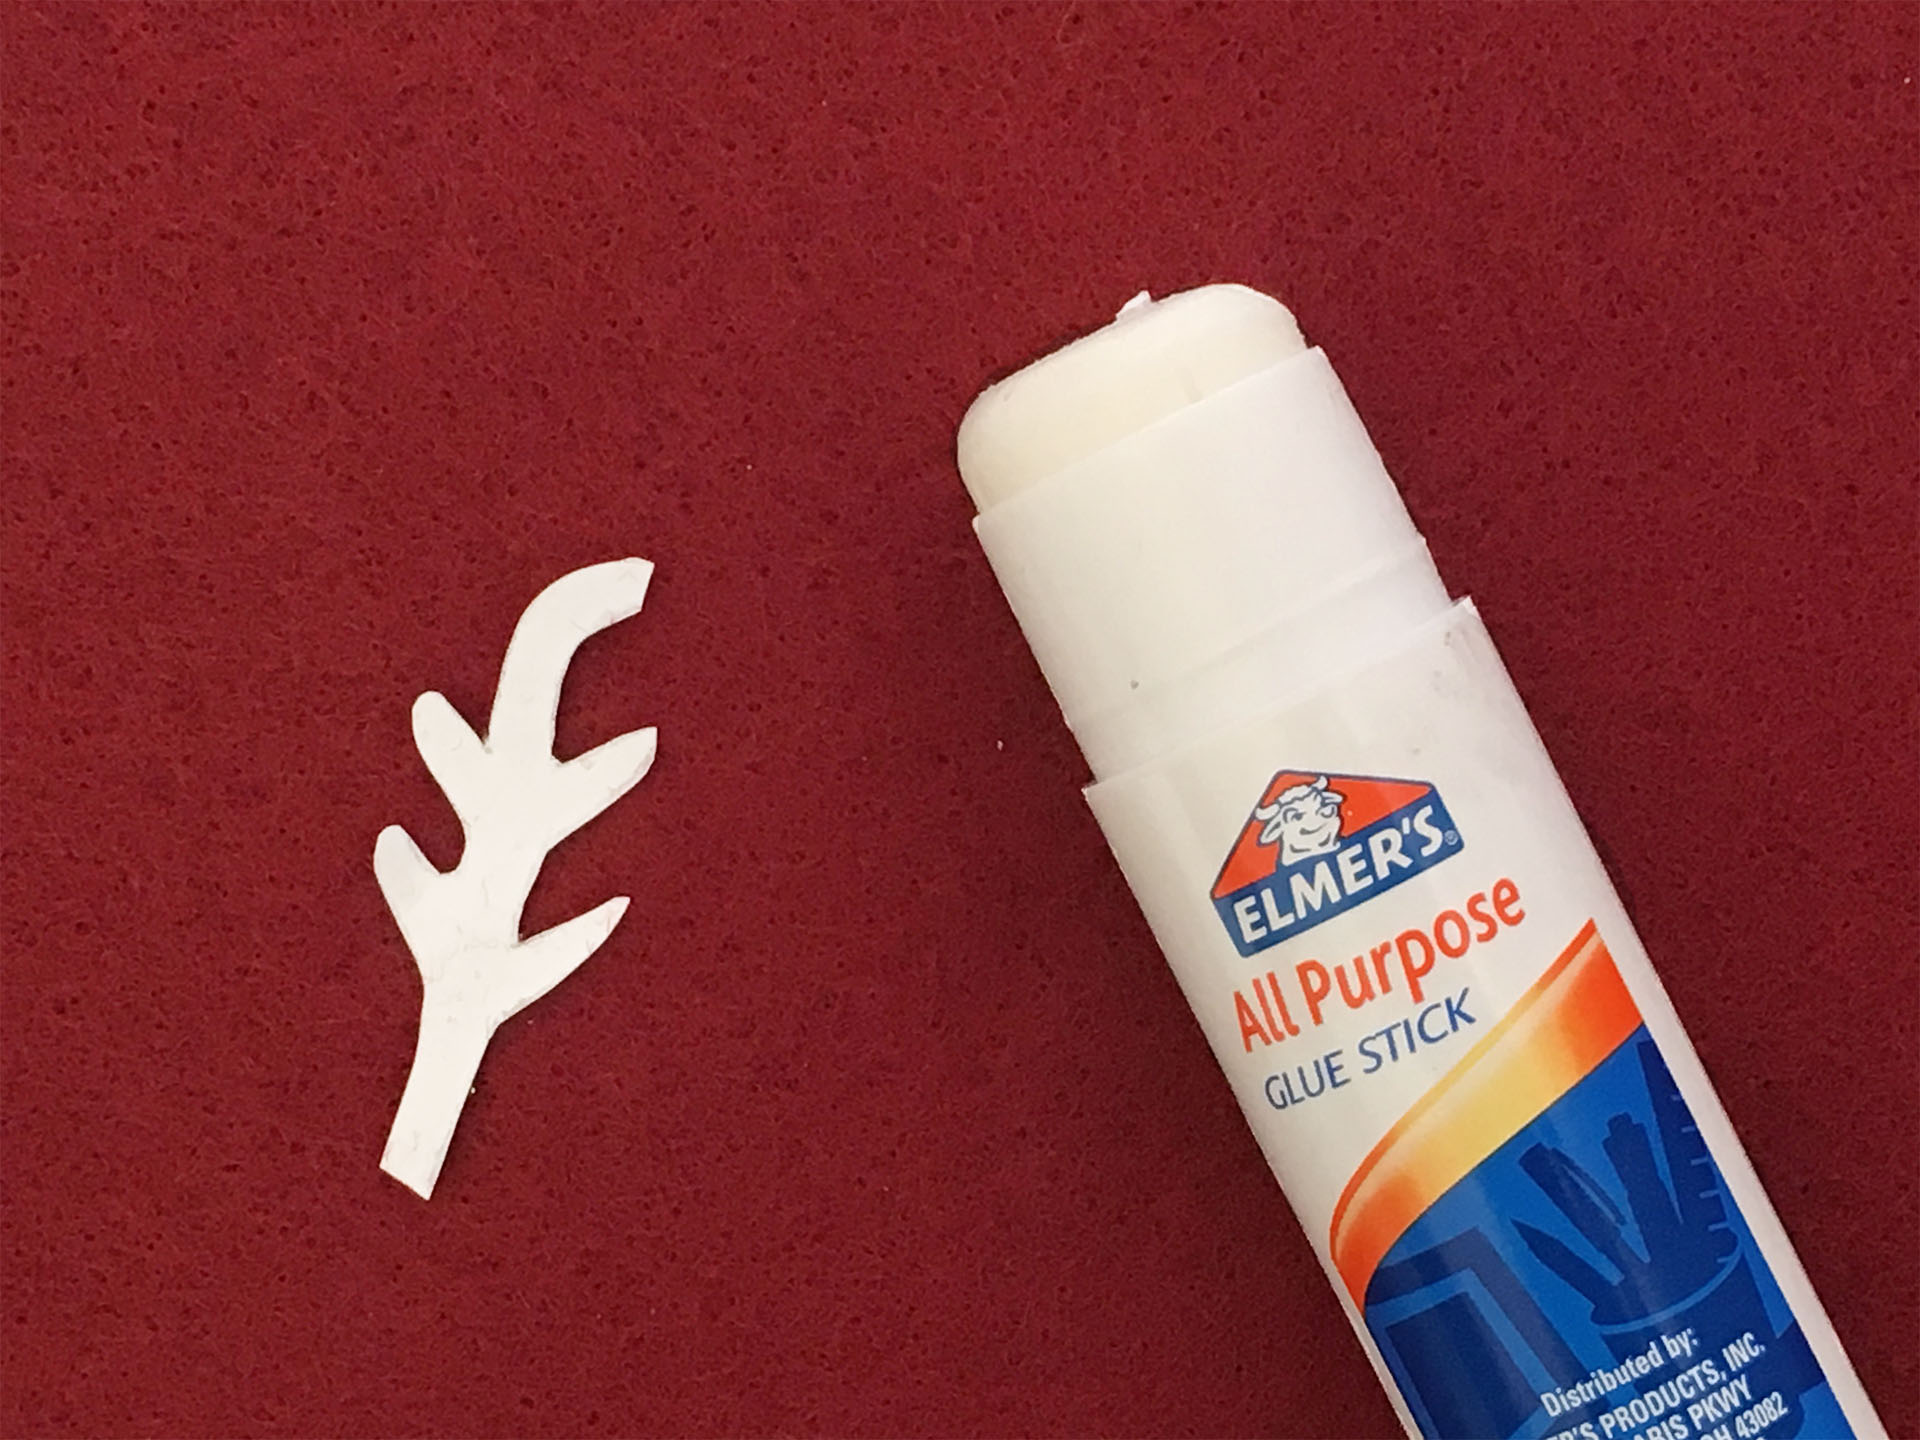
Tip: For the trickier shapes that are hard to pin use a glue stick to temporarily stick it to the felt and make cutting easier.

2. Once everything is cut you’ll want to use your Tacky Glue to glue on the inside of the ears, the antlers and the black eye lids. You can also use hot glue for this, but I find tacky glue to be softer, alas regular old school glue doesn’t work on felt.
Be sure NOT to glue the light brown eyes on just yet as we have to add the elastic or ribbon first.

3. To add the ribbon or elastic make a little cut vertically on the side of each cheek. Once cut, thread the ribbon or elastic through. To keep the ribbon in place you’ll want to hot glue it down. You can also make a knot, but you want to try and keep it as flat as possible.
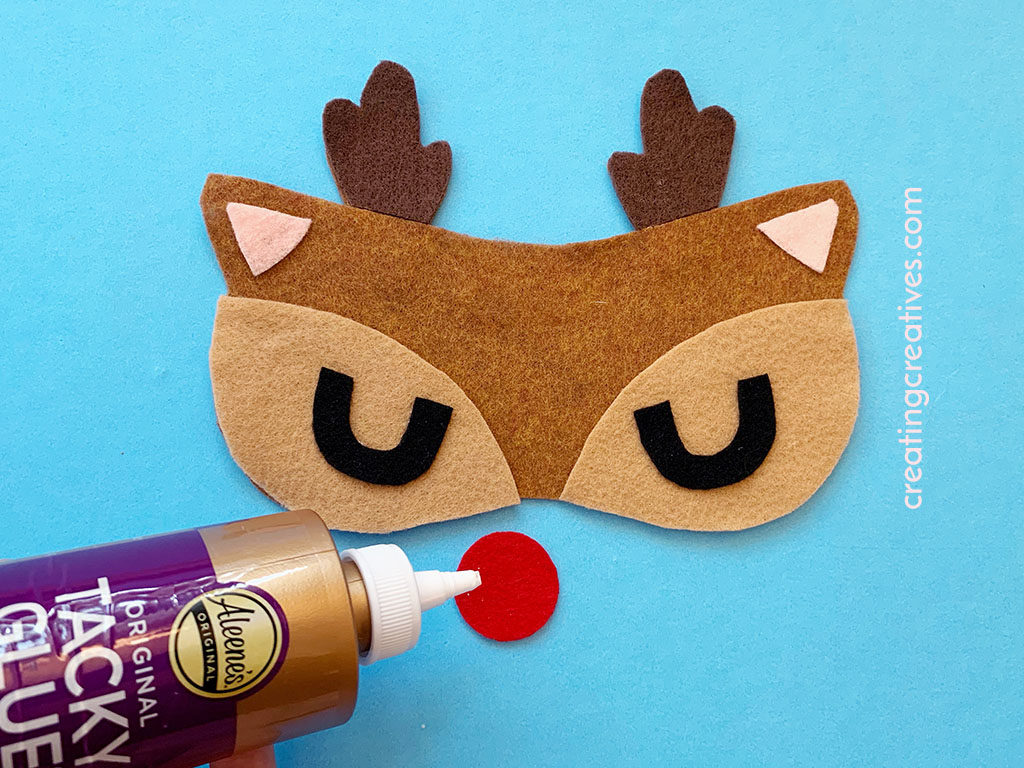
4. Finally glue the light brown eyes into place, and glue on Rudolph’s red nose! If you’re using tacky glue, allow it to dry for a few hours, or even over night.
5. You’re done! Turn off the lights, pack away in your carry on or wrap up in a bow for a loved one, and get ready to SLEIGH EVERYDAY!
SHARE YOUR RUDOLPH SLEEP MASK:
Spread the word and Pin and Facebook share with your friends!
For More Christmas Projects Check These Out:


Pingback: Discover: 15 Kids Holiday Crafts from Everyday Supplies - barley & birch