
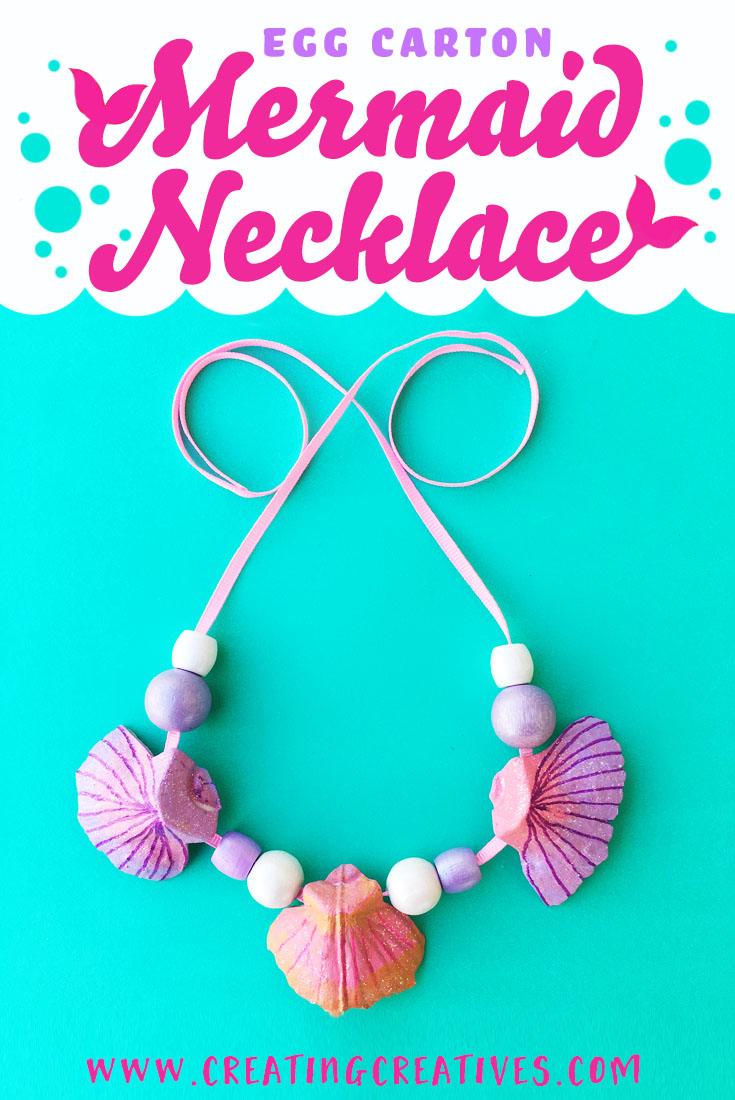
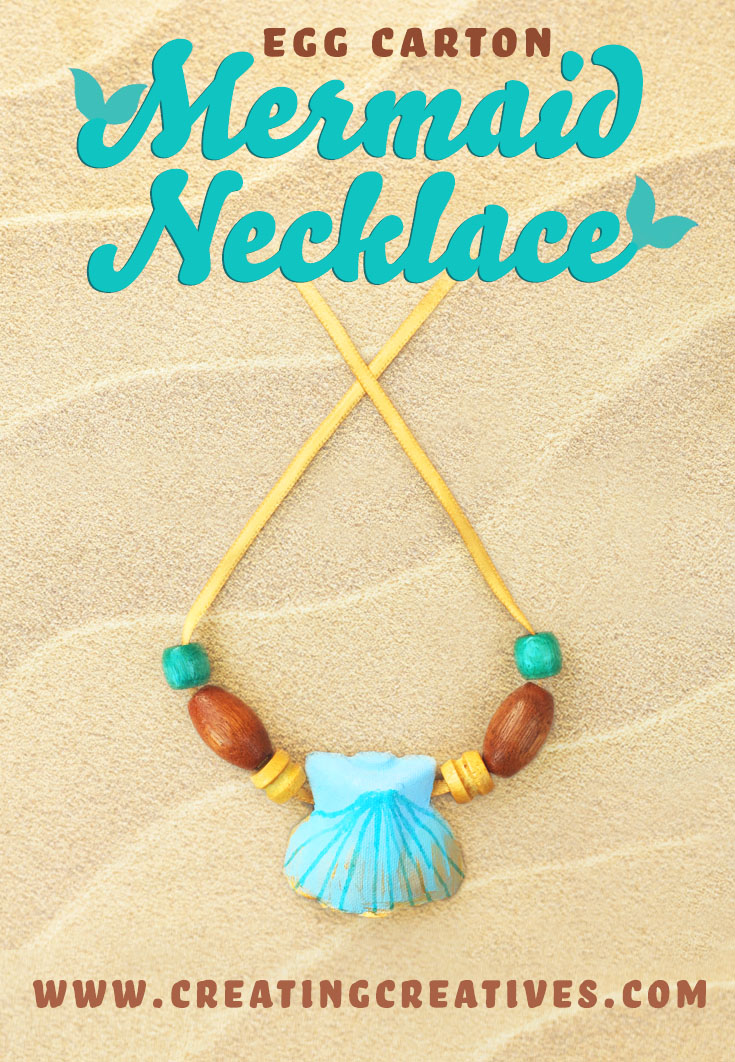
A sea shell mermaid necklace! We are a little nuts for mermaids in this family, and if I had known that Mer-May was a thing, well this would have been posted much earlier! Alas we’re posting it in the last weeks of summer, since what is a summer without a little mermaid love?! It’s also a great recycling project to use those empty egg cartons. And fear not my male under the water dwellers, not only can this be a mermaid necklace, but it works as a merman necklace too! Ok lets take a trip unda da sea to go make our necklaces!
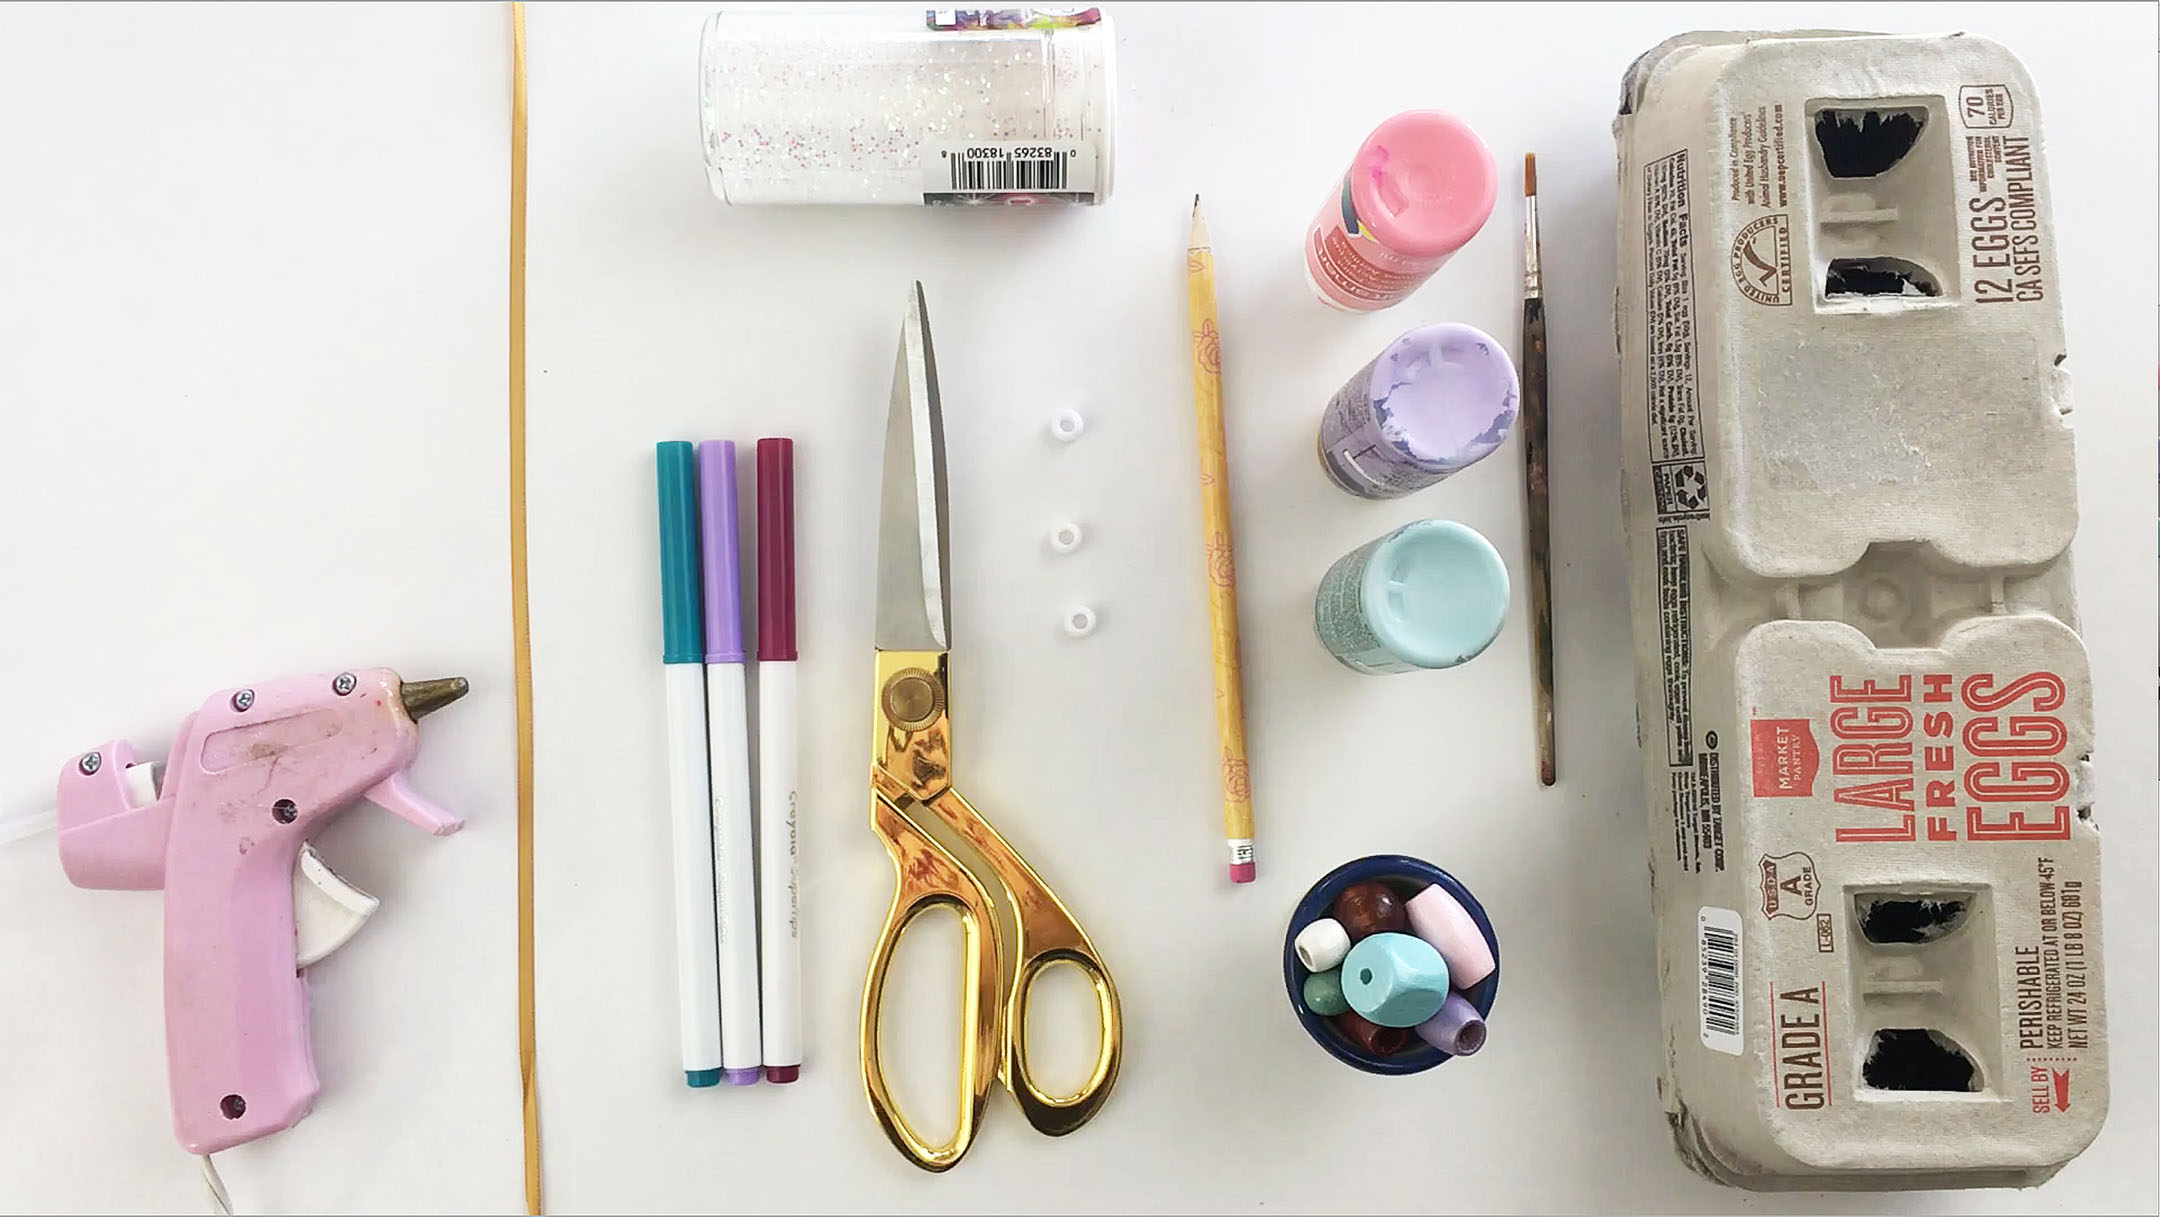
MERMAID NECKLACE SUPPLIES:
This list contains affiliate links.
- Paint
- Paint Brush
- Wooden Beads
- Pony Beads if you don’t have these you can also use a straw
- Scissors
- Glitter (optional)
- Markers
- Hot Glue
- Ribbon, Twine or Necklace Chord
- Egg Carton
- Pencil
MAKE IT:
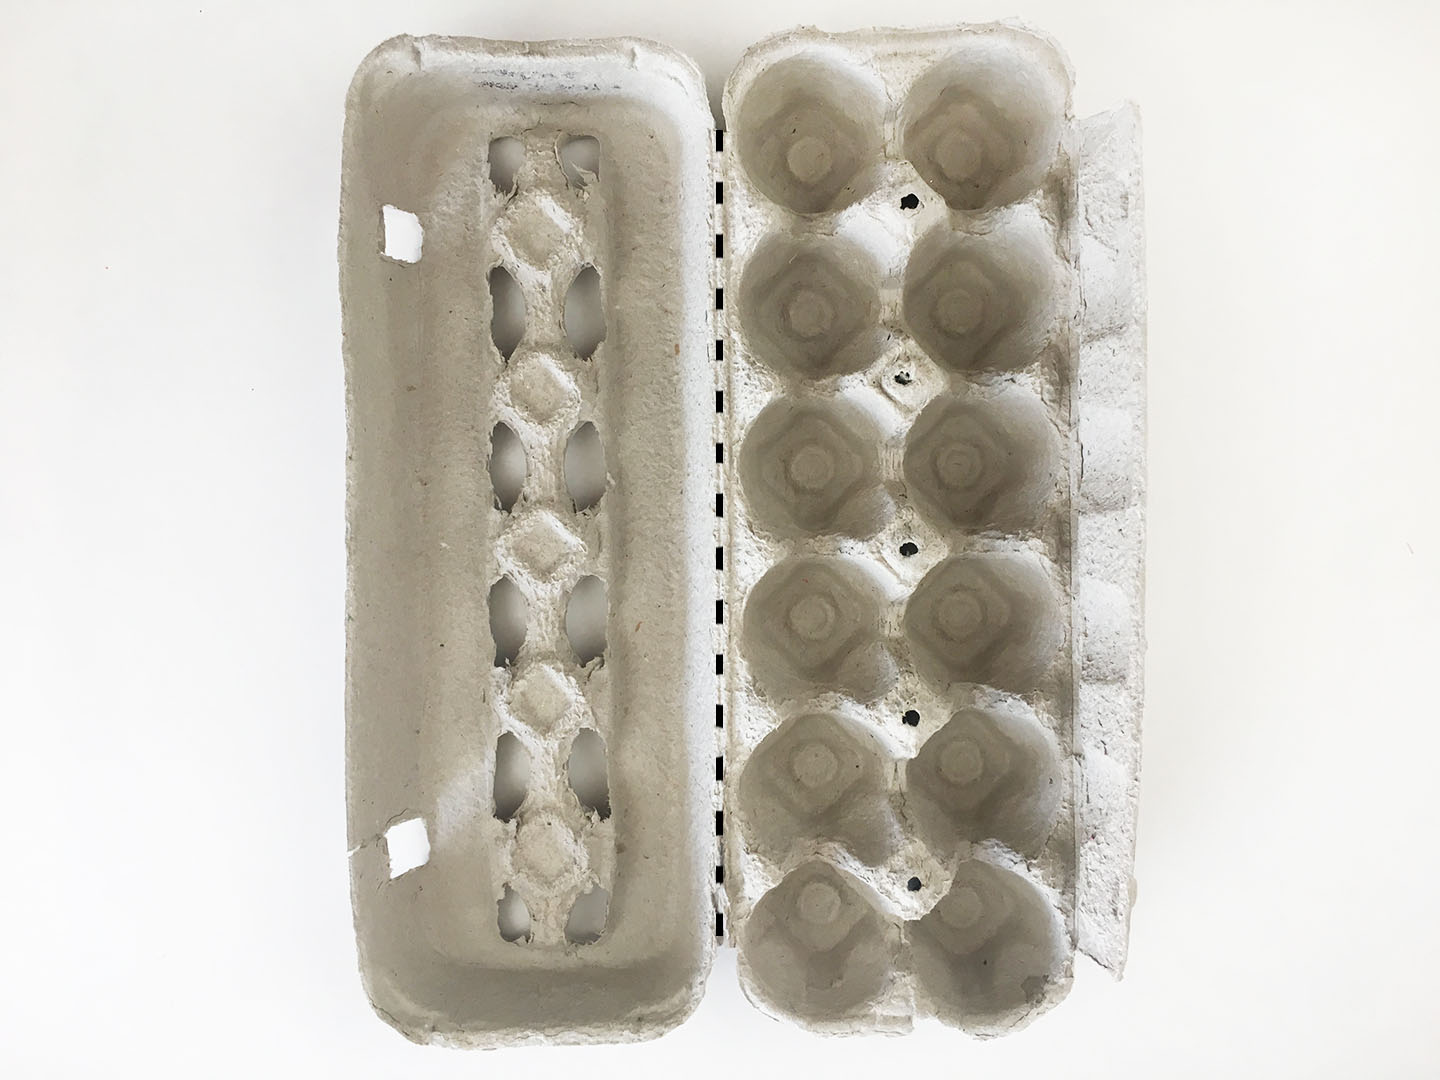
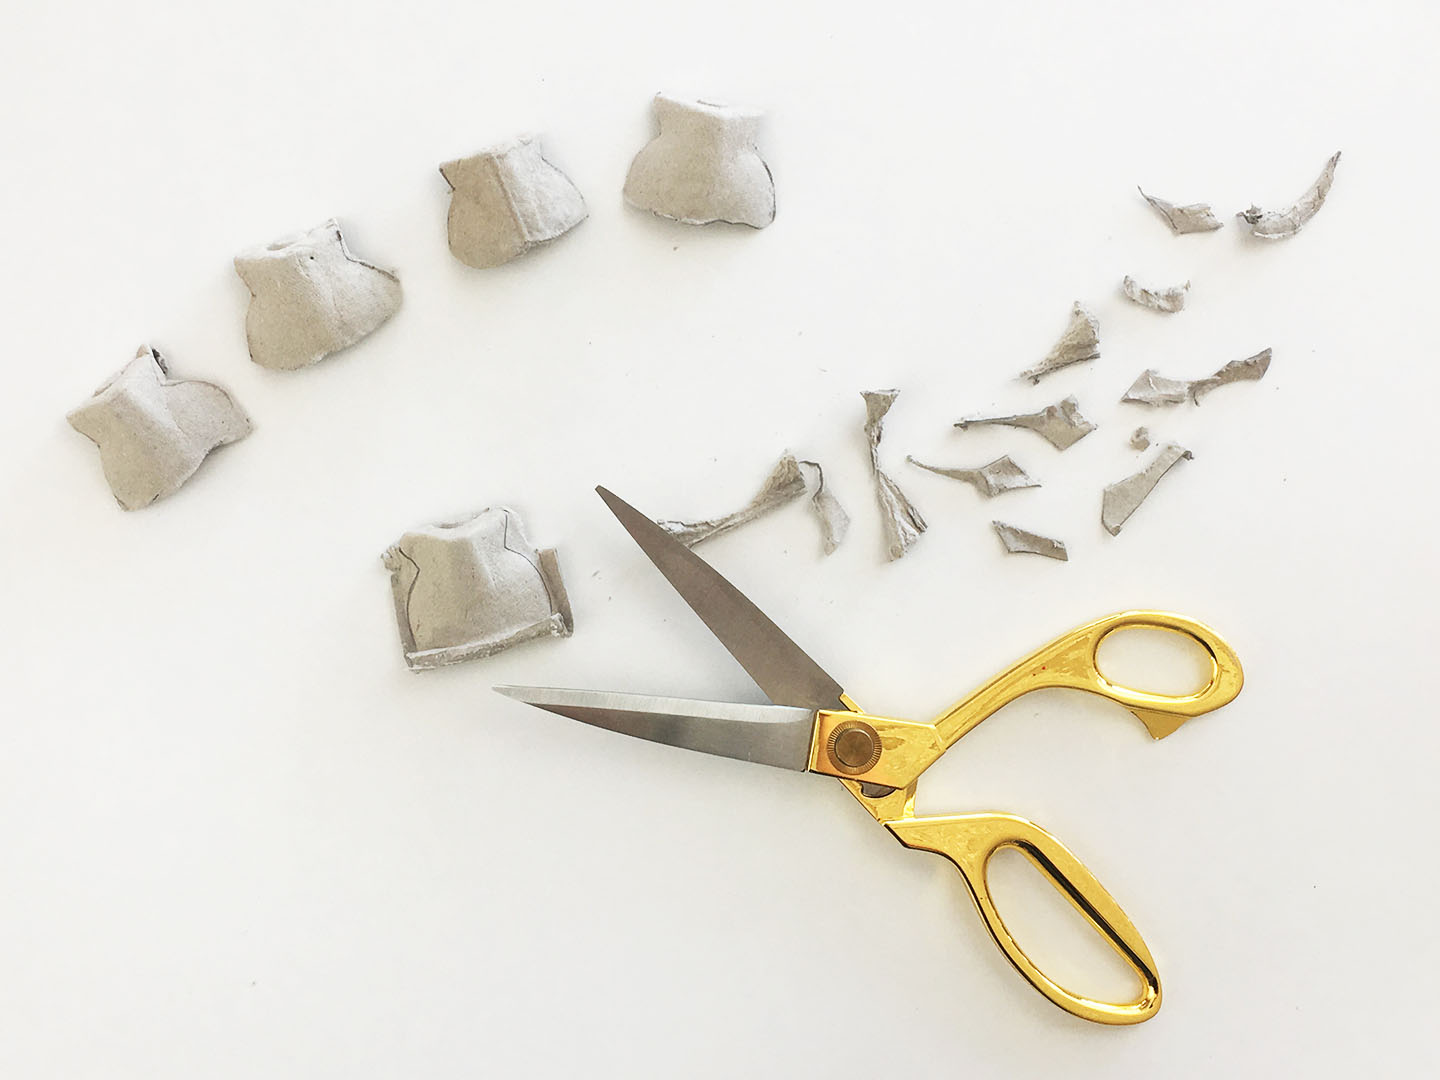
1. CUT your egg carton in half, per the dotted line below.
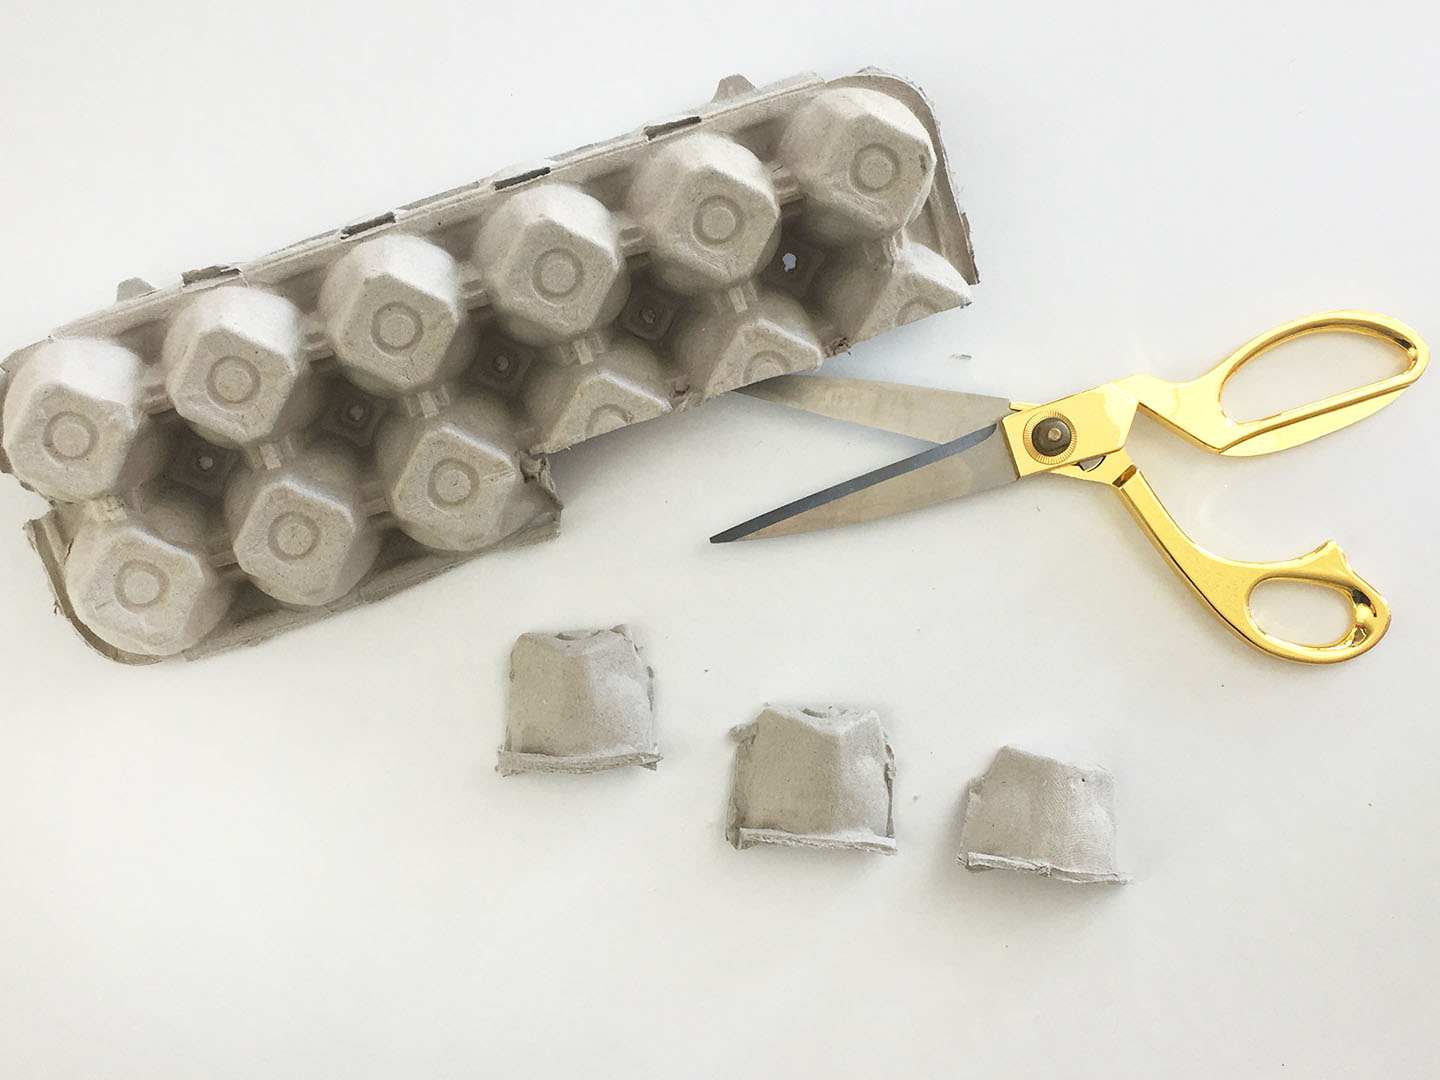
2. CUT half way through one of the rows of cups, then cut to separate.
3. DRAW a shell on your egg cup, like the picture below.
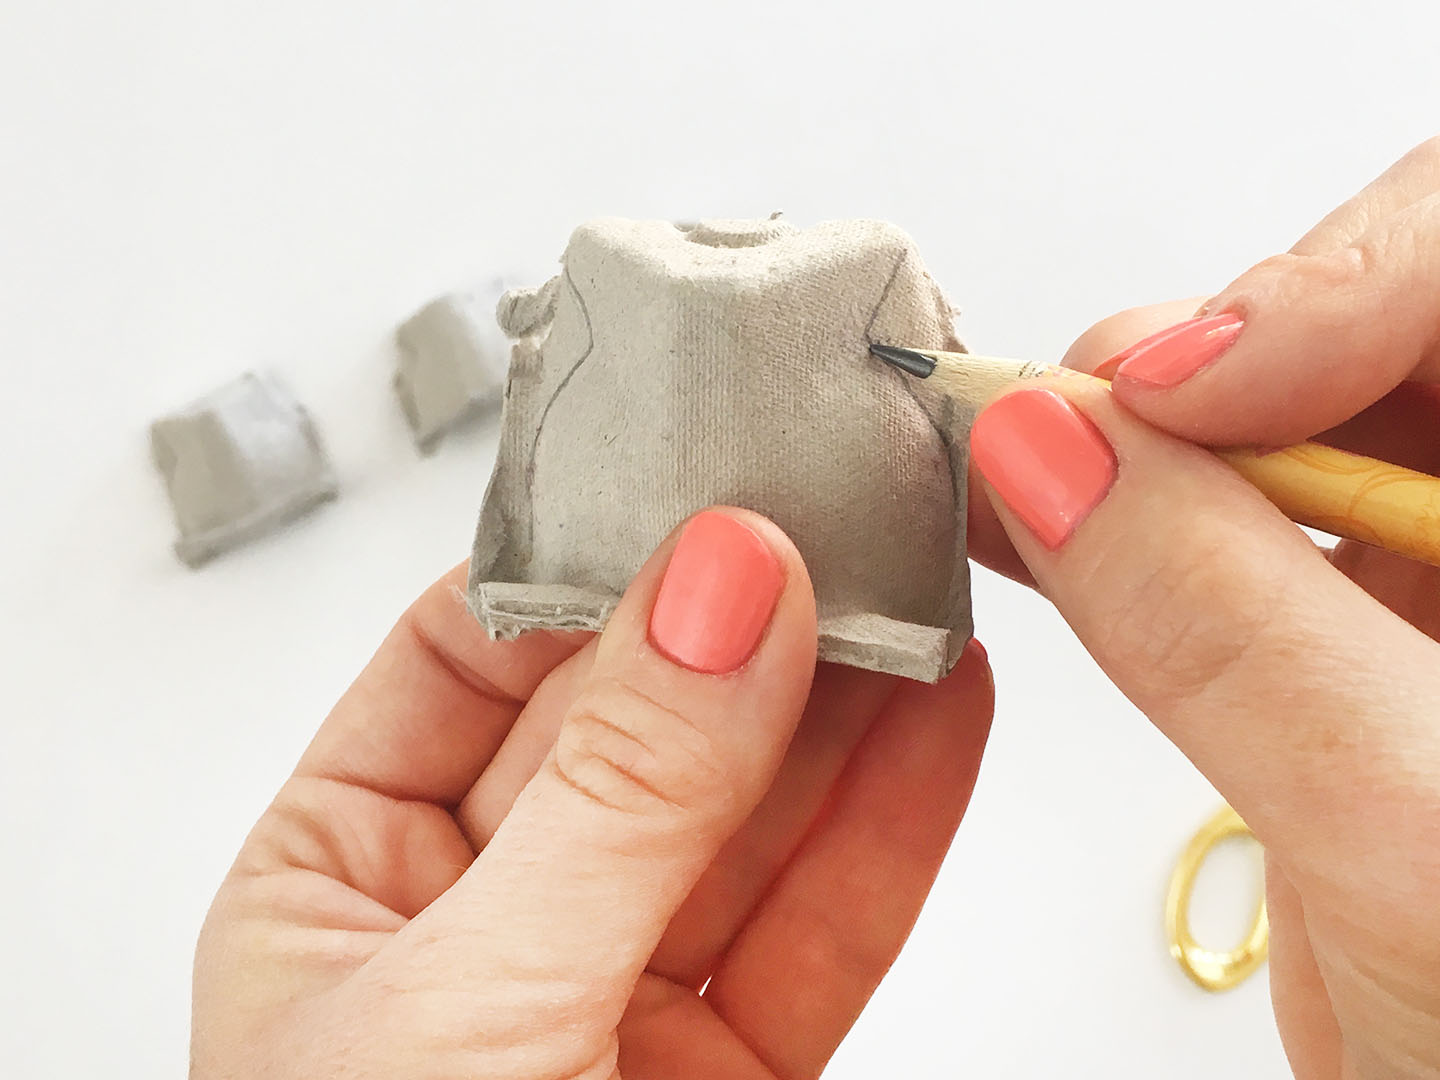
4. TRIM your egg cup to look like a shell. Cut out the lines you drew then cut a wavy line on the bottom to help it look more shell like.
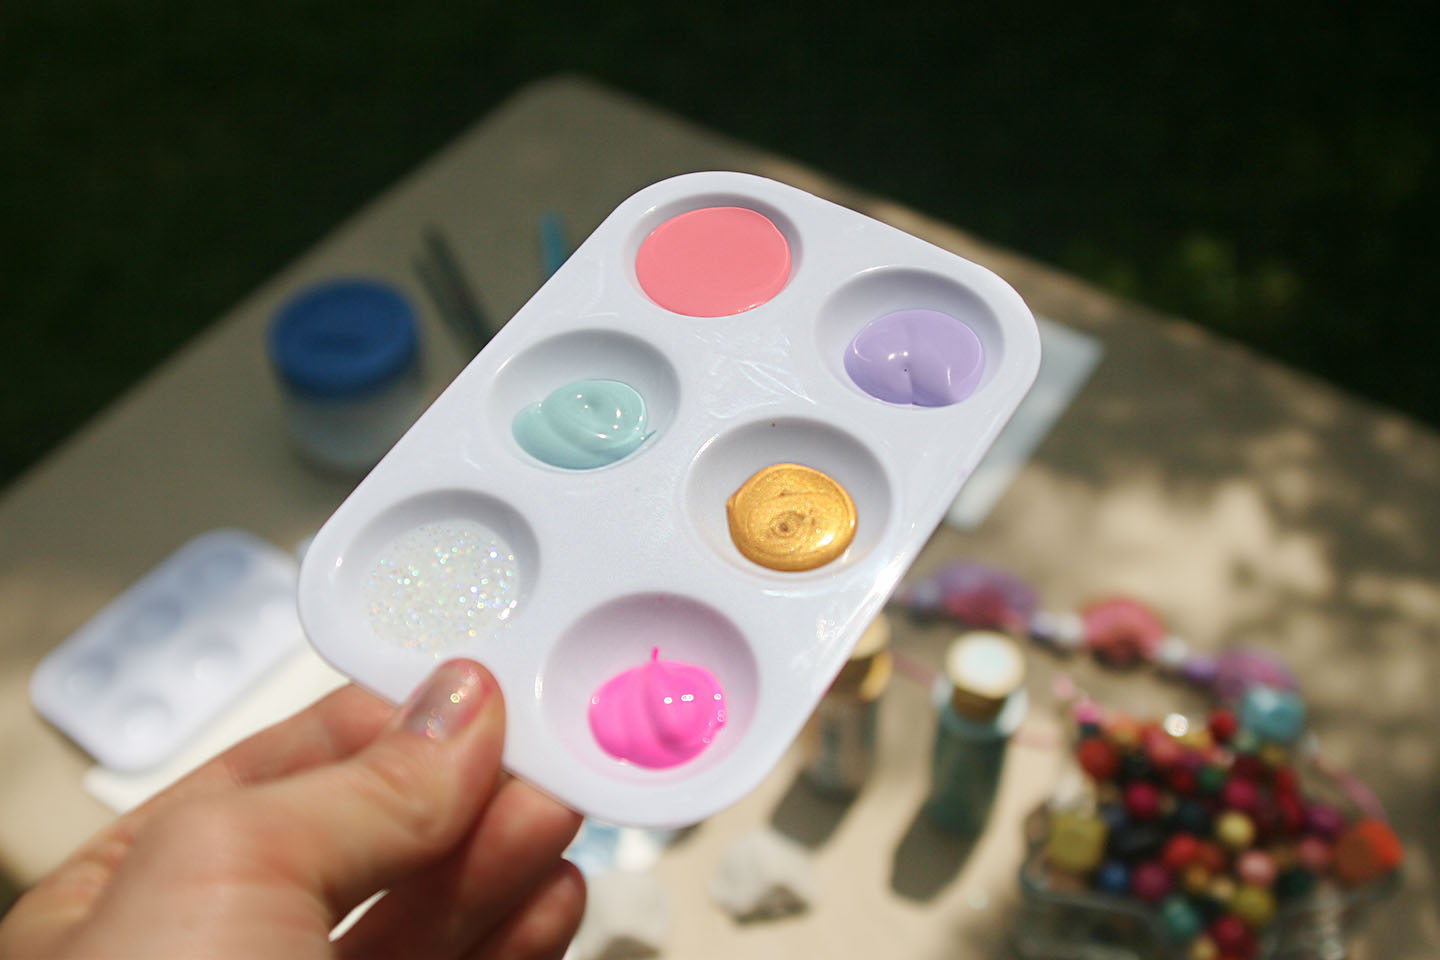
5. CHOOSE your paint colors. For my daughters necklace we chose pinks and purples. For my son’s we went with blue’s and turquoises. We also chose to add some sparkle with gold highlights and glitter.
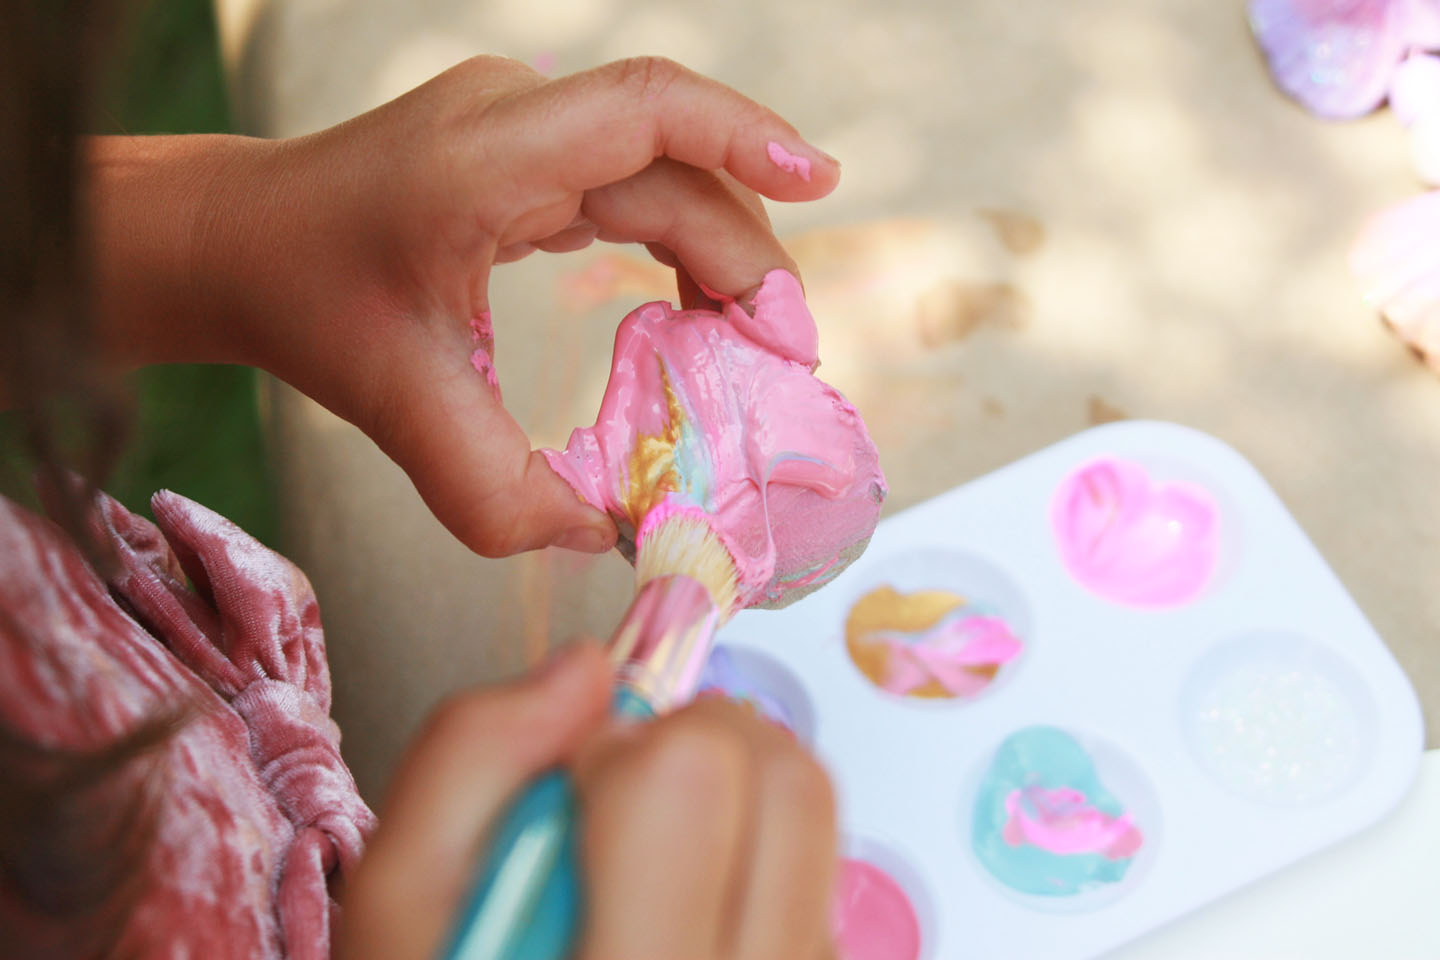
6. PAINT! This is the perfect part for your little one and you to just have at it.
DISCUSS: Where might your shell live in the ocean? Did it have something living in it before? Who is this mermaid necklace for?
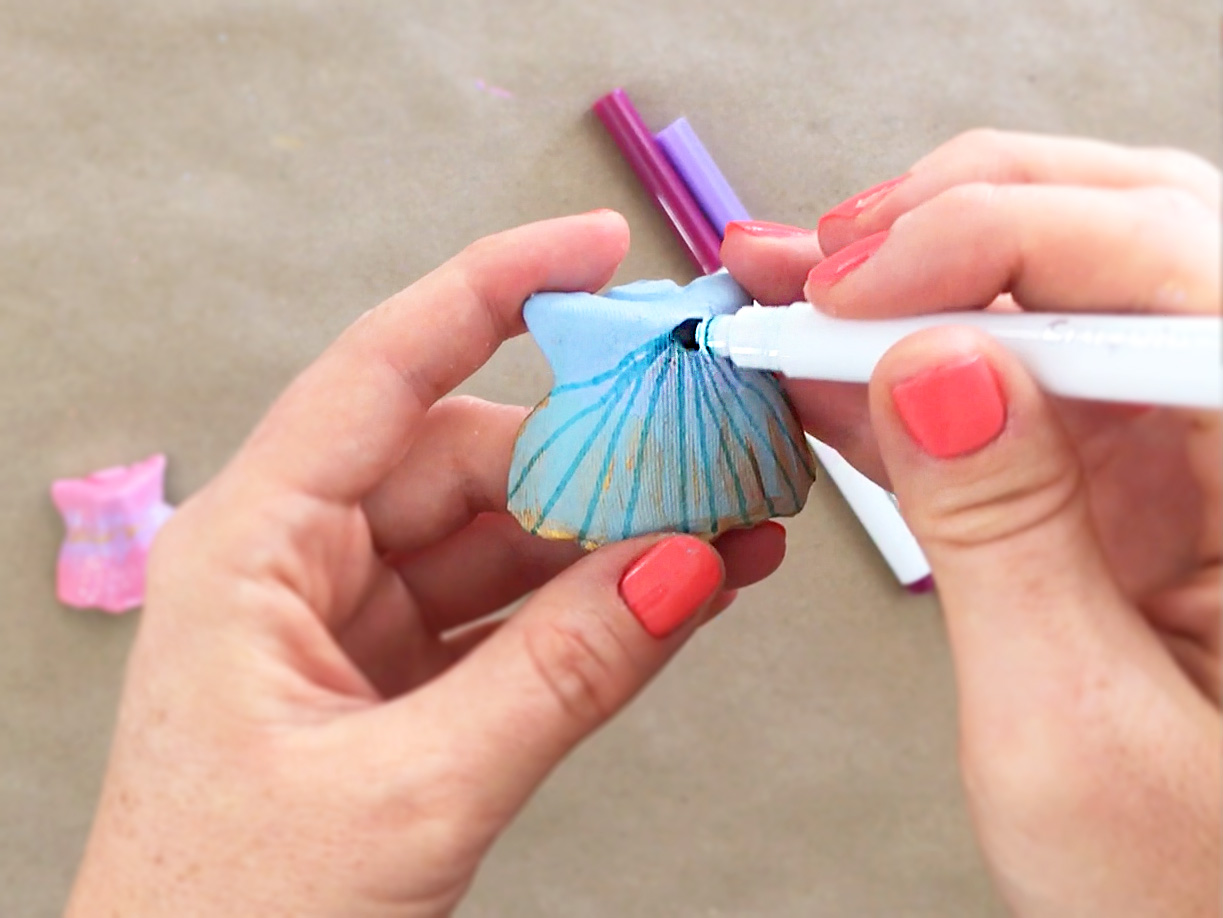
7. DRAW some lines coming out from the center point of the front of your shell, like the picture below.
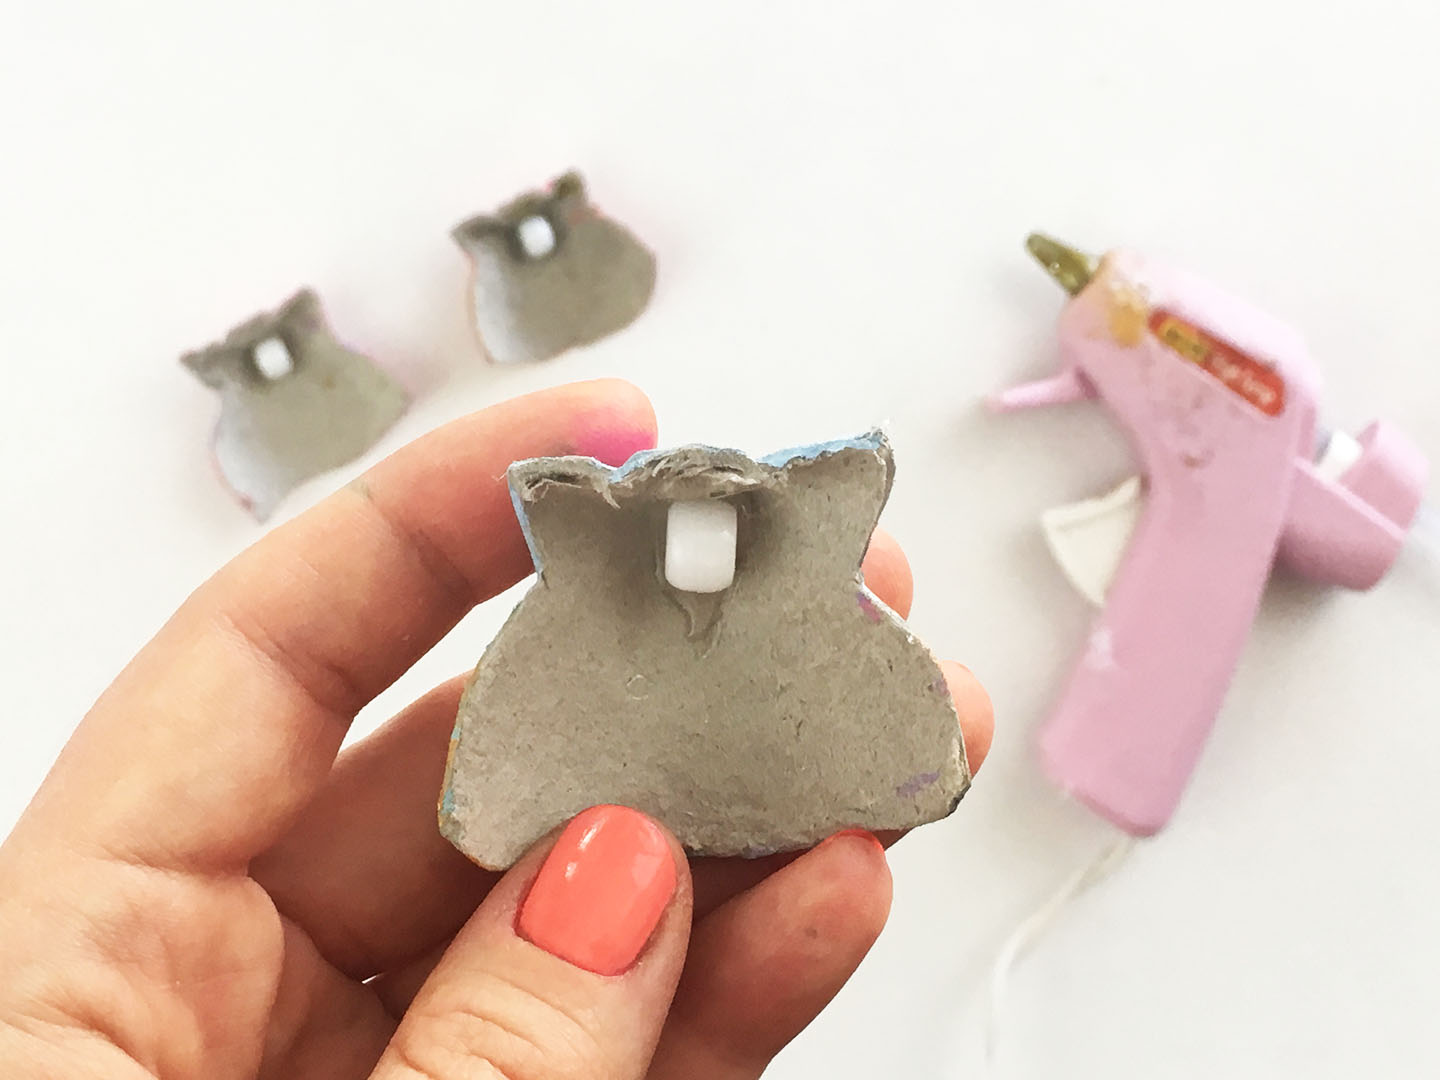
8. HOT GLUE a pony bead on the back of your egg carton shell. If you don’t have a pony bead, you can use a bead with a big hole or you can cut a straw to bead size and glue that in place of the bead.
9. MEASURE out your ribbon. We made ours about 3 feet long which was easy enough for my little creatives to put on and off by themselves, but measure whatever length you’d like.

10. ARRANGE your shells and beads in the order you want them to be.

11. THREAD your beads through the ribbon. If you’re having trouble threading the beads through, try taping the end of your ribbon to make it easier.

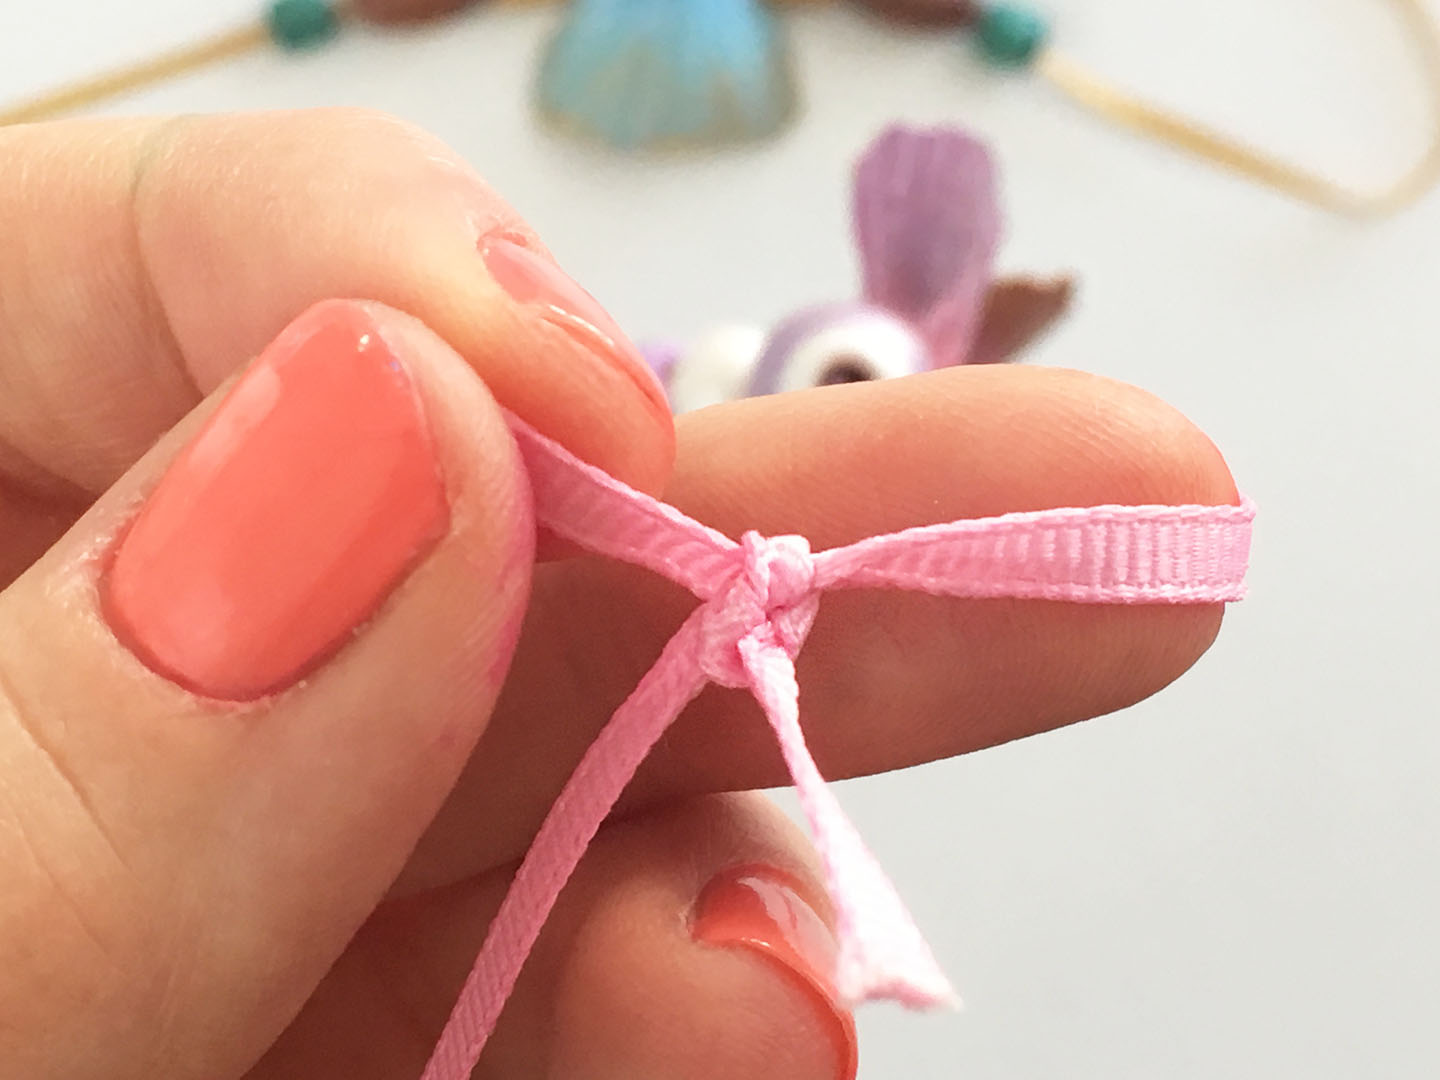
12. TIE the back of your ribbon.
13. WEAR PROUDLY Congrats, you’re done! Use your mermaid necklace for pretend play, or to accessorize your stylin’ outfit.

TAG US IN YOUR MERMAID NECKLACE:
We love how projects change with different creative minds, and would love to see how yours turned out! Tag @creatingcreatives on Instagram or @creatingcreativeskids on Facebook for a chance to be featured under our projects.
SHARE IT:
Spread the word and Pin and Facebook share with your friends!

Pingback: Birthday Party Crafts for Tweens - Moms and Crafters
Pingback: Life In Pictures: A Mermaid Party - Little Button Diaries
Pingback: 40 Simple Summer Crafts for Kids - Look! We're Learning!
Pingback: 75+ Activities and Crafts for Teens & Tweens That Won't Get Eye Rolls, Sighs, or Grunts
Pingback: DIY Mermaid Craft Ideas - Red Ted Art's Blog
Pingback: DIY Tassel Bookmark - The Crafting Chicks
Pingback: Mermaid Movie Night Printable Popcorn Holder - Red Ted Art's Blog
Pingback: How to Make Simple Egg Carton Recycling Projects