
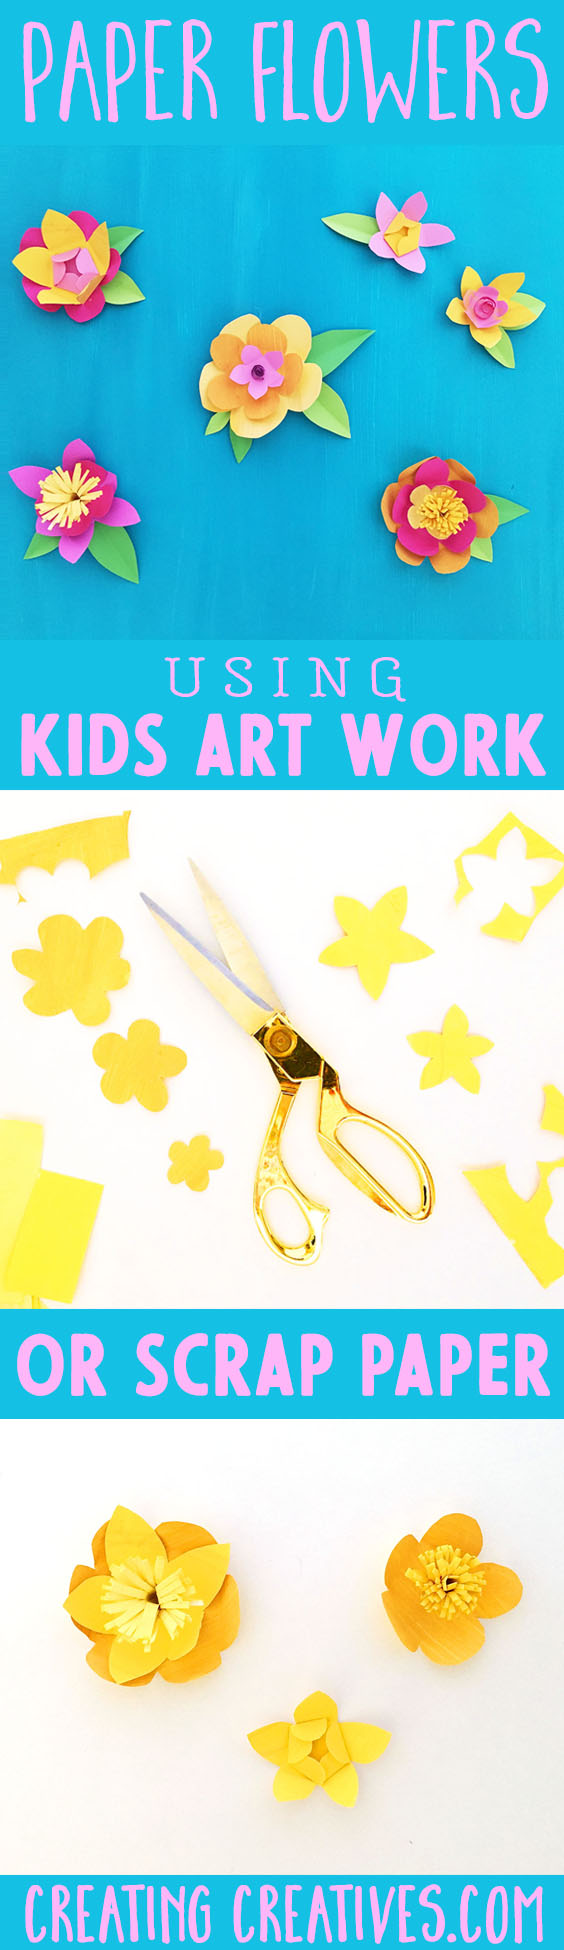
Paper Flowers are a great way to recycle kids art work or scrap paper. I love to use paper that’s wrinkled, and has a few weird scribbles over it, so no one wants to use it again. I get my kids to either paint over the whole thing in 1 color, or a few colors in the same color temperature, to avoid that beautiful shade of brown. So warm tones would be, red, orange, yellow, pink and cool tones would be green, blue, purple. It’s also perfect for those experimental pieces of art, you know the ones that are just so fun your child makes 50 different versions. They all have beautiful colors and look really cool, but honestly what will you do with them?! Well paper flowers is a perfect solution!
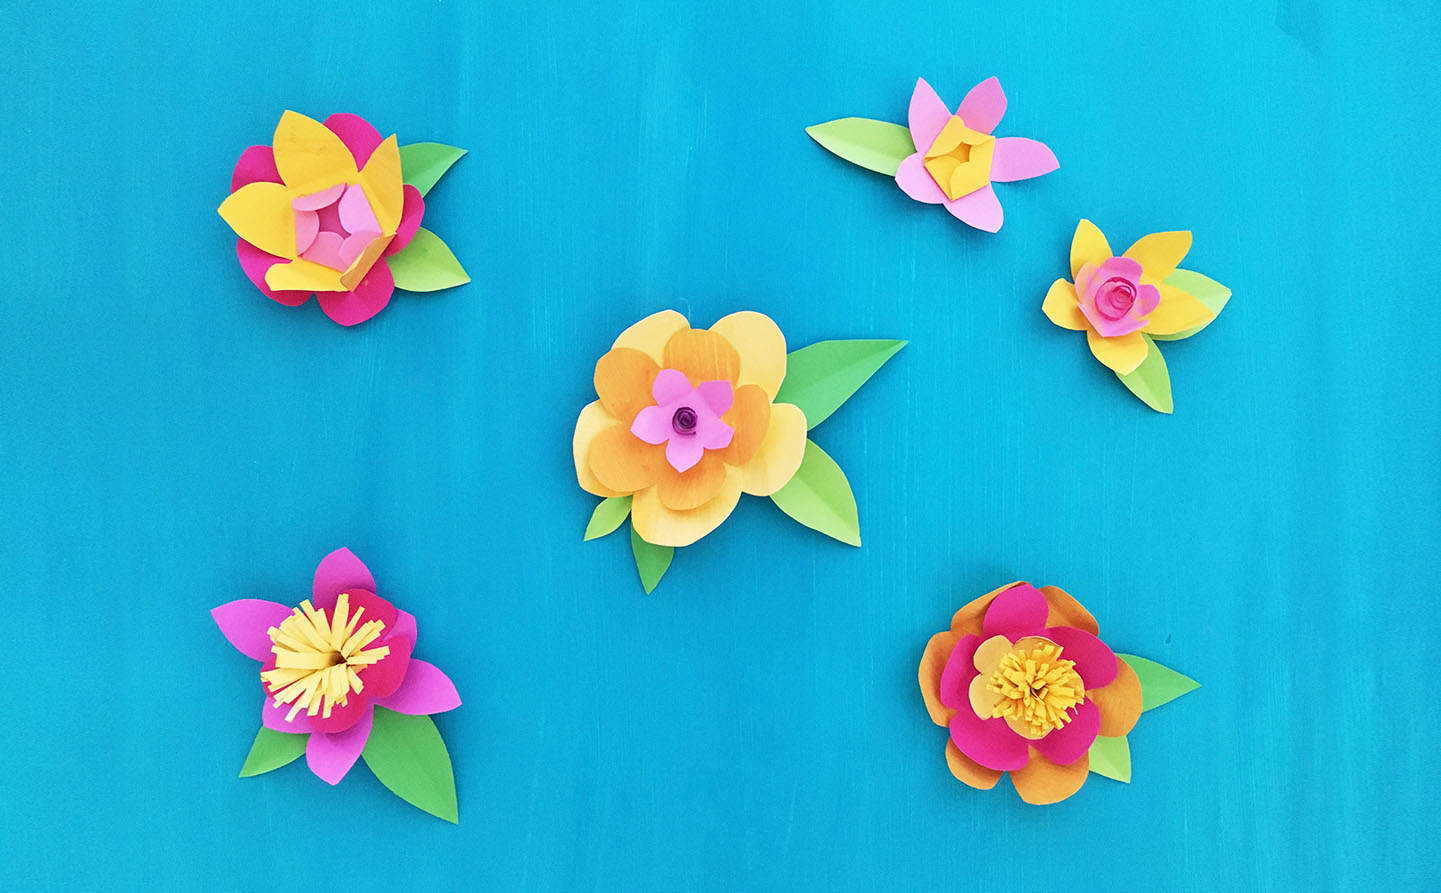
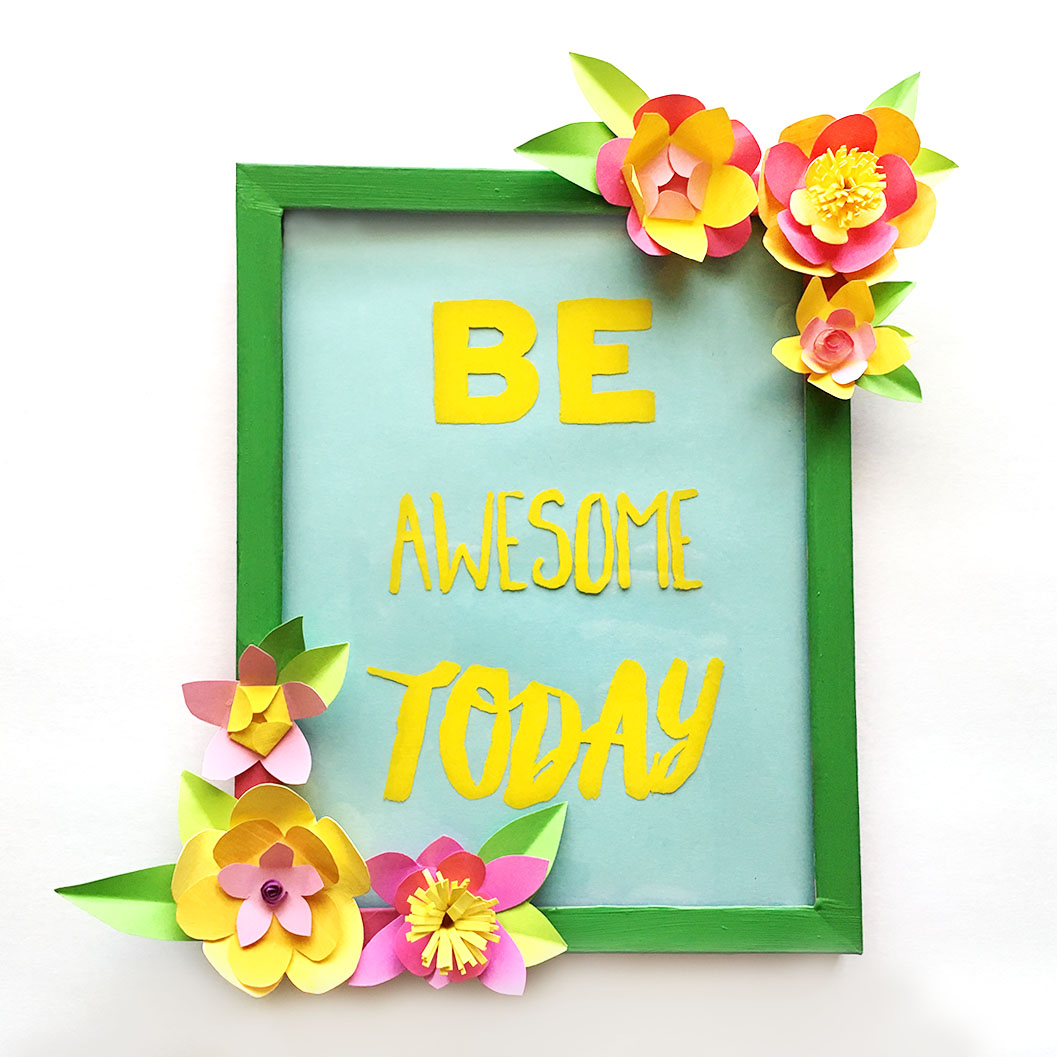
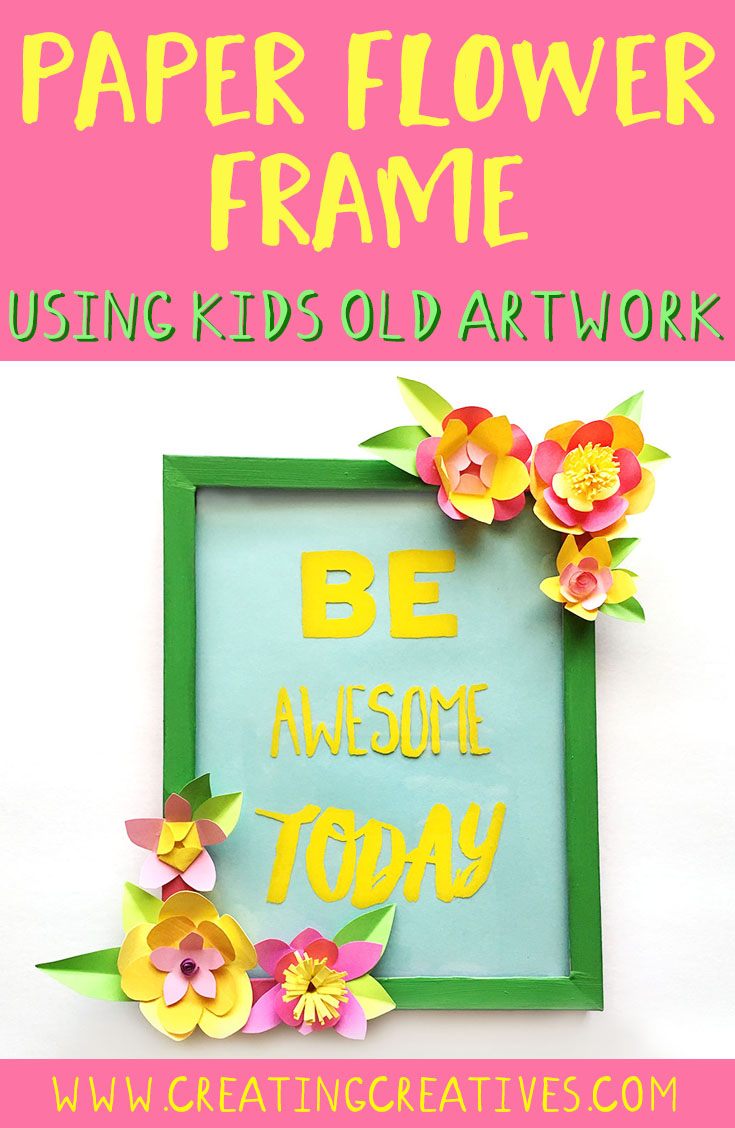
Once you’ve made them there are so many different possibilities on how to use them. You can add them to a picture frame, like we did, as you can see below. Or use them for a mobile, garland, on a card, to decorate a cork board, to make a hair clip or even fascinator, like we did here. Ok let’s get into it!
PAPER FLOWER SUPPLIES:
- Some colorful old artwork. Feel free to paint over the old art as well,
it can add some fun texture. - Scissors
- Glue – we used hot glue, but you can use school glue too.
MAKE IT: PAPER FLOWERS
The Flowers
Cut out various shapes and sizes of flowers. I usually figure out how big
I want the biggest flower to be, then cut smaller flowers to layer in from
there.
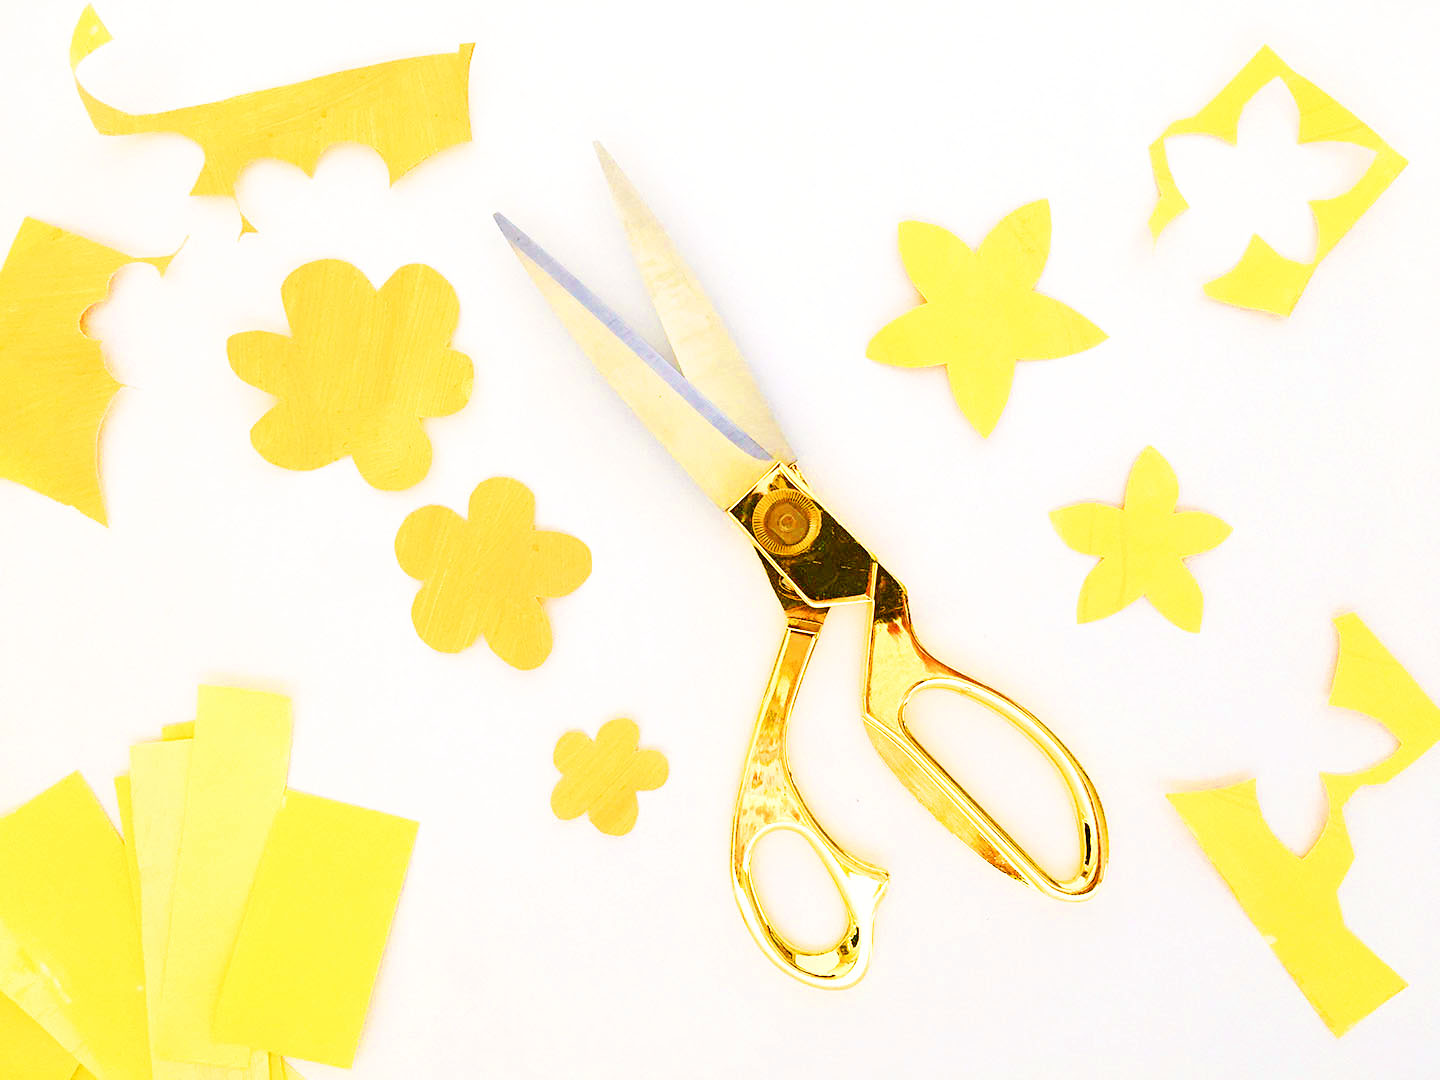
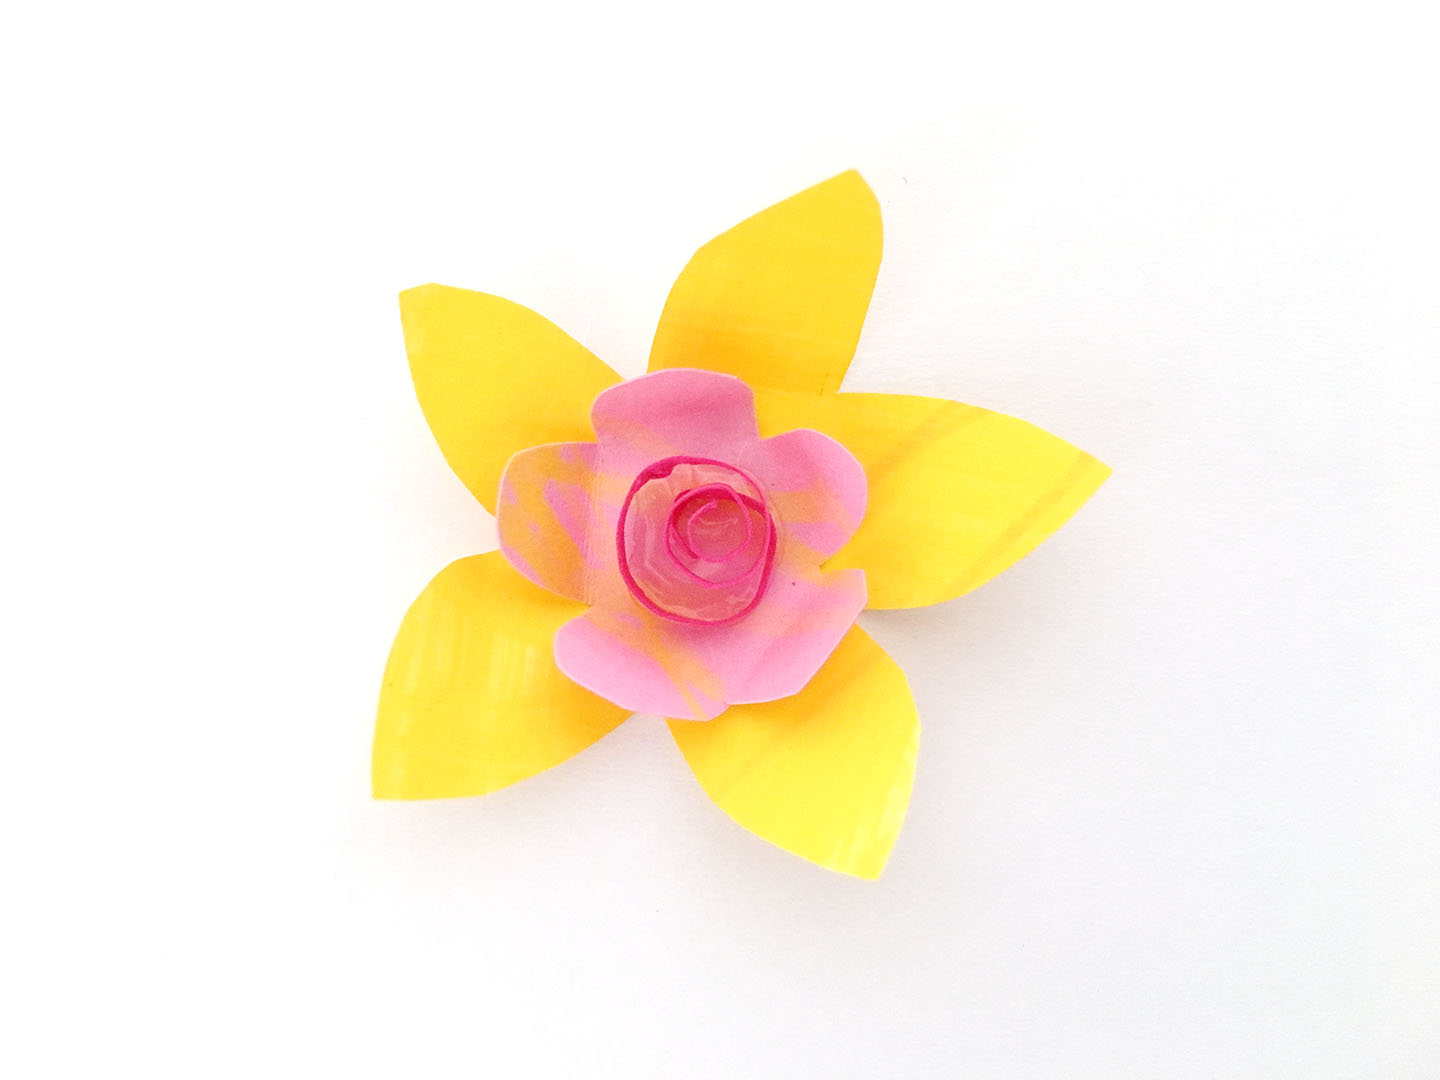
Once you’ve cut out your flowers fold the petals inwards, this will give it
more of a 3D feel.

Flower Centers
The center of the flower really pulls it together. Below we have a couple
different ways to make the center of your flower.
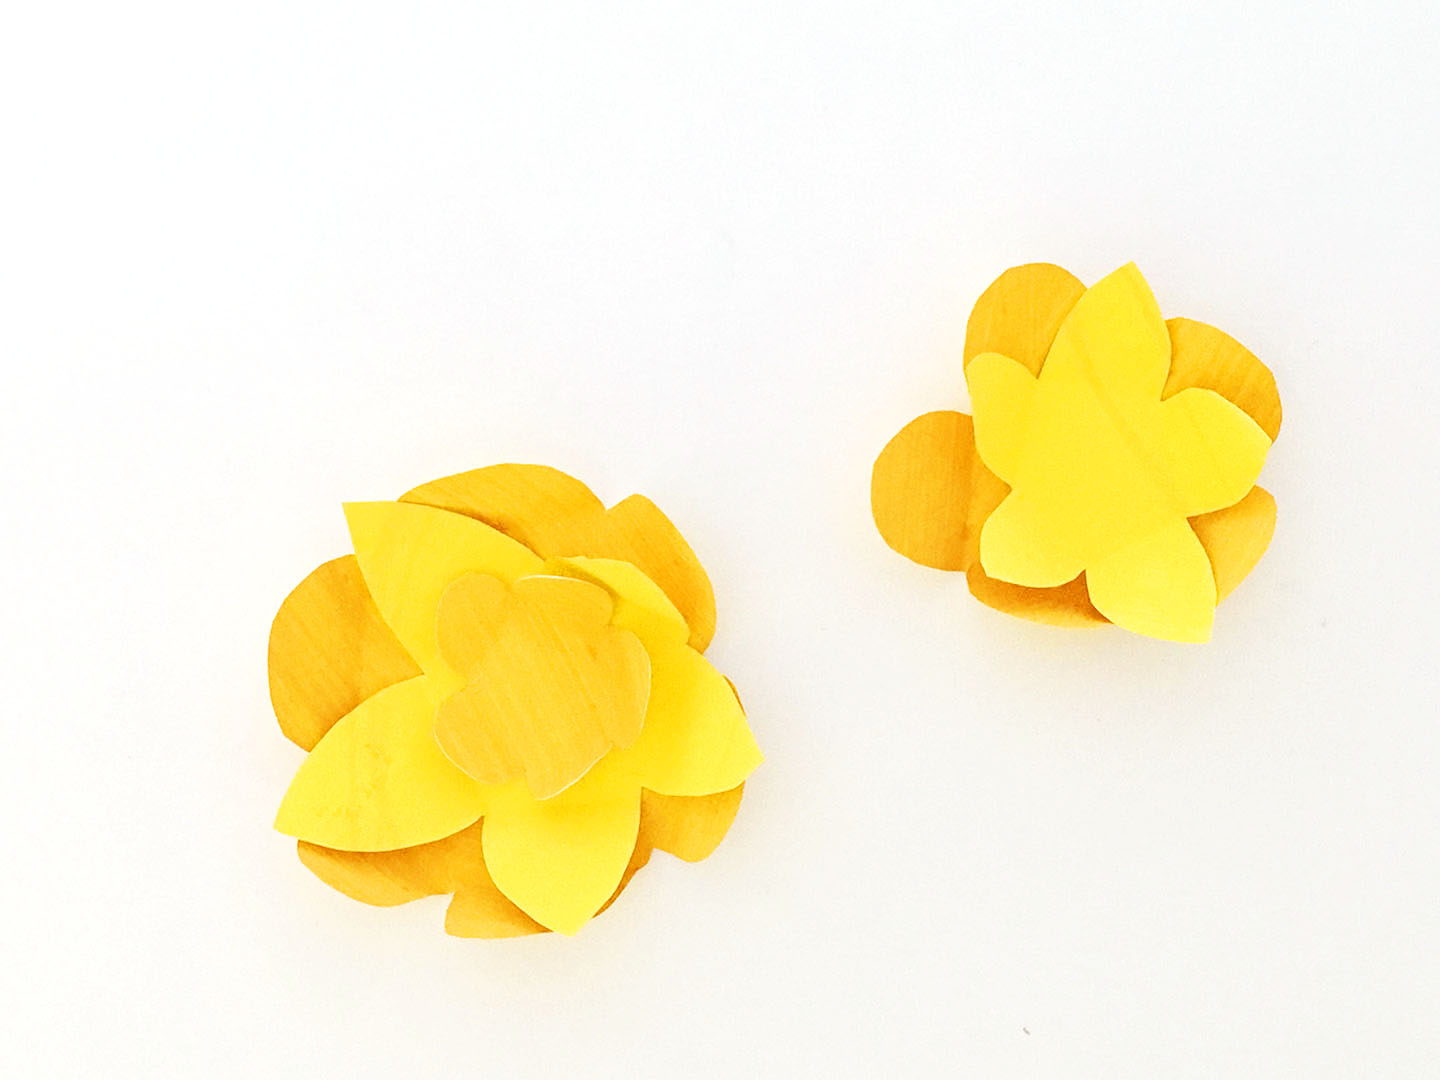
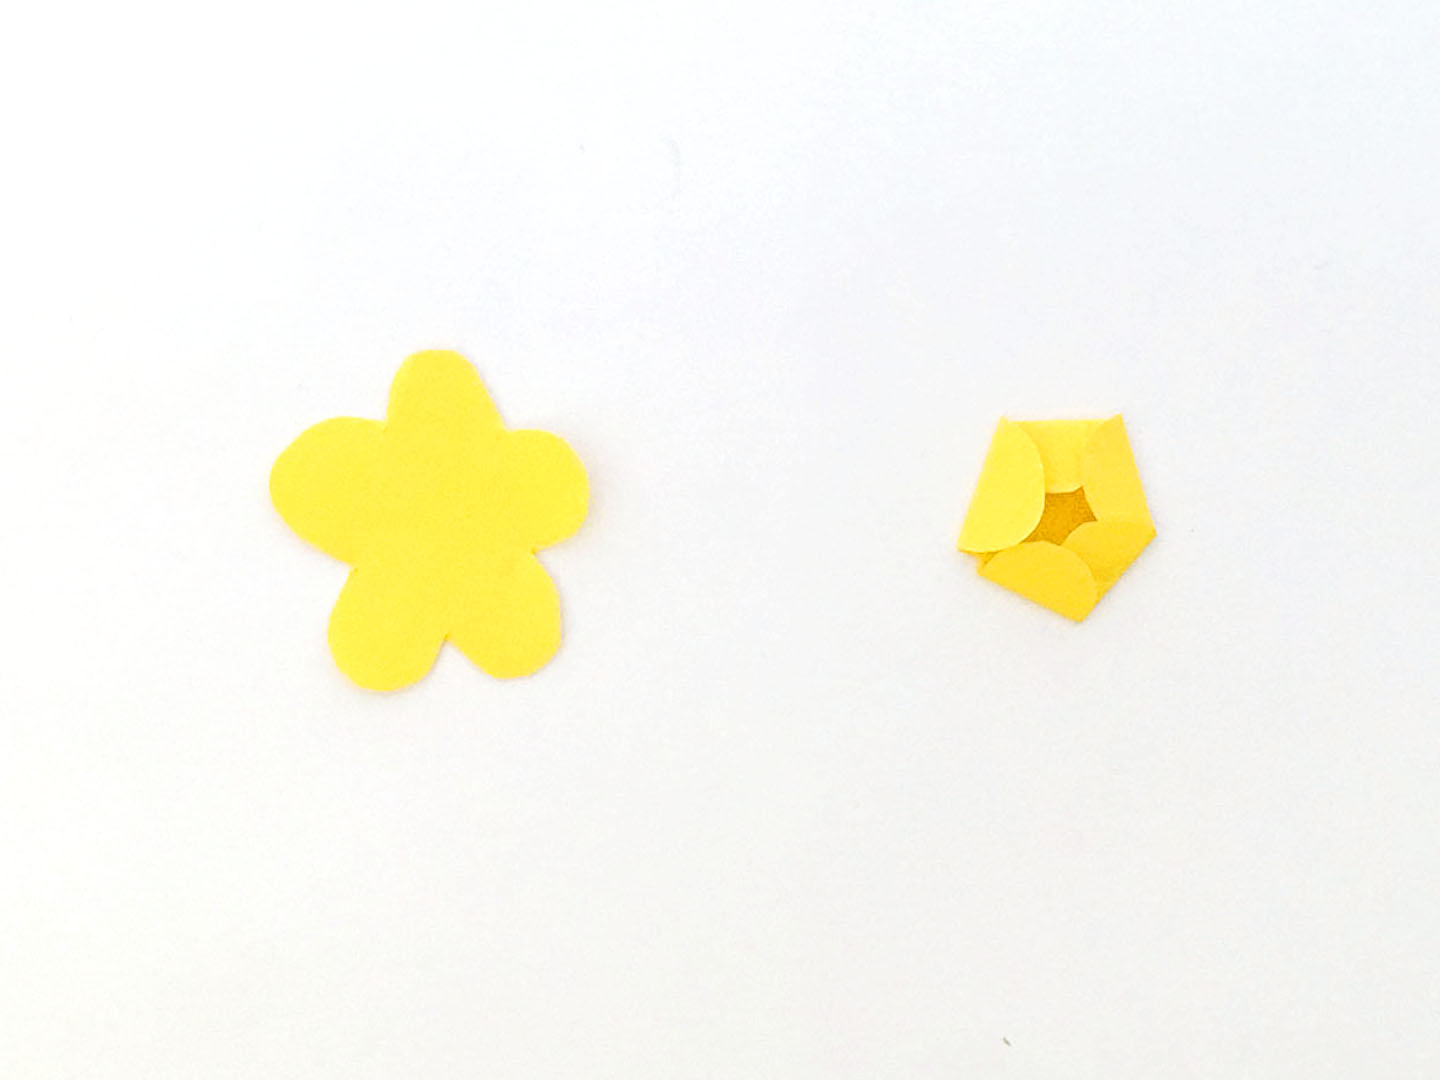
Folded Flower Center
Cut out a small flower and fold in the petals with a tight fold so they stay
folded towards the center.
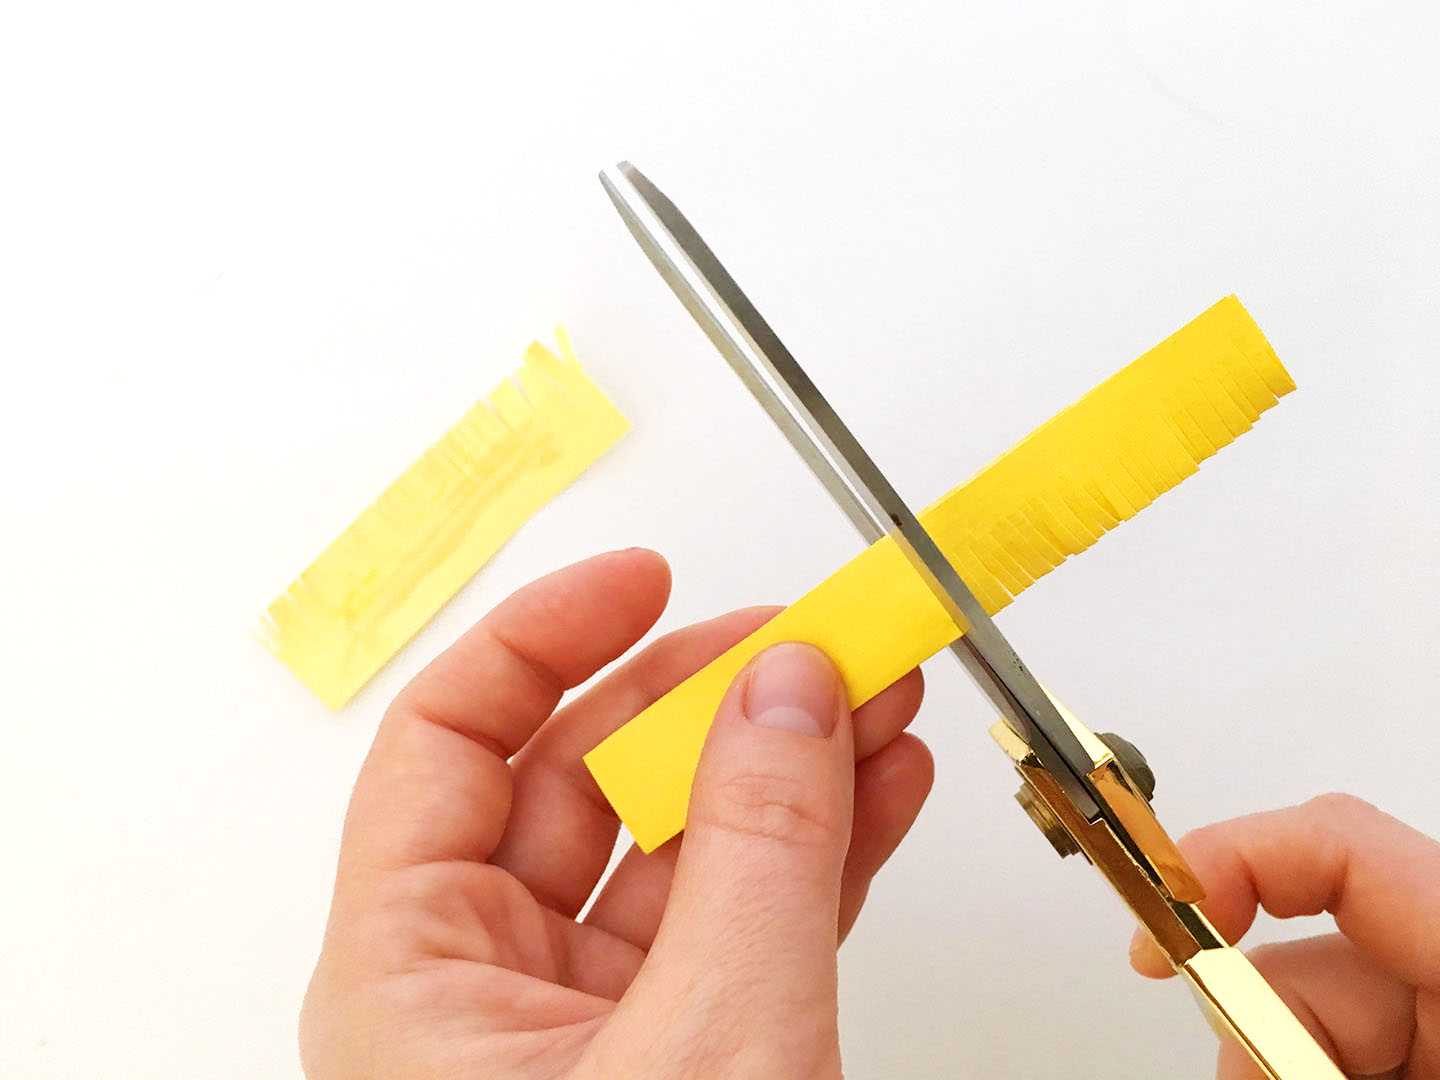
Fringe Center
You can either cut a thin strip and cut a fringe along one side, or you can
cut a thicker strip and fold it in half then cut the fringe along the folded
side.
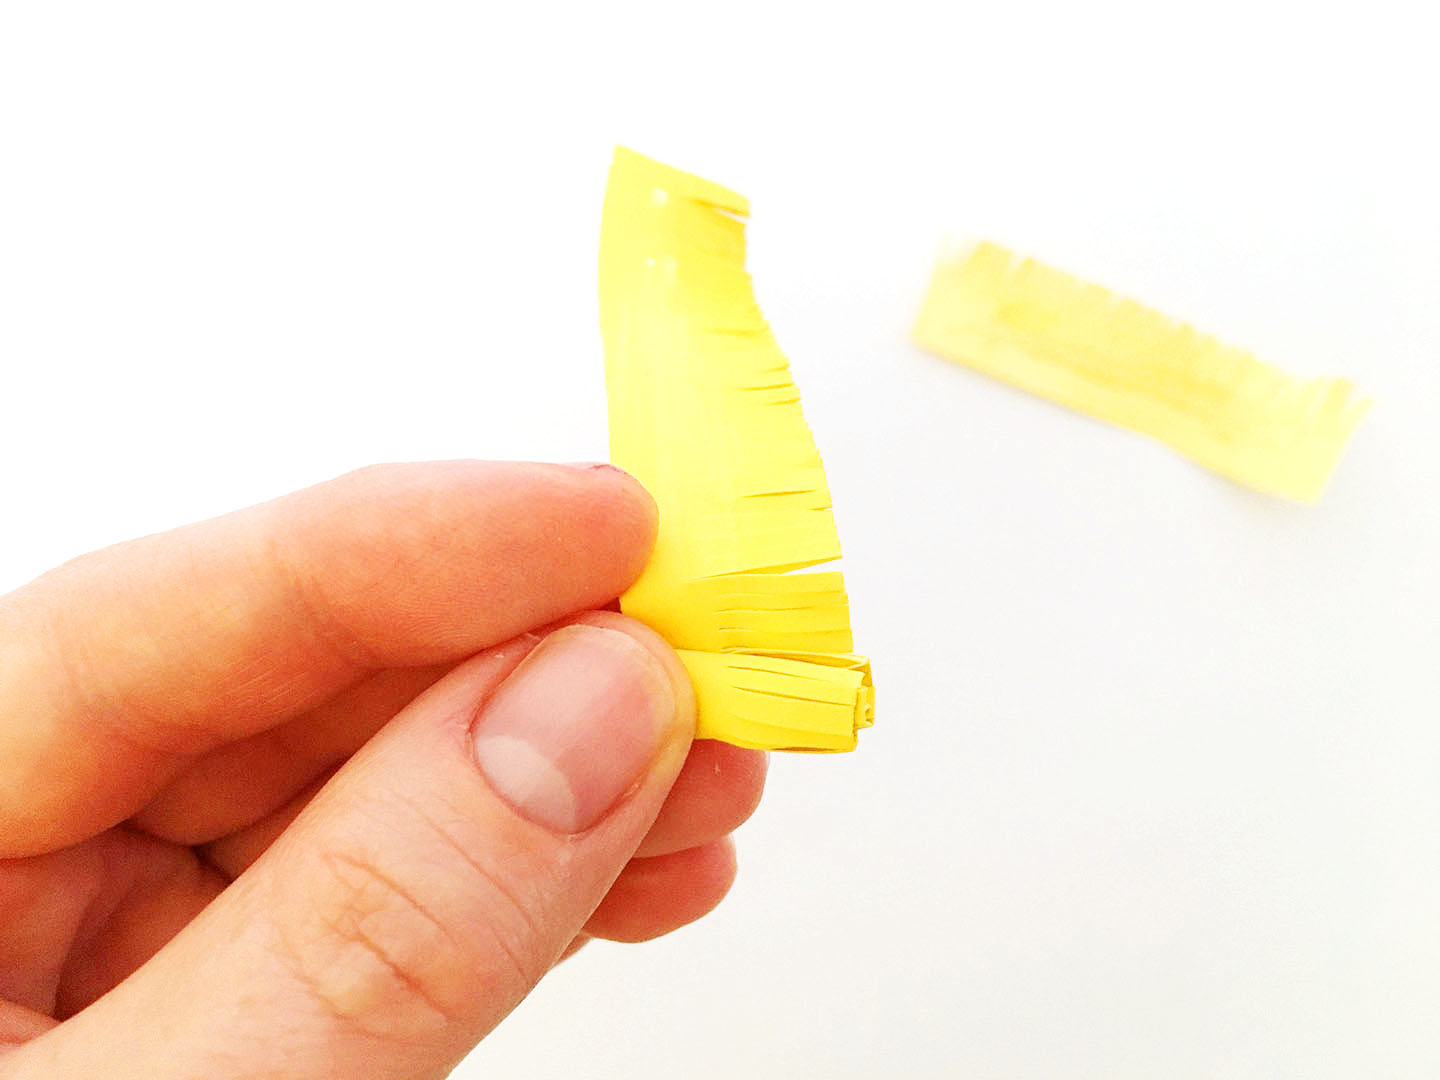
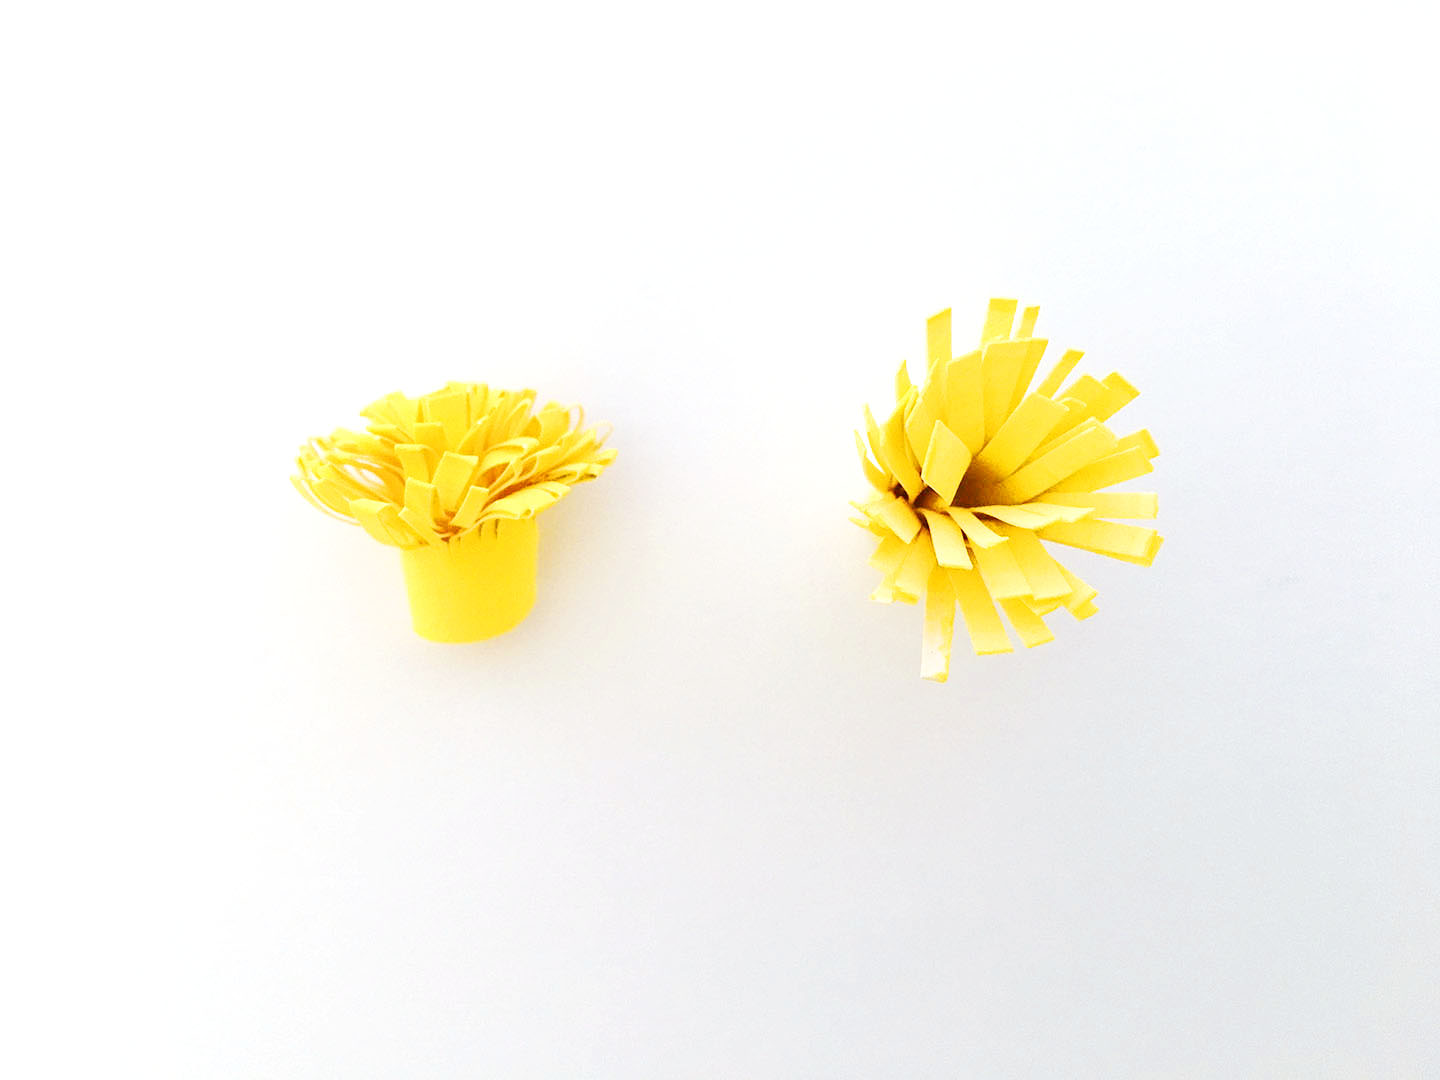
Once you’ve cut along your whole strip roll it up and glue the end. Then
push down on the top. In the picture below you can see the folded fringe
on the left and the not folded one on the right.
Curled Center
Cut a thin strip of paper, curl it around a pencil or your finger and glue it
in the middle of your flower.
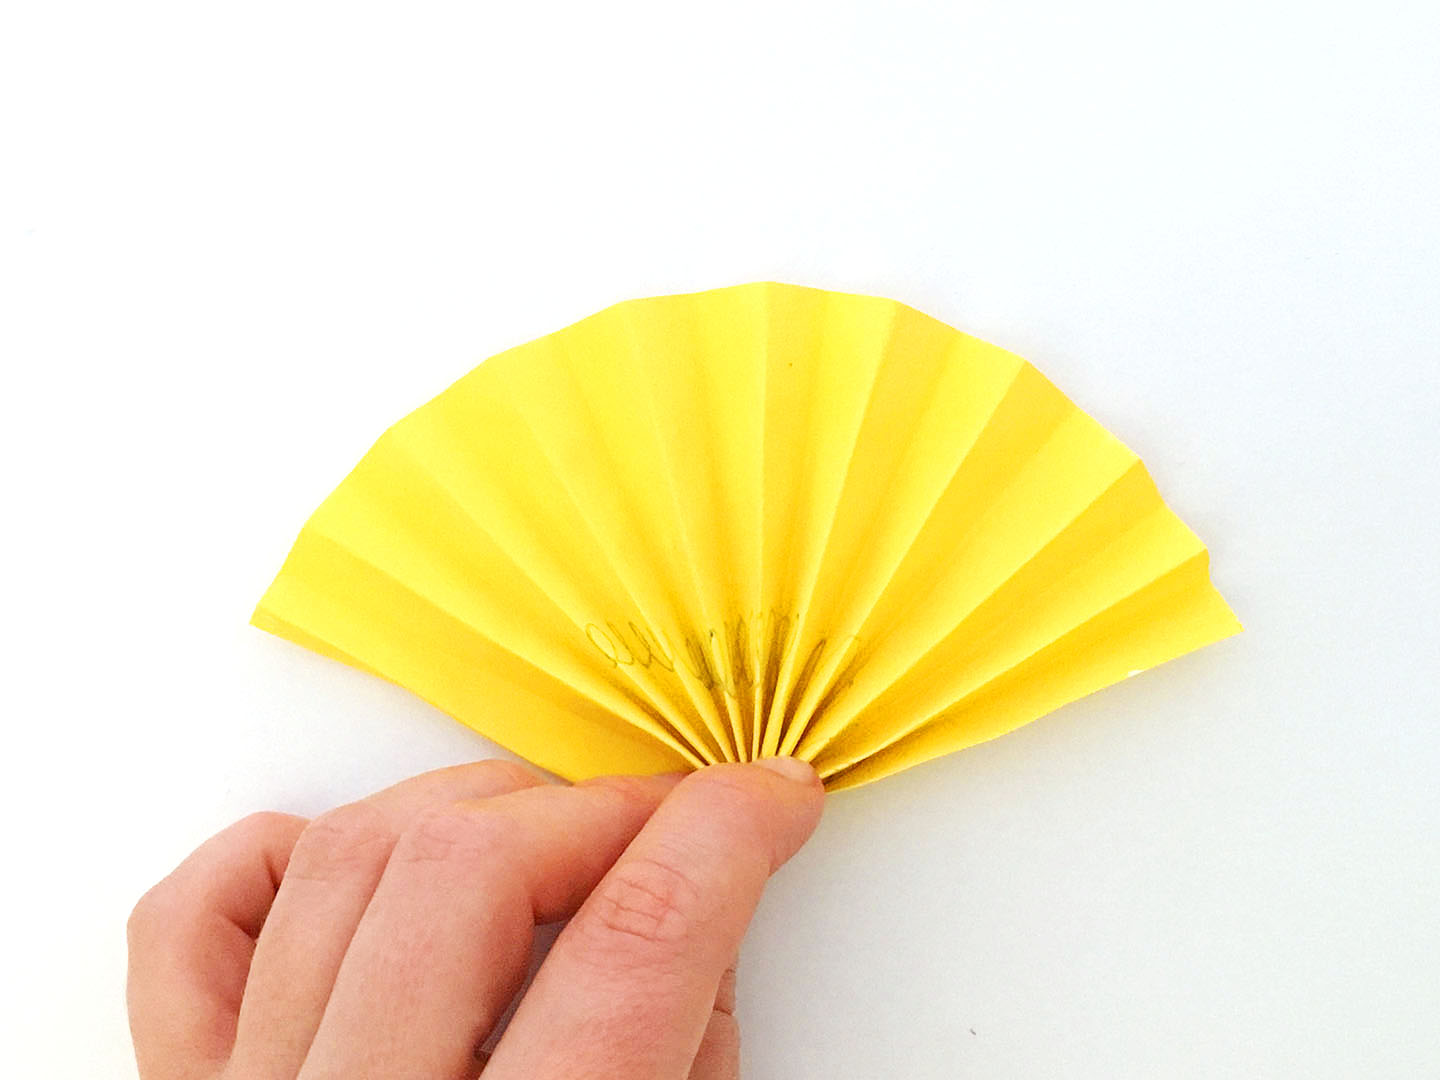
Fan
Accordion fold your paper. This would be great as a large fan with a cool
piece of art on it, or a mini fan that could be used to decorate something.

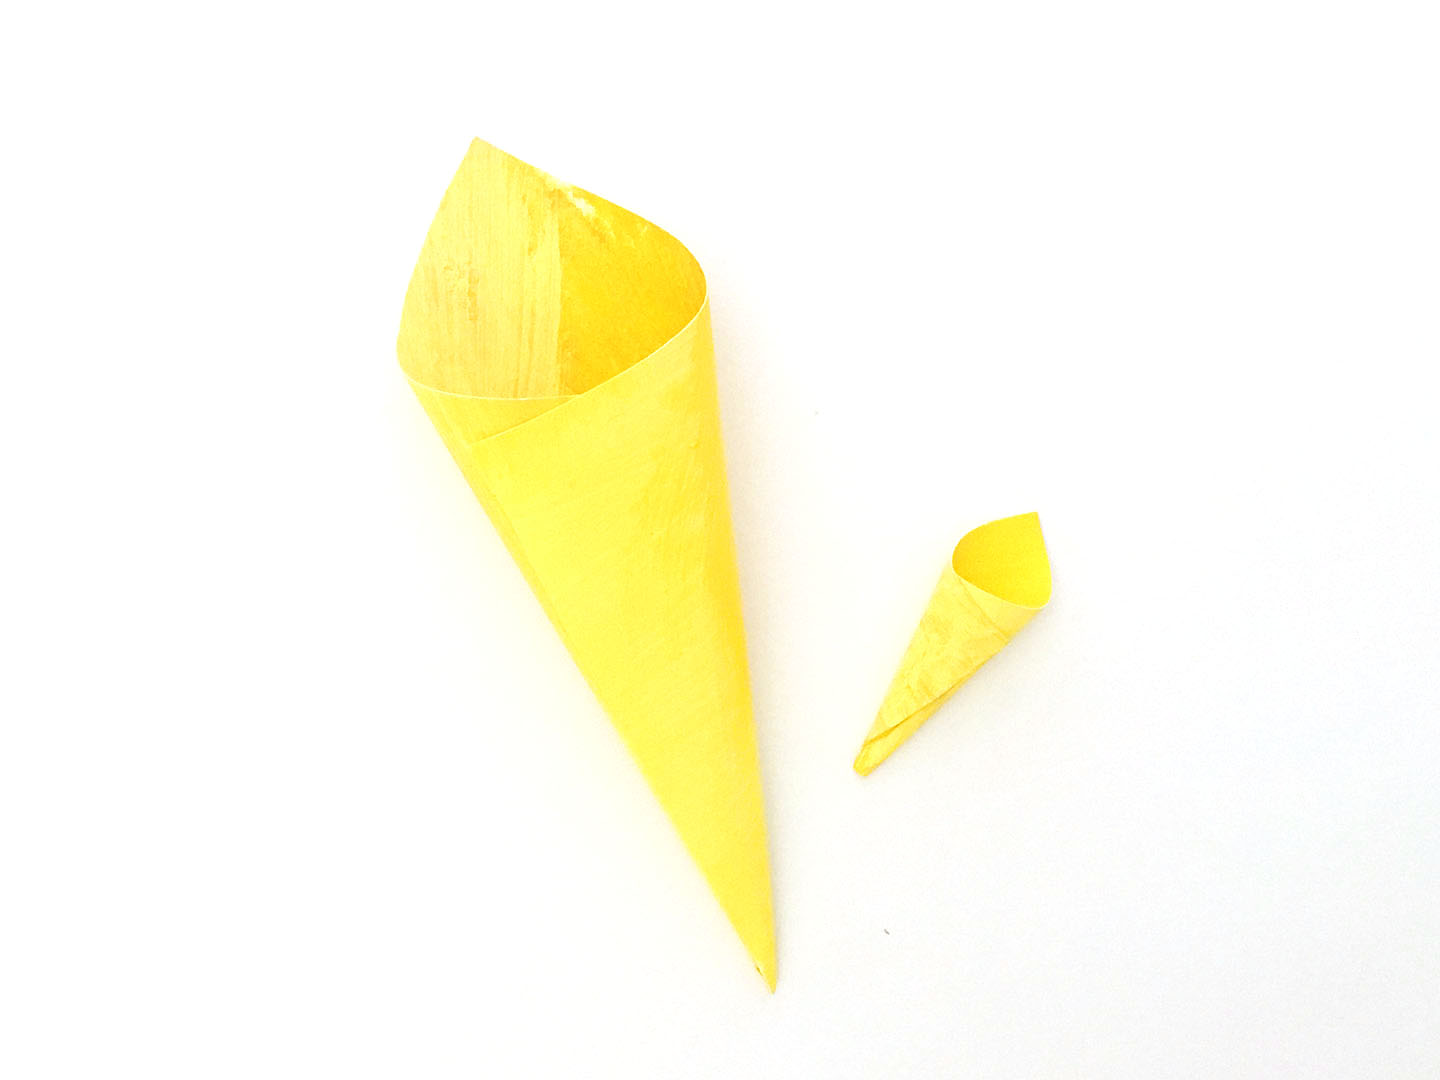
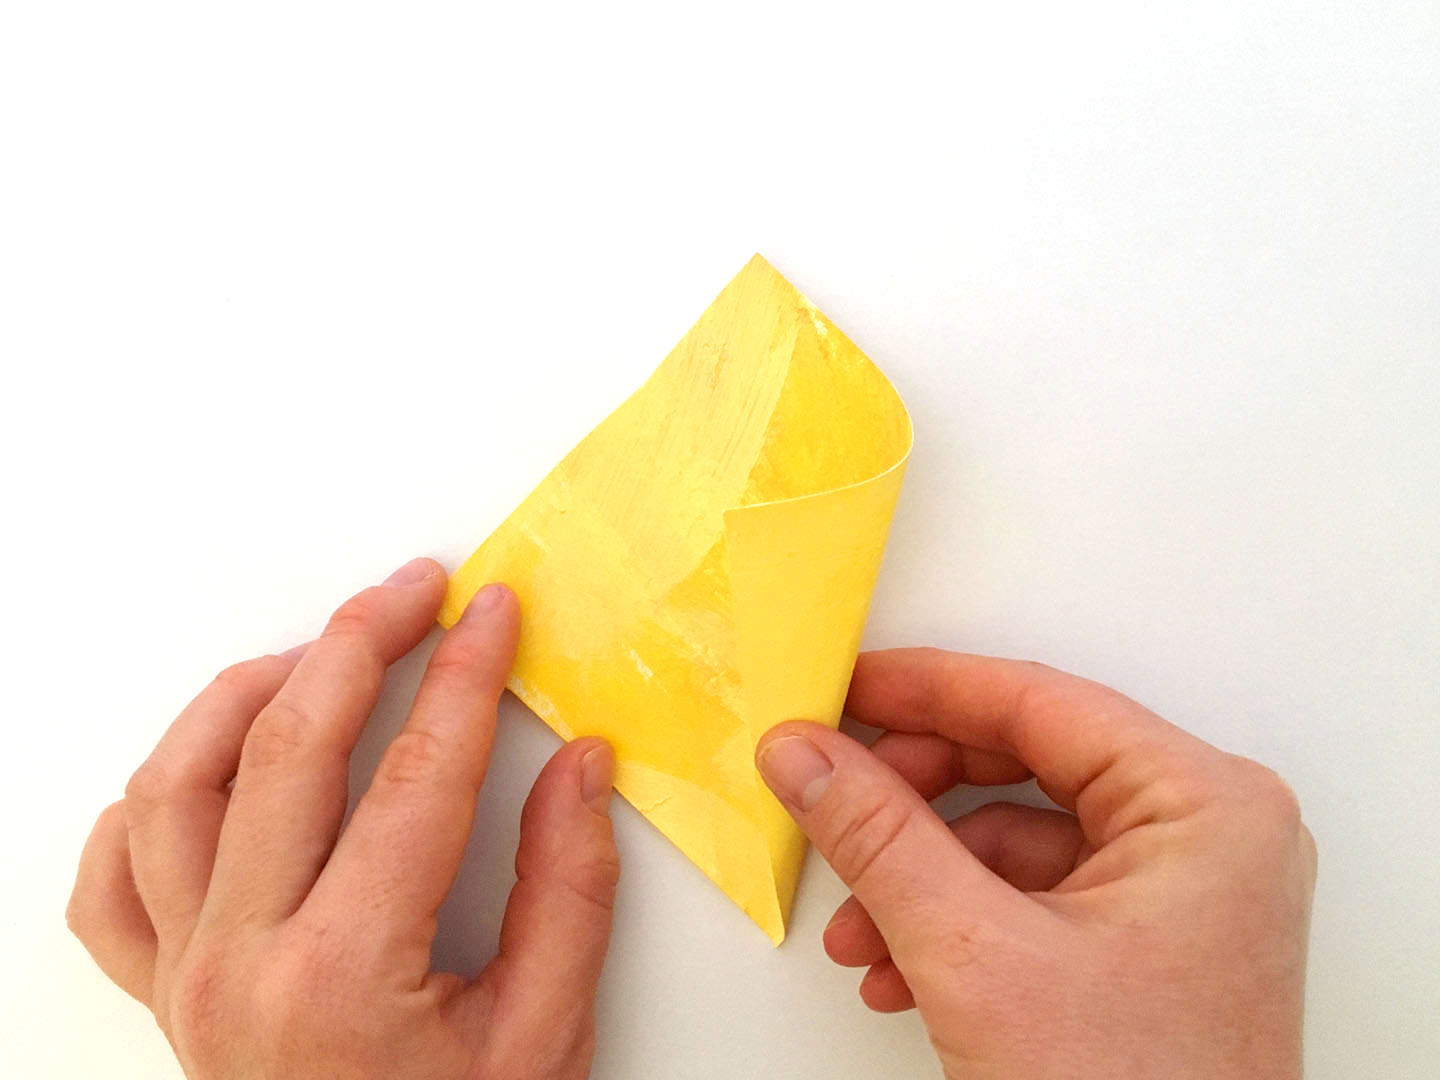
Cones
Start with a square piece of paper and position it so it looks like a
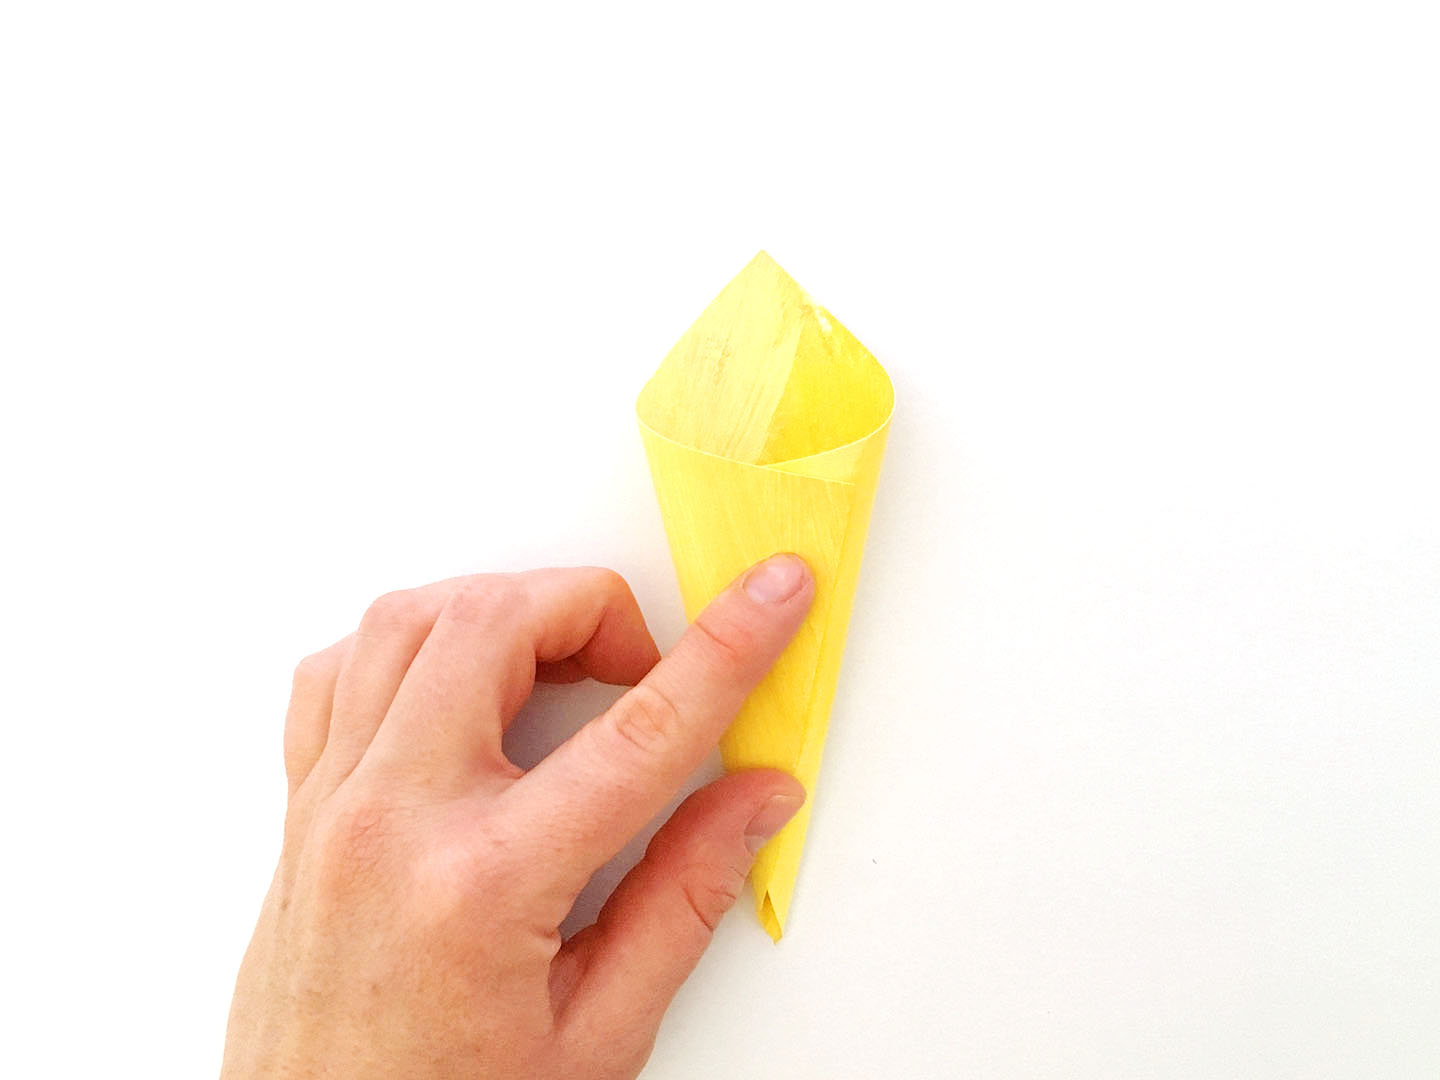
diamond. Fold the right side over to the center, then fold the left side
over to the center and glue the overlap. Cones work really great together,
they remind me a lot of Calla Lily’s.

Play around with layering and combining all of these techniques. Here are
some of the ways we used our upcycled paper flowers. We glued some
onto a painted dollar store frame, and from the others made a fascinator
out of them, which you can do too, by clicking here.


TAG US IN YOUR PAPER FLOWER CREATIONS:
We love how projects change with different creative minds, and would love to see how yours turned out! Tag @creatingcreatives on Instagram or @creatingcreativeskids on Facebook.
SHARE IT:
Spread the word and Pin and Facebook share with your friends!
FOR MORE RECYCLED PROJECTS YOU MIGHT LIKE THESE:
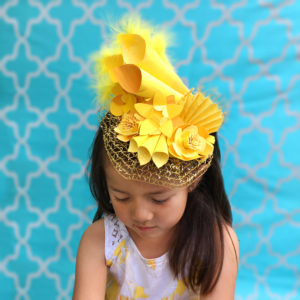
DIY Fascinator Made From Recylced Artwork
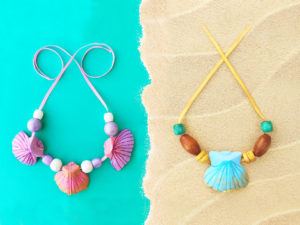
Egg Carton Mermaid Necklace
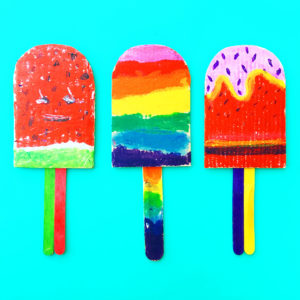
Cardboard Popscicles

It’s a nice way to get my daughter to practice scissor skills. I could turn all the little pieces into flowers for her. Thanks for sharing!
Absolutely! What a great idea! It’s so forgiving as well, so having her cut out shapes is a great idea!
Pingback: Paper Plate Flower Craft for Kids - Red Ted Art's Blog
Pingback: Mother's Day Activities for Kids
Pingback: 100+ Art Activities for Kids - Thinking Kids