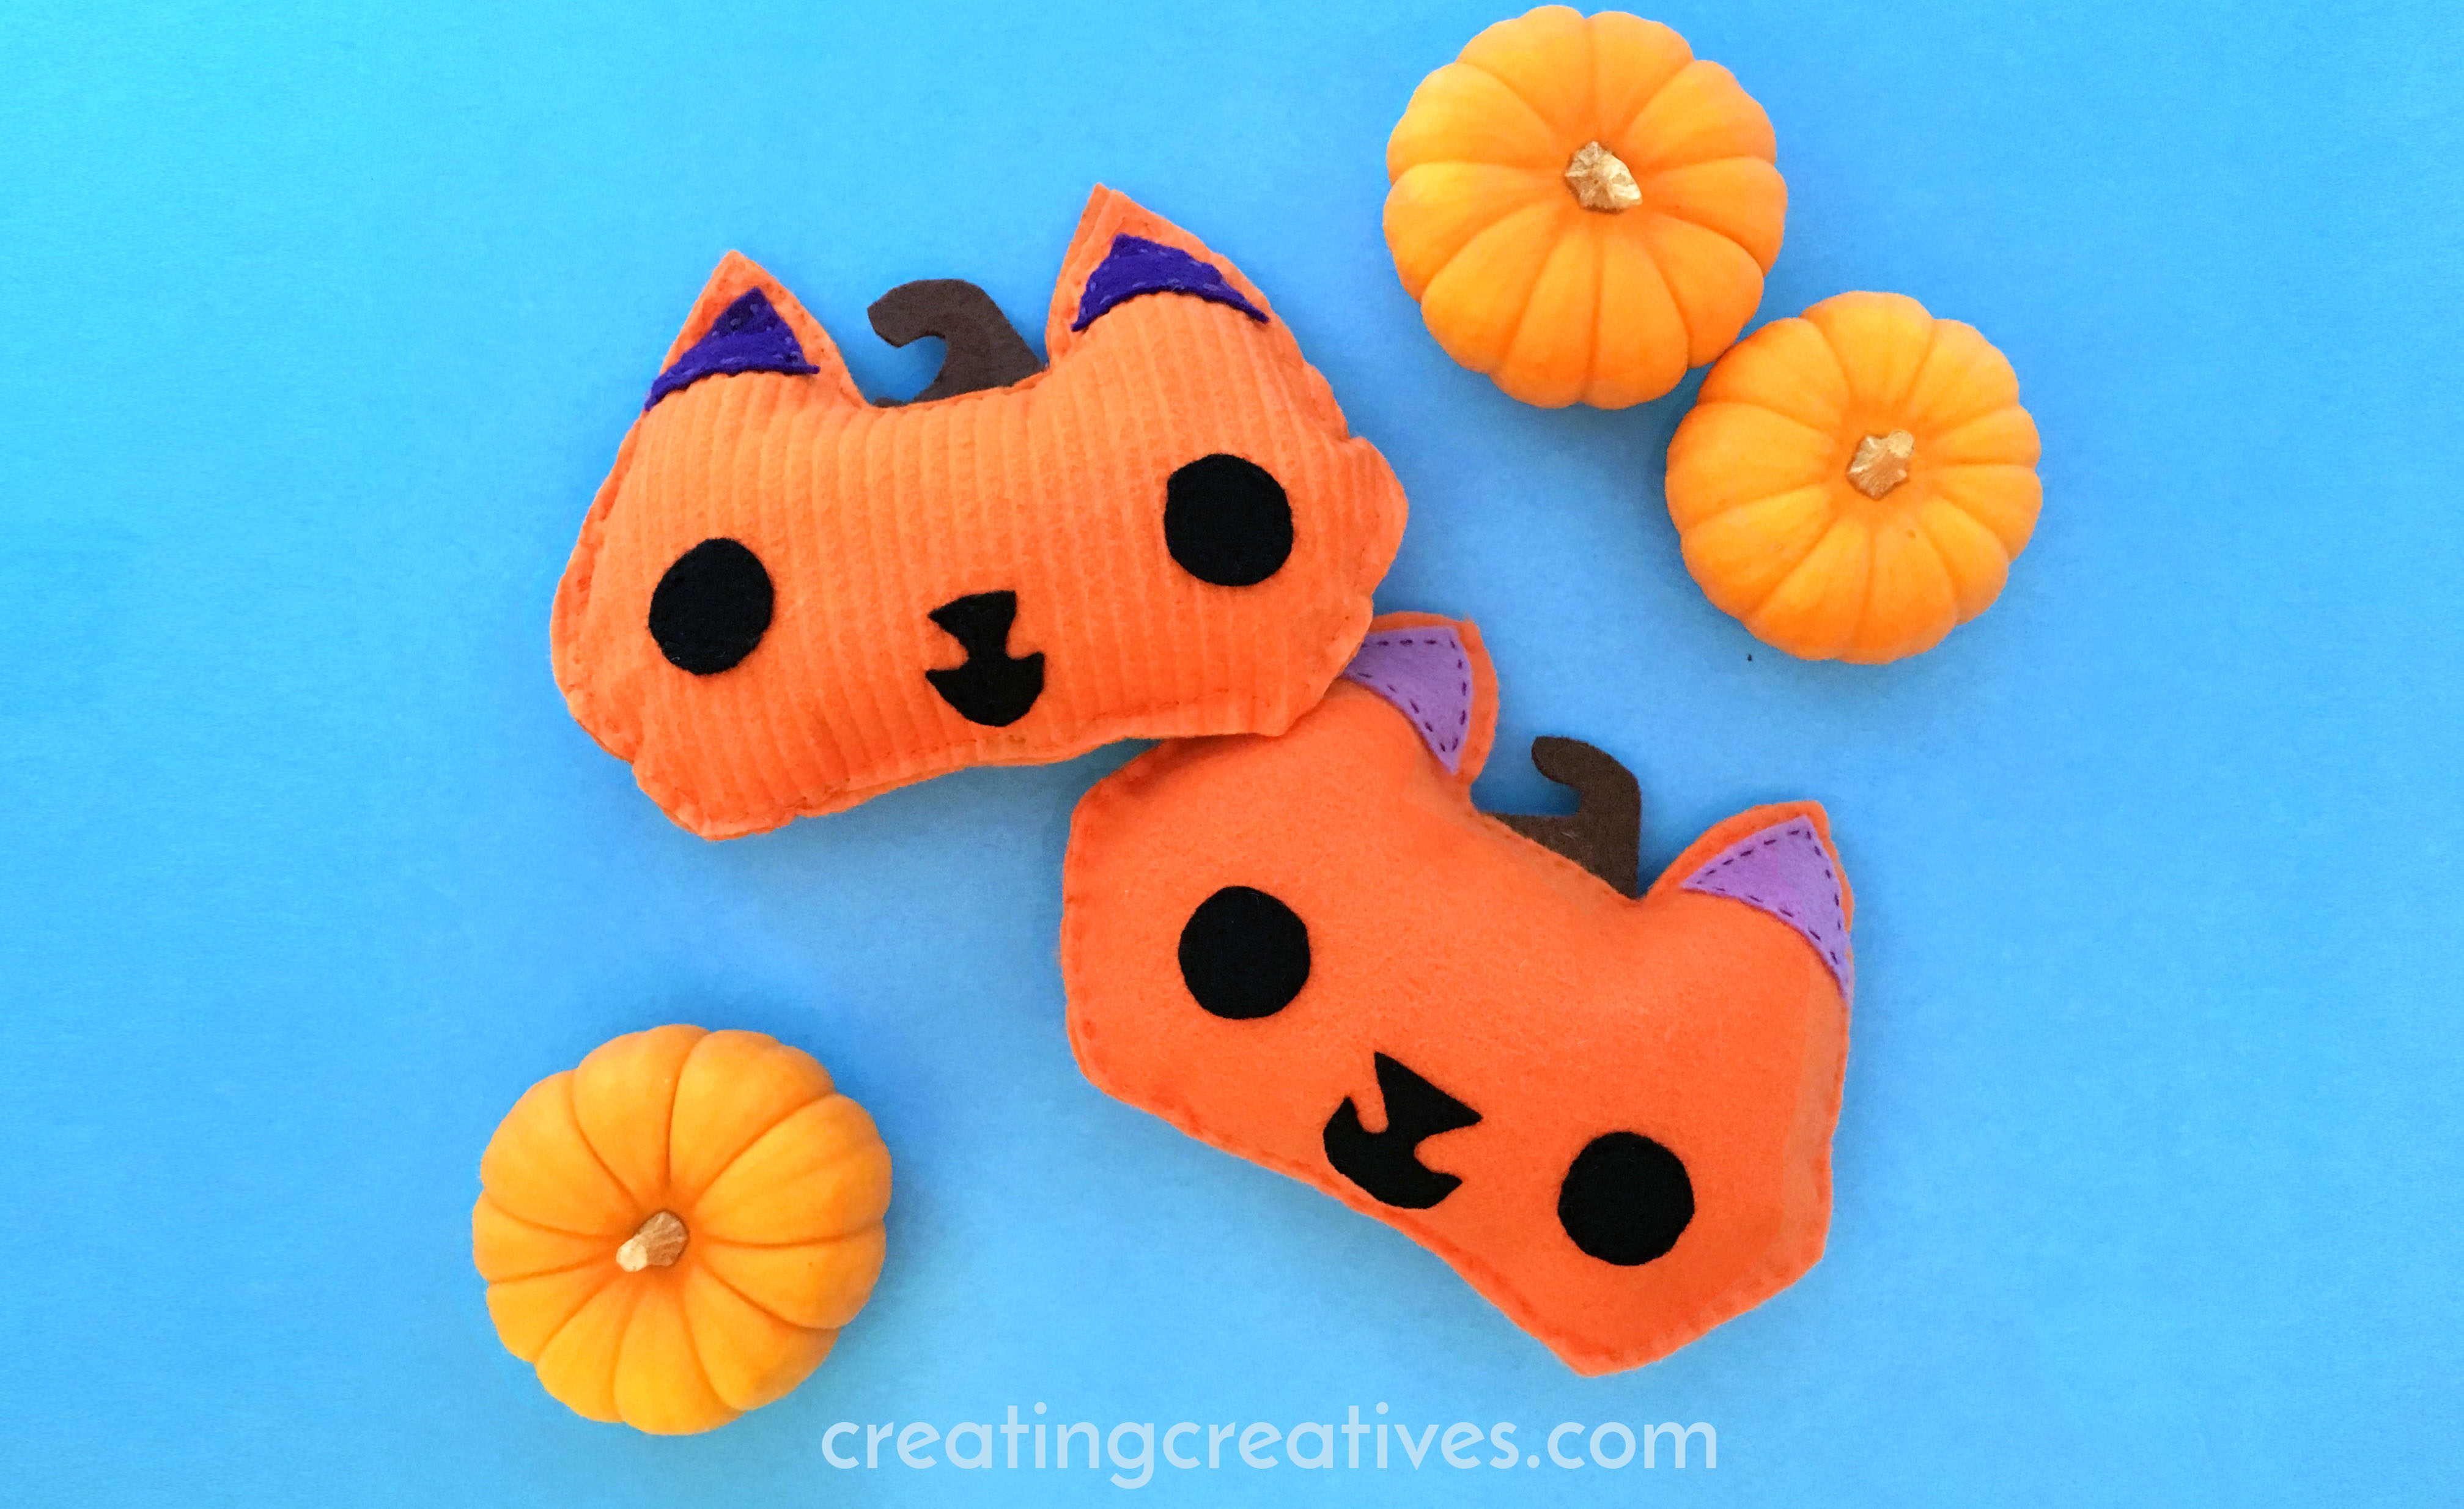
This easy to sew pumpkin kitty is our contribution to Sew a Softie for Halloween. Sew a Softie was started by an awesome Australian named Trixi. It’s an initiative that encourages adults and children to get away from their screens and discover the amazing fulfillment of creating something by sewing. And let me tell you, it really is amazing, especially watching a child sew.
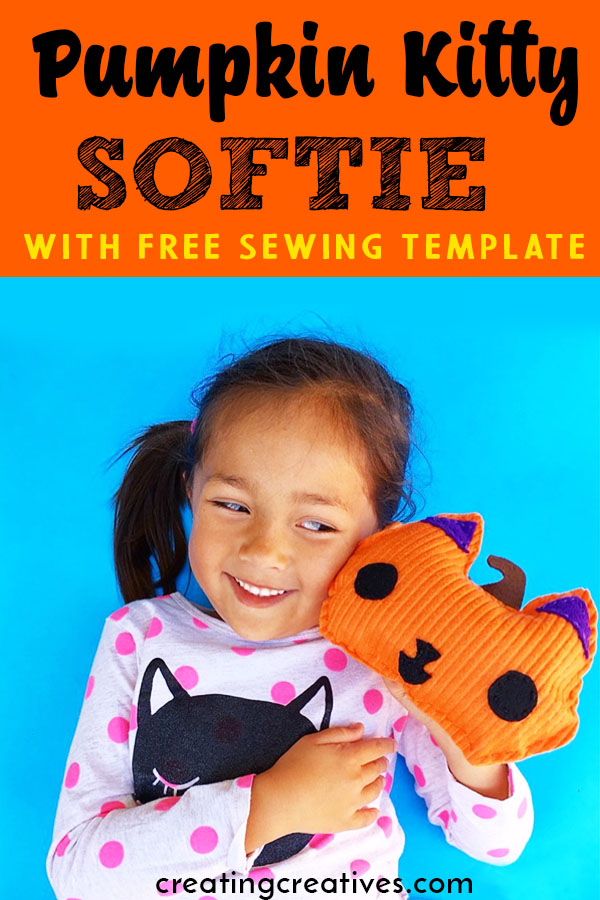
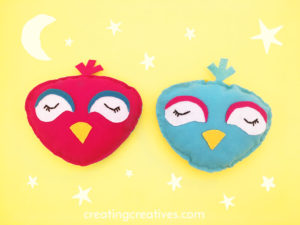
My 5 (now 6) yr old joined me on my sew-a-softie journey this year with her first sewing project, an owl pillow. The pride in her face when she was done was priceless, and I could see the box of possibilities open up in her mind. The list of things we could make grew very quickly from there, and this is our second project that we’re sharing together here on Creating Creatives. I would also like to note that she just recently decided to give her owl pillow to one of her best friends at school. How sweet and cool is that?! Needless to say I have a feeling she’ll be giving more of her creations away in the near future. OK and now without further delay I proudly present our Pumpkin Kitty. My 6yr old sewed the corduroy one all by herself, proud mama right here!
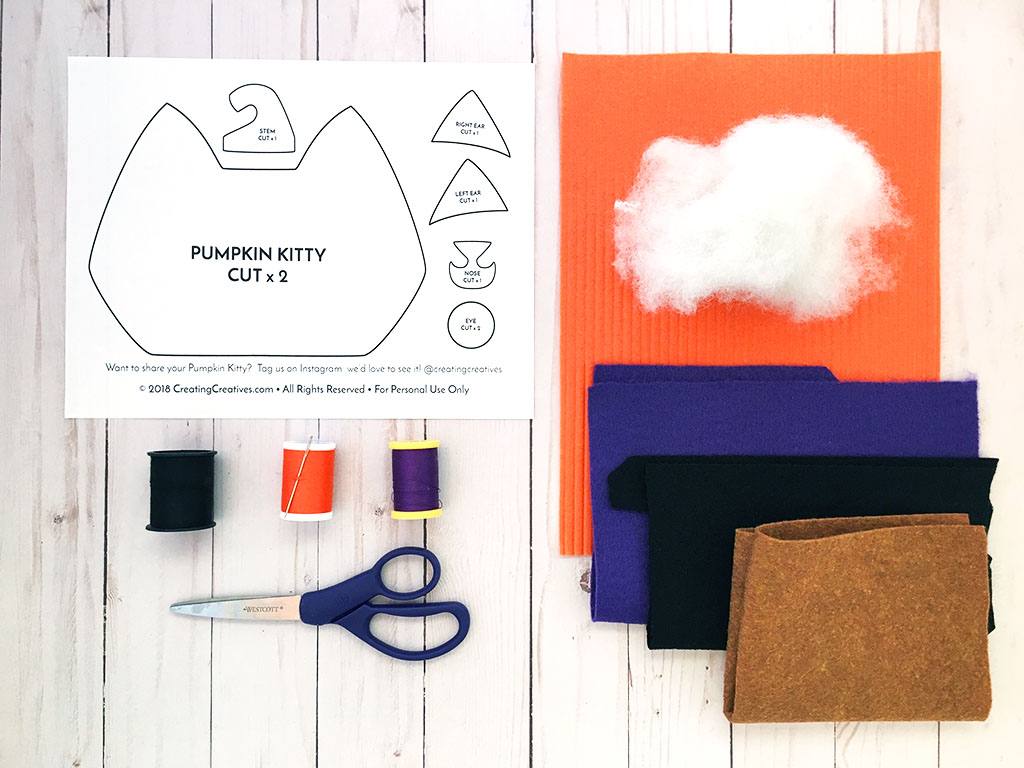
PUMPKIN KITTY SOFTIE SUPPLIES:
This blog post contains affiliate links.
- 1 sheet of 8″x12″ Orange Felt.
- 1/4 of a sheet of Black, Purple and Brown Felt. (We got our corduroy felt from Joann Fabric)
- Needle
- Thread or Embroidery Floss
- Polyester Fiberfill
- Scissors
- Pencil
- Pumpkin Kitty Printable – Enter your name and email below to sign up to our fun
newsletter and I’ll send the you our Pumpkin Kitty Printable as a gift.
HOW TO MAKE A PUMPKIN KITTY SOFTIE:
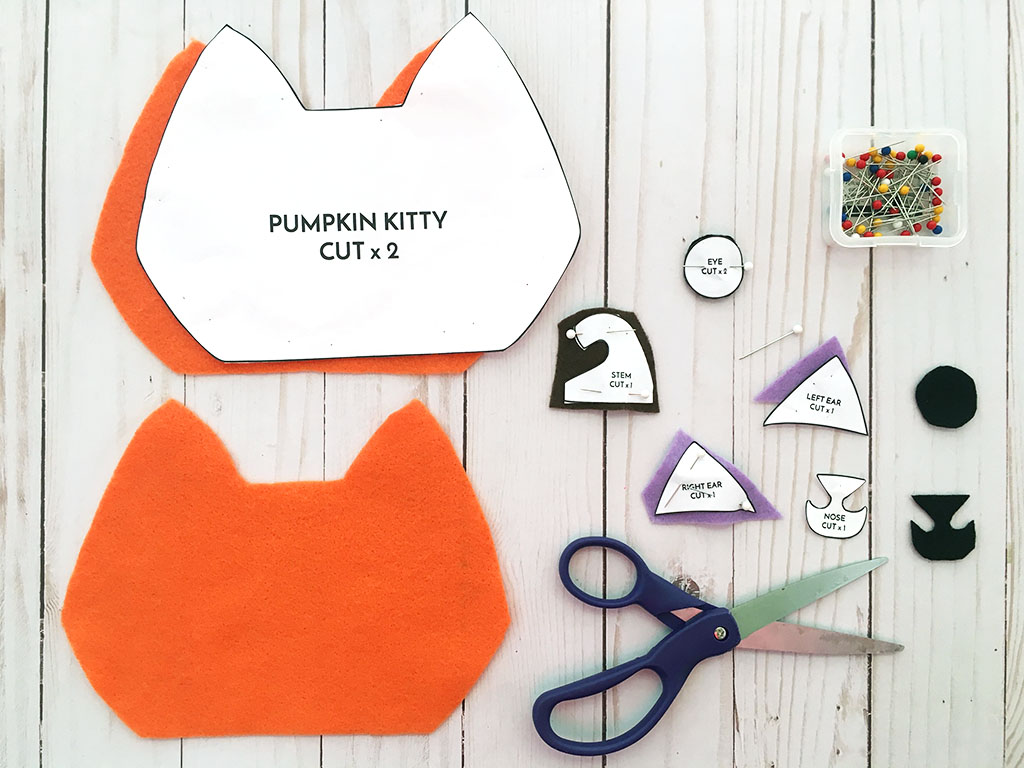
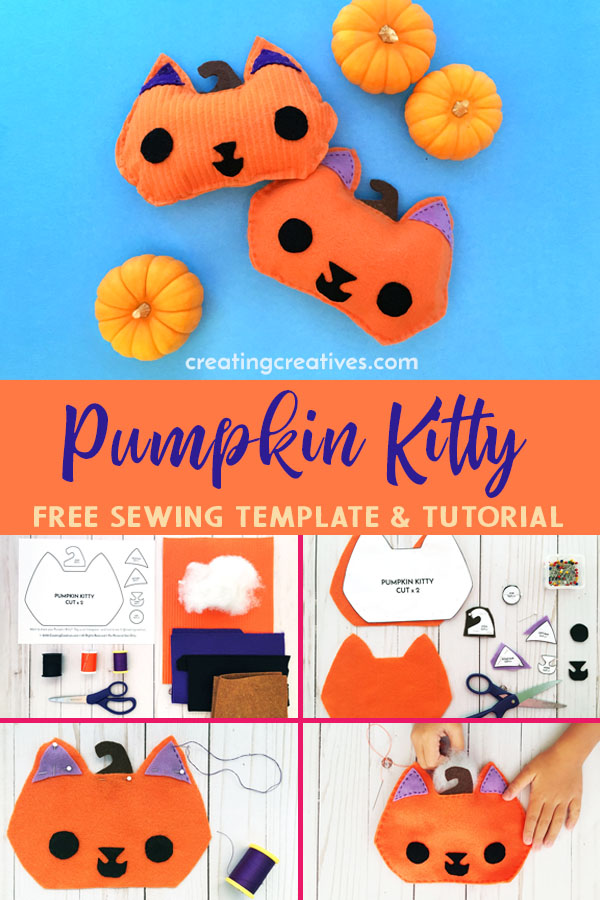
1. Print and cut out your template pieces and pin them onto your relevant color of felt. Once pinned cut around the template. I actually found this really cool freezer paper hack where you don’t have to pin on the paper, you can just print on freezer paper then iron it on. Check it out here.
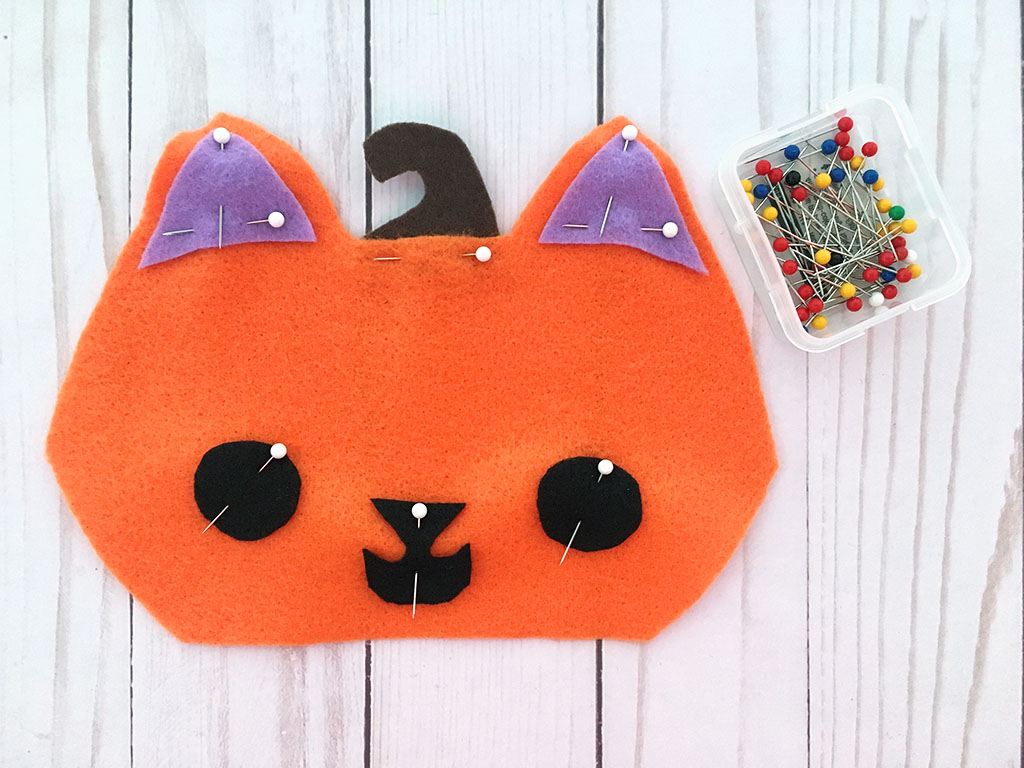
2. Next pin all your pieces to the front of one of the ‘pumpkin kitty’ face templates.
3. Sew each piece onto the kitty face with matching thread color. For younger children I’ve found it easier for them to use embroidery floss instead of thread. While embroidery floss is a little thicker than thread it doesn’t tangle as easily and is also easier to backtrack if a mistake is made. My 6yr old used embroidery floss on her pumpkin face, the one with corduroy felt.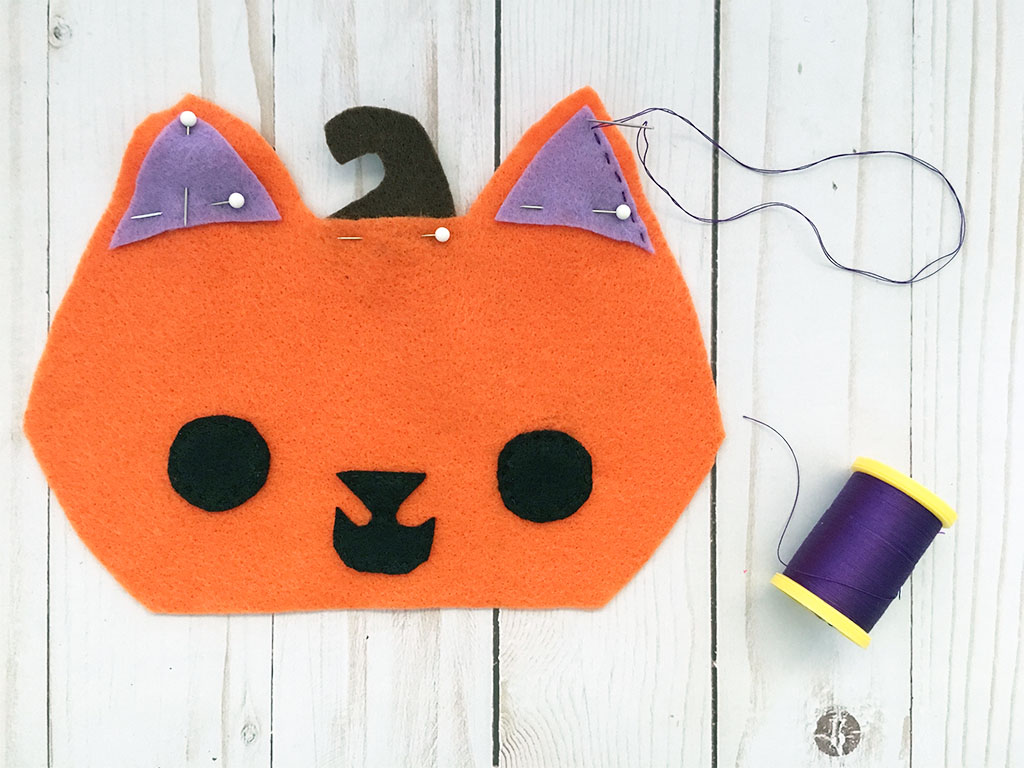
Don’t worry about how the back looks. This is the back of mine which is fairly neat. It will be hidden by all the stuffing.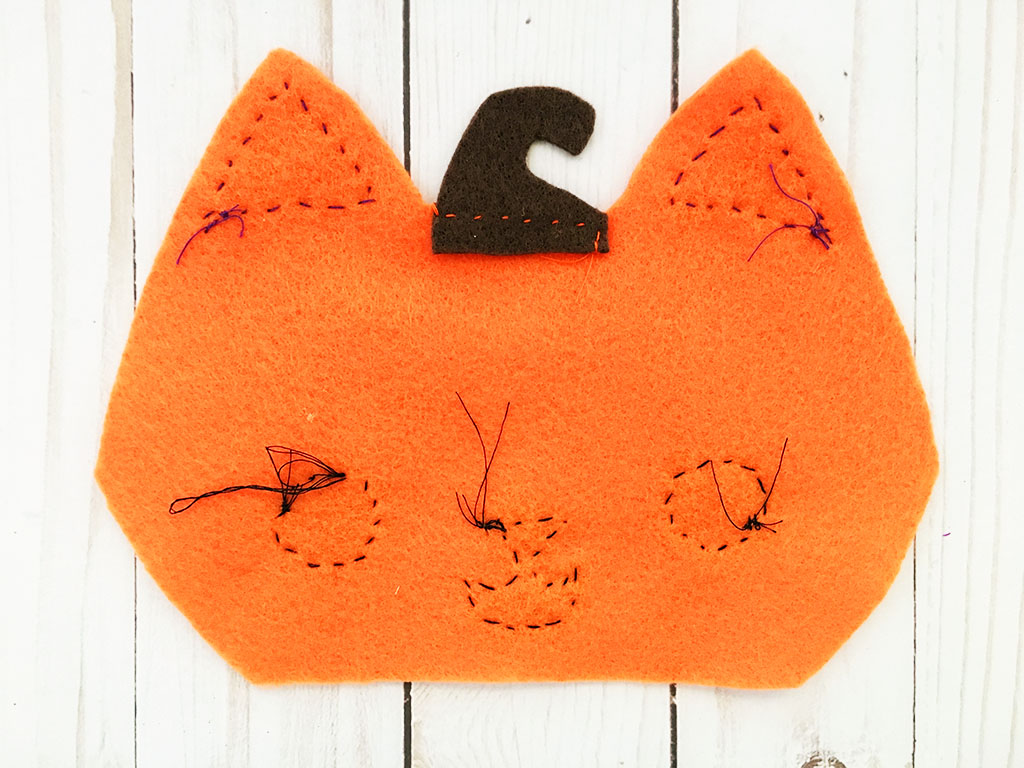
4. Finally it’s time to sew the back on. Line up your second ‘kitty face’ with the one you just sewed the face onto and pin together. Then sew around the whole pumpkin. Both my daughter and I used normal thread for this part. Remember, don’t stitch all the way around, you want to leave room for little hands to put in the stuffing. We left ours open from the top of the kitty’s left ear to the bottom of the kitty’s inside right ear, close to the stem.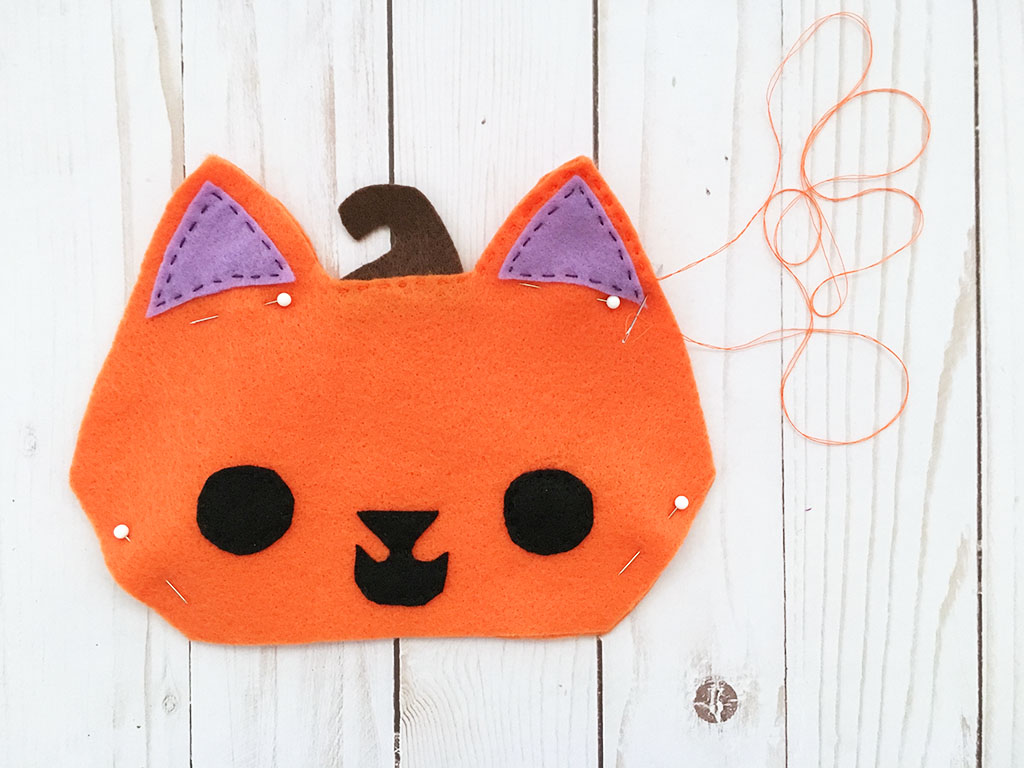
5. Stuff with polyester fiberfill and sew closed.
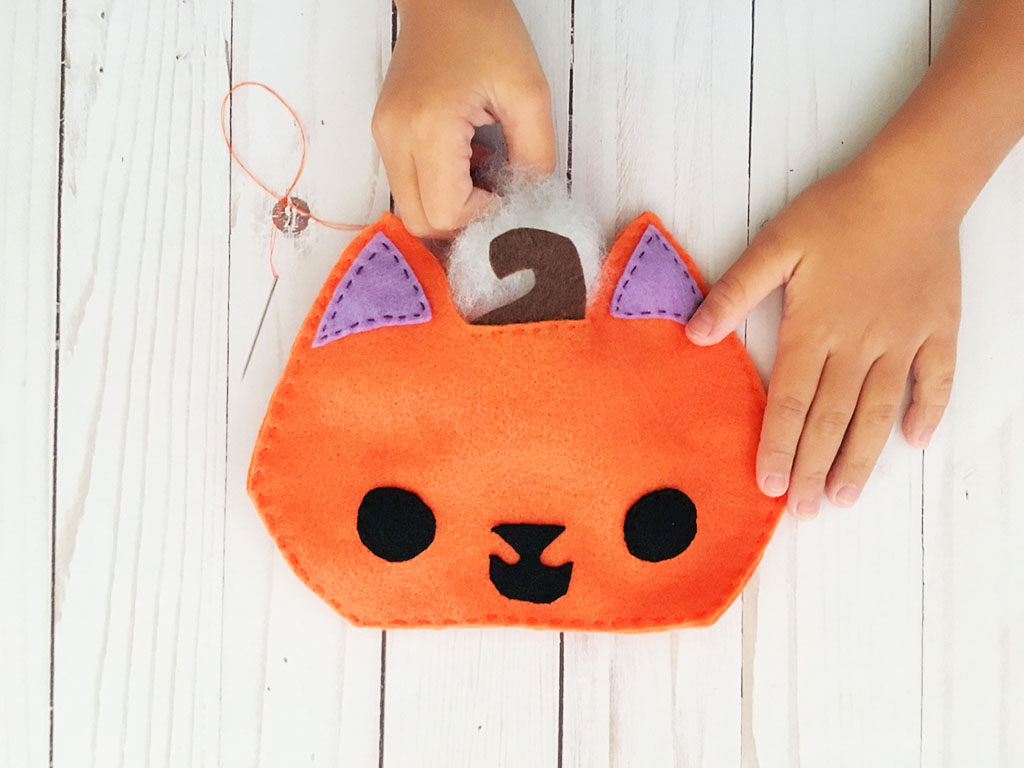
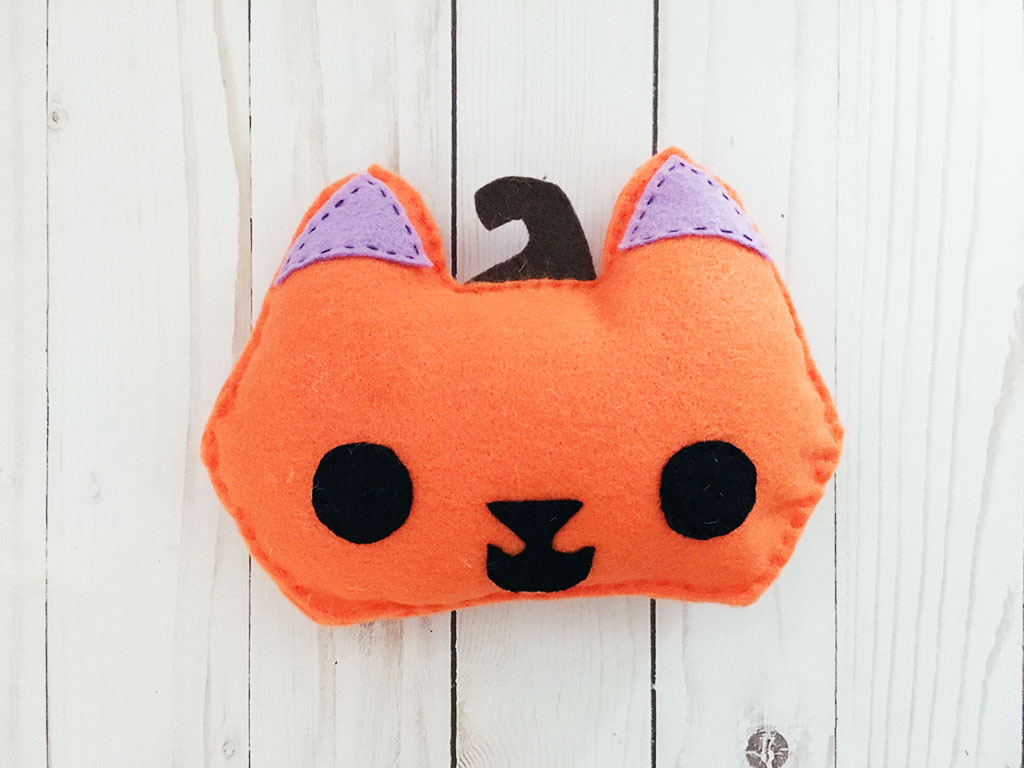
You’re done! Fluff out the stuffing to give it a nice shape and give your little kitty a name and a snuggle.
SHARE YOUR PUMPKIN KITTY SOFTIE:
Spread the word and Pin and Facebook share with your friends!
SEE ALL OF SEW A SOFTIE HALLOWEEN 2018 HERE:


What a great job Z has done! I love how she gave her best friend her owl pillow, that’s so sweet!! I look forward to seeing all of the sewing projects you two come up with and I’m imaging there’ll be quite few if Z has any say in the matter!! Thanks for designing such a sweet pumpkin kitty!!