
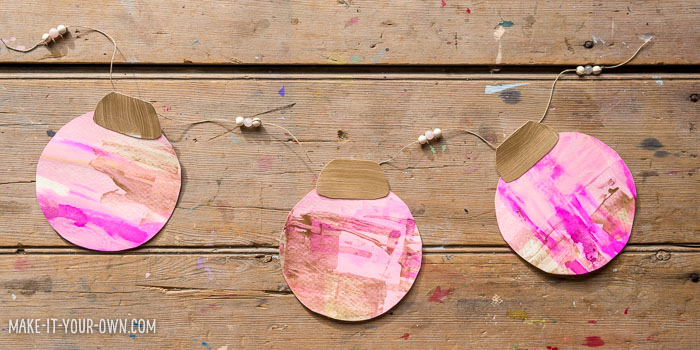
Christmas Garlands are one of my favorite things, they can really spruce up a party, or house, adding that festive touch. Consequently, I happen to have a fabulous (and first!) guest for you today who is showing us a really fun way to make a Christmas garland. This project is so fun and something the whole family can do together. I hope you enjoy it, and be sure to read all the way through as there’s a special surprise lurking about, but first, let me introduce you to the incredible Bonnie, take it away Bonnie!
A big thanks to Shelly to having us here for Craftsmas! We are “Make it Your Own“- a Canadian family of five who hope to inspire families and educators to get out into nature to source supplies, explore various mediums and techniques, re-imagine items and create together!
This simple technique made with something you likely have in your wallet, creates a beautiful effect for a Christmas garland! You can use the templates with any types of painting- We’d love to see what you come up with! Most sincerely, The Scorers-
CHRISTMAS GARLAND SUPPLIES:
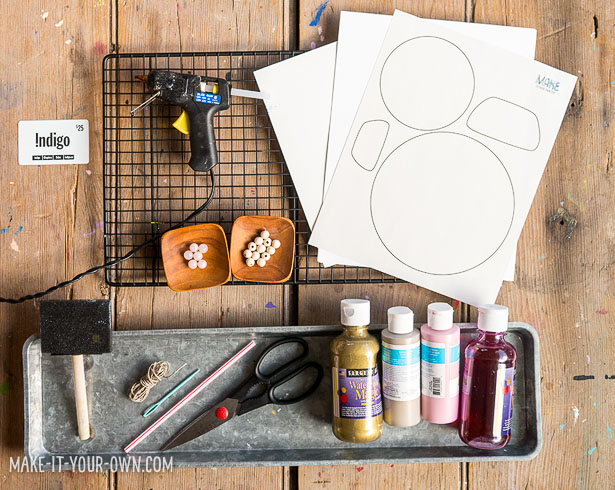
- Ornament Template
- Drying Rack
- Glue Gun/ Glue
- Beads
- Cord
- Paint Brush
- Old Gift Card
- Straw
- Scissors
- Plastic Needle (optional)
- Paint (we used liquid watercolours and acrylics)
- Watercolour Paper
- Painter’s Tape
We always find these items helpful too:
- Smock
- Craft tray
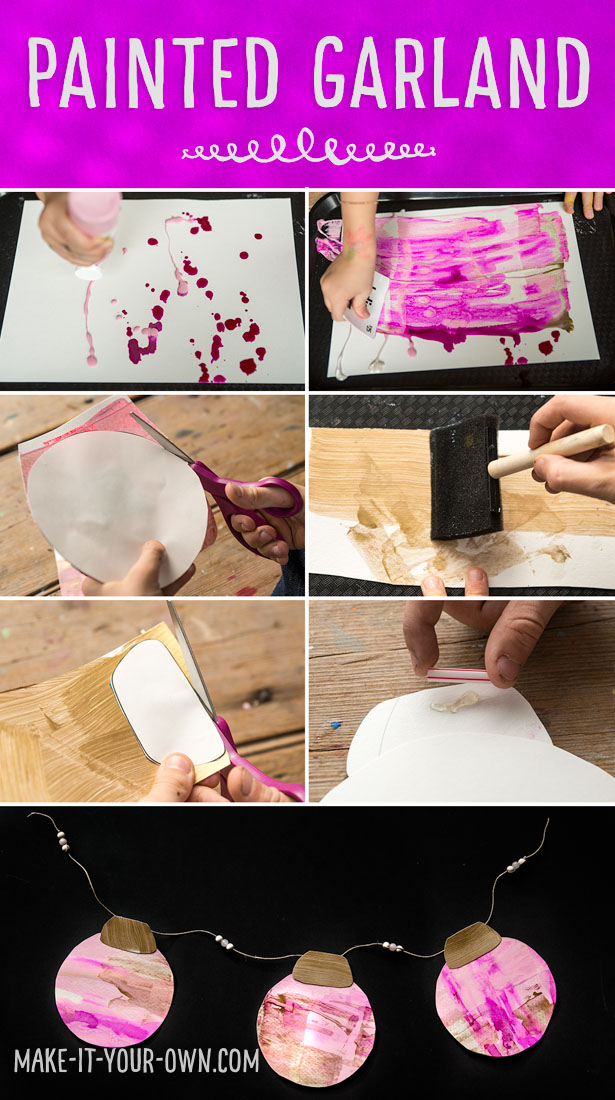
MAKE IT – CHRISTMAS GARLAND
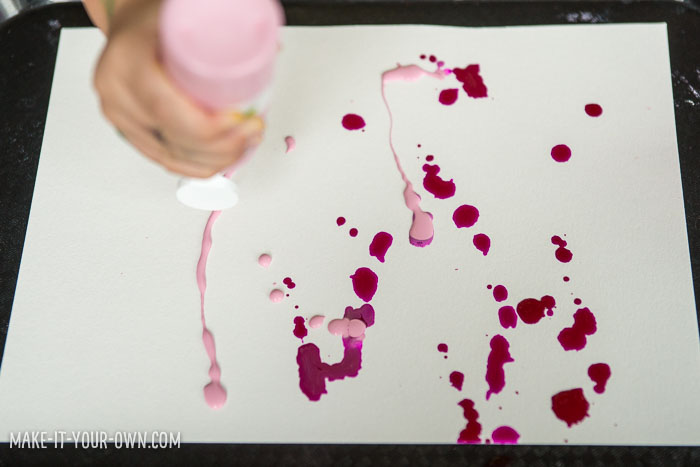
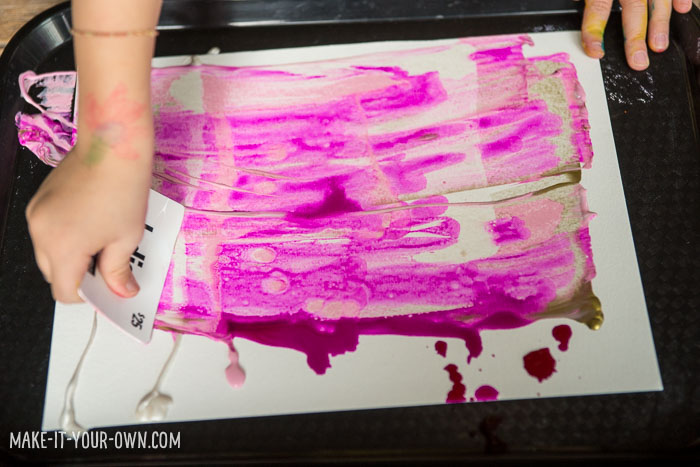
1. Don your smock. Drip your paint onto your paper. We went with a mixture of liquid watercolours and acrylics, but use what you have.
2. Hold your paper with your non-dominant hand to keep it steady (you could tape it down if you like) and scrape the old gift card across the page, moving the paint.
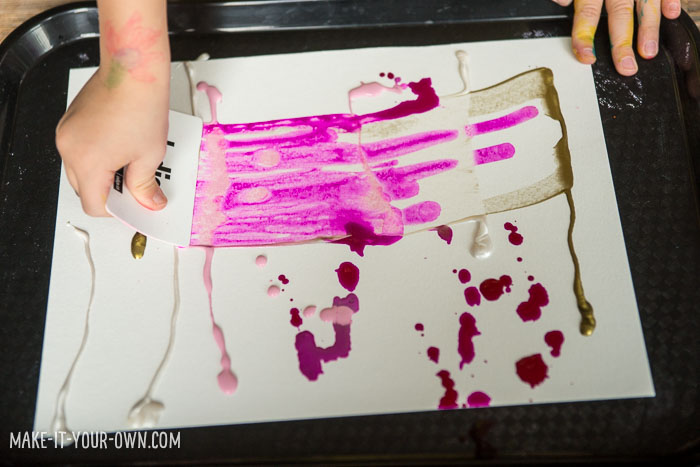
You can experiment with using different surfaces of the card to scrape. This is the time to play with the paint! Allow your work to dry overnight.
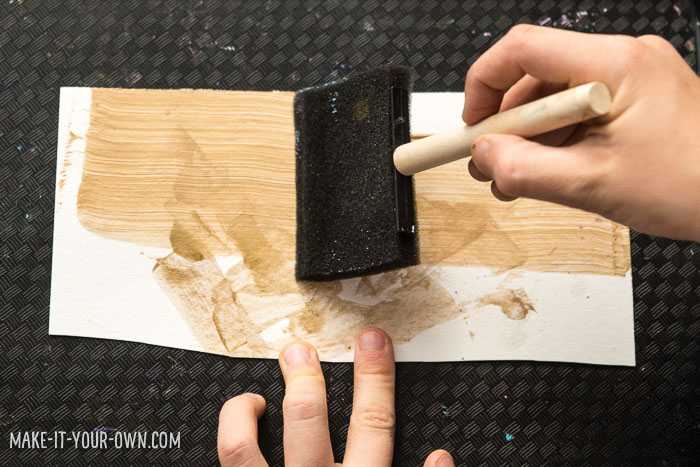
3. Paint another piece of paper the colour you would like your caps. (We used some scraps from another project.)
4. Print and cut out the template pieces and fold some non stick tape on the the back of them.
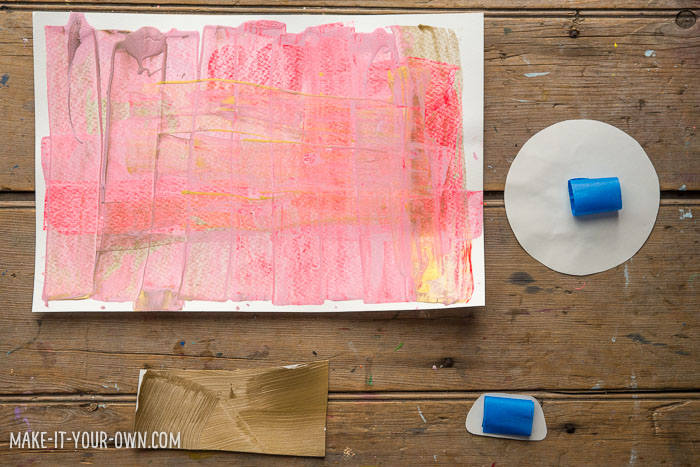
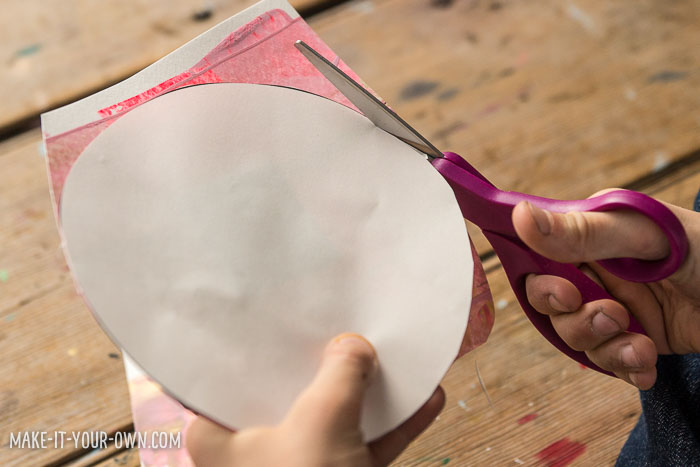
5. Tape the template onto the painting. (If you find it easier, you could trace around them lightly in pencil and do it that way too).
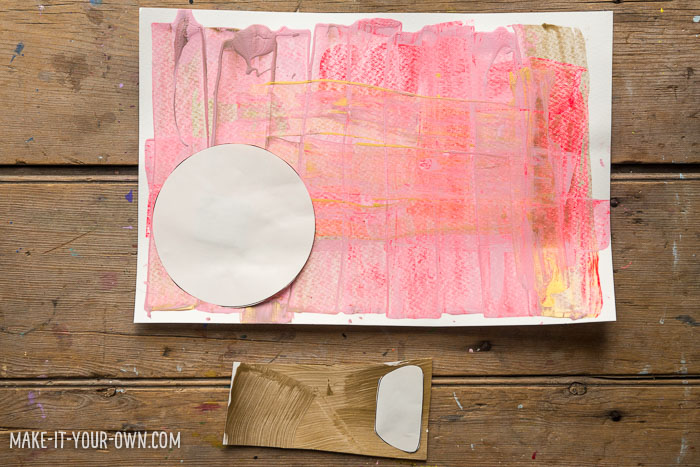
6. Cut out the template on from your painted paper.
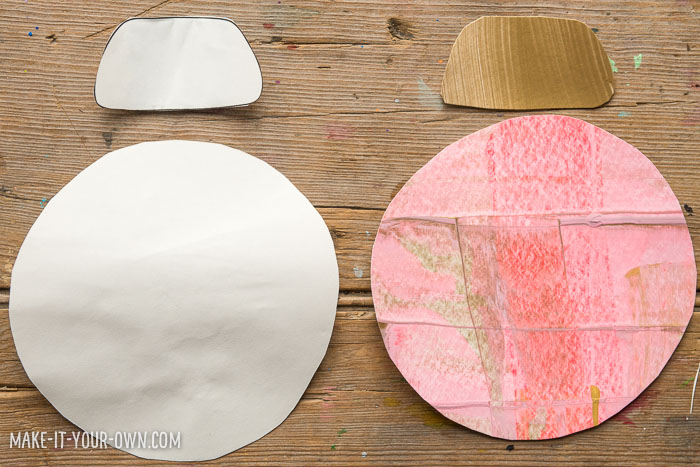
7. Your pieces should now look something like the picture below.
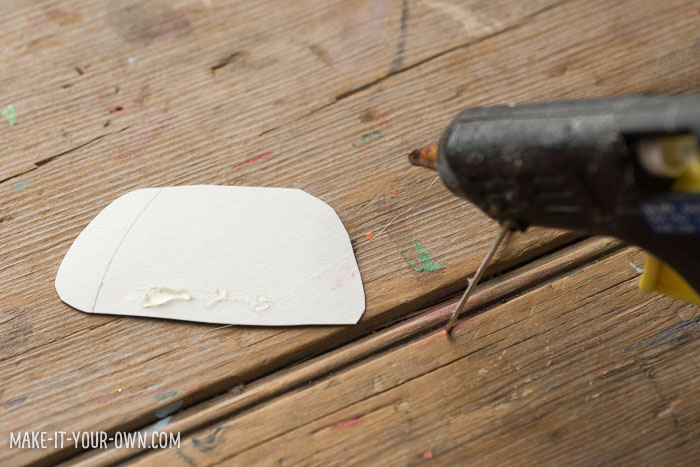
8. Glue your caps onto your baubles.
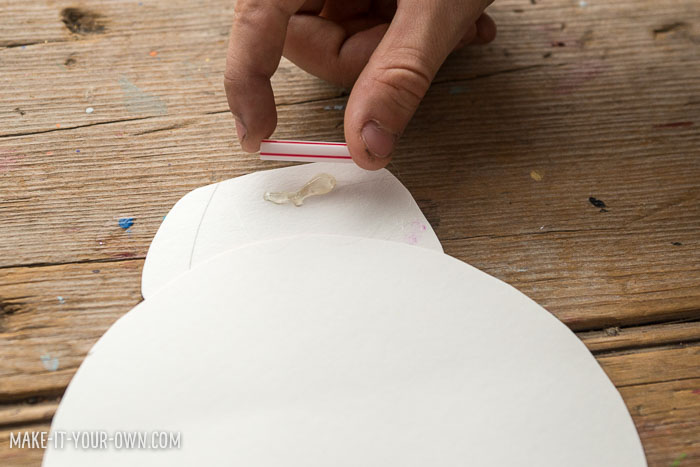
9. Then we used a trick we saw right here on Creating Creatives: gluing a bit of straw onto the back of the cap, so that you can thread through the cord, and you don’t have to punch a hole in your piece. Brilliant, right!?
We added a few beads to the cord (loop it through twice to hold them in place) and then give your garland to a friend or family member or hang it in your own home!
Looking for another crafty Christmassy idea, take a peek here: https://teachinvestigateplay.com/
Purpose
- Exploring various tools to paint with.
Safety Notes
- We suggest that you wear a smock and use a craft tray to protect your clothing and surfaces.
- Use scissors and a glue gun with care and direct adult supervision.
- Cord, yarn etc. can be a strangulation hazard, therefore be sure to use with direct supervision and for its intended purpose.
- Beads can be a choking hazard, therefore be sure to keep them out of the reach of children ages 0-3 years of age or those that tend to put things into their mouths.
A SPECIAL SURPRISE:
Bonnie’s lovely craft is part of a group collaboration of 15 amazing craft projects to do with children, or hey even by yourself! The name for this super fun project… Craftmas! Now the fun part is that it’s done Secret Santa style, so each of us have a craft on someone else’s site. The next stop for you is over at Tech Investigate Play. Enjoy! (and let me know if you find my project!)
TAG US IN YOUR CHRISTMAS GARLAND CREATIONS:
We love how projects change with different creative minds, and would love to see how your garland turned out! Tag us:
Instagram: @creatingcreatives & @make-it-your-own
Facebook: @creatingcreativeskids & @make-it-your-own
SHARE IT:
Spread the word and Pin and Facebook share with your friends!
For More Christmas Projects Get Our Free Ornament Guide:

Free Christmas Ornament Guide

Pingback: » HOLLY JOLLY CHRISTMAS: Gift Boxes from Handy with Scissors
Pingback: Discover: Craftmas! 14 Kid-Friendly Holiday Craft Ideas - barley & birch
Pingback: Craftmas Guest Post: Christmas Character Light Bulbs by Hobbycraft - Oh Creative Day
Pingback: Craftmas: 14 Kid-Friendly Christmas Crafts - Little Button Diaries
Pingback: 14 Christmas Crafts for Kids: Craftmas Round Up! - Hobbycraft Blog
Pingback: Craftmas: The Ultimate Christmas Crafts Collab - Oh Creative Day