
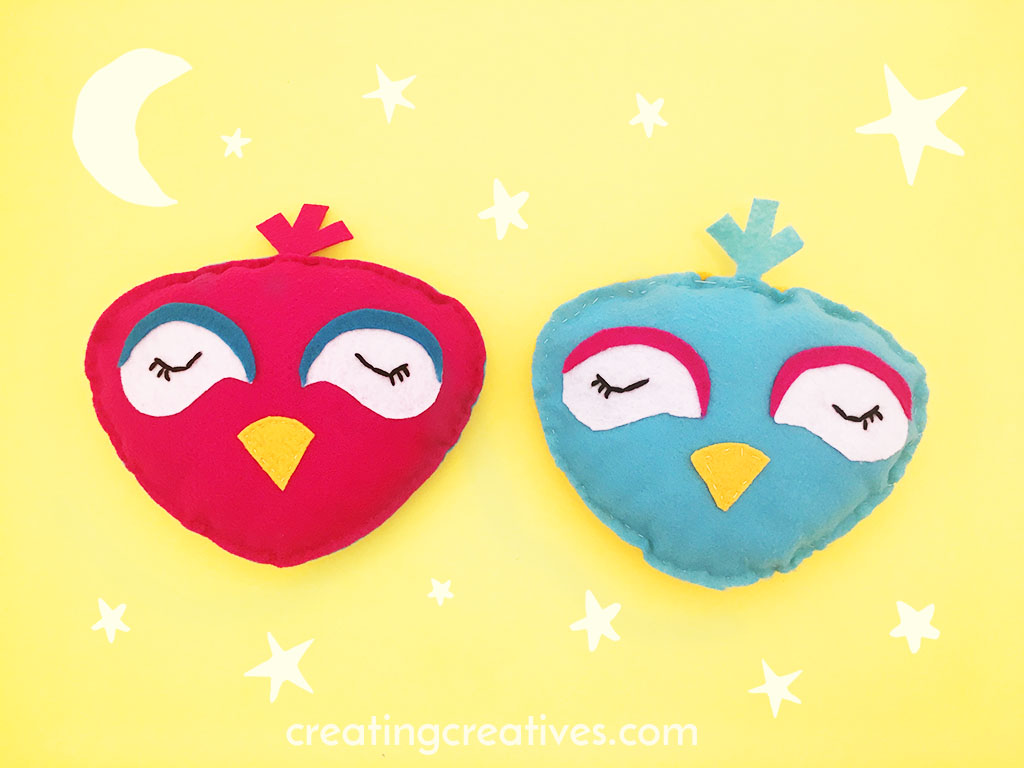
This easy to sew Felt Owl Pillow is our contribution to Sew a Softie in July. Sew a Softie is an initiative that encourages adults and children to get away from their screens and discover the amazing fulfillment of creating something by sewing. Well the incredible Trixi, who started the initiative, hit the nail on the head, because we have caught her sewing bug and now have a list of softies that MUST be made including a Pokéball (currently in the works), a doggie, Donald Duck, a kitty & a ‘Person’ Bug (will have to have my 3yr old draw out a sketch for that one).
This is my 5yr old’s first full sewing project, she made the blue owl on the right all by herself. She cut out all the pieces and sewed everything on, even the eyes, I just supervised and hot glued the eyelids on. I am so proud of her, and she is quite proud herself as she squealed with delight when she was done. Her big brother wanted in on the sewing fun, and wanted to show off his sewing skills so he’s currently working on a Pokéball, another perfect first time sewing project, so hope to keep you posted on that one! But for now lets show you how we made this cute owl, which is based off of one of our favorite hooded towels.
FELT OWL SUPPLIES:
This blog post contains affiliate links.
- Front of Owl Felt, we used wine pink
- Back of Owl Felt, we used blue
- Eye Lid Felt, we used turquoise
- White Felt, for the eyes
- Yellow or Orange Felt, for the beak
- Needle
- Thread
- Scissors
- Black Embroidery Floss
- Glue Gun
- Pencil
- Polyester Fiberfill
- Felt Owl Pillow Printable – Enter your name and email below to sign up to our fun
newsletter and I’ll send the you our Owl Printable as a gift.

HOW TO MAKE A FELT OWL PILLOW:
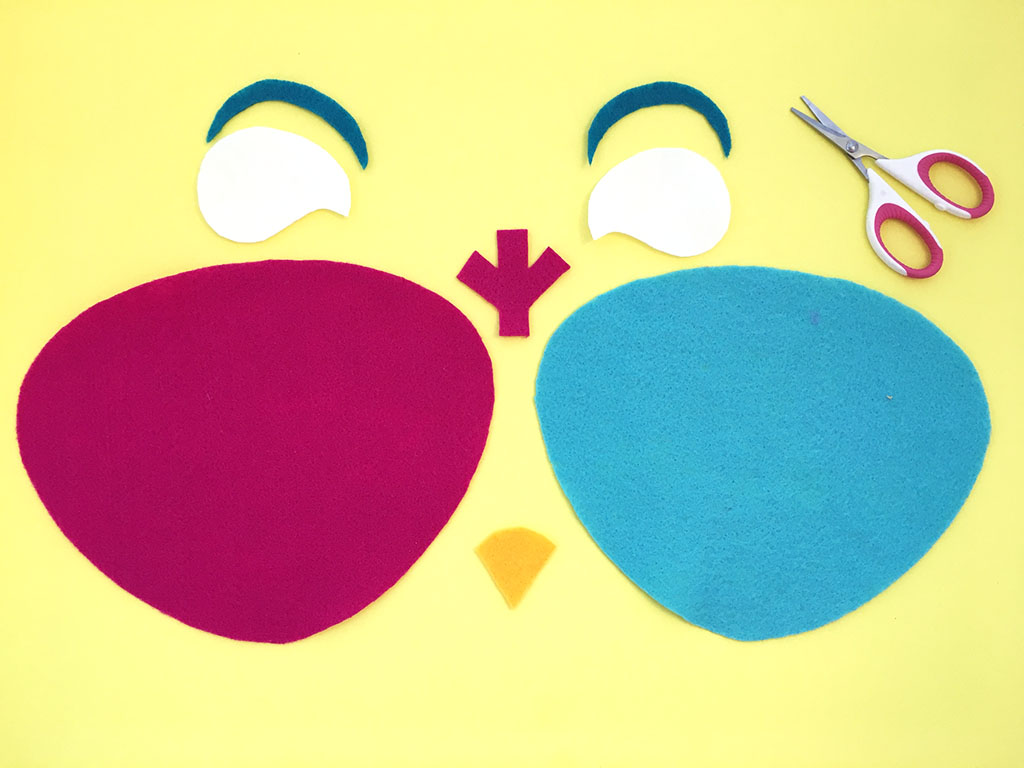
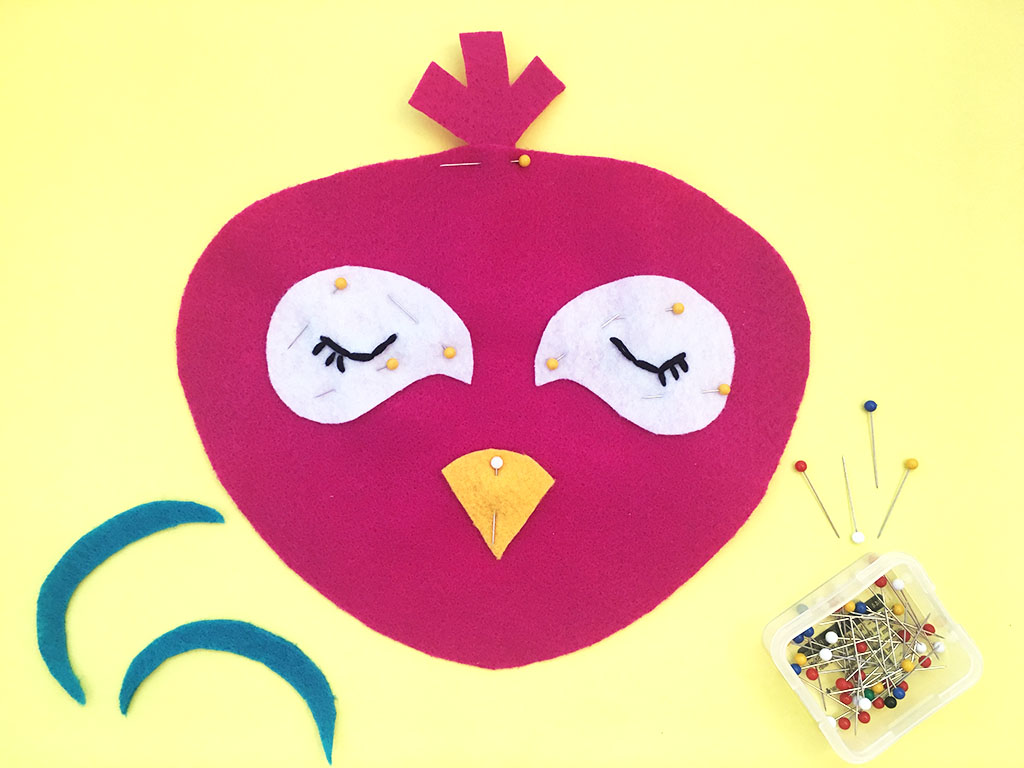
1. Using your owl template cut out all the pieces from your felt, as pictured below.
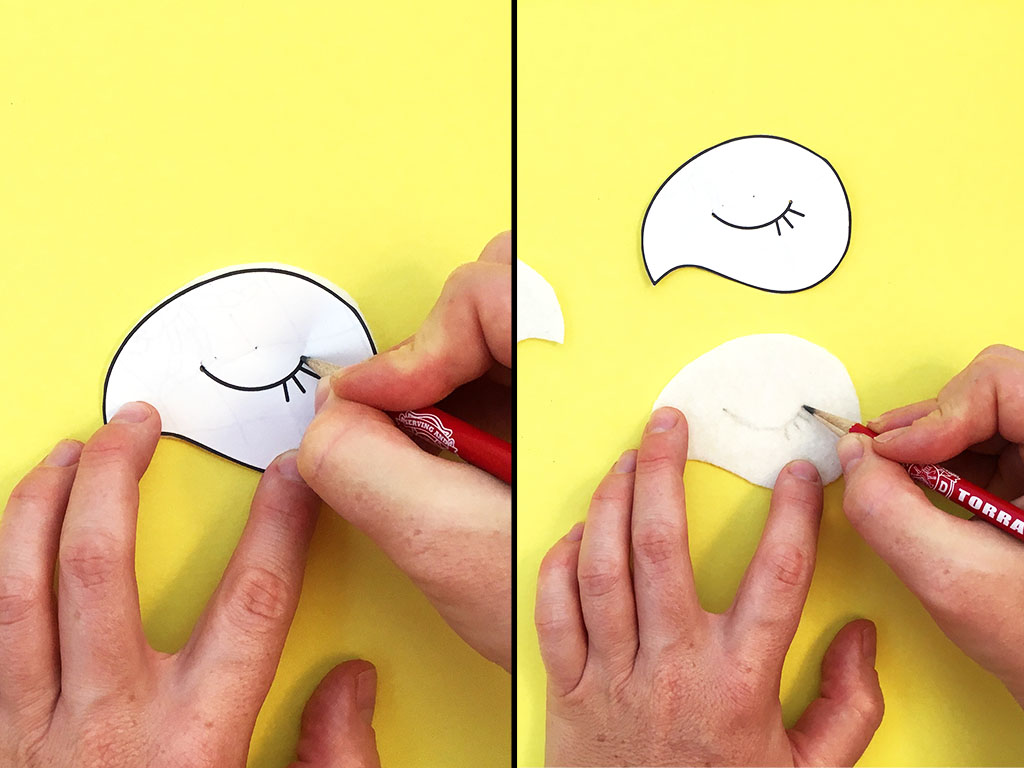
2. Next, draw an eye on each eye piece with a pencil. If you want to use our template place the paper template on top of the felt eye piece and poke a whole through the paper marking 2 dots on the felt. Connect the 2 dots with a curved eye line and add 3 eyelashes.
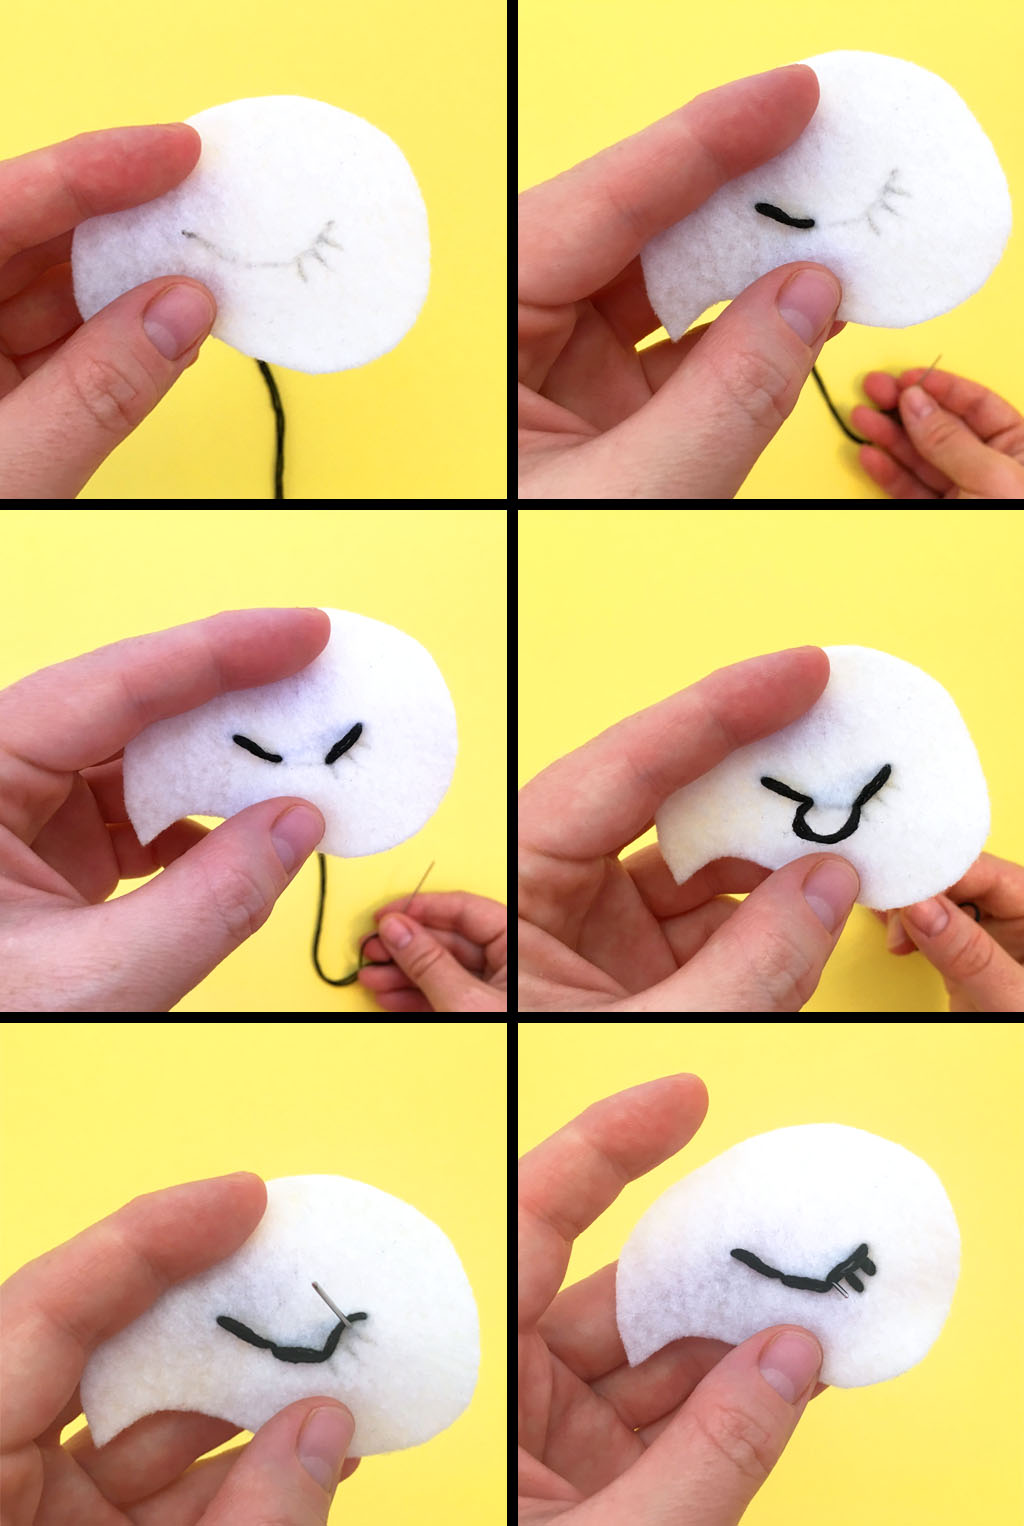
3. Now use your embroidery floss to trace over your the eye you drew. Start with the inside of the eye and make a stitch about 1/3 of the way down. Then make another stitch from the outer eye edge to about 1/3 of the way down. Now connect the 2 stitches with a center stitch and finally add a stitch for each eyelash.
4. Next pin all your pieces, apart from the the eyelids, to the front of the face, and sew them on.
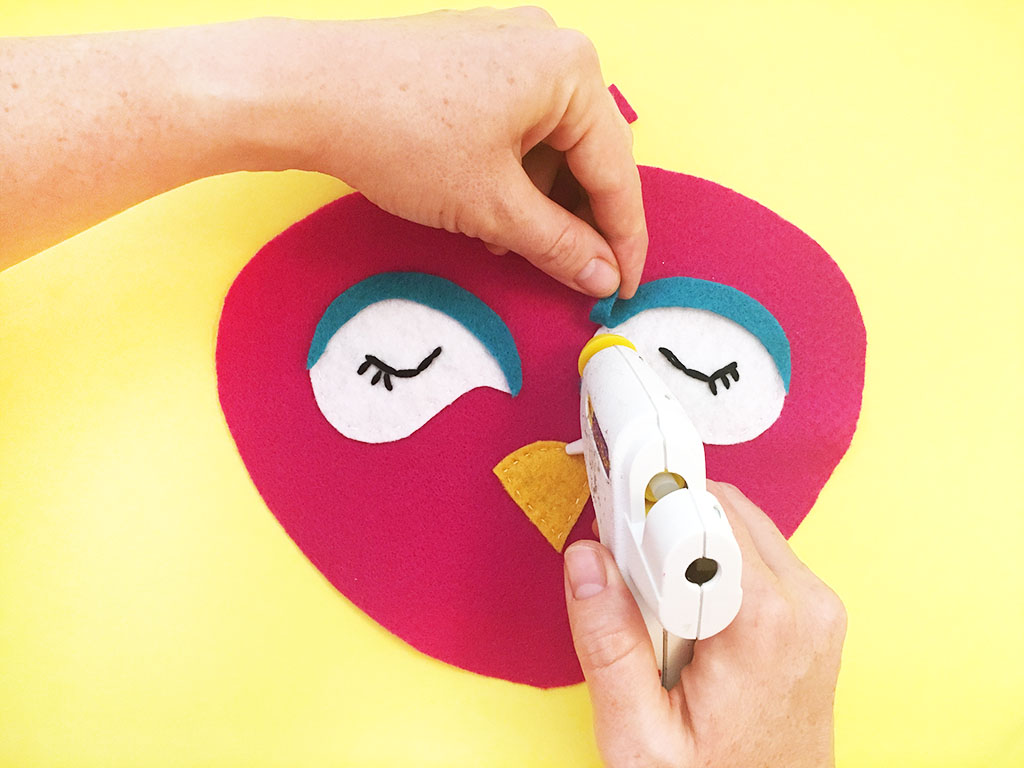
5. Once all the pieces are sewn on you can either sew or hot glue your eye lids on. We went with the hot glue option as it was hard for my 5yr old to get the needle through 3 layers of felt.
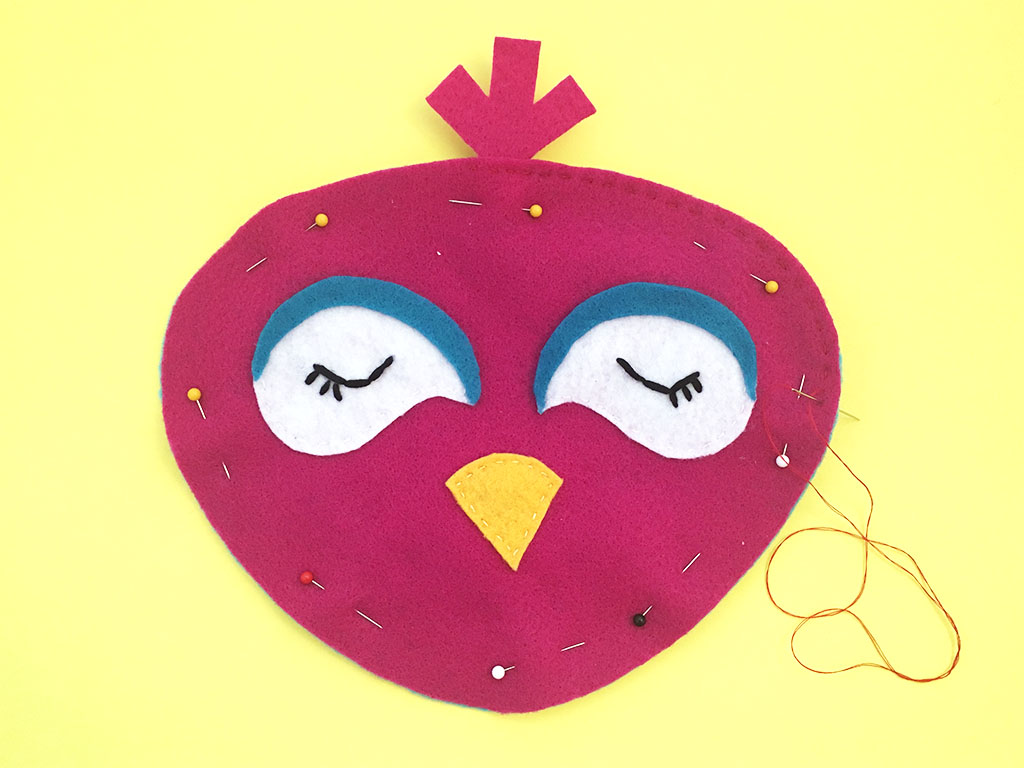
6. Finally it’s time to sew the back on. Sew around the face about 1/4″ away from the edge leaving room for little hands to stick in the stuffing.
7. Stuff with polyester fiberfill and sew closed.
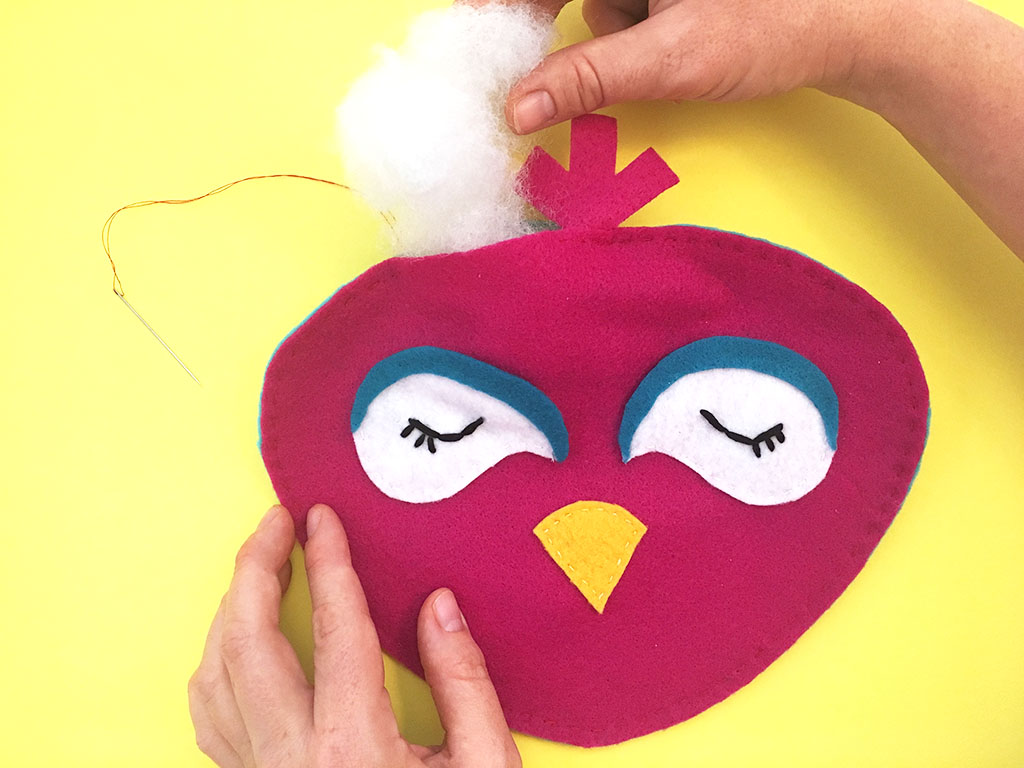
You’re done! Fluff out the stuffing to give it a nice shape and give your little owl a name and a snuggle.

SHARE YOUR FELT OWL PILLOW:
Spread the word and Pin and Facebook share with your friends!

SEE ALL OF SEW A SOFTIE SUMMER 2018 HERE:
http://www.inlinkz.com/new/view.php?id=788447
HERE ARE SOME OTHER PROJECTS YOU MIGHT LIKE:
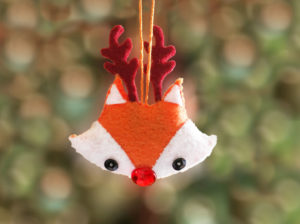
Foxy Rudolph Softie
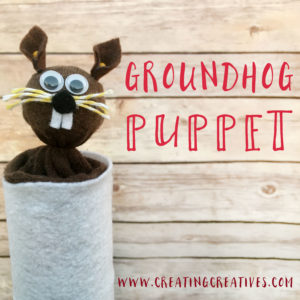
Groundhog Puppet

I want to see that person bug!!!!! Thanks for such an incredible tutorial and for showing us how amazingly talented 5 year olds can be!
Pingback: 50+ Free Stuffed Toy Patterns: Sew a Softie 2018 | Coloured Buttons