Last summer we made some paper towel flowers inspired by a process we saw from the amazing Catalina over at Redviolet Studio. Catalina is the queen of process art, and is full of so many amazing and creative ideas as her Instagram feed shows. We tried the process of dropping water colors onto paper towels or coffee filters and my little creatives just couldn’t get enough of it, we had paper towels for days!
The paper towels were so vibrant and beautiful I thought it would be fun to make a bouquet out of them, which we did and have kept in our craft room ever since. I have been wanting to share this process on here for a while, so here it is!
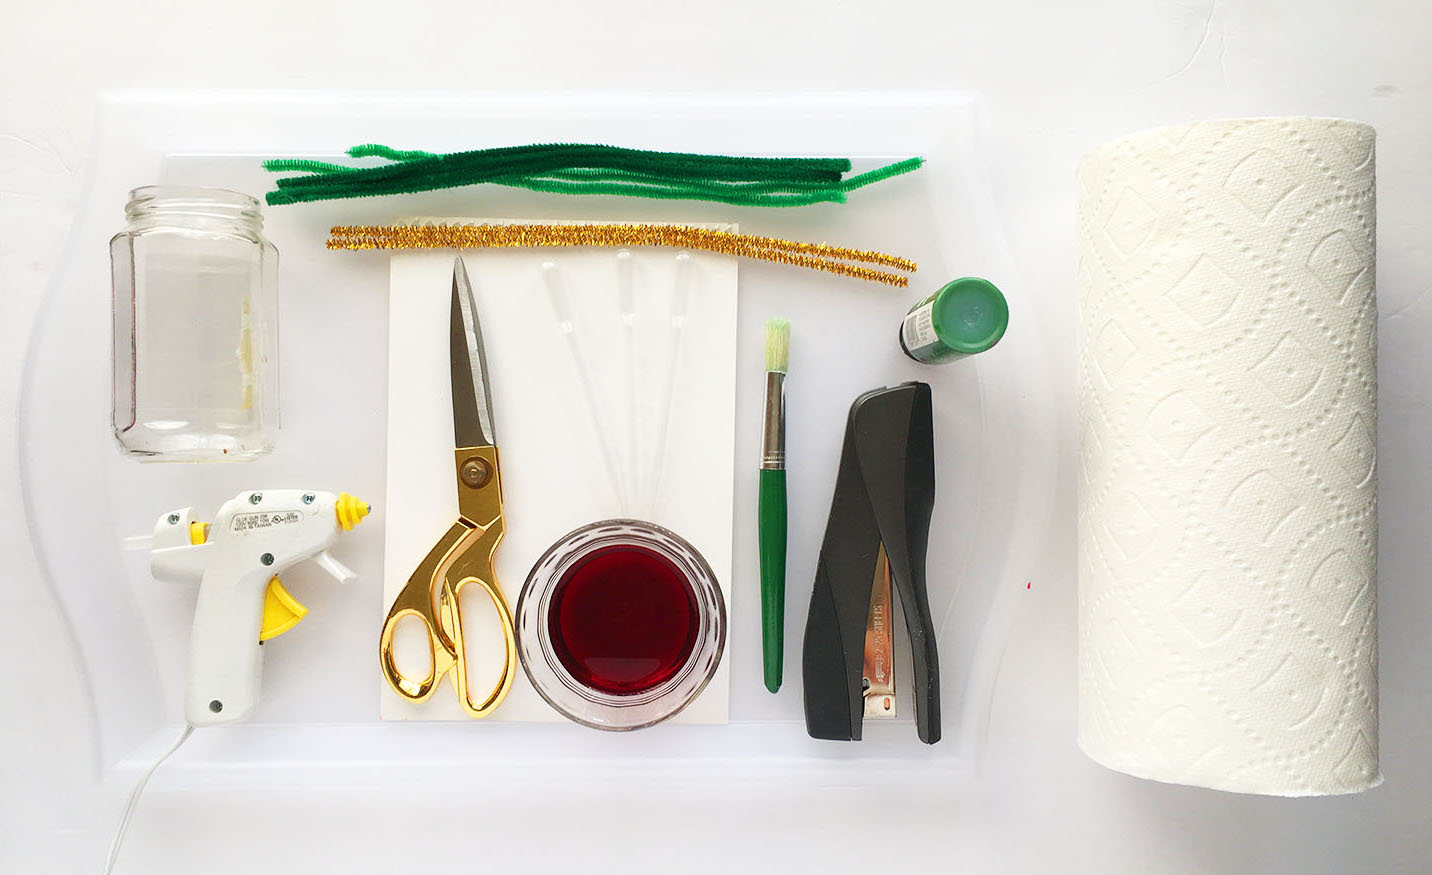
PAPER TOWEL FLOWER CRAFT SUPPLIES:
This list contains affiliate links.
- Paper Towels
- Liquid Watercolors (if you don’t have liquid water colors you can
use food coloring in water) - Containers for Liquid Watercolor
- Pipettes and or Paint Brush
- Green Pipe Cleaners
- Stapler
- Tray / Kraft Paper to dry
- Empty Jar or Vase
- Green Paper (for adding some greenery – optional)
Before we begin you’ll want to set up a place for the painted paper towels
to dry. This can be on other trays, or on a rolled out piece of kraft paper.
Your little ones will paint them quite fast and want to paint a lot, so
having somewhere to put them is super helpful.
PAPER TOWEL CRAFT – THE FLOWERS:
1. Set up the invitation to paint! On a tray lay out 1 or 2 sheets of paper
towel, the liquid water colors and a pipette for each color. In this example
we just used one color, but when using different colors stick colors that
will mix well together.
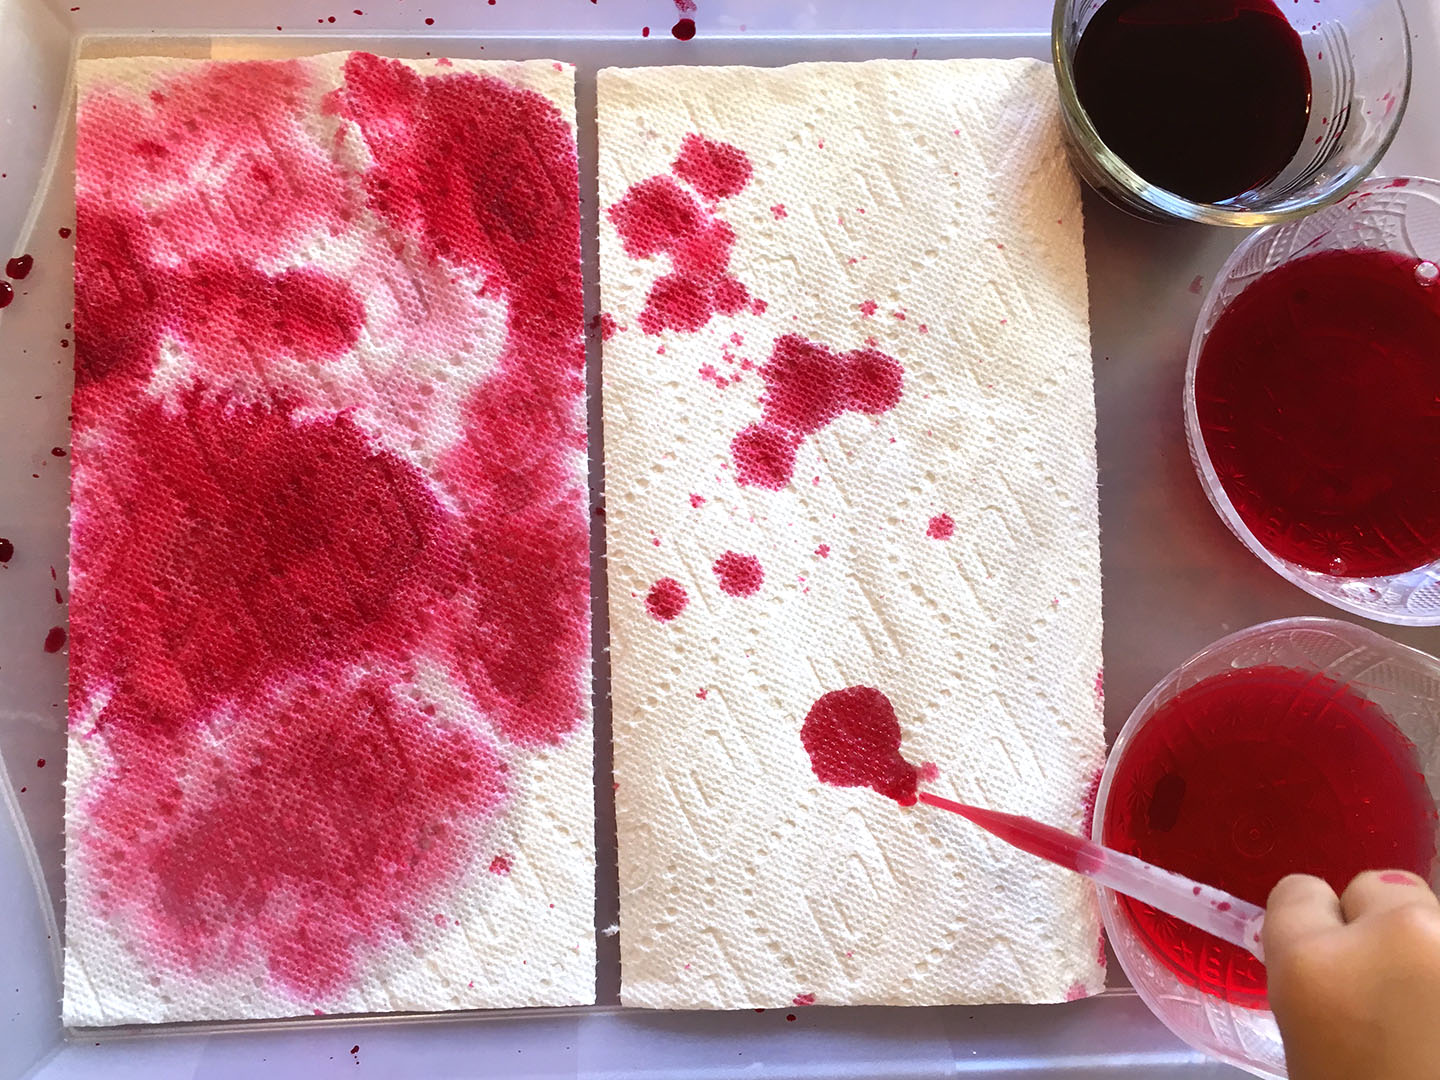
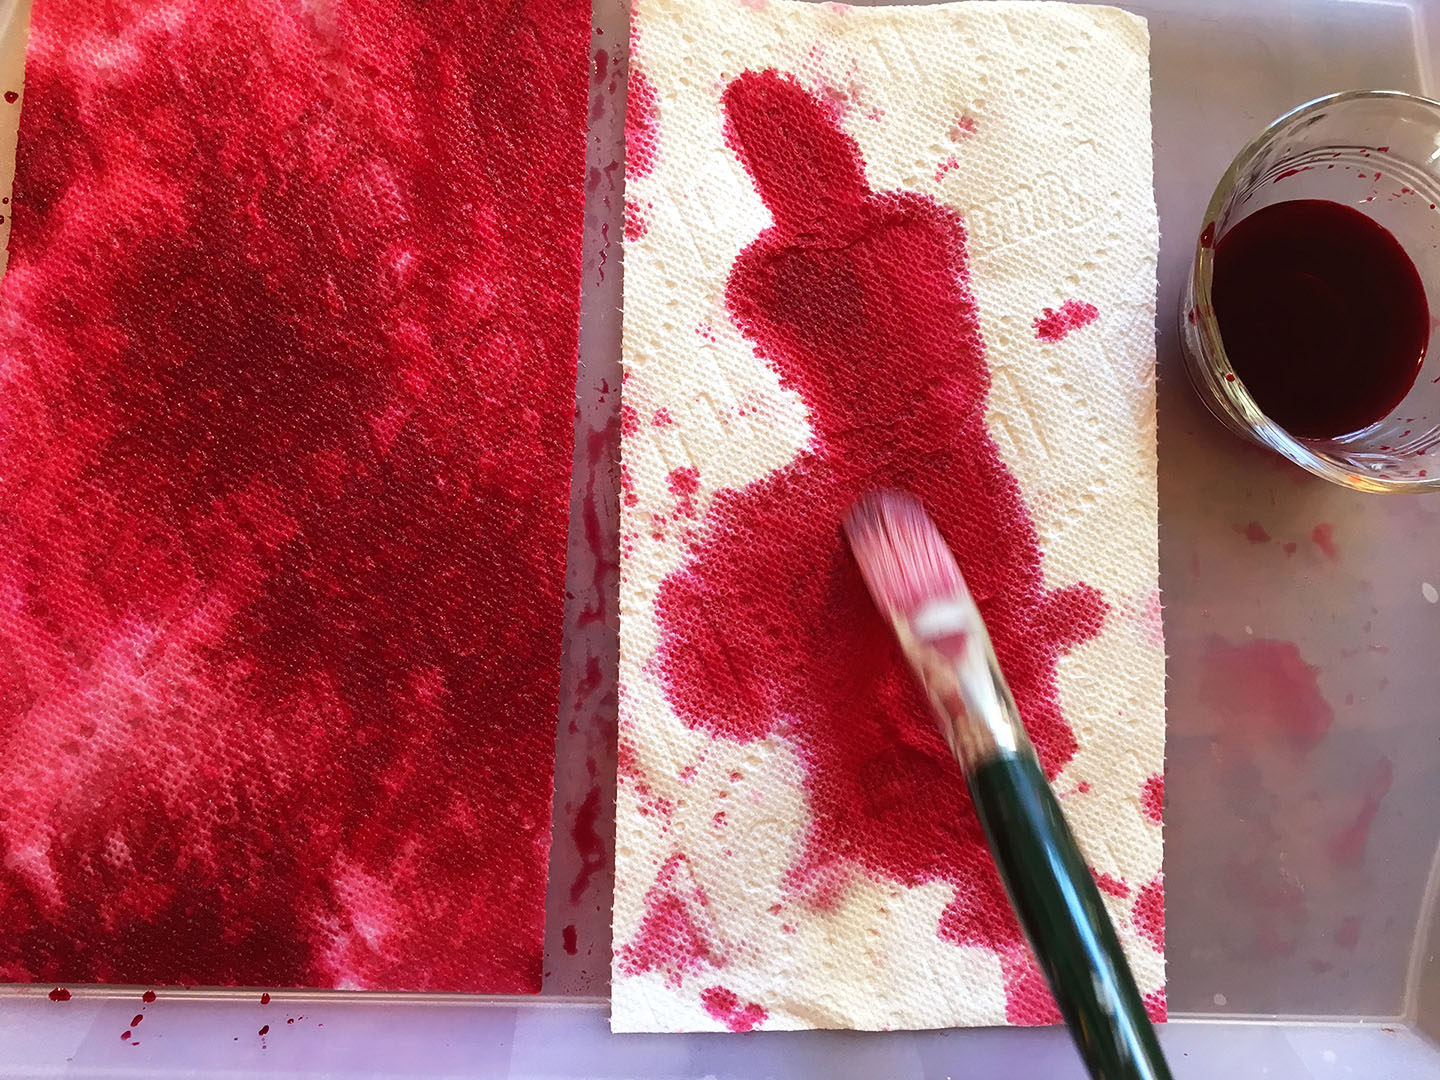
2. If you don’t have pipettes paint brushes work just as well. In fact, we
used paint brushes after the pipettes since my 3 yr old just loves to paint.
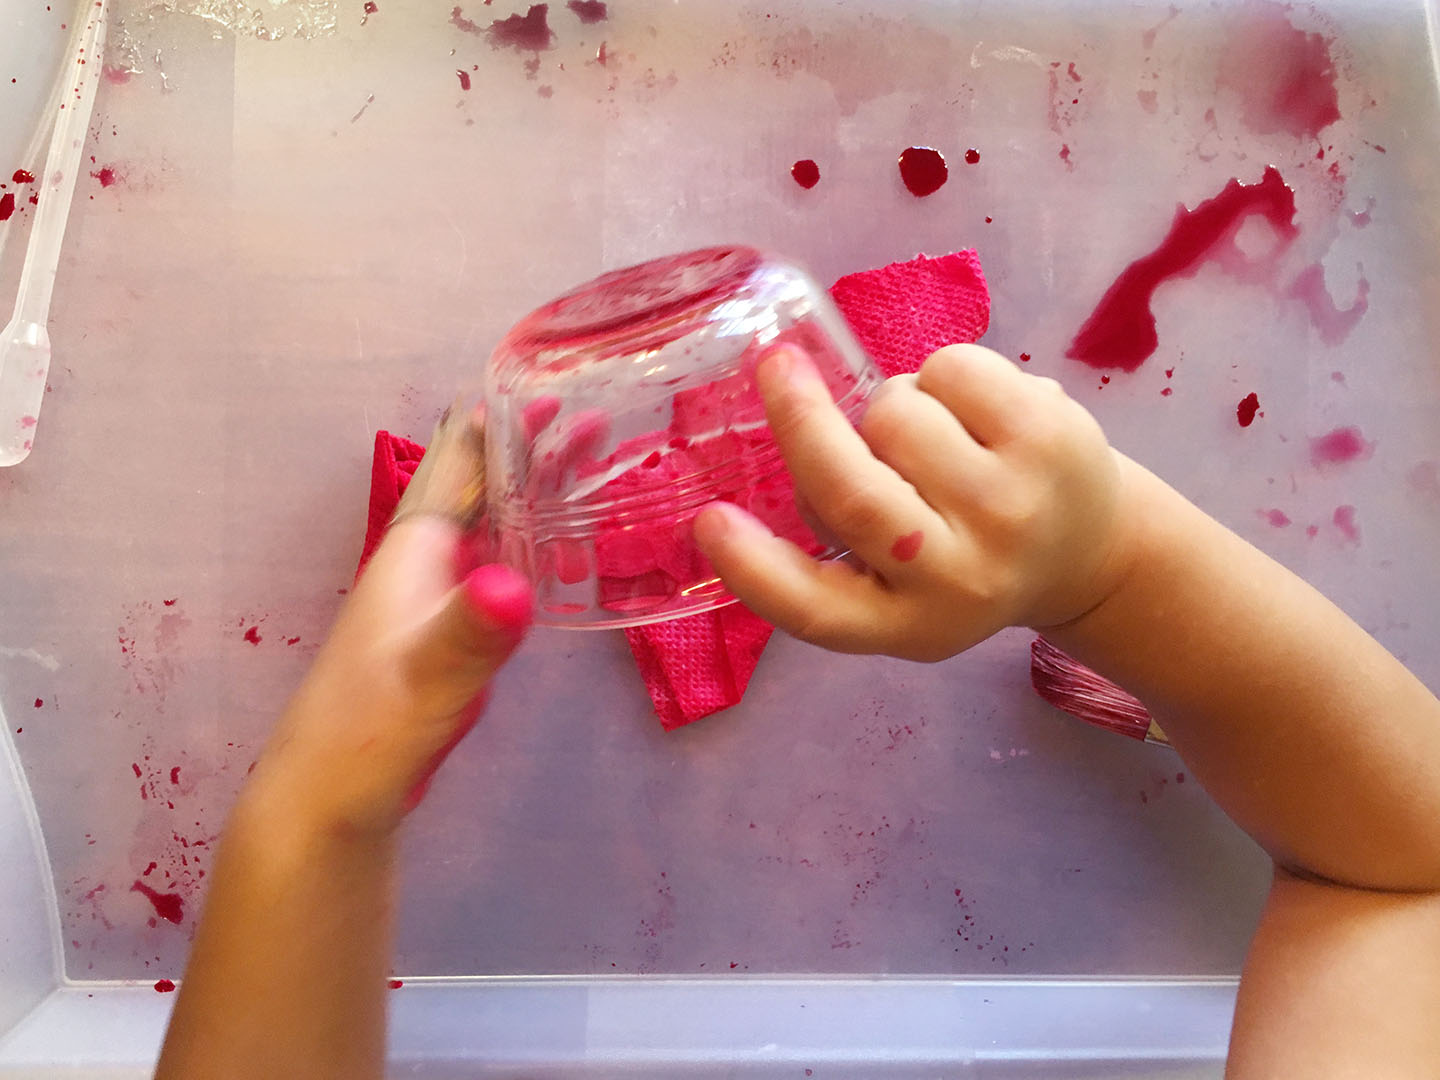
As you can see below my son decided to dump out the remaining drops of
watercolor, but hey we got a really rich color!
3. Let the painted paper towels dry on your trays or rolled paper in a
warm place.
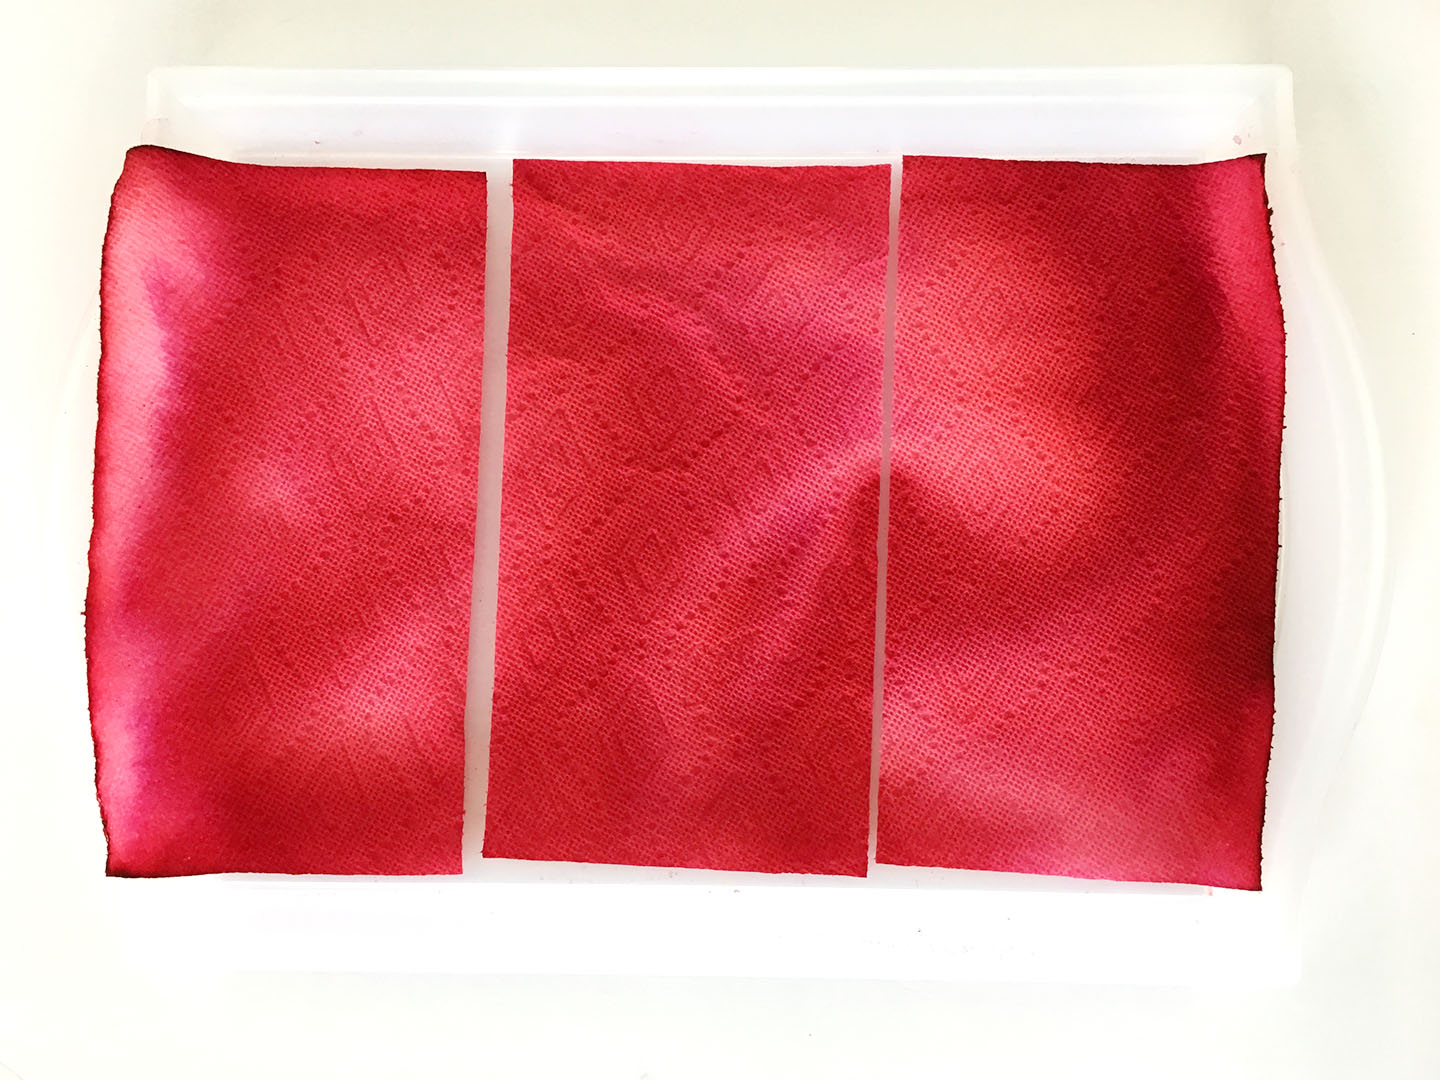
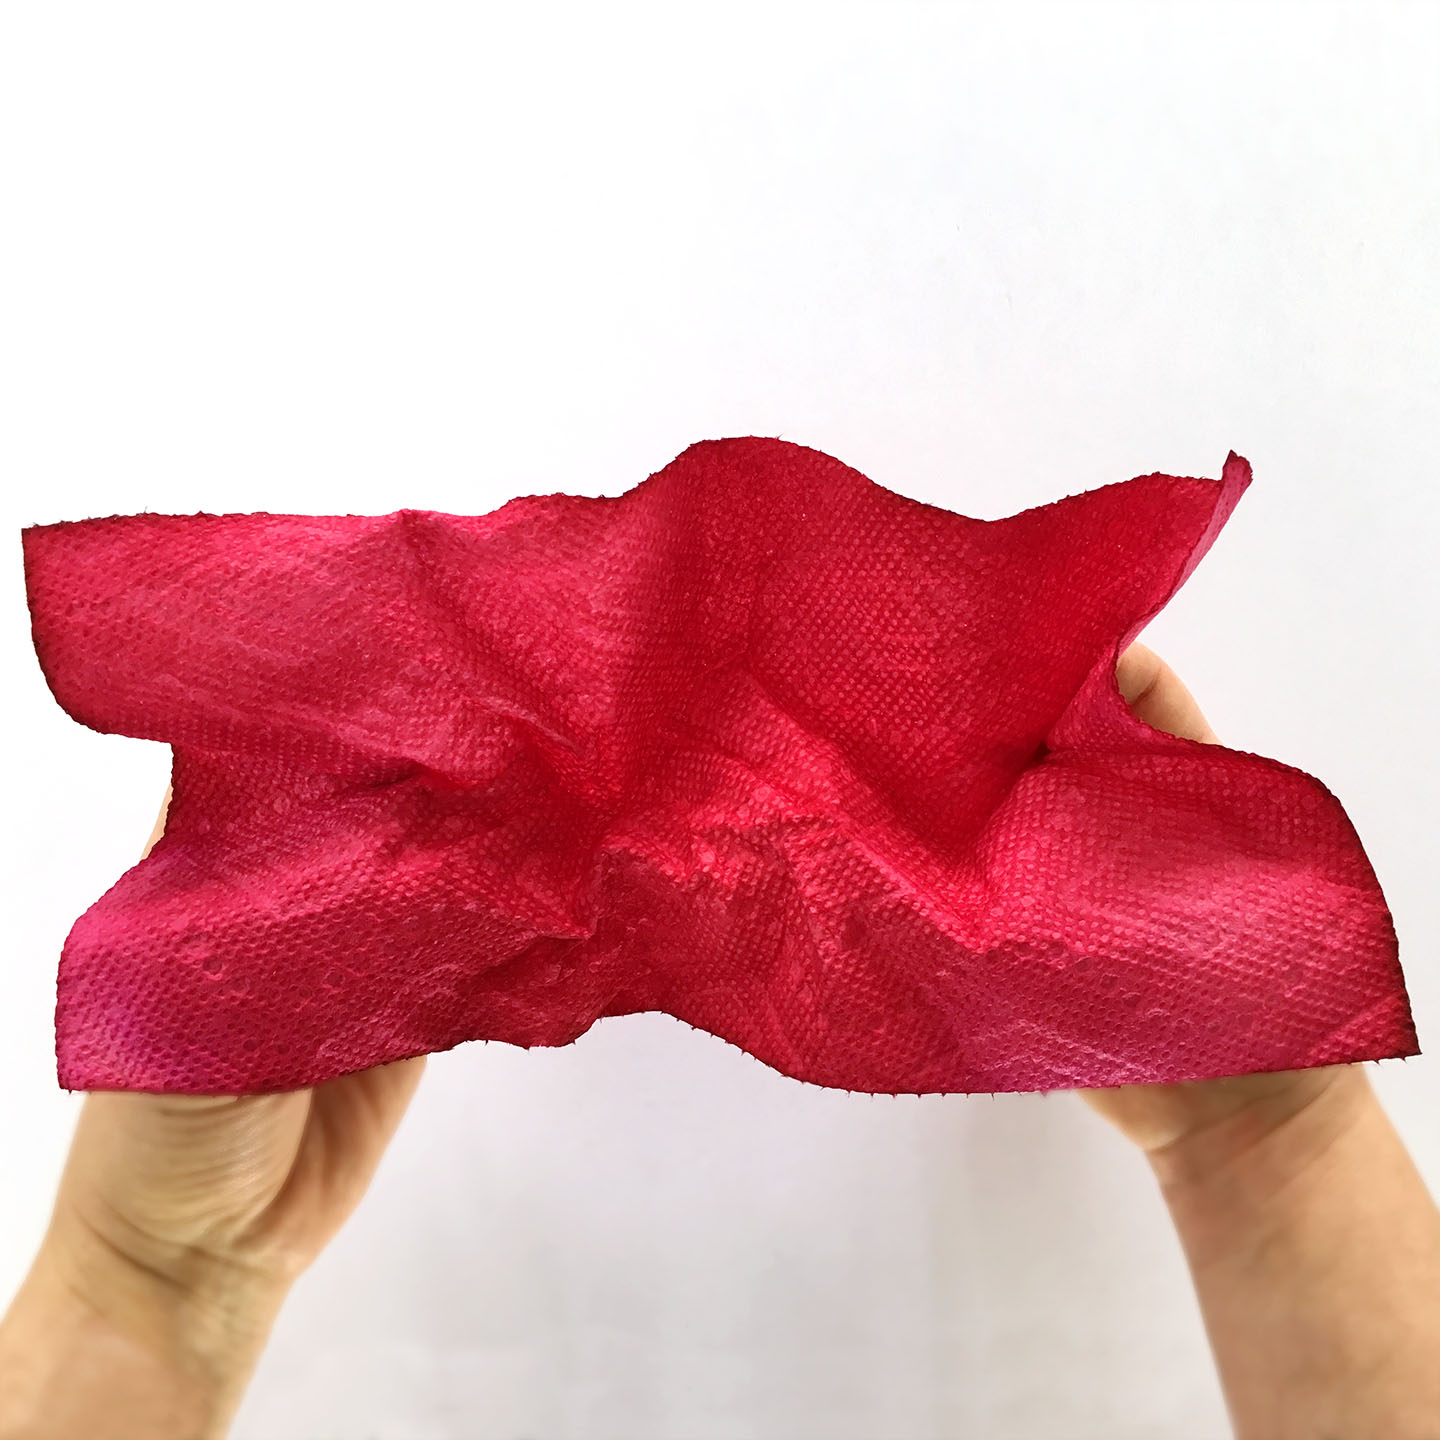
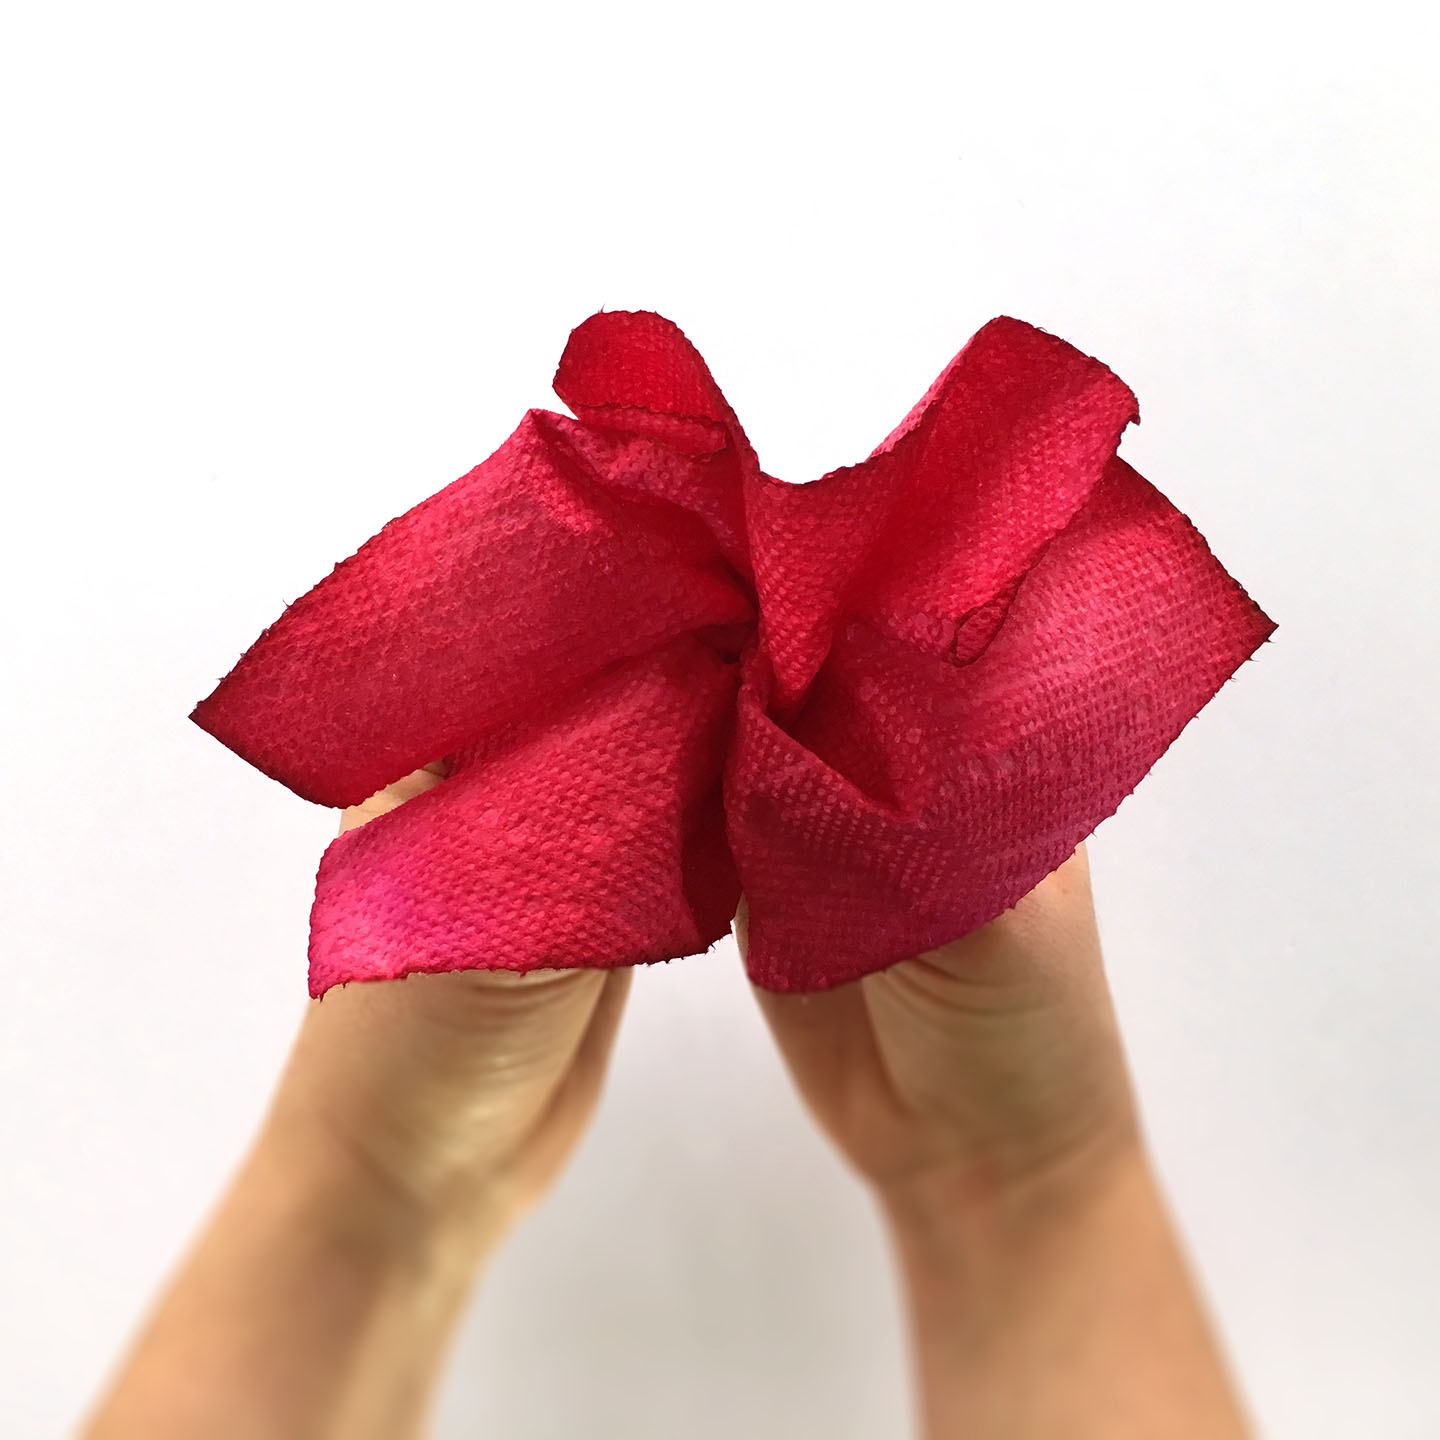
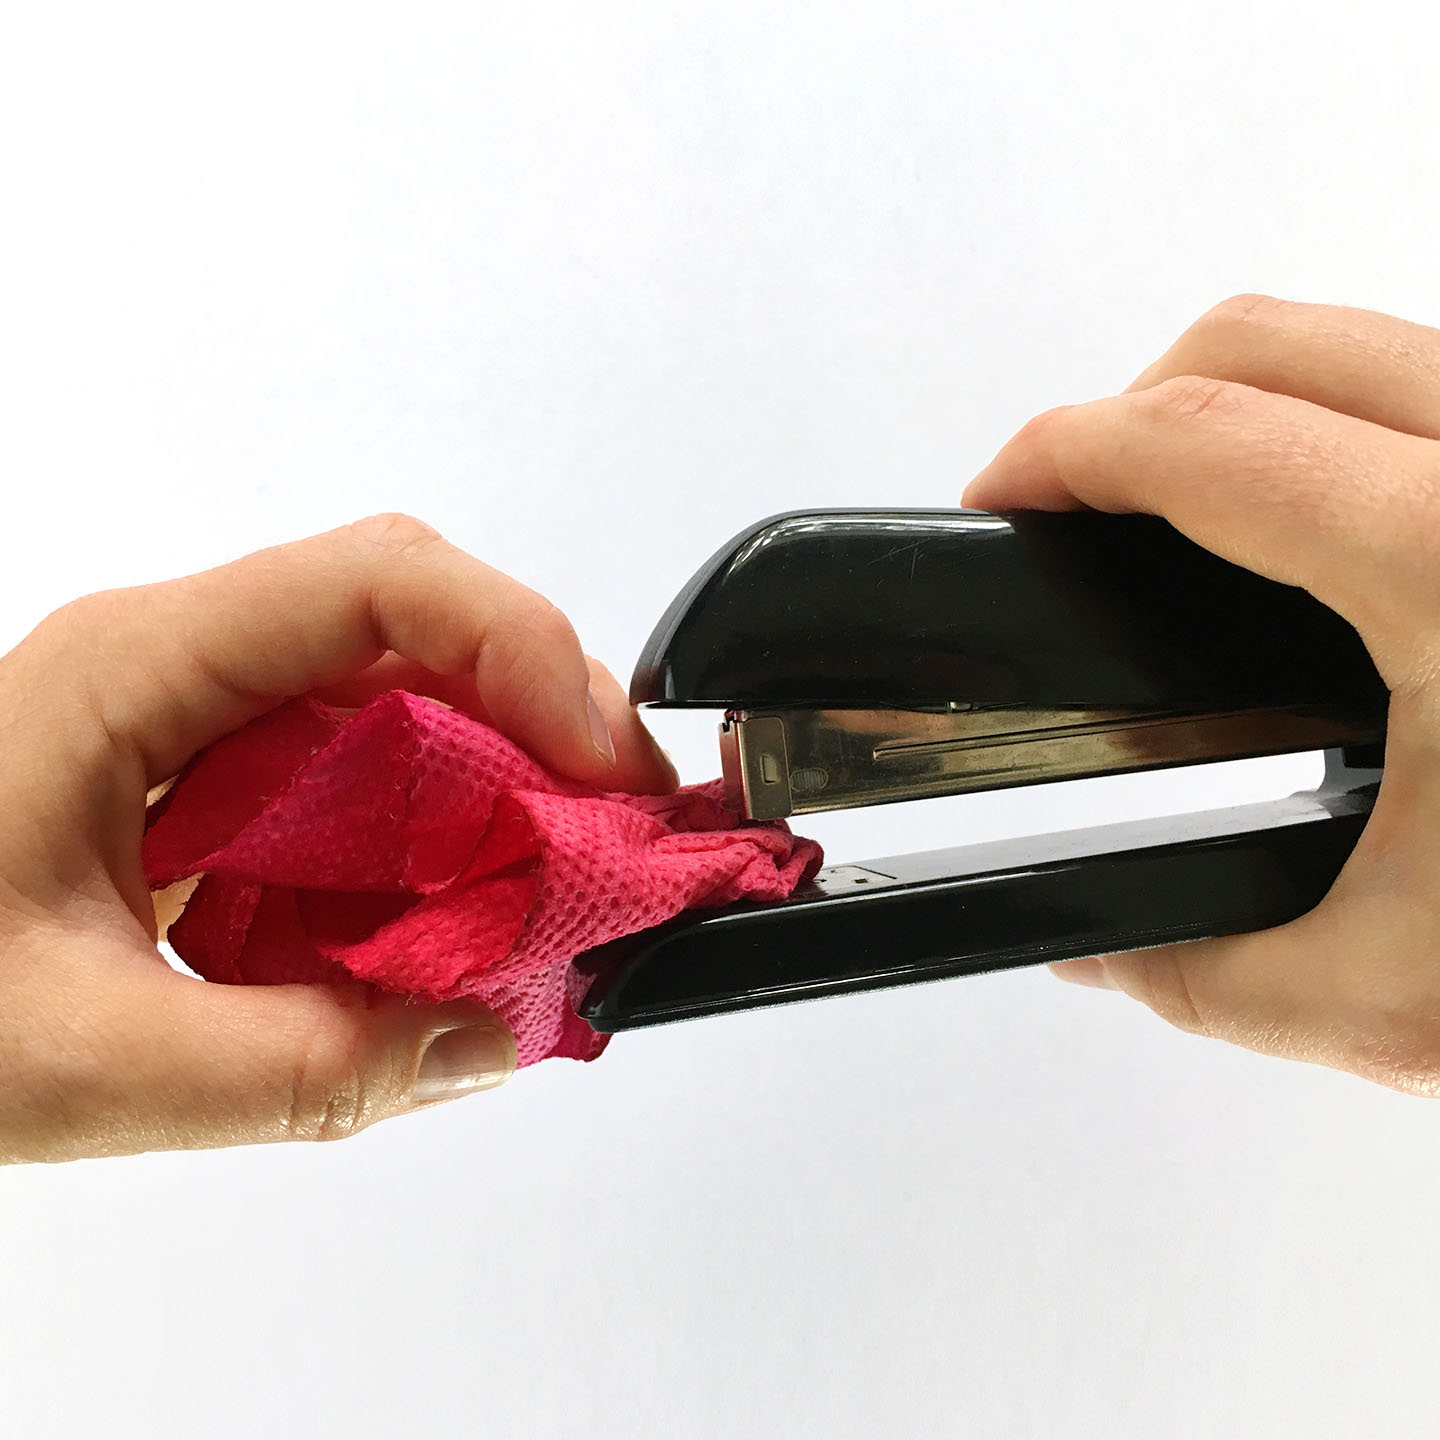
4. Now its adult or big kid time. Take your fully dried paper towels and
scrunch them up to look like a flower. Once you’re happy with the shape
staple it at the bottom. Do this for as many flowers as you’d like in your
bouquet, we used 9 for ours.
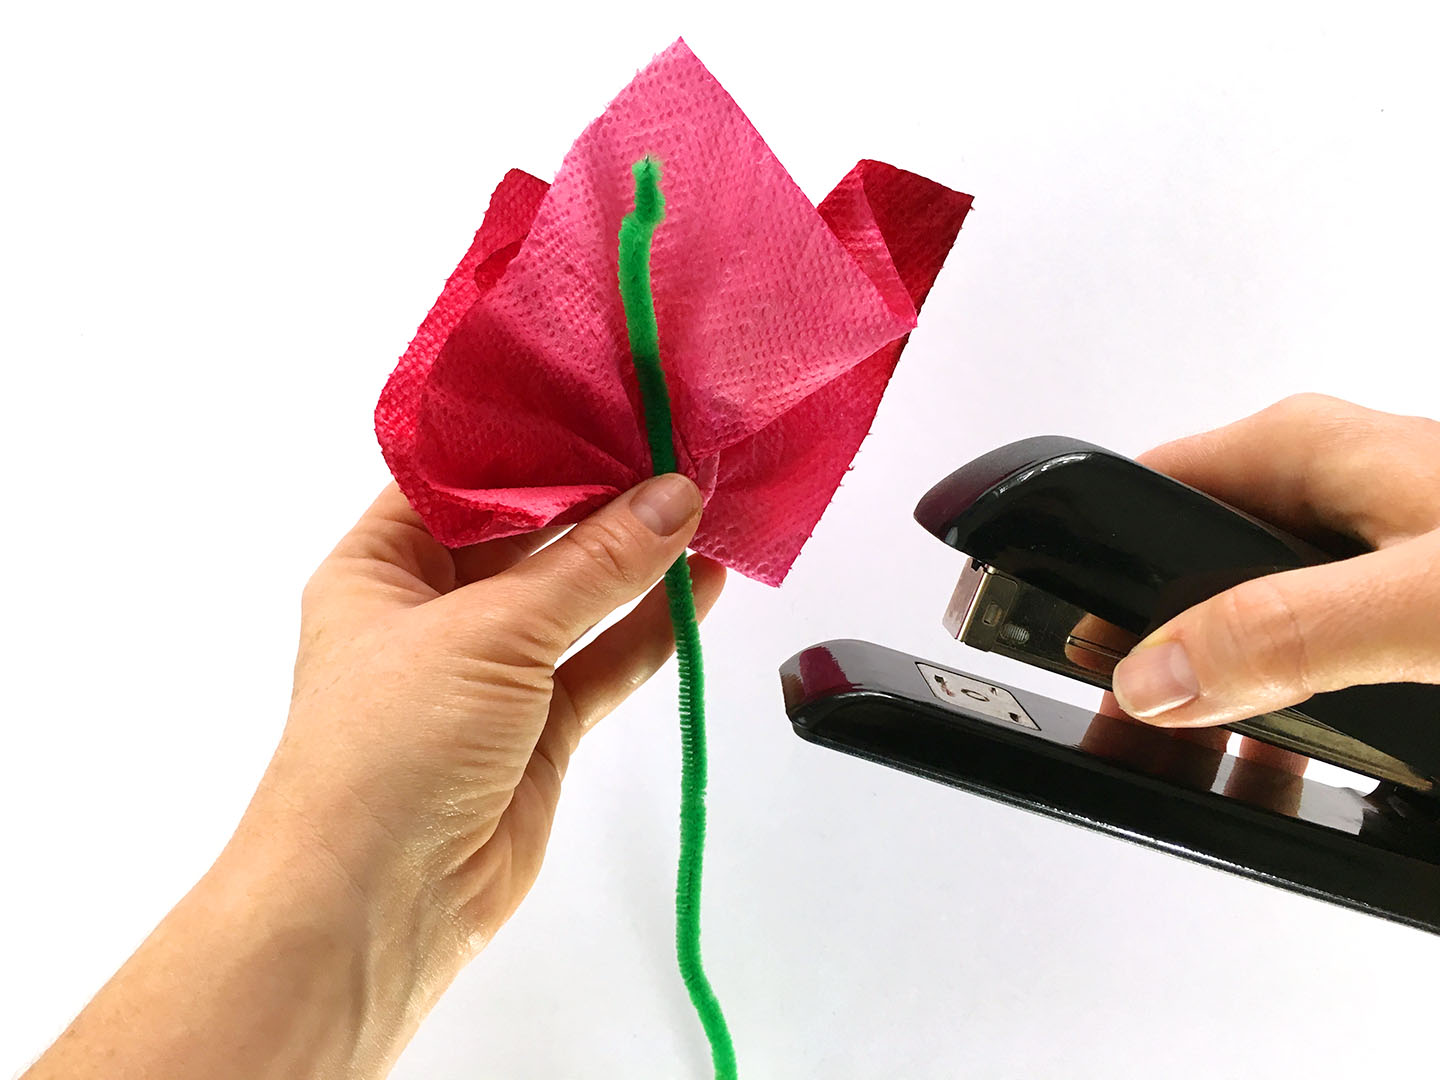
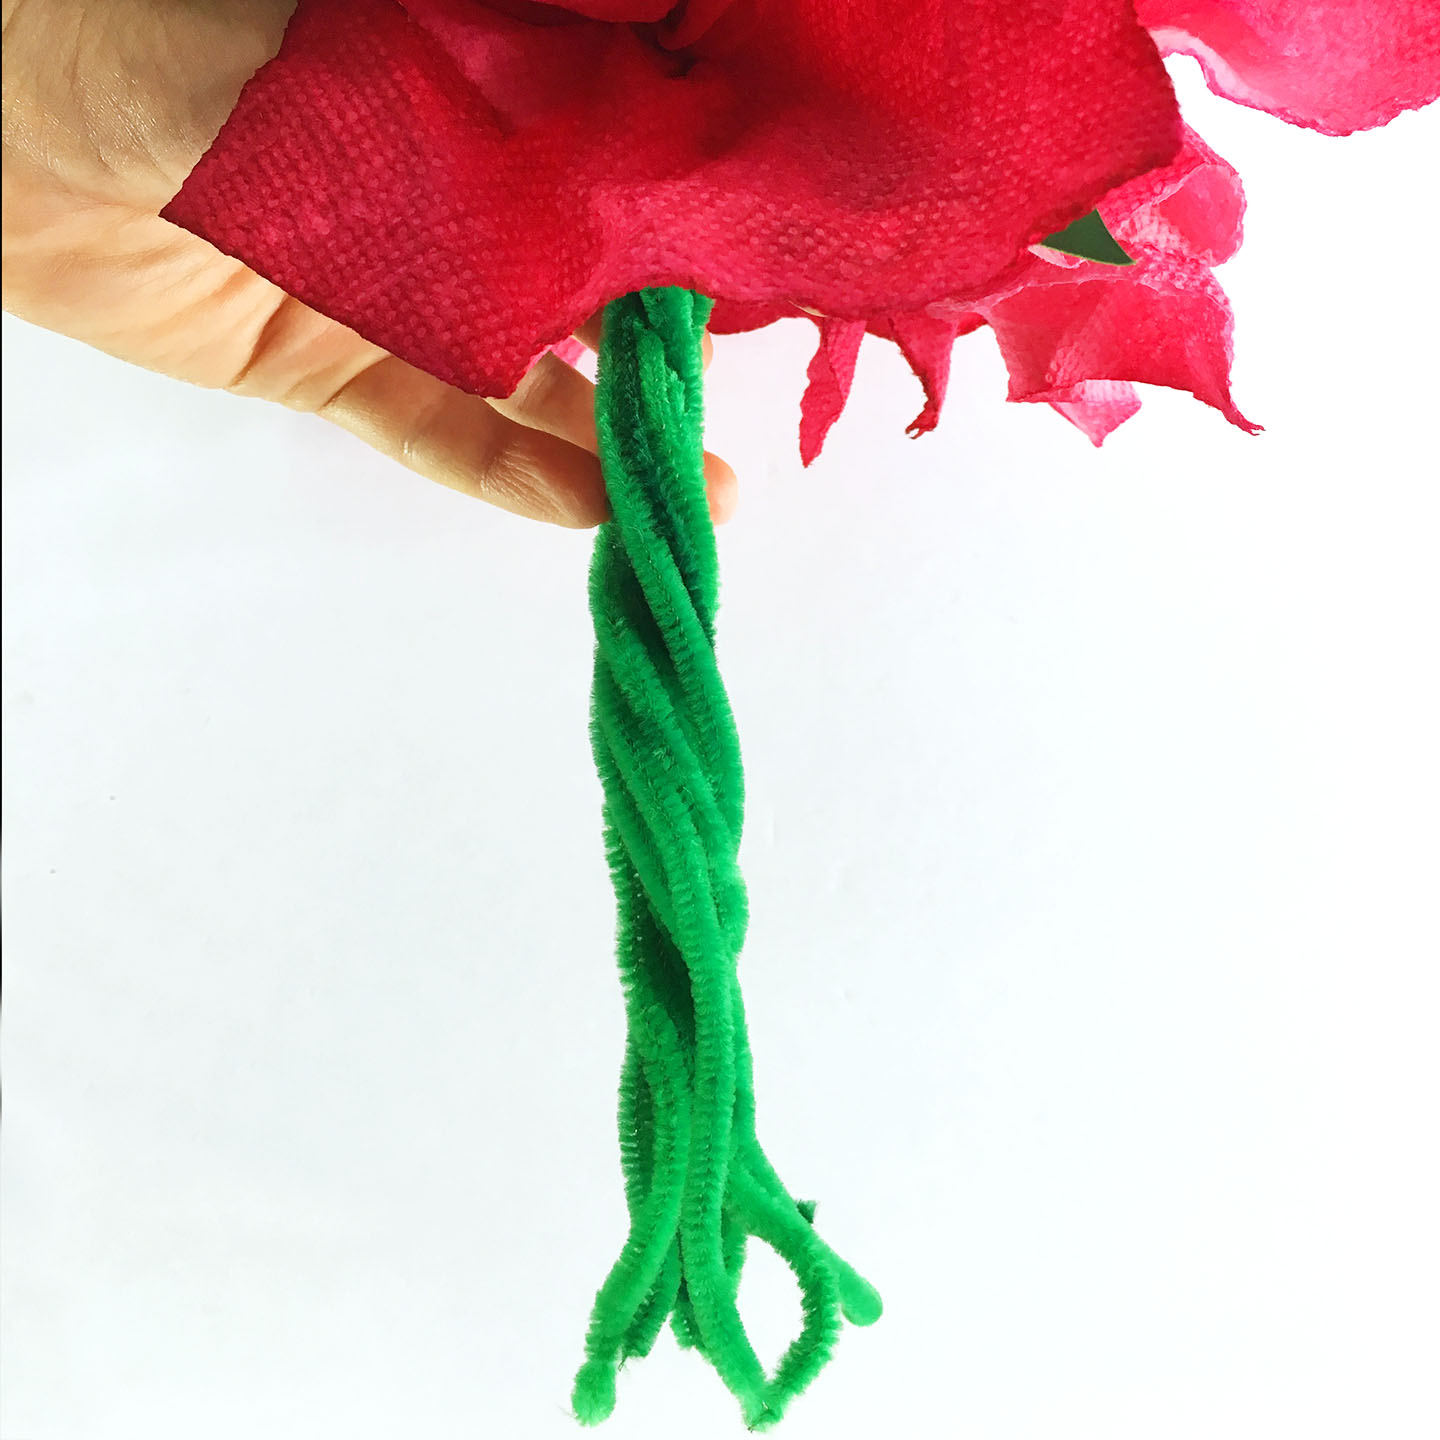
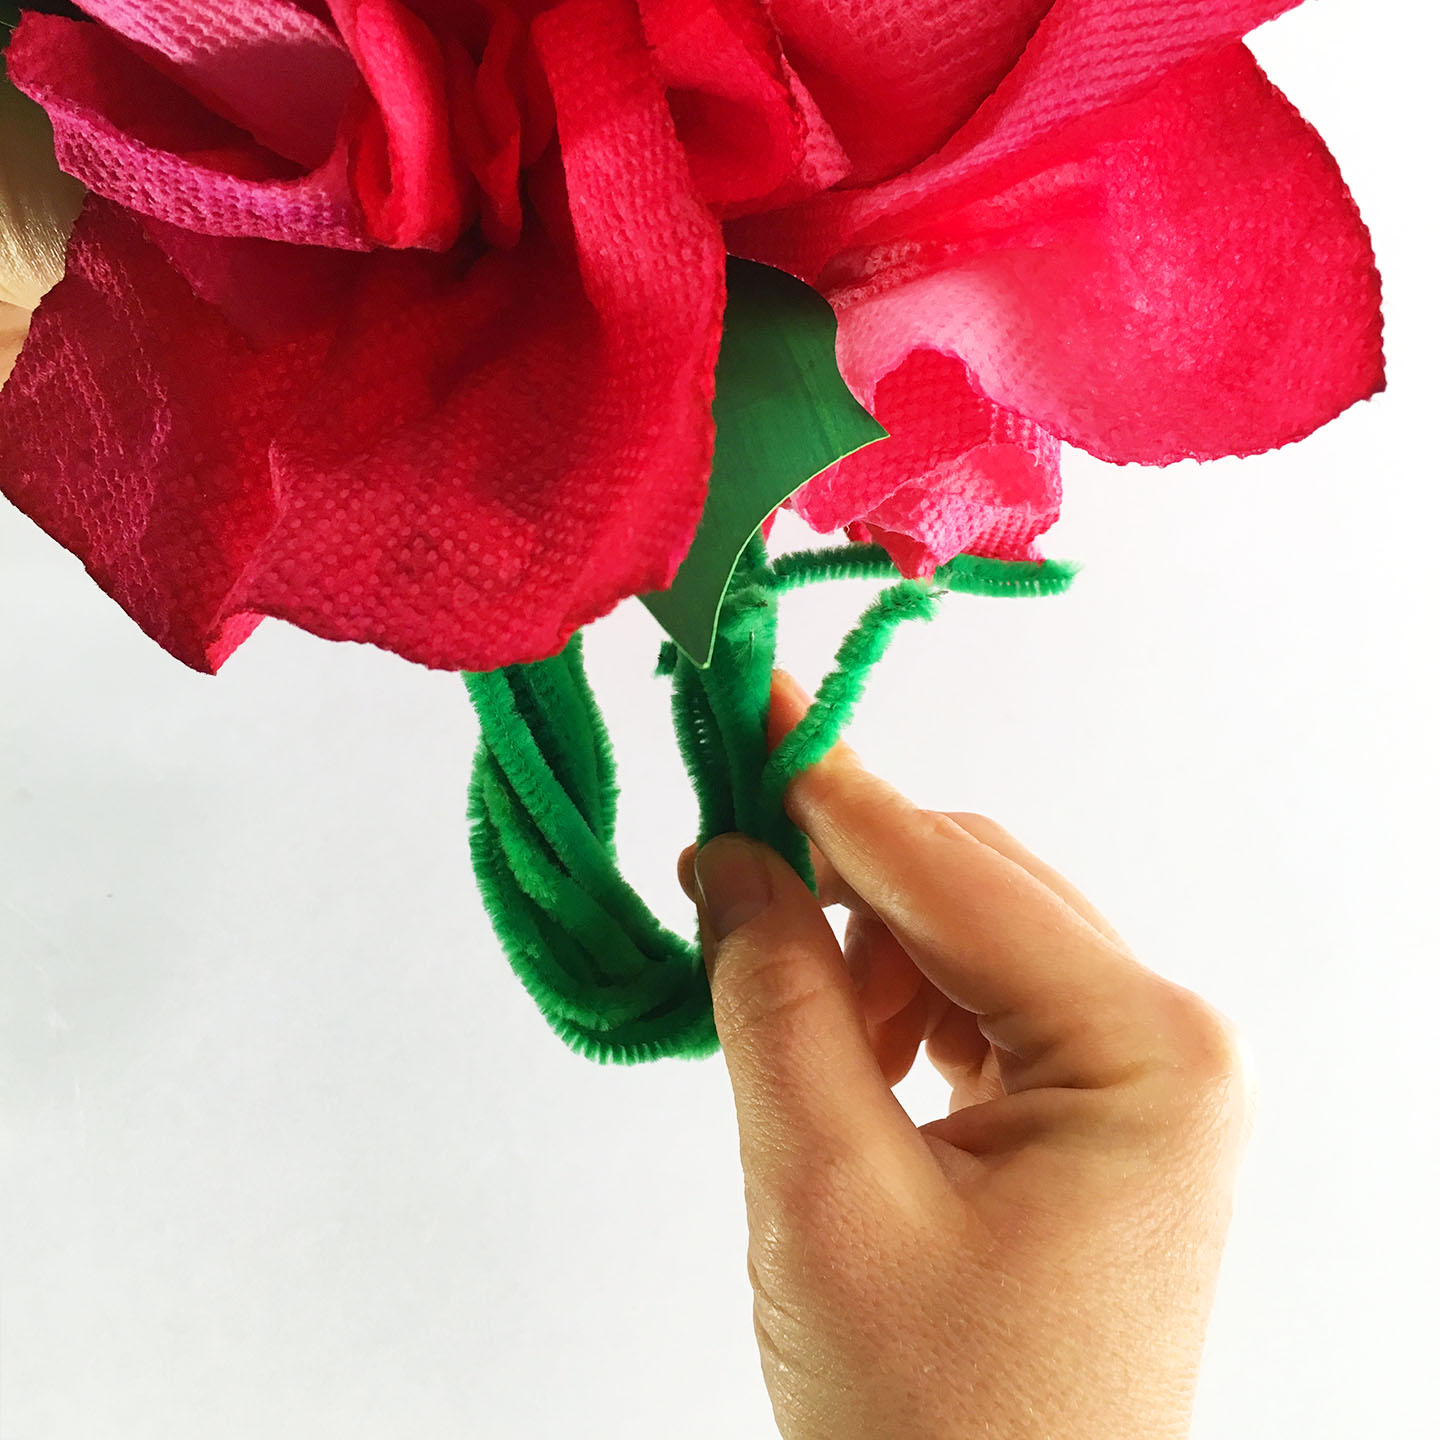
5. Once you’ve stapled all the flowers it’s time to add their stems. Staple a
green pipe cleaner at the base of your flower leaving an inch or two at the
top. Then take this extra pipe cleaner at the top and wrap it around the
base of the flower to secure it in place.
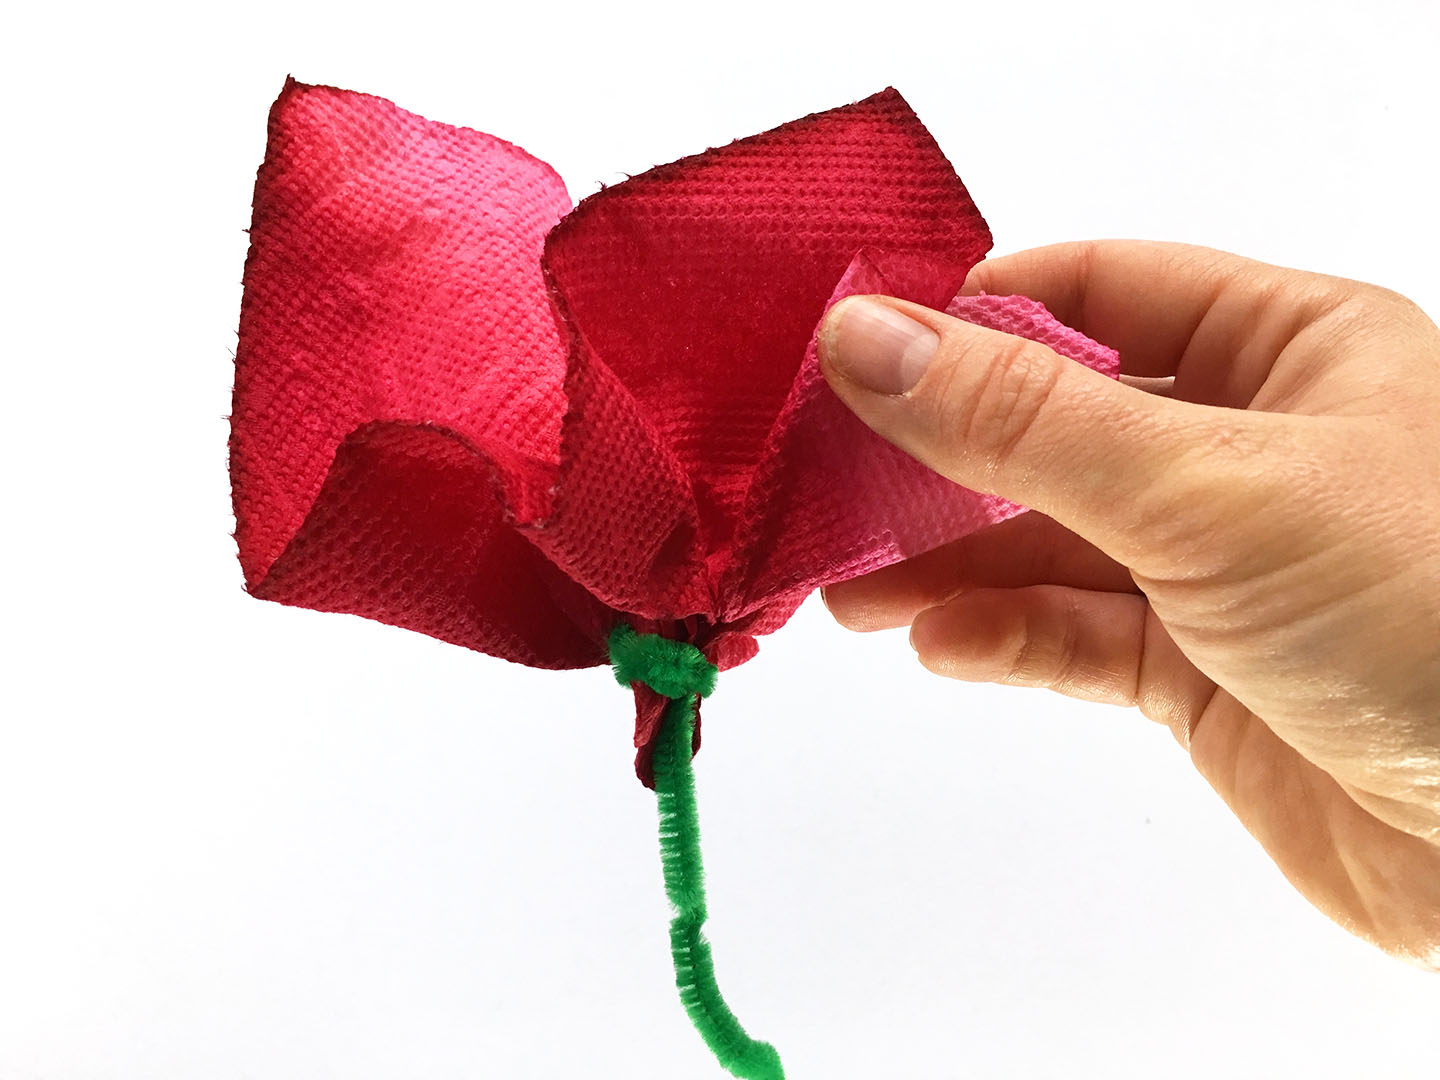
6. You’re beautiful flowers should now look something like this.
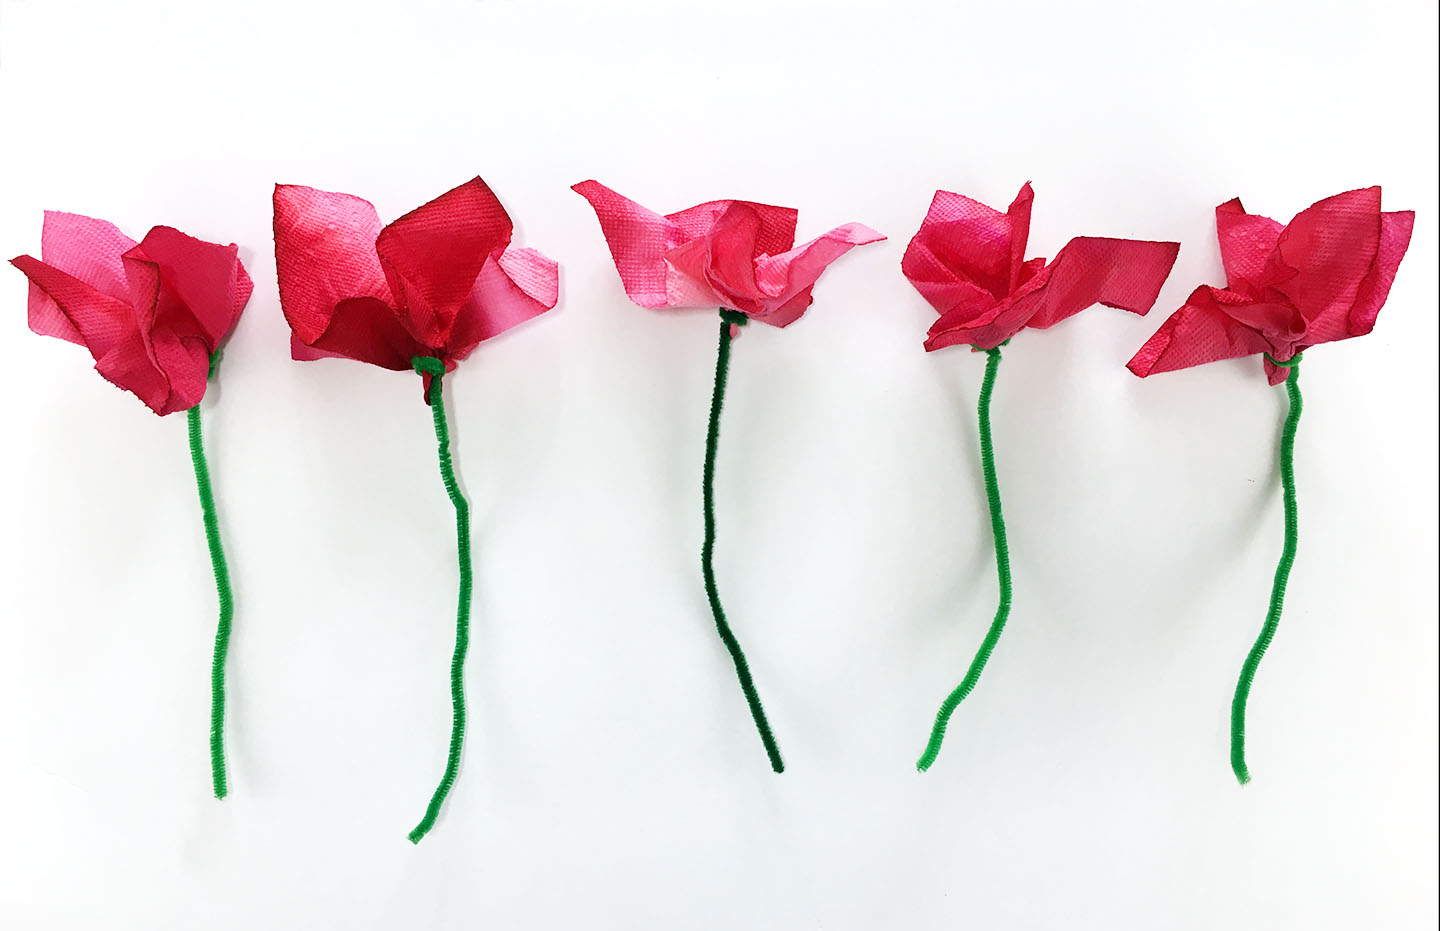
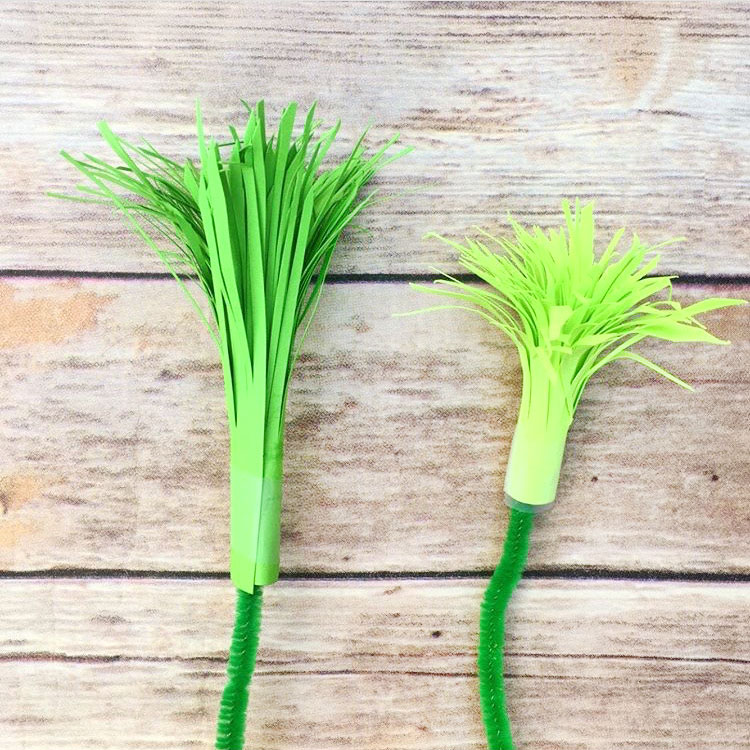
PAPER TOWEL CRAFT – THE GREENERY:
7. Now it’s leaf time. If you want to add some greenery cut a strip of paper,
we cut ours about 3-4 inches thick. Then cut some slits down one side, roll
it up and tape closed. Slip a pipe cleaner through the bottom and add to
your flower arrangement.
SHARE YOUR PAPER TOWEL FLOWER CRAFT:
Spread the word and Pin and Facebook share with your friends!




Pingback: Paper Plate Flower Craft for Kids - Red Ted Art's Blog