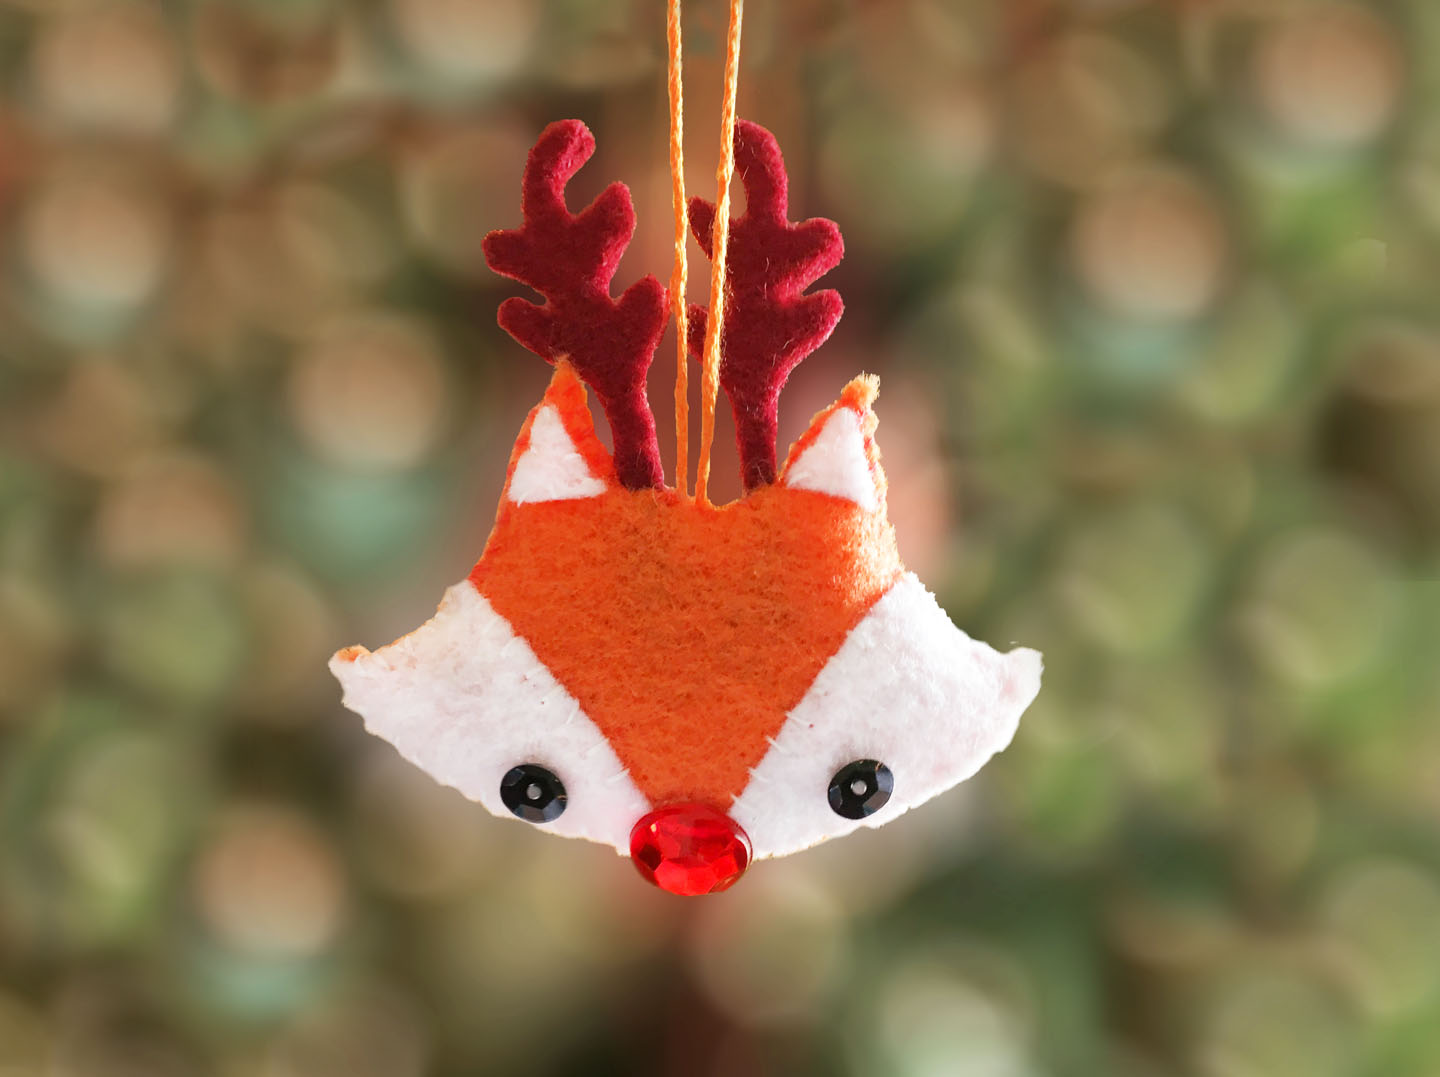
This year we were invited by the most amazing Trixi over at Coloured Buttons to participate in the Sew a Softie for Christmas blog hop. Sew a Softie was created to encourage parents and grandparents to sew with their kids by providing simple to sew projects. Trixi has done an incredible job achieving this goal and has inspired me to sew more.
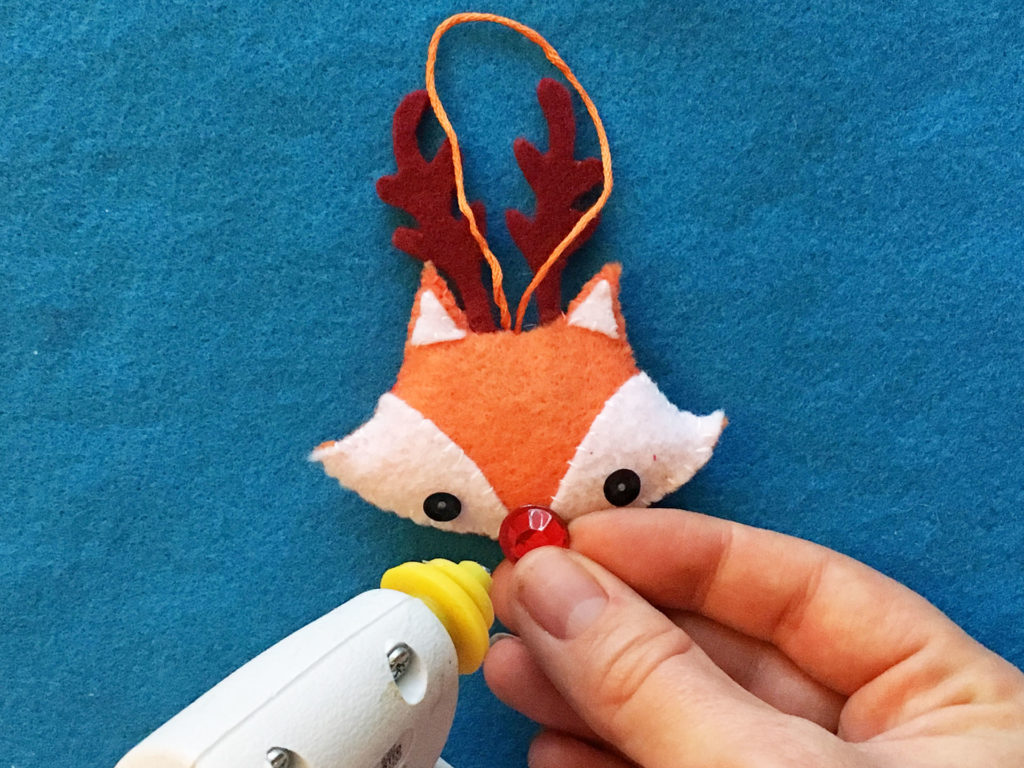
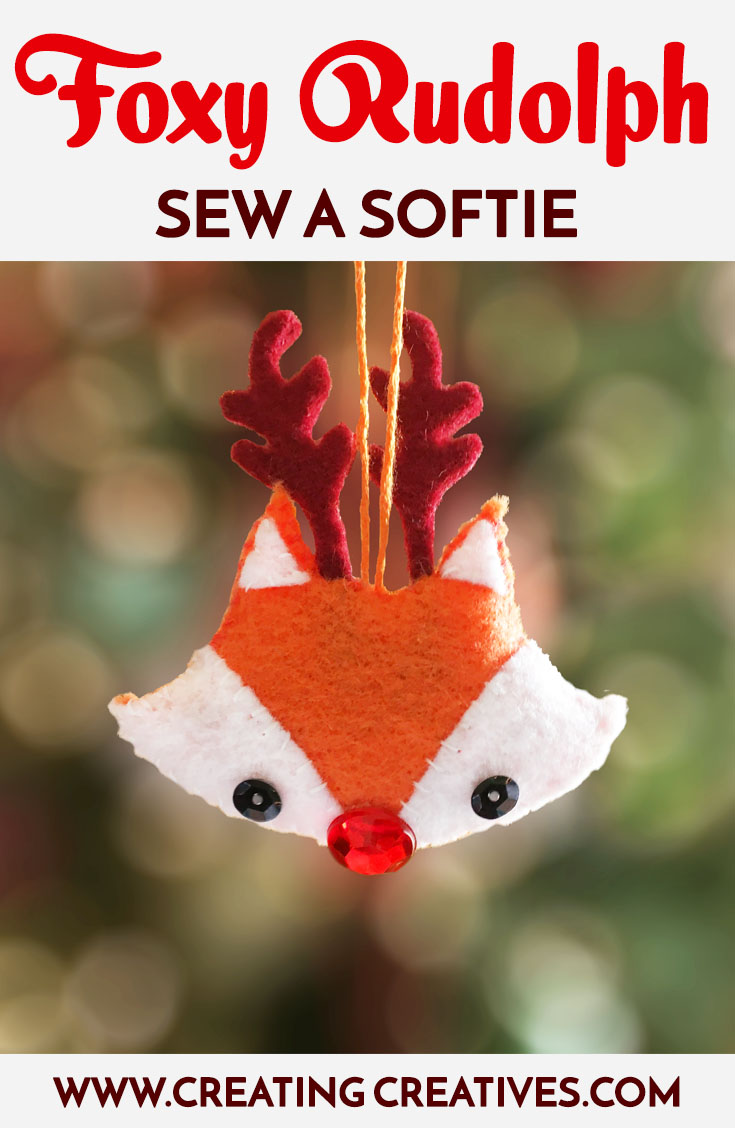
Having said “yes!” to this project, I now needed to figure out what to make. I knew I wanted to make something fairly simple that first time sewers would find achievable. Now, my son is obsessed with Rudolph and I have been on a mini fox obsession recently, have you seen the new fox emoji?! It’s so cute right? But I digress. Foxes and Rudolph, what would happen if I combined the two? Well the answer to this question is below.
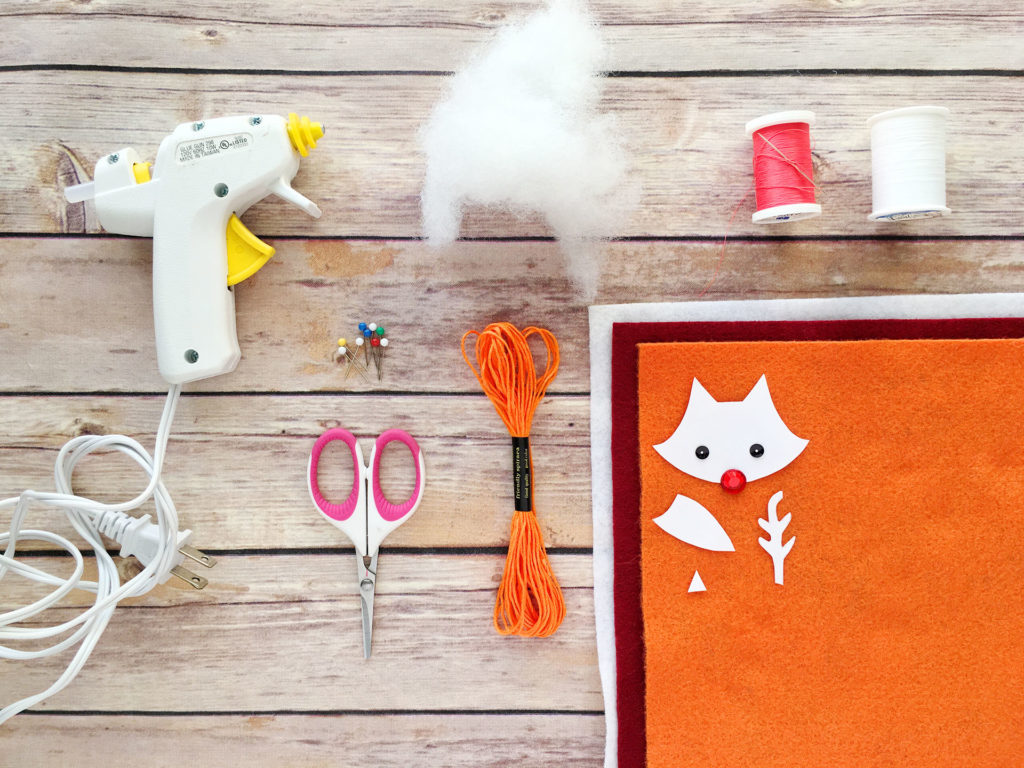
Softie Craft Supplies:
This list contains affiliate links.
- Orange Felt
- White Felt
- Brown Felt
- Embroidery Thread to hang
- Black Sequins
- Red Gem or Sequin
- White & Orange/Pink Thread
- Pins
- Sewing Needle
- Polyester Fiber Fill
- Sewing Scissors
- Glue Gun
- Glue Stick (optional)
- Fox Pattern – Enter your name and email below and I’ll send you my free ornament guide with Foxy Rudolph instructions and template.
Make It – Foxy Reindeer Softie:
1. First print and cut out your paper template, then pin the template onto your felt and cut it out. You’ll want to cut 2 x Foxy Faces, 1 x R Ear, 1 x L Ear, 1 x Right Cheek, 1 x Left Cheek. 
2. Next cut out of your brown felt 1 x Right Antler and 1 x Left Antler.
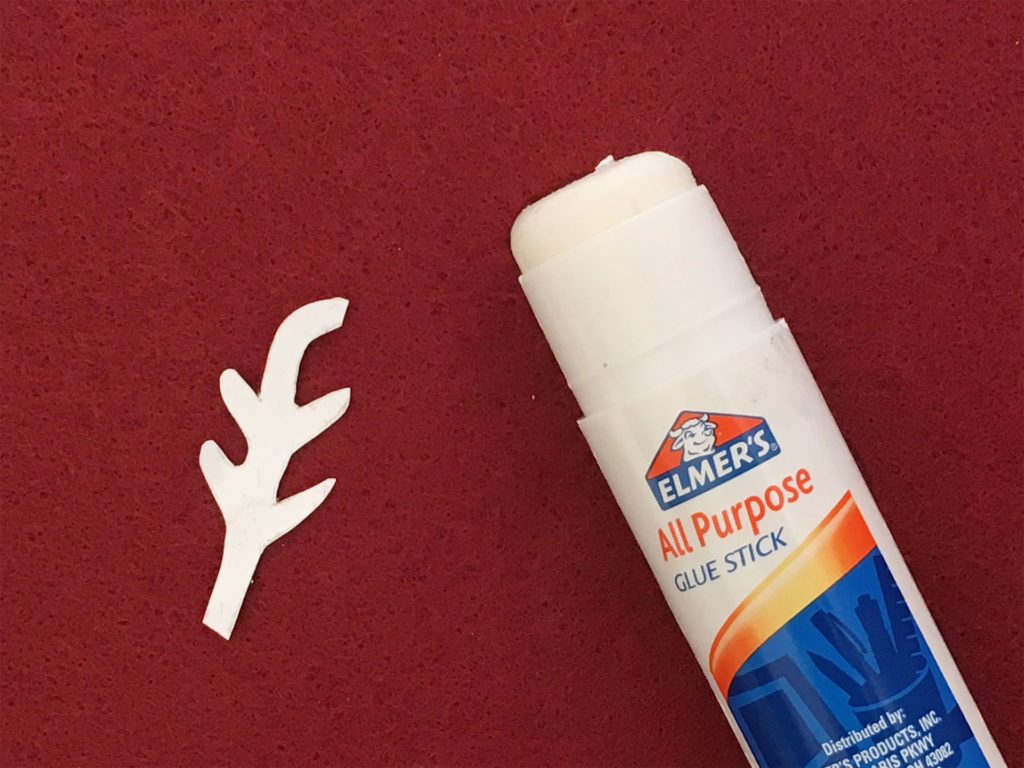
Tip: For the trickier shapes that are hard to pin use a glue stick to temporarily stick it to the felt and make cutting easier.
3. Now, hot glue the Antlers to another small piece of brown felt and cut around it. This will make the antler’s sturdier.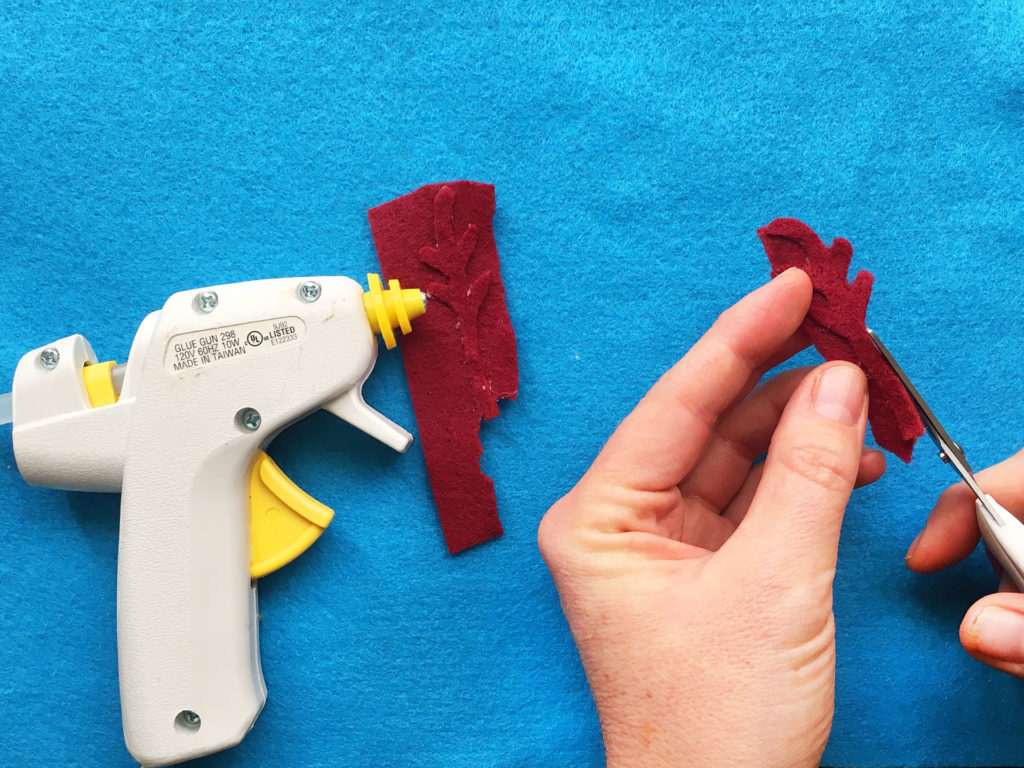
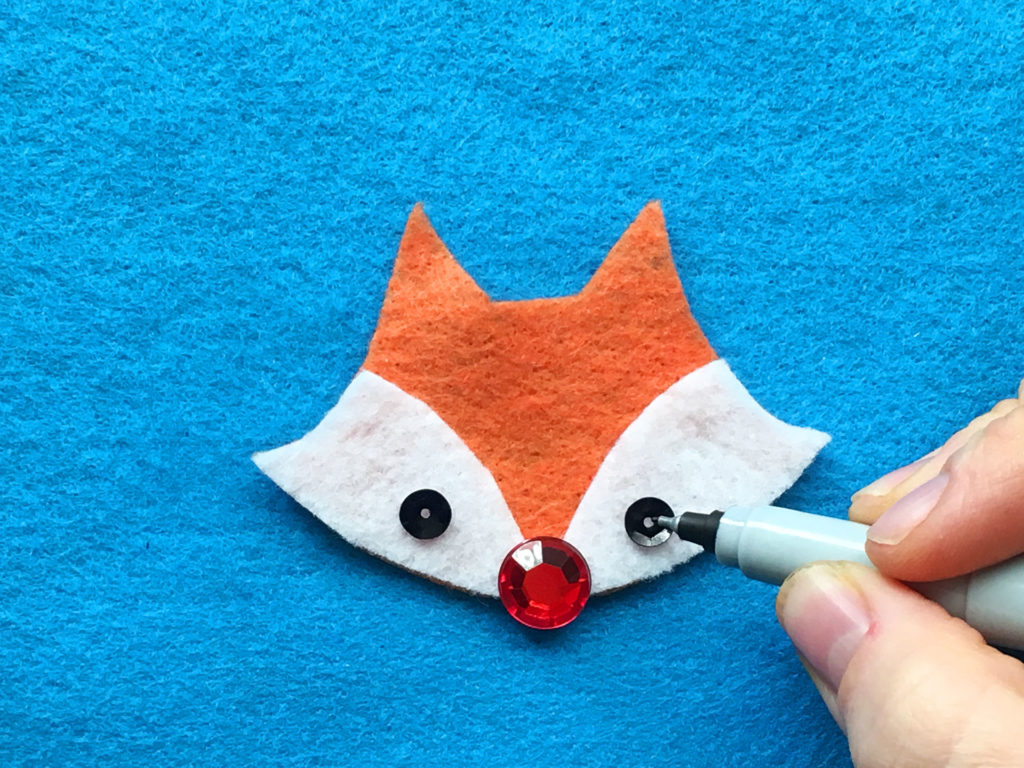
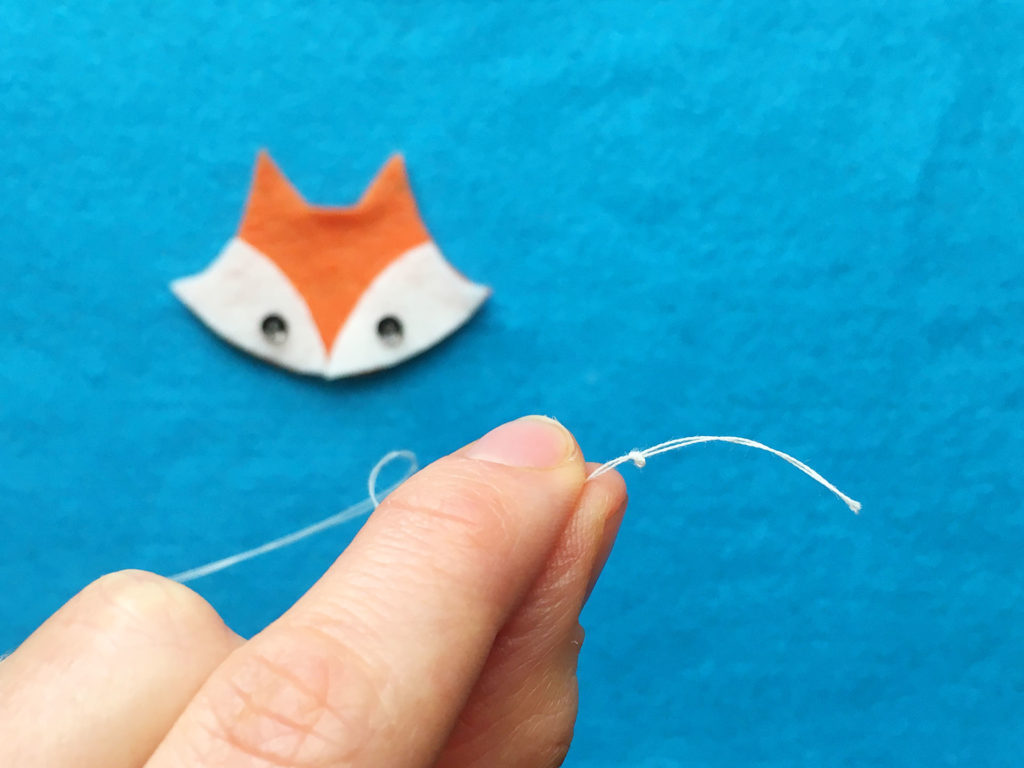
4. Place the cheeks on the face and layout where you want the eyes and nose to be. Now make a small dot through each of the holes in the sequin eyes, onto the white cheek. You can also do this step and step 5 at the very end, since stuffing it changes the face shape .
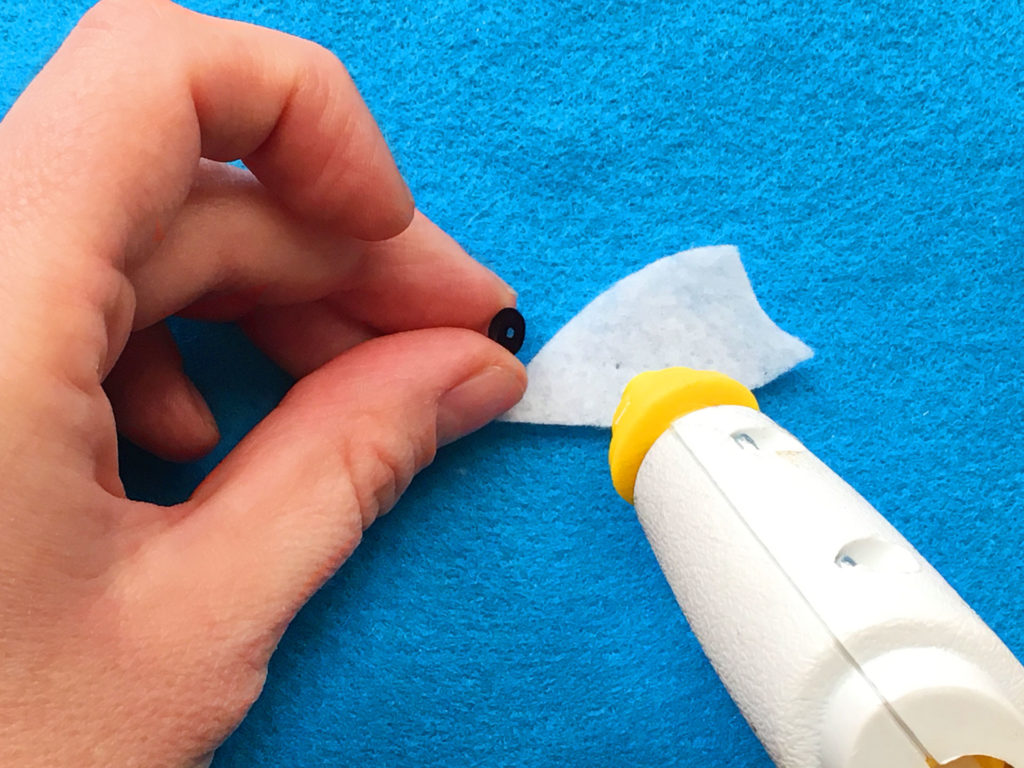
5. Now remove the cheeks from your layout and place a small drop of hot glue on the dot, then place the sequin onto the glue. You can use a toothpick or pencil tip to push the sequin down into the glue. Repeat for the other cheek.
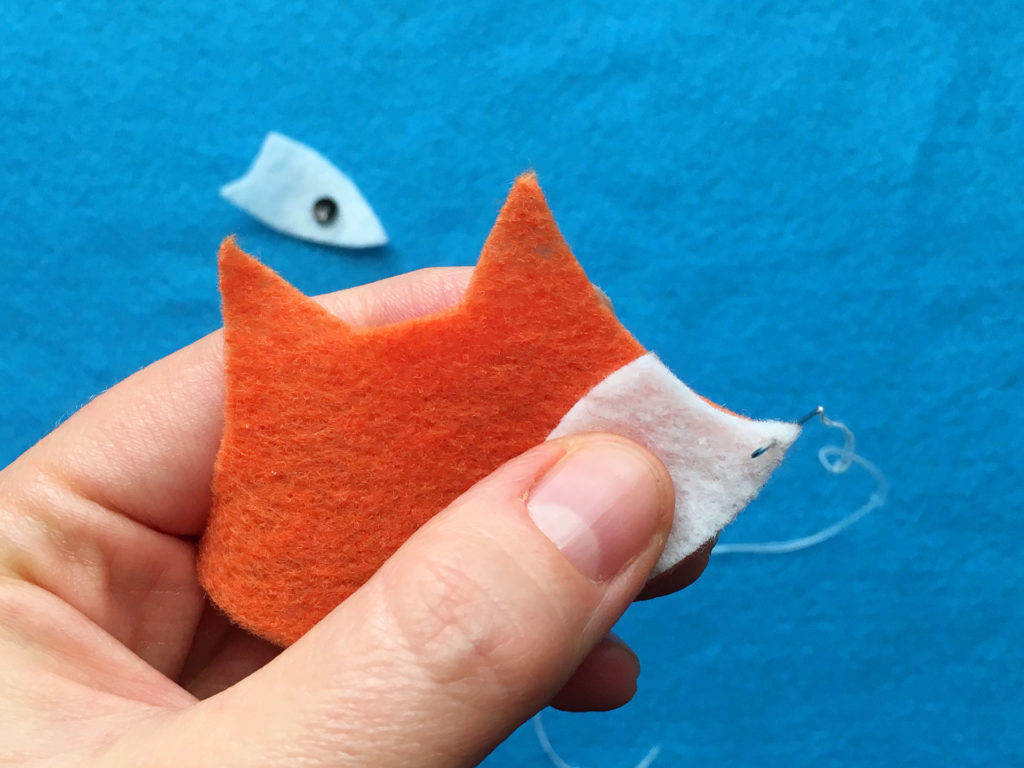
8. Also sew the ear pieces into place.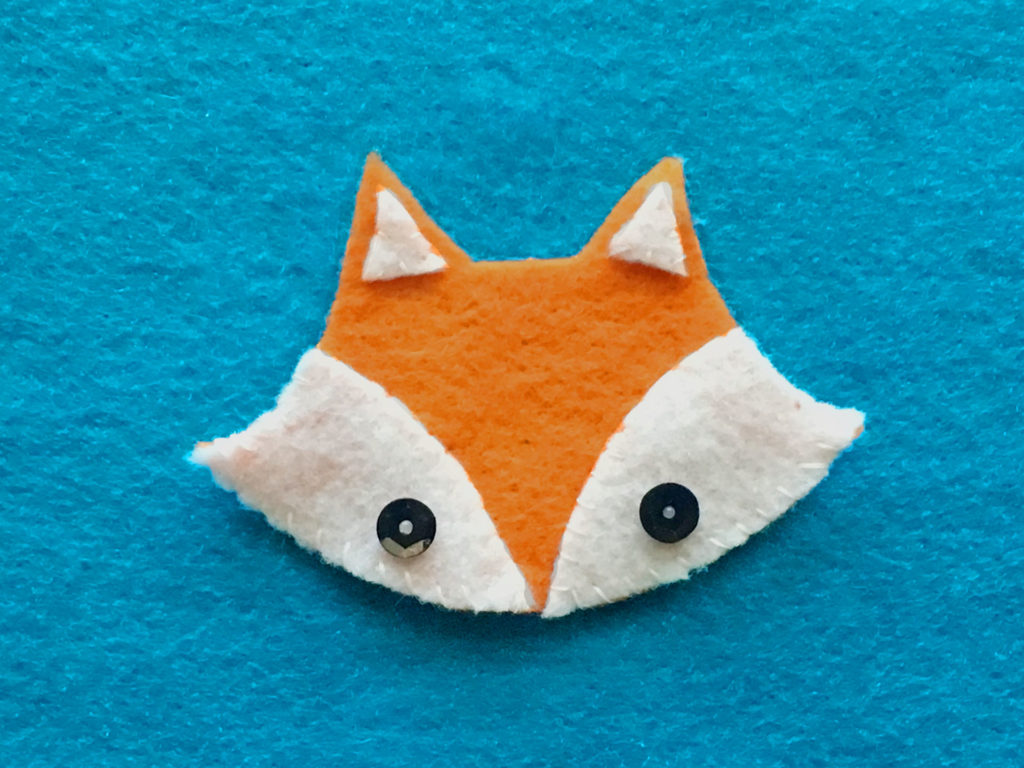
9. Next, turn your fox face over and hot glue the antlers onto the back.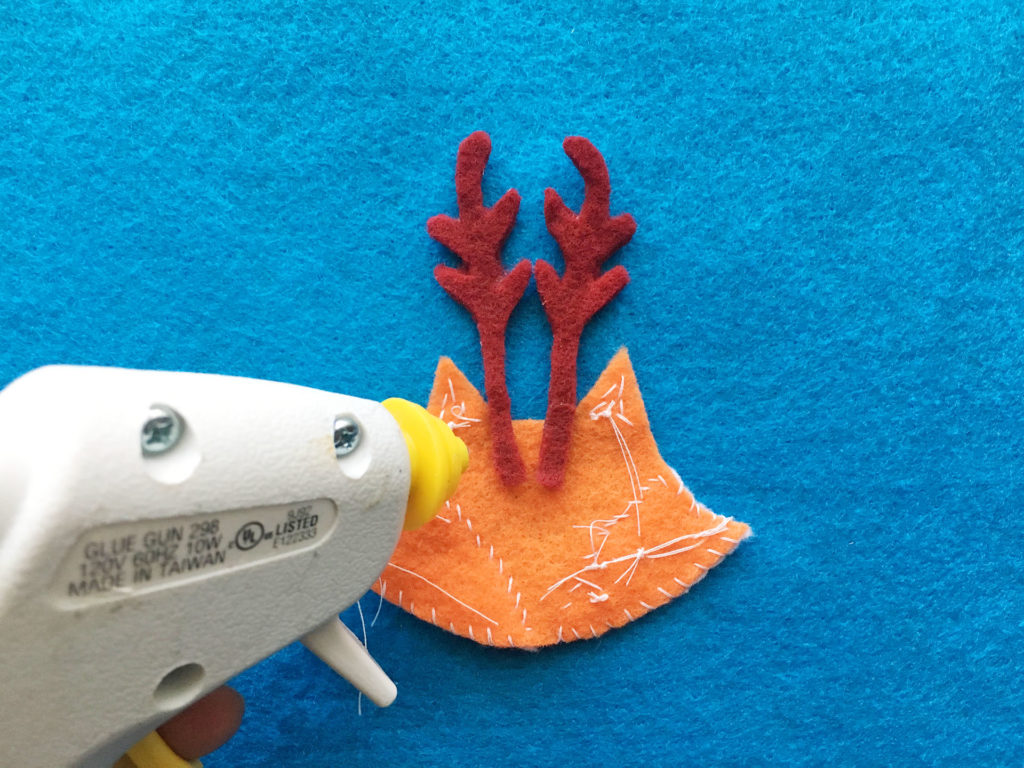
10. Now it’s time to sew on the back. We used white thread to sew around the cheeks and went back through the same holes we made to sew the cheeks to the front.
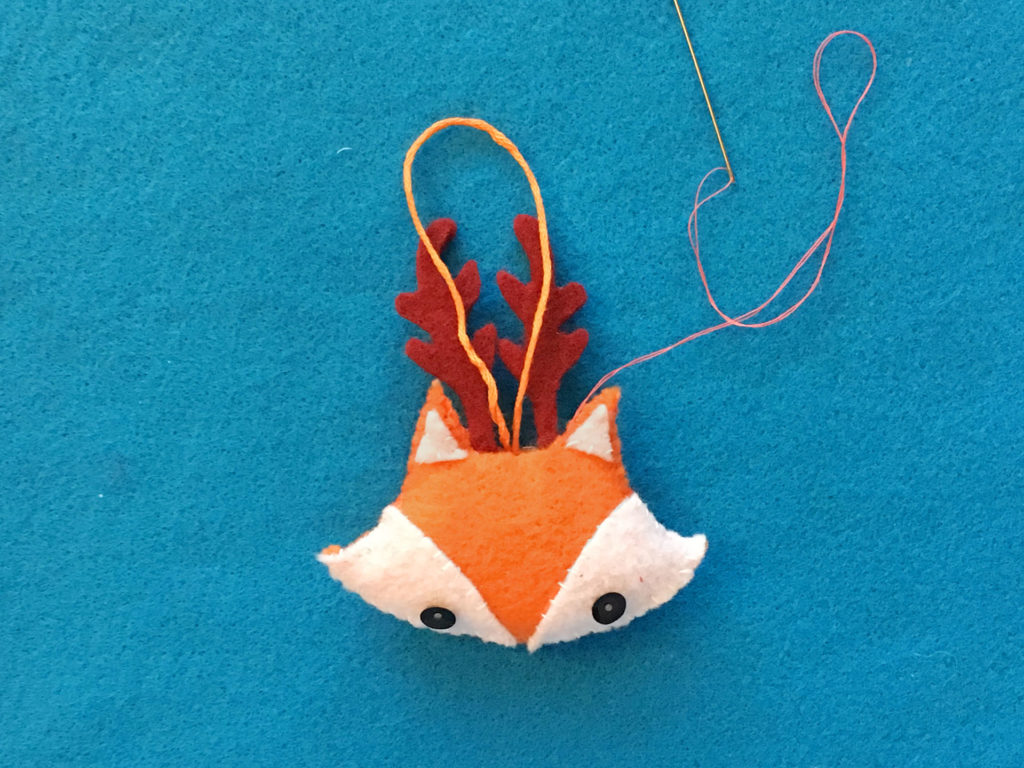
11. Next use the orange/pink thread to sew around the forehead area leaving a hole at the top between the antlers for stuffing. Make sure to leave your needle and thread hanging while you go onto the next step.
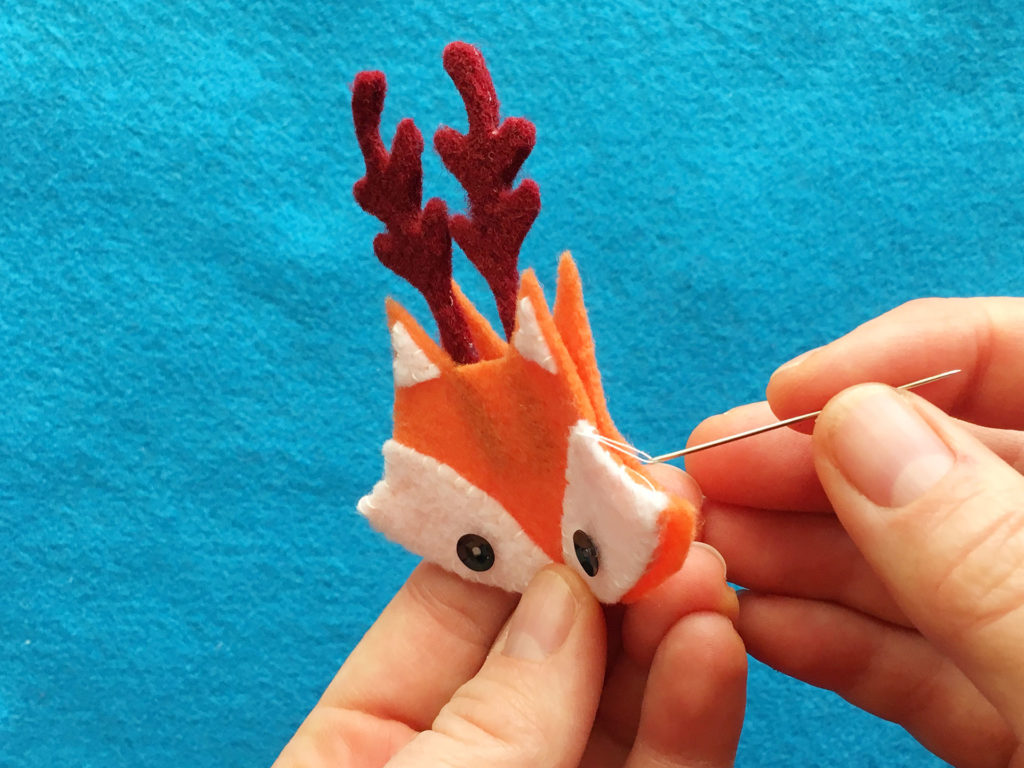
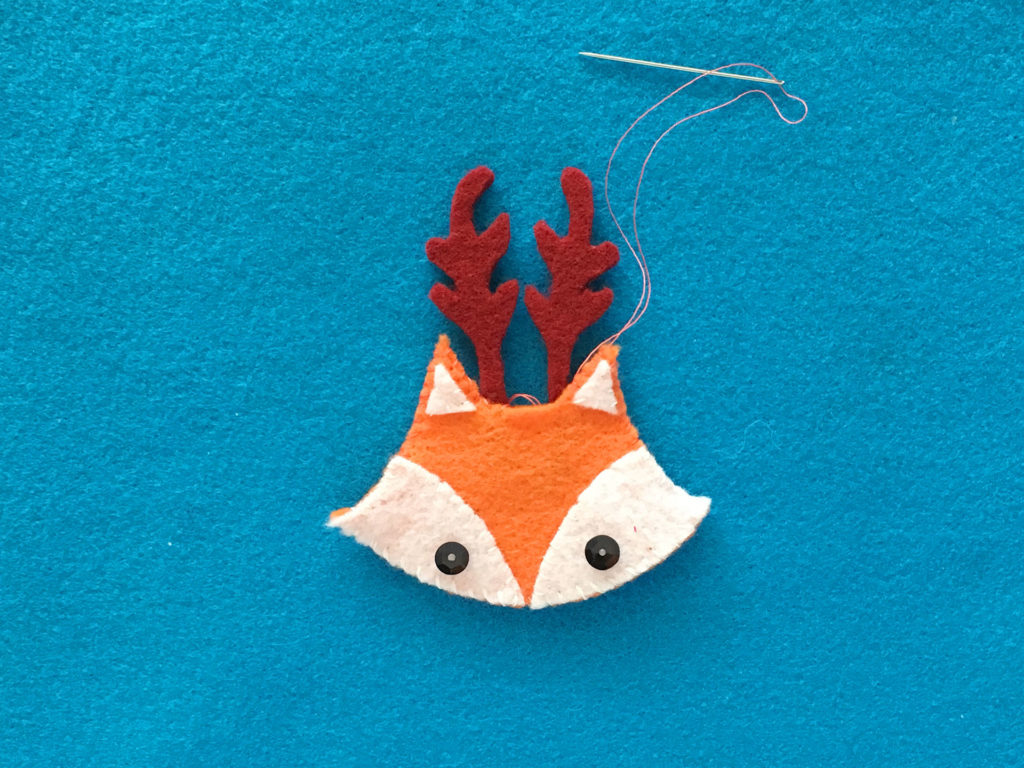
12. Take some polyester fiber fill and stuff it little by little into the opening. You can use a long thin object to help push the filling in. We used the end of our small scissors. Now massage the fiber fill into place getting in all the nooks and crannies.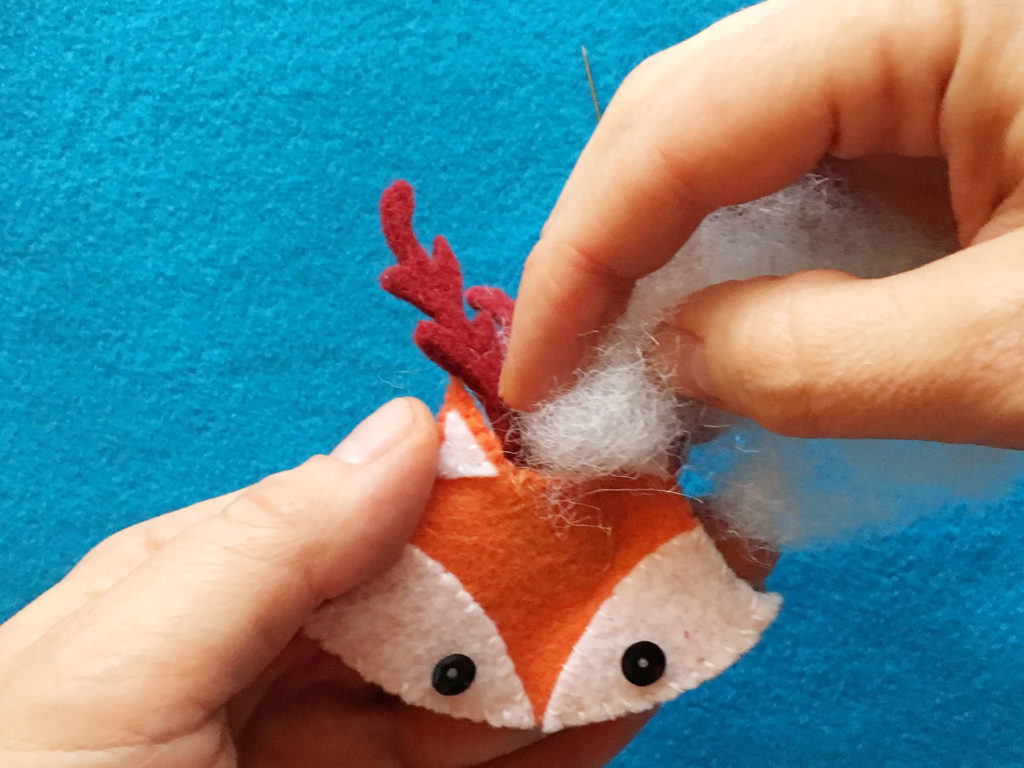
13. Next measure out a loop of embroidery thread and put it in the opening. Sew up the opening making sure to sew the embroidery thread in too. This would also make a really cute broach, so you can skip this step if you go that route.
15. Finally you’re ready to hang this little Foxy Rudolph on your tree or wear as a festive accessory. Enjoy and Merry Christmas!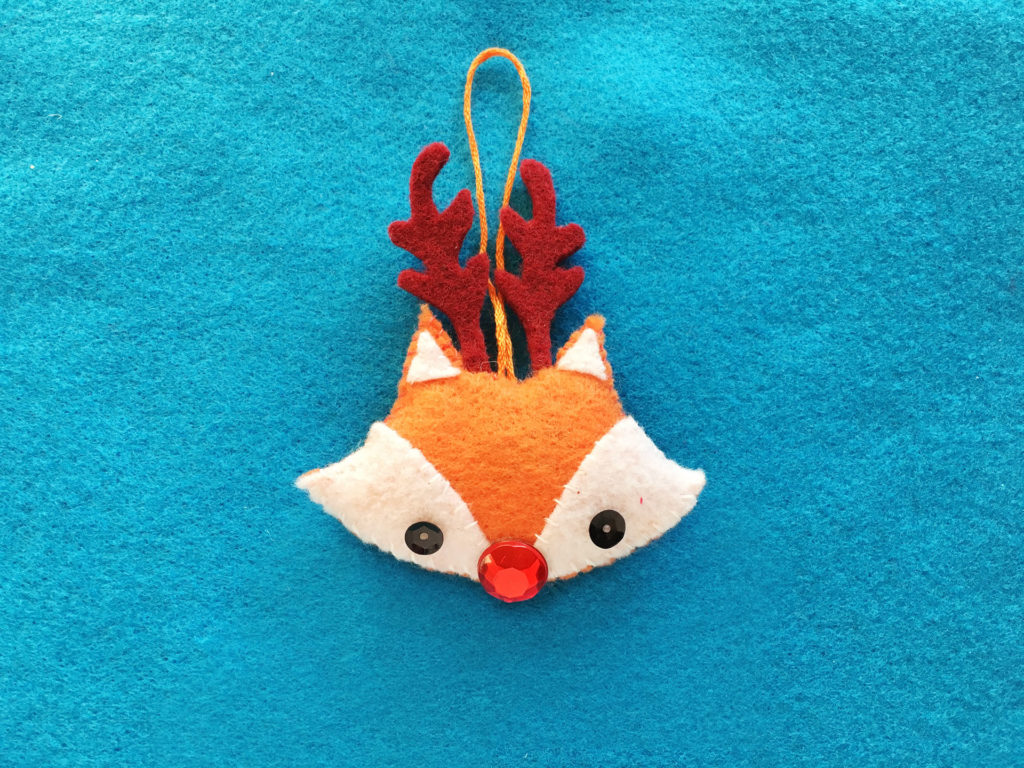
SHARE YOUR FOXY REINDEER SOFTIE:
Spread the word and Pin and Facebook share with your friends!



I love your Foxy Rudolph! An excellent amalgamation 🙂 Thanks for joining in and I love that I’ve inspired you to sew. Looking forward to seeing more ‘Creating Creative’ designs!!