
Spring is here! Well for some of us, like me here in LA, but for my Insta-Buddy Cara, things aren’t quite looking as spring like yet. Which is why she had to jar it up, and why we’re talking about a terrarium for kids. Have you met Cara? She is the brains and creative behind Hello Moonpie. If you aren’t following her and you have a young child, you are going to want to click that ‘follow’ button asap my friend, you will not regret it.
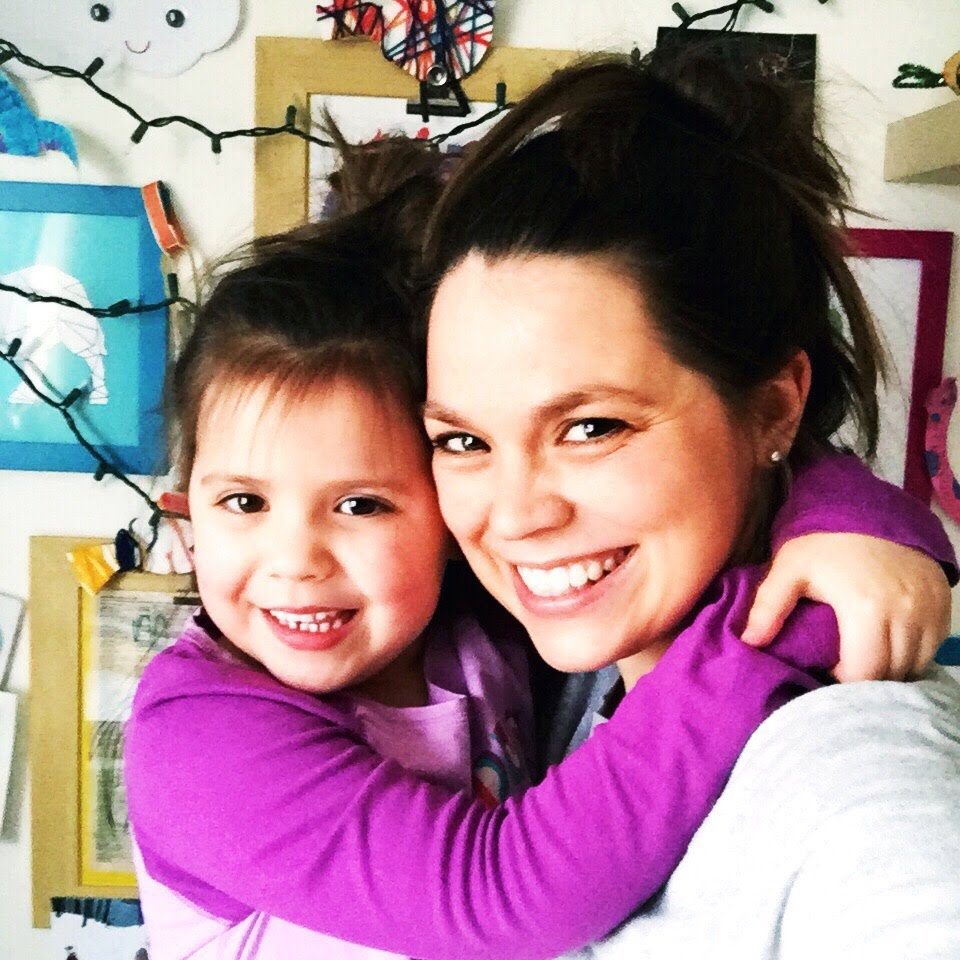
Cara is a homeschoolin’, art loving, STEAM thinking, awesome mother to the sweetest 5yr old girl, Kinley, and she shares all her ideas and adventures over on Instagram. Today we are lucky enough to have her here with us, sharing her super fun project… “Spring in a Jar” a terrarium for kids. Ok take it away Cara.
My daughter, Kinley, and I are desperate for spring. Every time it looks like it may finally be on it’s way, it starts snowing again! Ugh. The winter that would not quit. Are you feeling it in your neck of the woods, too?
We put our creative thinking caps on a couple of weeks ago, on one of those yucky freezing days, and came up with this little idea: SPRING IN A JAR! Just enough of a taste of happy, warm, sunshiny vibes to tide us over for the real thing.
Terrarium for Kids Supplies:
- Play Clay or Modeling Clay
- Small Jars
- A circle of scrap cardboard, cut a little smaller than the mouth of the jar.
- Assorted spring-ish goodies — transparent binder dividers cut into strips of grass, sequins and spangles, fuzzy little chicks, pipe cleaners, etc.
Make It: Spring in a Jar – Terrarium for Kids:
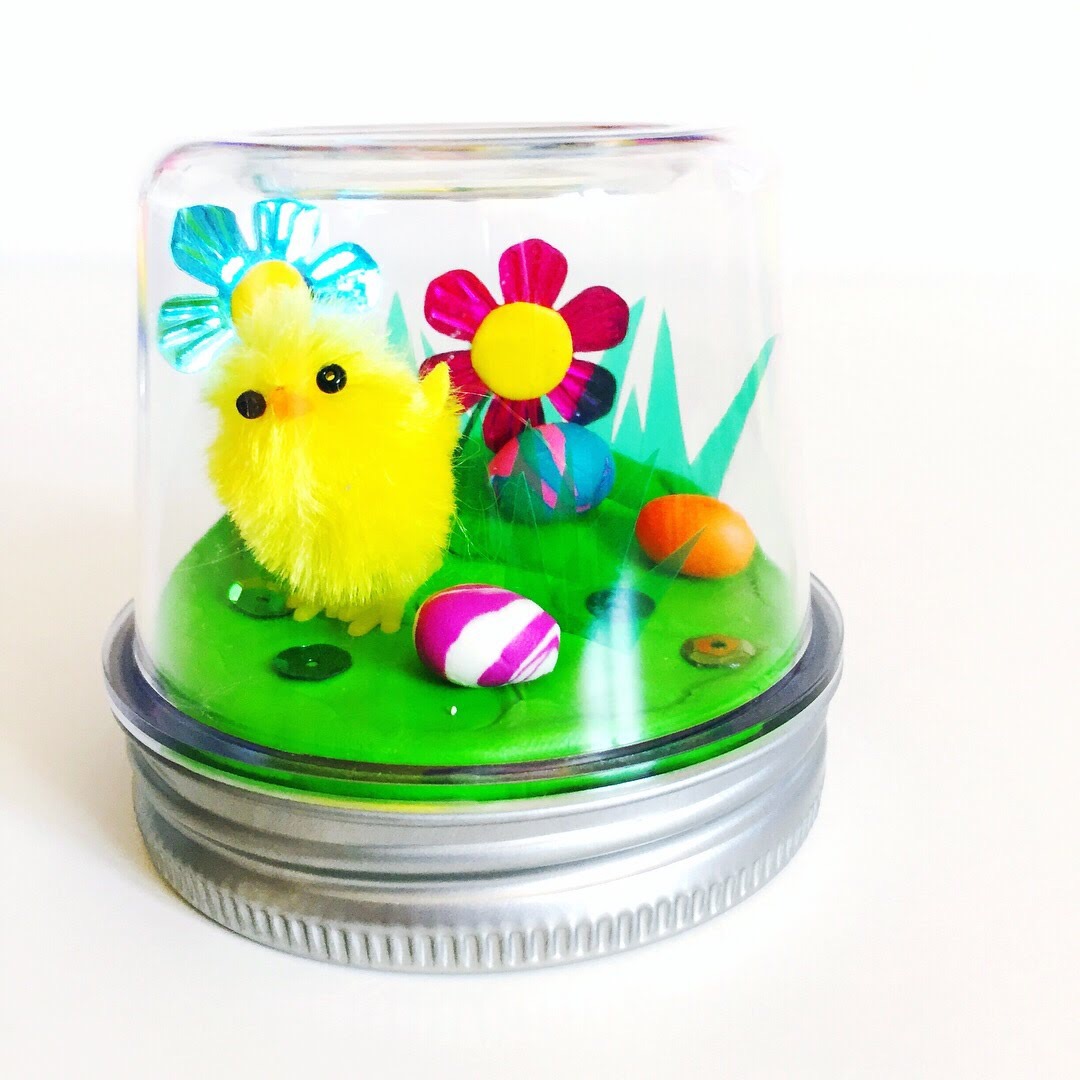
STEP 1. Use your fingers to smush some play clay and spread it all over the top and sides of your cardboard circle. The clay on the sides helps your scene stay in place inside the jar when you are all done.

STEP 2. Get to decorating! No need for glue or anything, just use more clay to stick everything together. Kinley made her own flowers out of pipe cleaners and stuck sequins in her pretty marbled clay base to look like Easter eggs. I used spangles and floral wire to make flowers and made some swirly clay eggs. You can use whatever you’ve got on hand! Pom-pom chicks, jelly beans, little plastic animals figures or tiny felt flowers would all be ADORABLE!
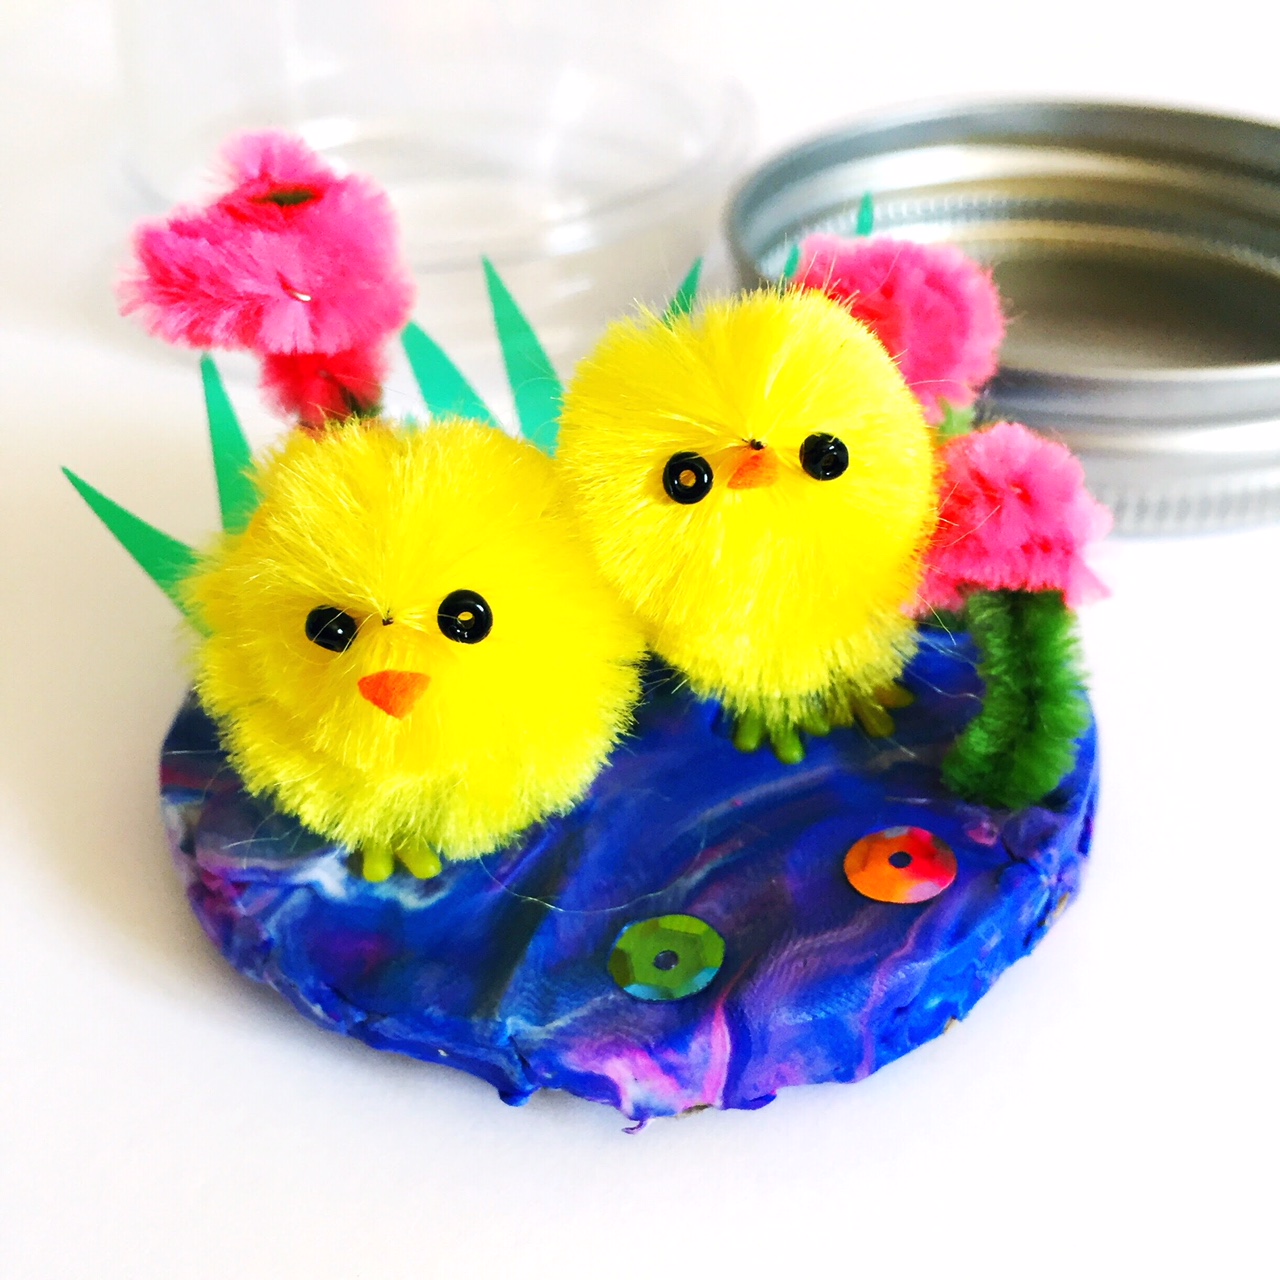
STEP 3. When your little scene is just the way you want it, carefully pop it in your jar and screw on the lid. Easy peasy!

As soon as Kinley saw me gathering the goodies for these things, she twirled and pranced right over and couldn’t even wait for all of the cute little things to be out and ready to get started, and I’m willing to bet the same will happen at your house! Who can resist clay, bright happy colors and cute little goodies?!
Wouldn’t this be an adorable spring birthday party craft? Just imagining all of those different varieties of cheerful little jars makes my heart happy. If you give these a go, Kinley and I would absolutely love to see how they turn out!
TAG US IN YOUR SPRING IN A JAR CREATIONS:
We love how projects change with different creative minds, and would love to see how yours turned out! Tag @creatingcreatives & @hello.moonpie on Instagram or @creatingcreativeskids on Facebook.
SHARE IT:
Spread the word and Pin and Facebook share with your friends!
ABOUT CARA:
Cara Huff is a homeschooling stay-at-home momma who loves books, art and STEAMY projects. If you like this project, you can find all of Cara’s other brightly colored and super fun ideas on Instagram, her blog Hello Moonpie and on Facebook.
FOR MORE SPRING PROJECTS CHECK THESE OUT:
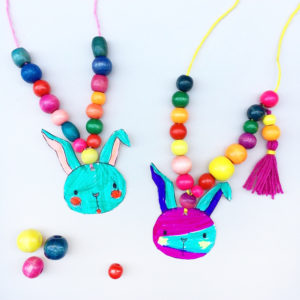
Printable Bunny Necklace

20 Spring and Easter Crafts
