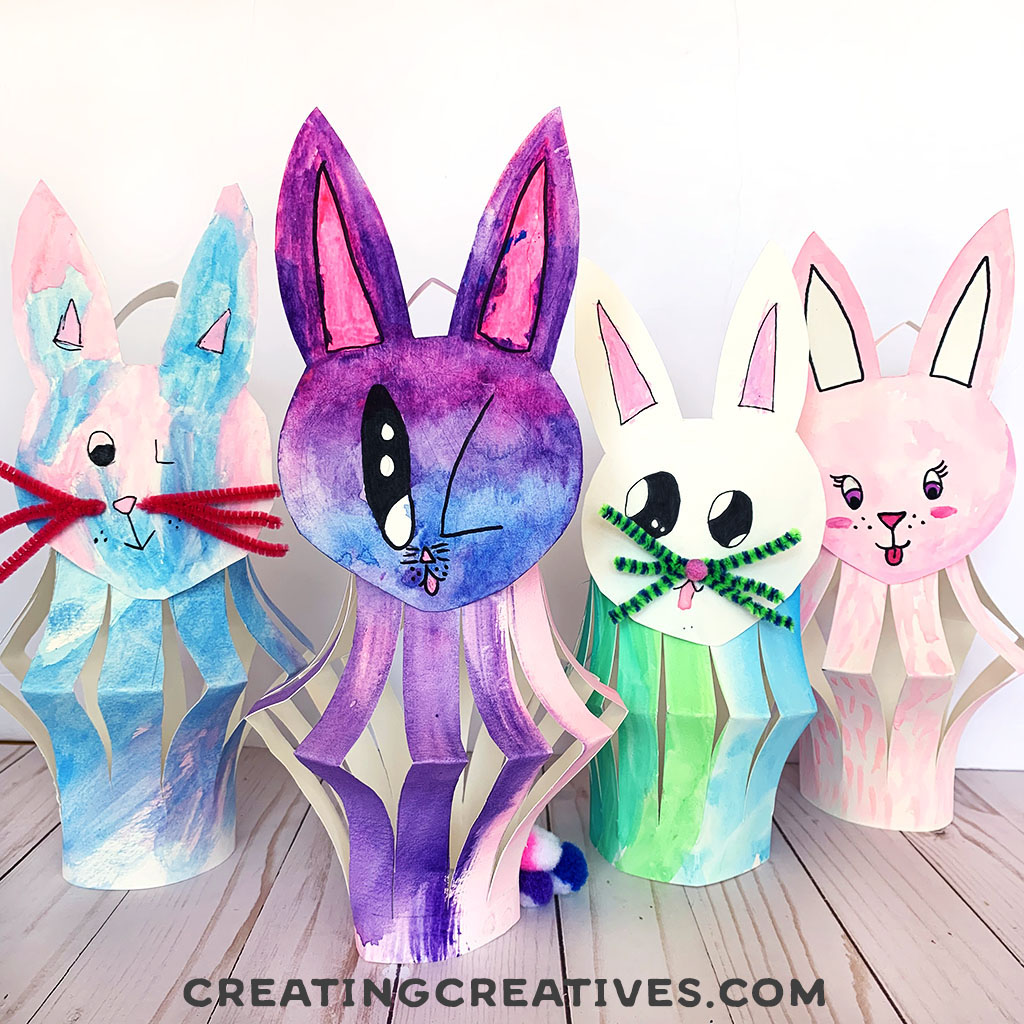
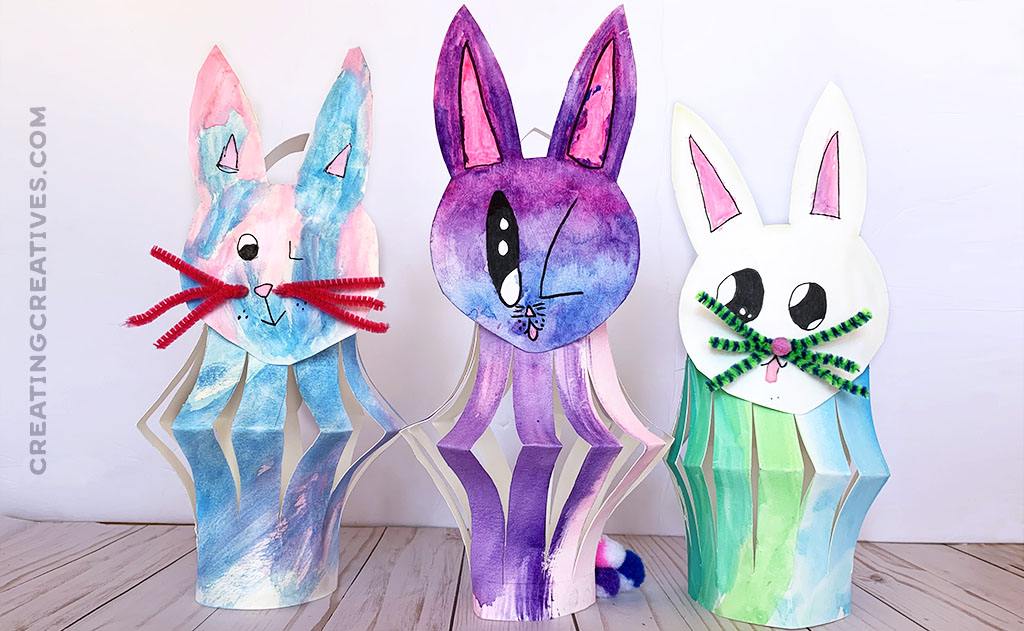
 We had so much fun making our Santa Paper Lanterns over Christmas we thought it only right to make some bunnies for Easter, so here are our Bunny Paper Lanterns! Aren’t they cute?!
Because we want to make it easy for you we’ve made you a printable. And if you’d like to sign up to our email list, where we send fun, crafty and creative ideas, we’ll send our Bunny Paper Lantern Template printable over as a ‘Thank You’ when you enter your name and email below.
Bunny Paper Lantern Supplies:
This list contains affiliate links.
- Watercolor Paper
- Watercolors
- Paint Brushes
- Scissors
- Pencil
- Black Marker
- Stapler
- Glue
- Pipe Cleaners – optional
- Bunny Template – If you enter your name and email below to sign up for our mailing list then we’ll send you this free template as a Thank You.
Make It – Bunny Paper Lantern:
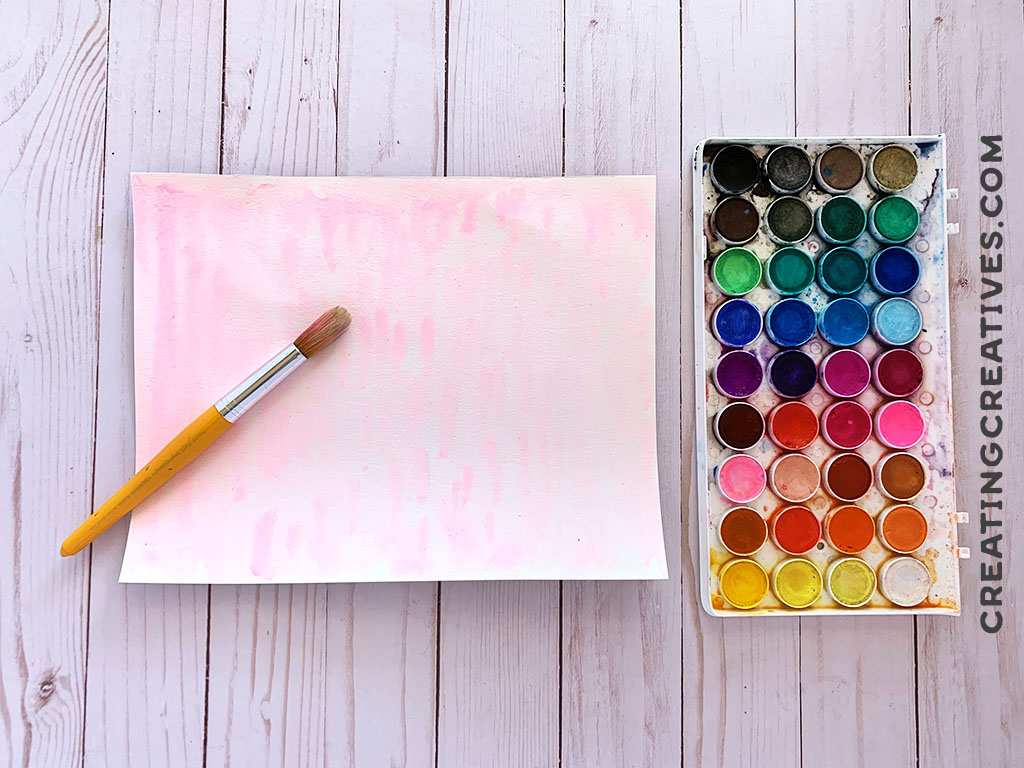
1. Start off by painting a piece of 8″x 11″ paper. We painted on water color paper which holds watercolor paint so well, and it’s nice and thick so will make your little bunnies a bit sturdier.
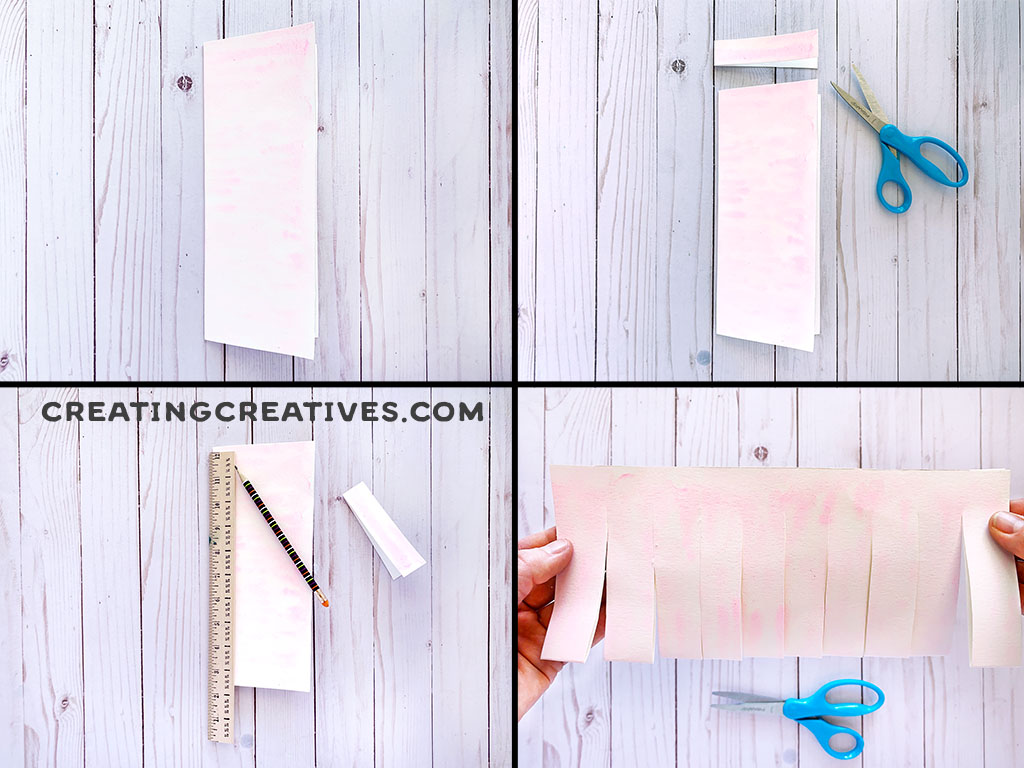
2. Next, it’s time to make a classic paper lantern, to do this fold your painted paper lengthwise and fully cut a section off from the top, this will be the handle. Draw a line about ½” (1-2cms) from the edge of the long side of the folded paper, opposite the folded side, this line will be where you stop cutting. Cut slits all along the folded side. I drew the lines for my 4 & 6yr old to cut slits and my 8yr old cut his slits by himself.
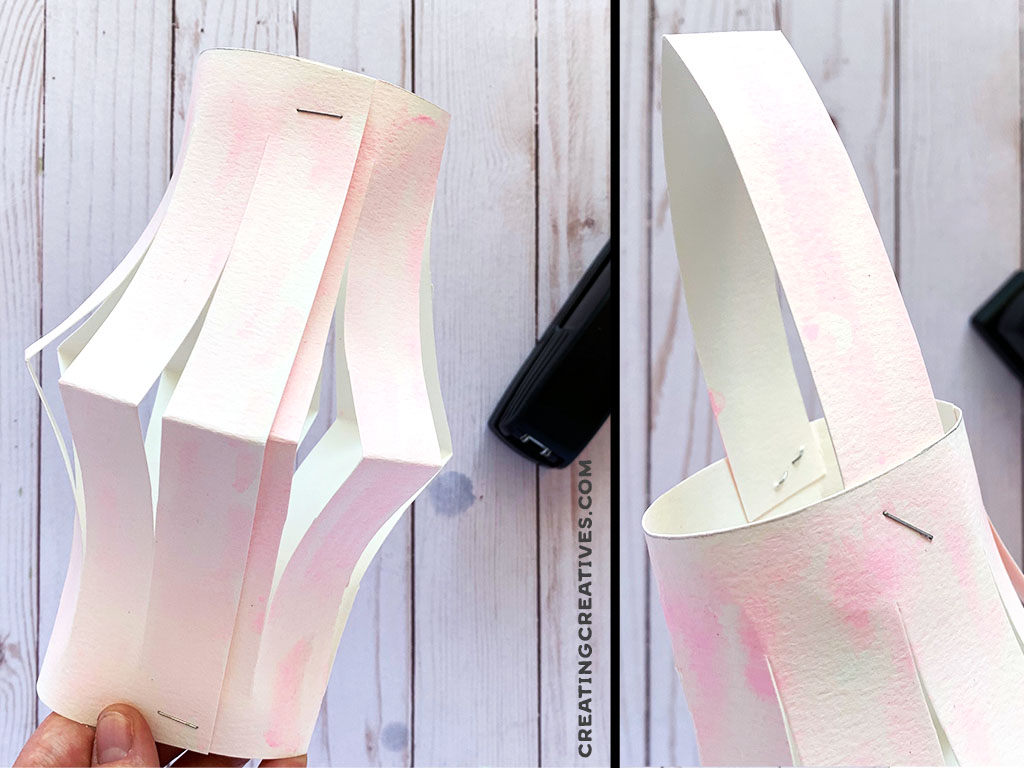
3. To put your lantern together open up your paper, and match up the long edges on the top and bottom to form a lantern shape. Tape or staple them together, then staple your handle strip to the top.
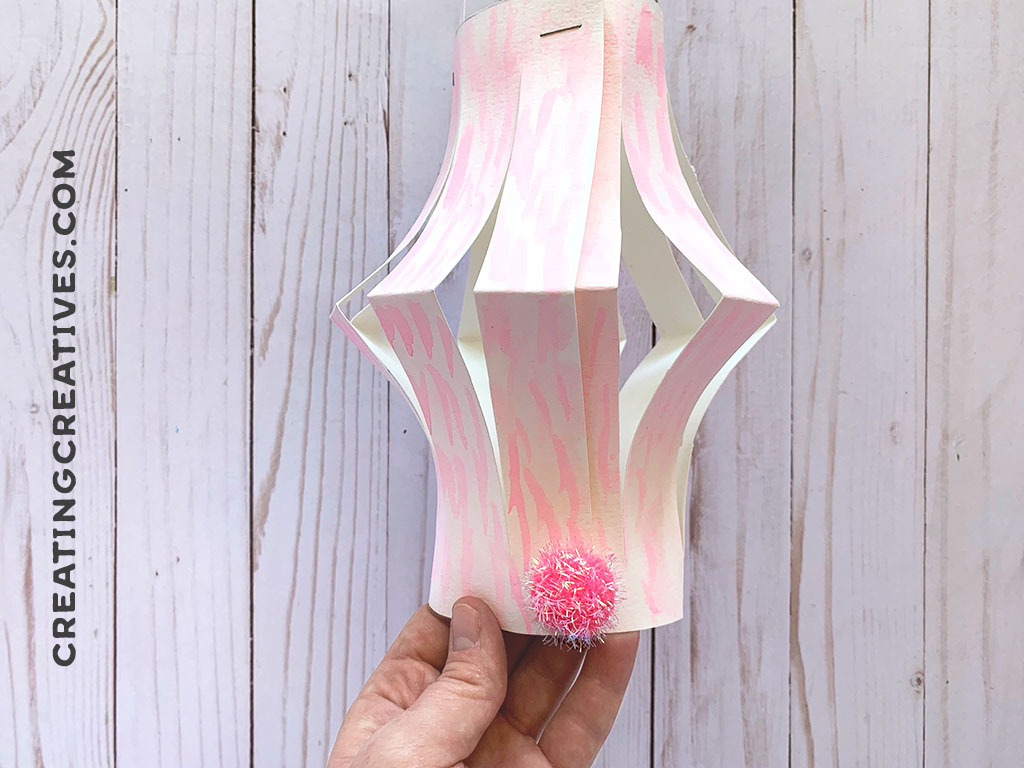
4. Have your child choose a pom pom tail, if you dont have any pom poms you could also use or paint a cotton ball, and stick it on the back of your lantern. We used hot glue to stick it on, but school glue would also work well.
Haven’t grabbed your template yet? If you enter your name and email below to sign up for our mailing list then I’ll send you our free Bunny template as a Thank You.
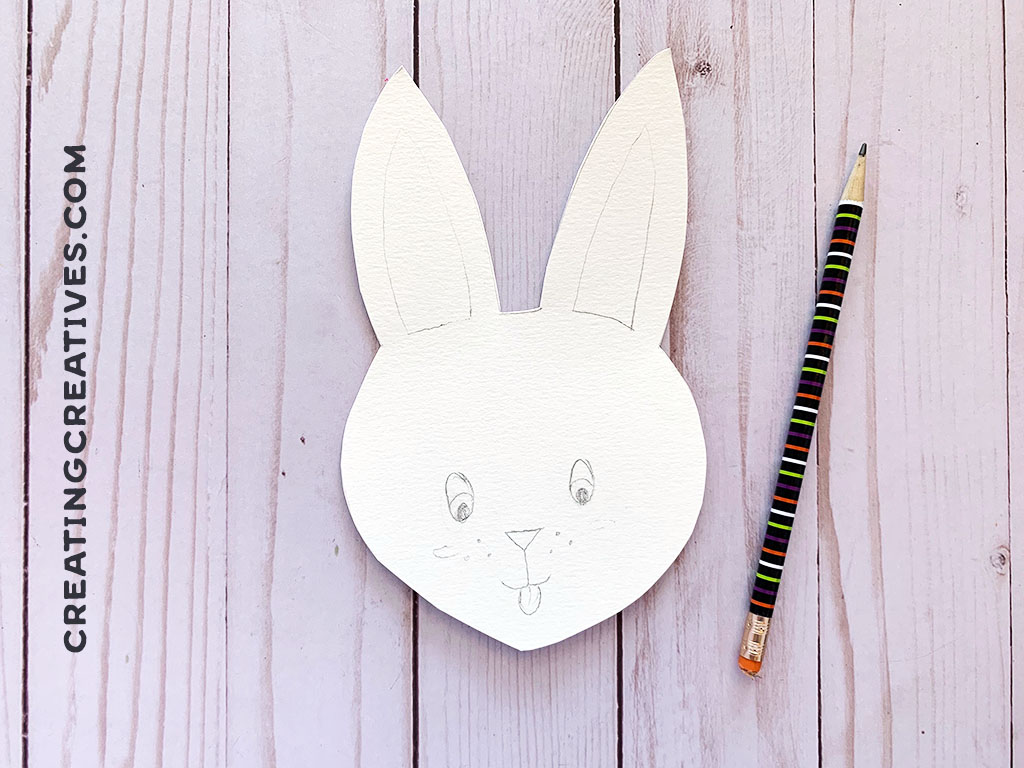
5. Now it’s time to give your bunny paper lantern a cute little face. Let’s start by printing out our bunny face template. I recommend printing on 65lb or thicker cardstock, but do check your printer specs before selecting your paper weight. You can also print on normal paper then use that as a template to trace and cut your face on watercolor paper, which is what we did. Once your bunny is cut out have your little ones draw lightly with a pencil their bunny’s eyes, nose, whiskers, mouth and even tongue, which of course was a fabulous idea from my little creatives. Also make sure to draw a triangle shape for the inner ear.
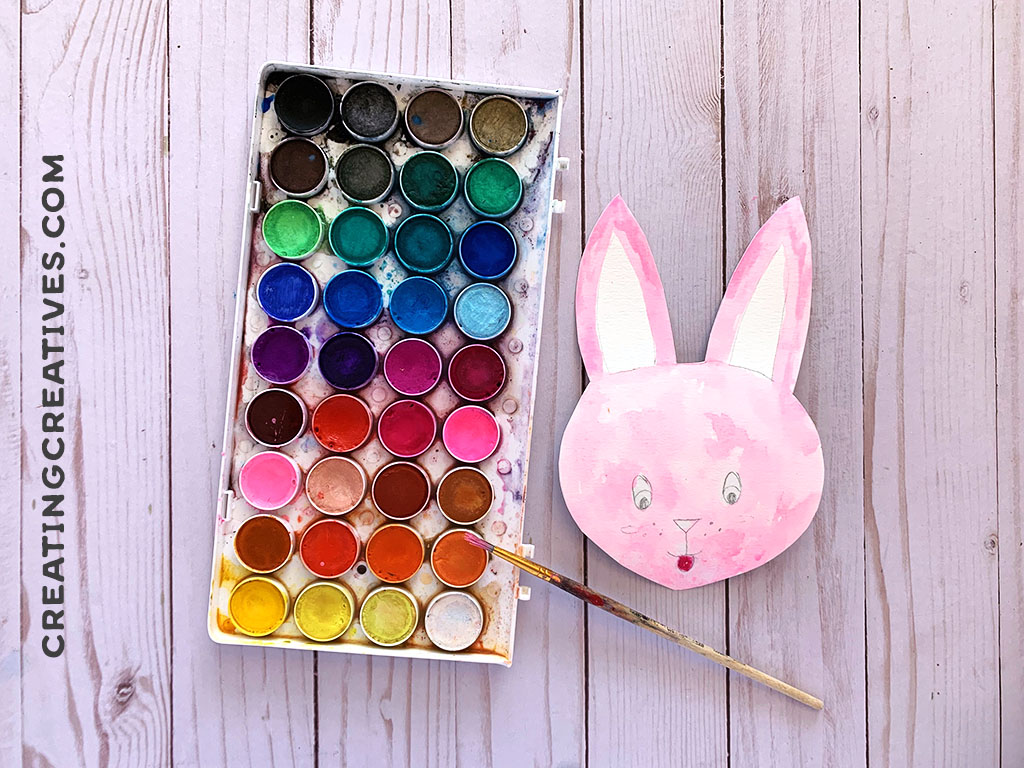
6. Next, color those beautiful faces in. Don’t worry about coloring over the pencil, we’re going to trace it over with a black marker in a minute. If you’re using watercolors make sure to wait a few minutes after you’ve colored your base color to let it dry so when you color the tongue, nose or eyes they don’t bleed into the rest of your bunny.
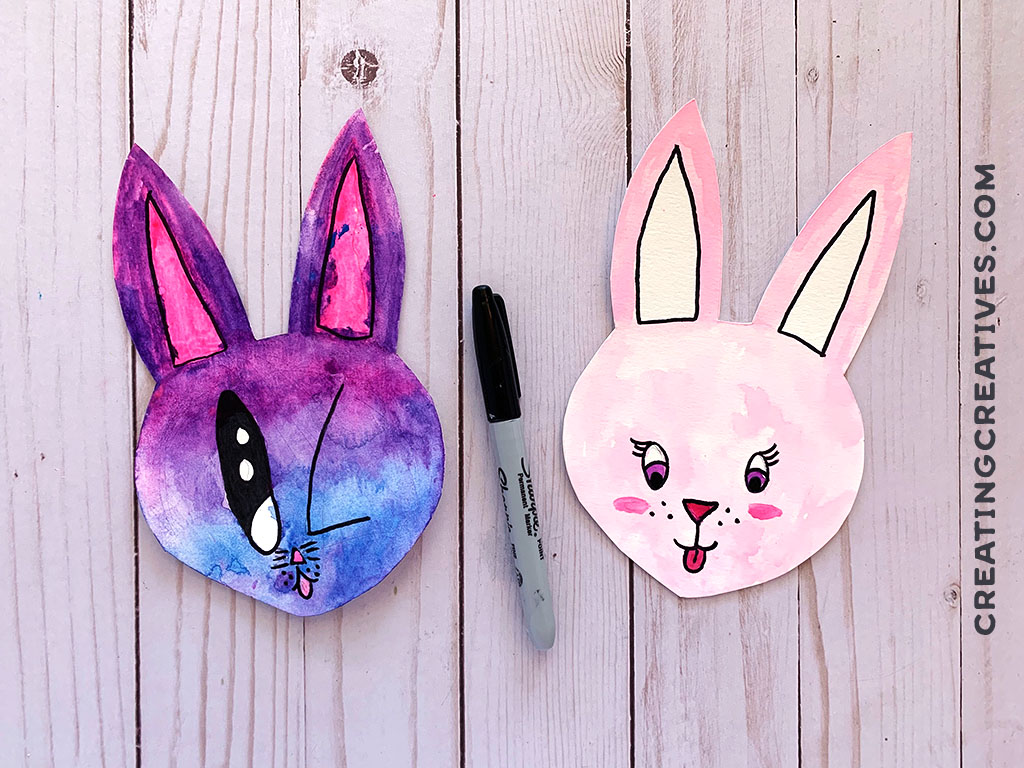
7. Once your bunny is dry trace over the details with a black marker, this really makes it pop!
8. Now if you want to get a little fancy with your little bunny face you can add pipe cleaner whiskers, a pom pom nose, or even some flowers around your bunny’s head.
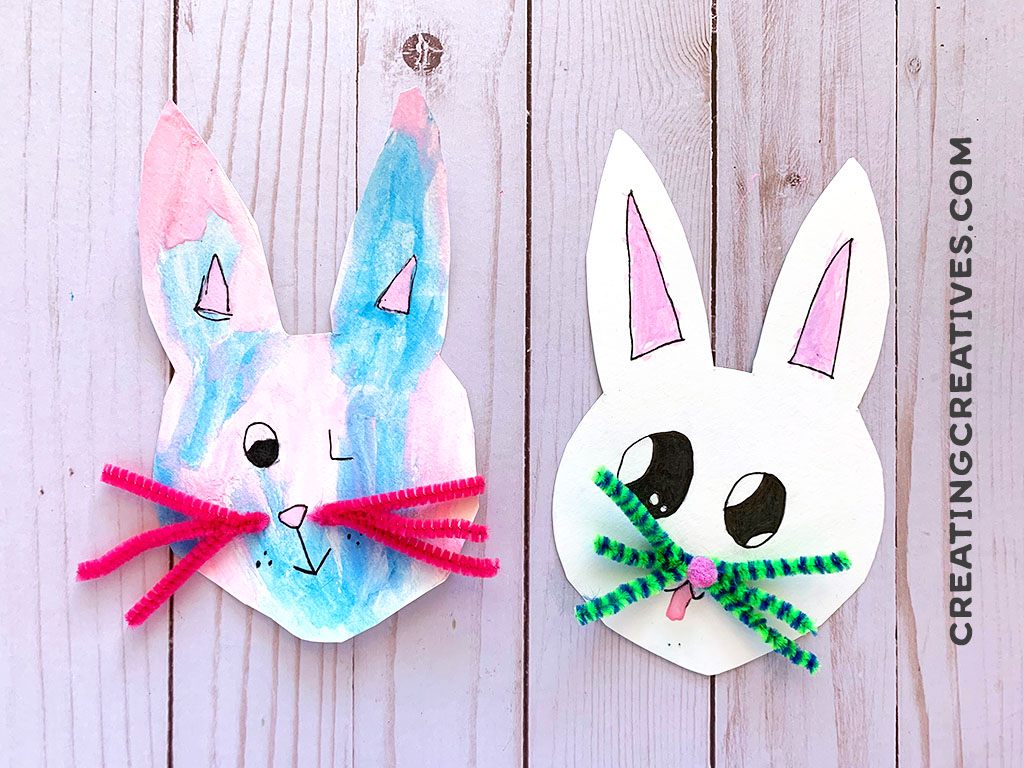
9. Finally, glue the bunny head on your lantern. Again we used hot glue, because we’re addicted, and your adorable little Bunny Paper Lantern is done!

TAG US IN YOUR BUNNY PAPER LANTERN CREATIONS:
We love how projects change with different creative minds, and would love to see how yours turned out! Be sure to tag @creatingcreatives on Instagram or @creatingcreativeskids on Facebook so we can see your work!
DID YOU LIKE THIS PROJECT? PLEASE SHARE IT:
Spread the word and Pin and Facebook share with your friends, because we really appreciate your support!

