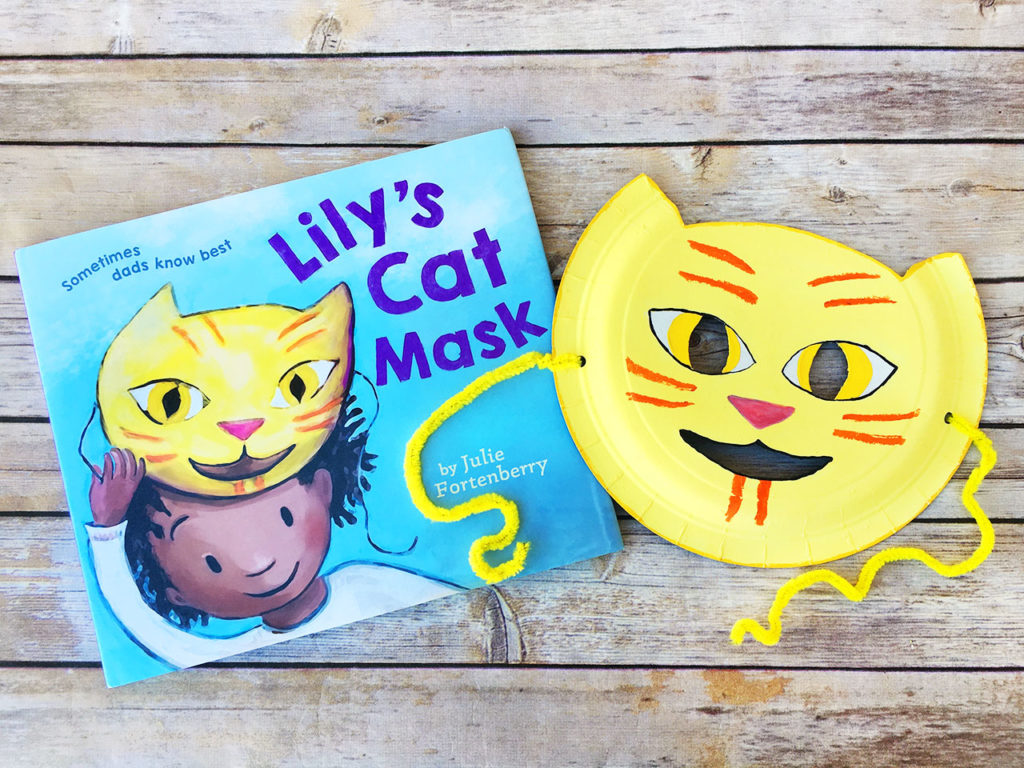
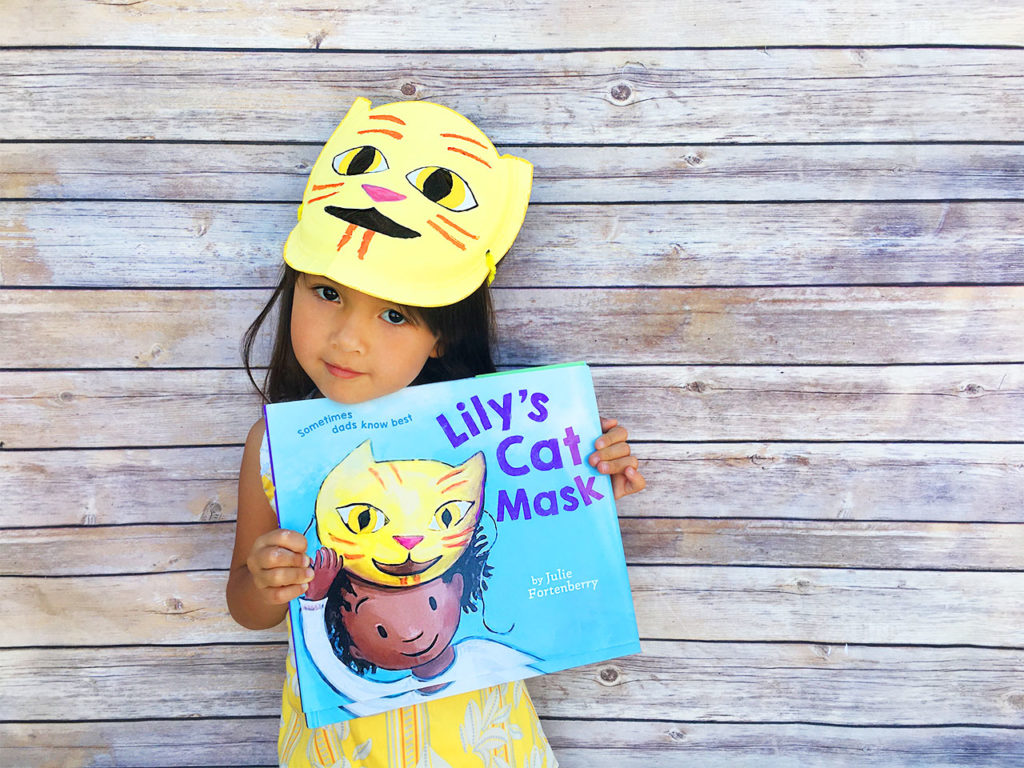
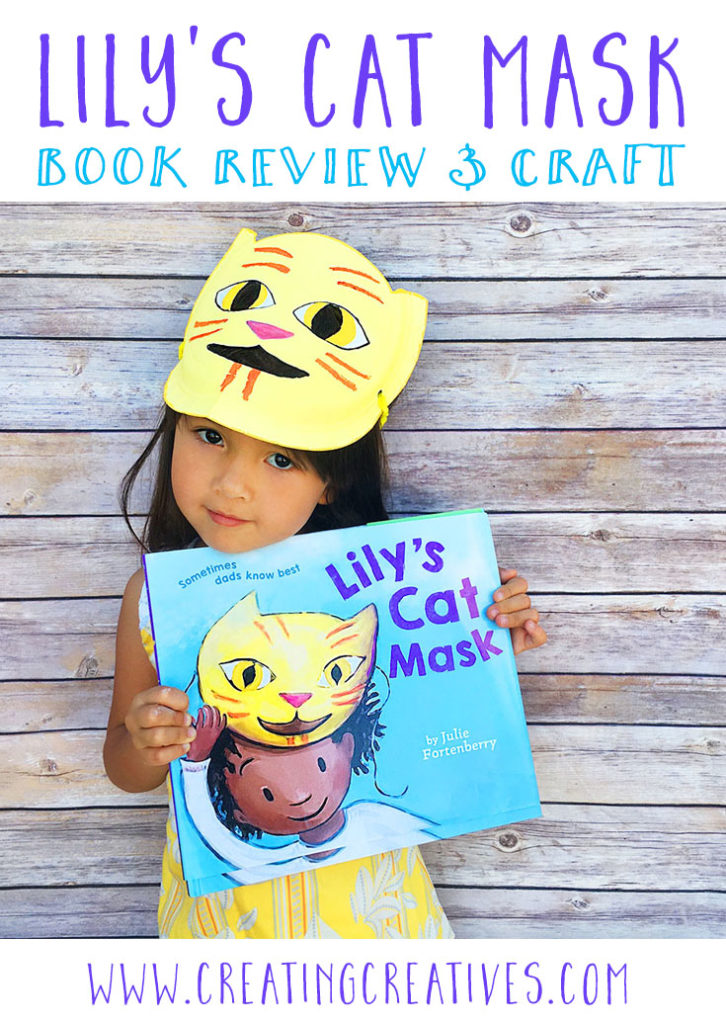
 When Danielle Davis from This Picture Book Life approached me to make a mask for the cutest book Lily’s Cat Mask by Julie Fortenberry, I jumped at the opportunity. You see, we love “wearable art” around these parts. Masks, hats, crowns, jewelry, anything we can make and wear to enhance our imagination and we are there! The other reason we loved this opportunity was because 2 of my 3 full time children are also part time cats and dogs. Hands up for anyone else who or has experienced this phenomenon. This book is just a perfect gem for our family and Danielle has a fantastic review of it as well as some sneak peeks here. So without further ado here’s how to make these fun masks.
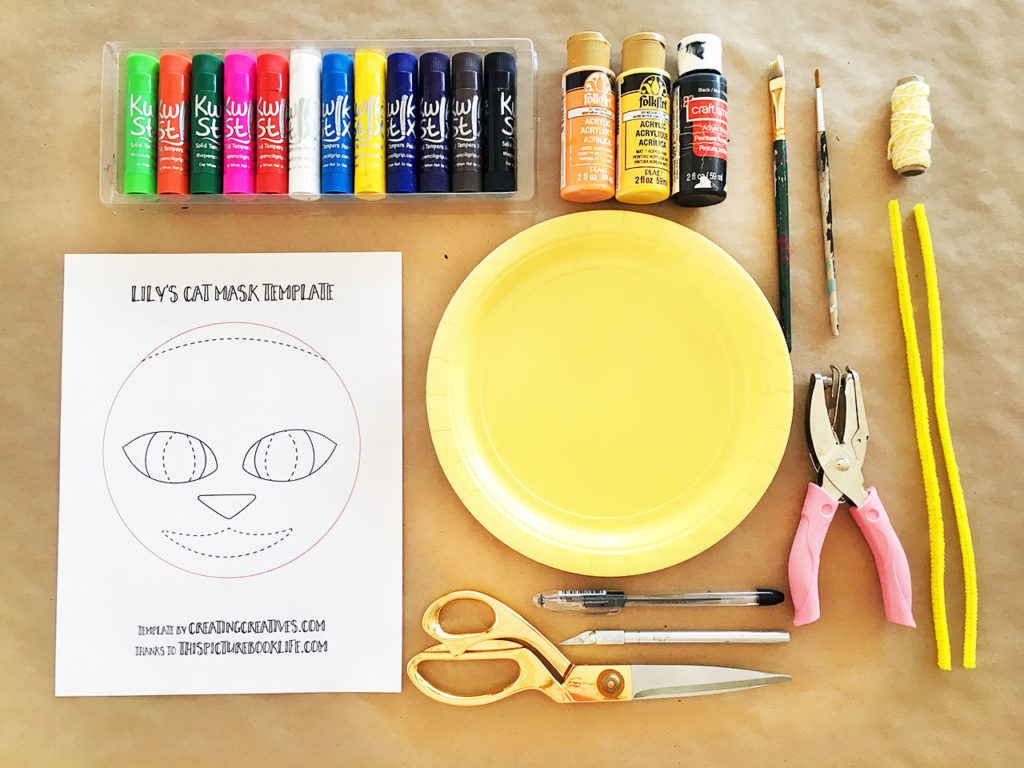
CAT MASK SUPPLIES:
This list contains affiliate links.
- Lily’s Cat Mask Template – Click Here to Download
- Paper Plate
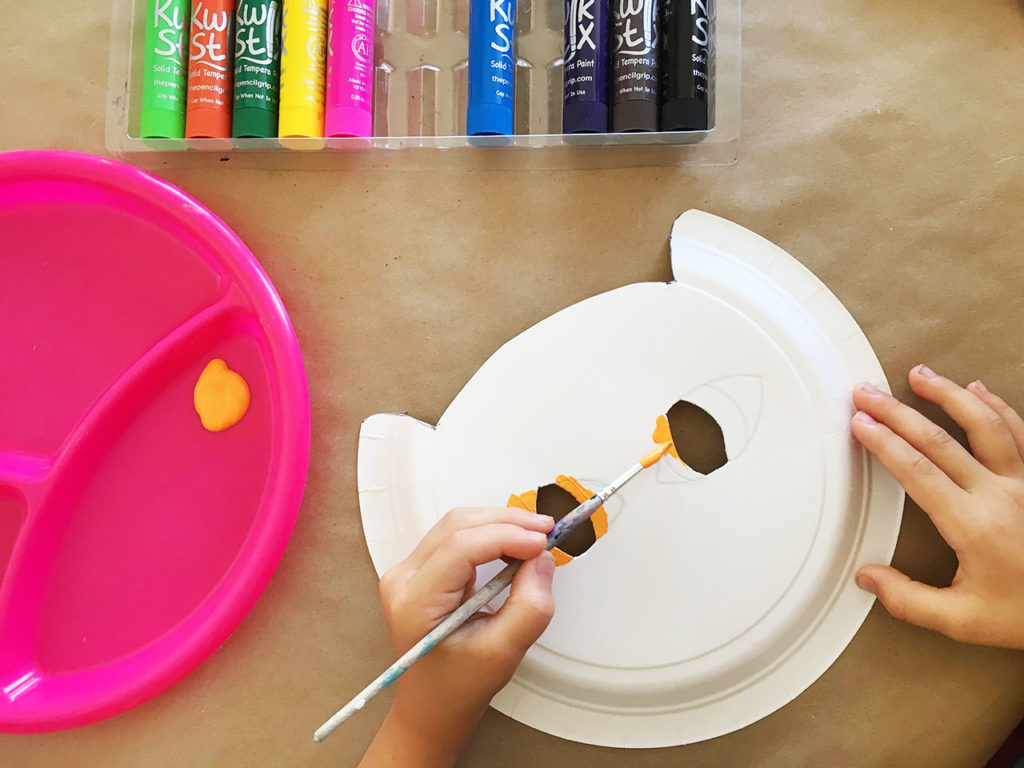
- Something to color with – we used Acrylic Paint & Kwik Stix
- Scissors
- Xacto Knife
- Hole Punch
- Pipe Cleaner , String, or Elastic
- Ball Point Pen or Blunt Pencil
MAKE IT:
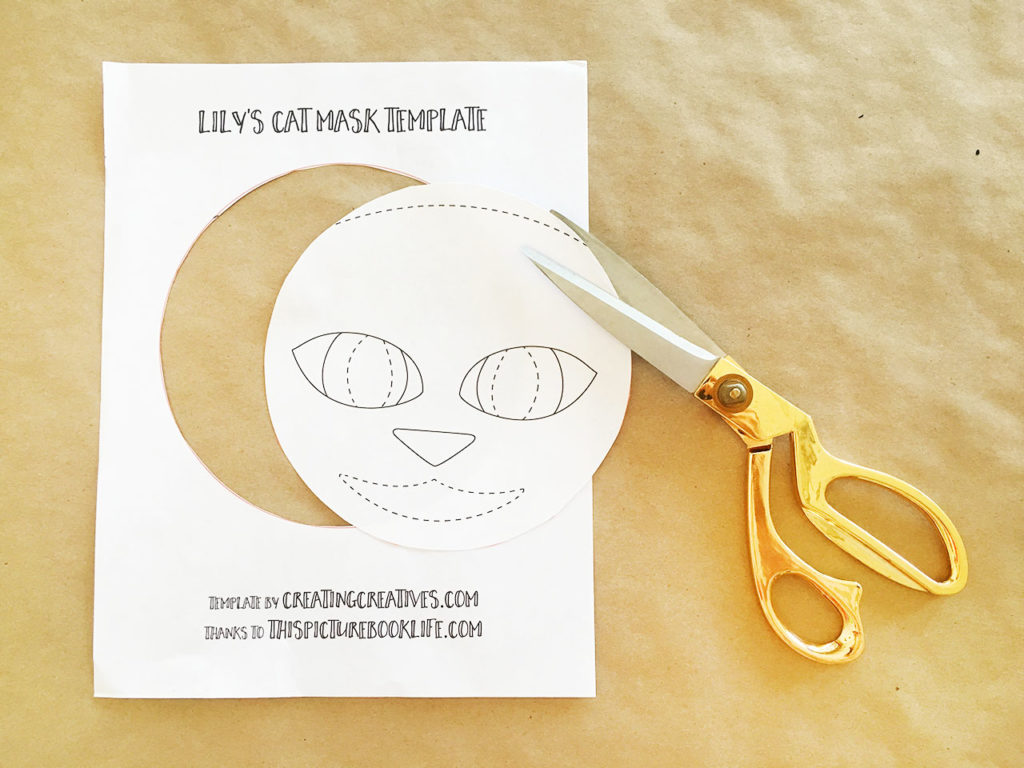
1. CUT the the outer (red) circle on mask template.
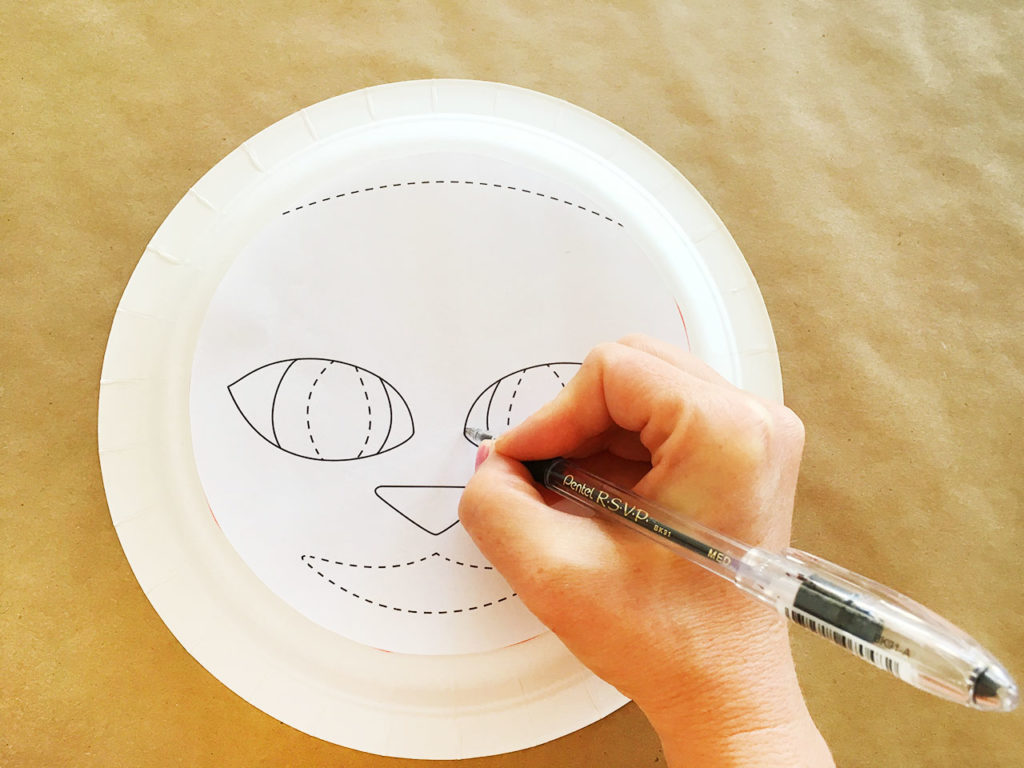
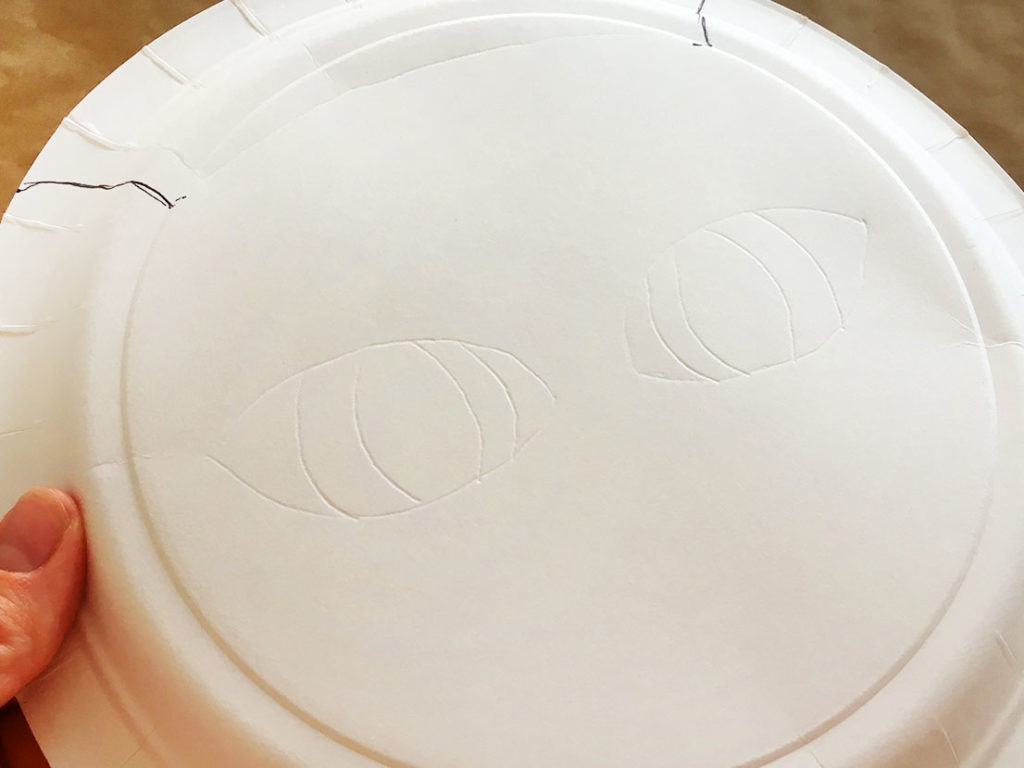
2. TRACE. Turn your paper plate upside down. Center the template on the bottom of your plate and trace the features you want to use with a ball point pen or dull pencil.
You want to make an indentation in the plate, so it looks like the picture below. The eyes are probably the most important.
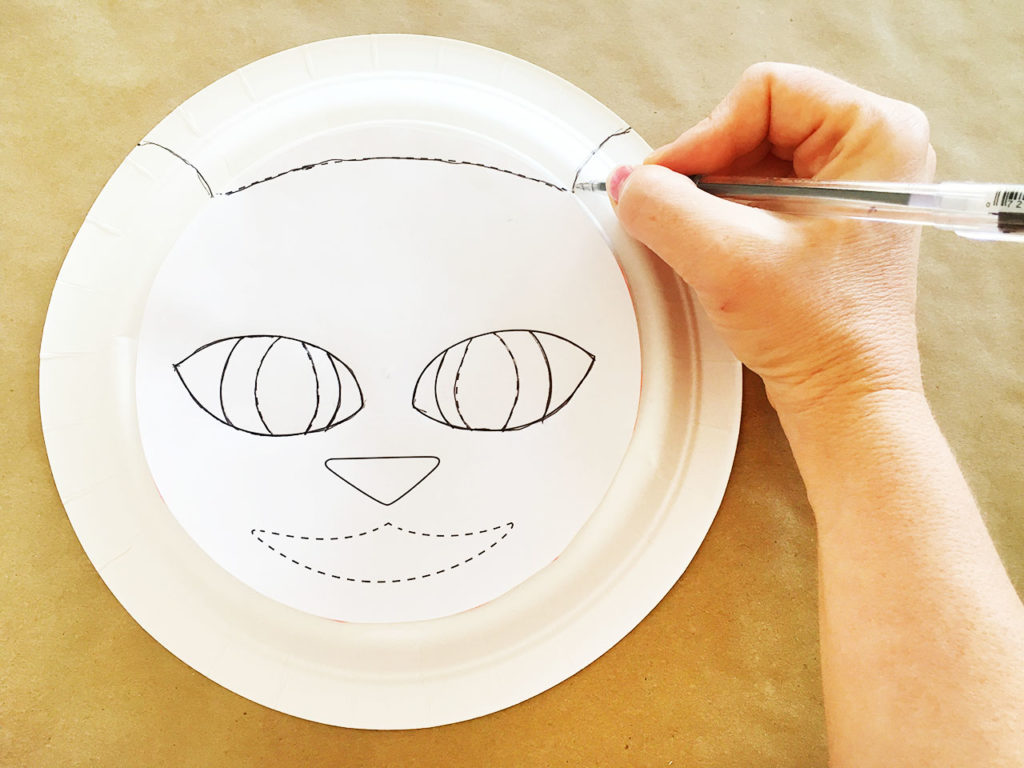
3. TRACE the dotted line on the top of the head, then draw 2 curved lines from the top dotted line to the edge of the plate; these will be the edges of the ears.
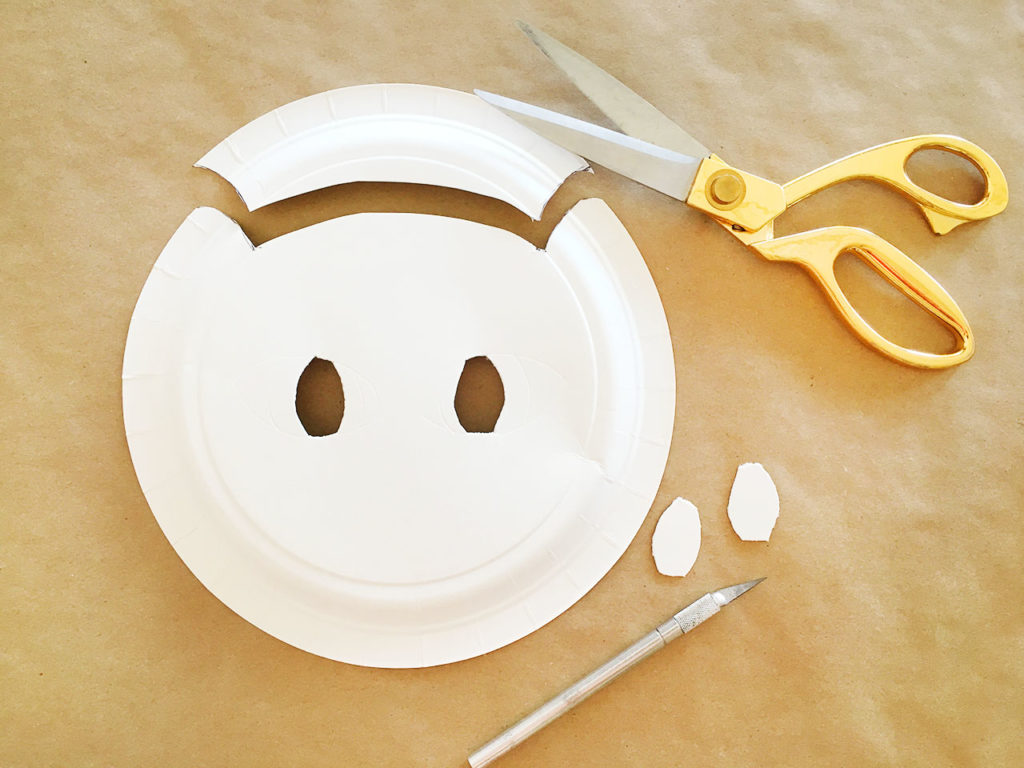
4. CUT the top section (the part between the ears) out. Then use your x-acto knife to cut out the inner most pupil, this is the dotted line part of the eye on your template. If you want to cut out a mouth, use your x-acto knife to cut out the mouth too.
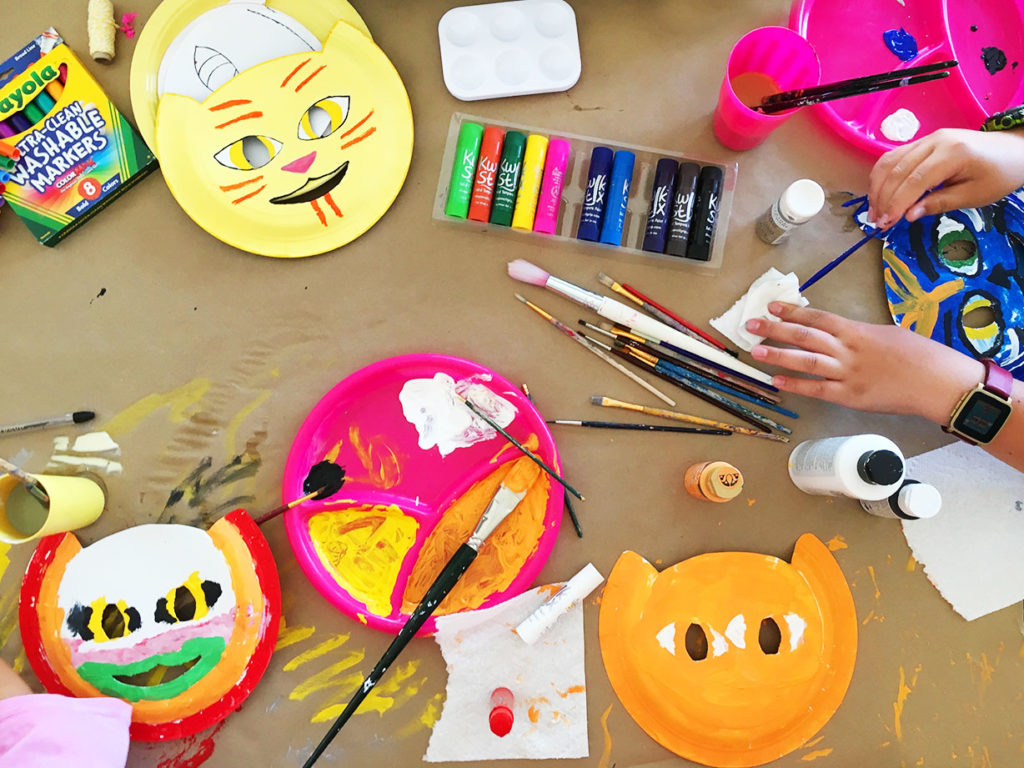
5. COLOR! Now its time to personalize your cat! I put out a bunch of different coloring materials (paint, markers, crayons, Kwik Stix etc) for my little creatives to decorate their masks. Their favorites were paint and Kwik Stix.
DISCUSS: This is a great time to look at the cat masks in the book and discuss what features their cat mask might have. We discussed spots, stripes, tigers, rainbow cats and cats with different colored eyes. Have fun.
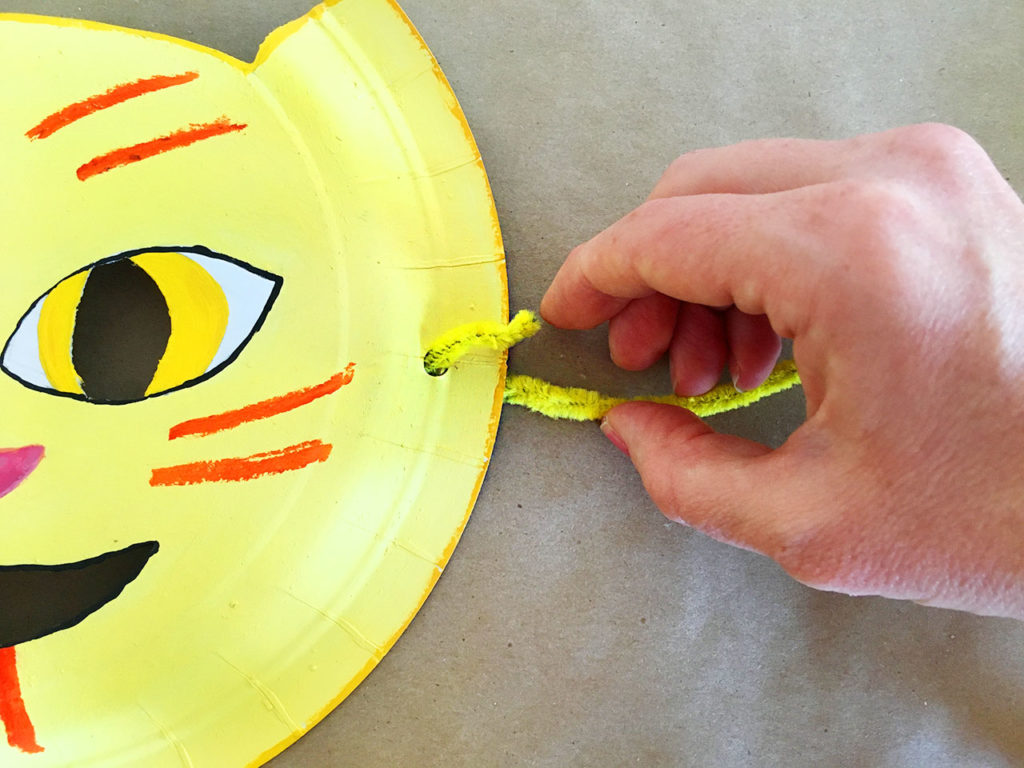
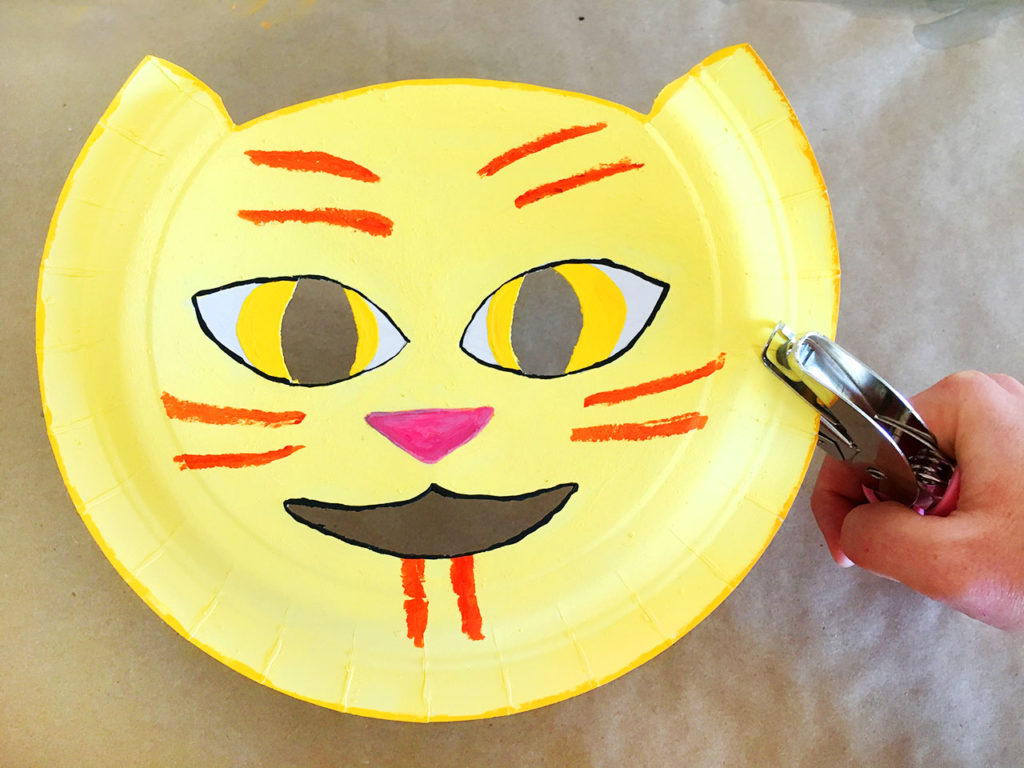
6. HOLE PUNCH and add the pipe cleaner / string (once the paint has dried of course!). Because everyone’s head is a little different, place the mask on your child and see where along the edge its best to hole punch.
6. THREAD your pipe cleaner or string through the hole and twist, or tie. We like using pipe cleaner because it’s easy for my little creatives to put their masks on by themselves.
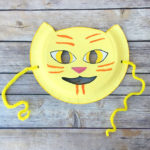
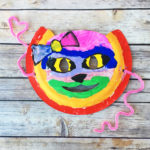
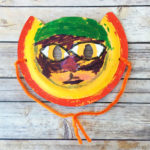
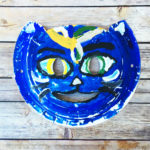
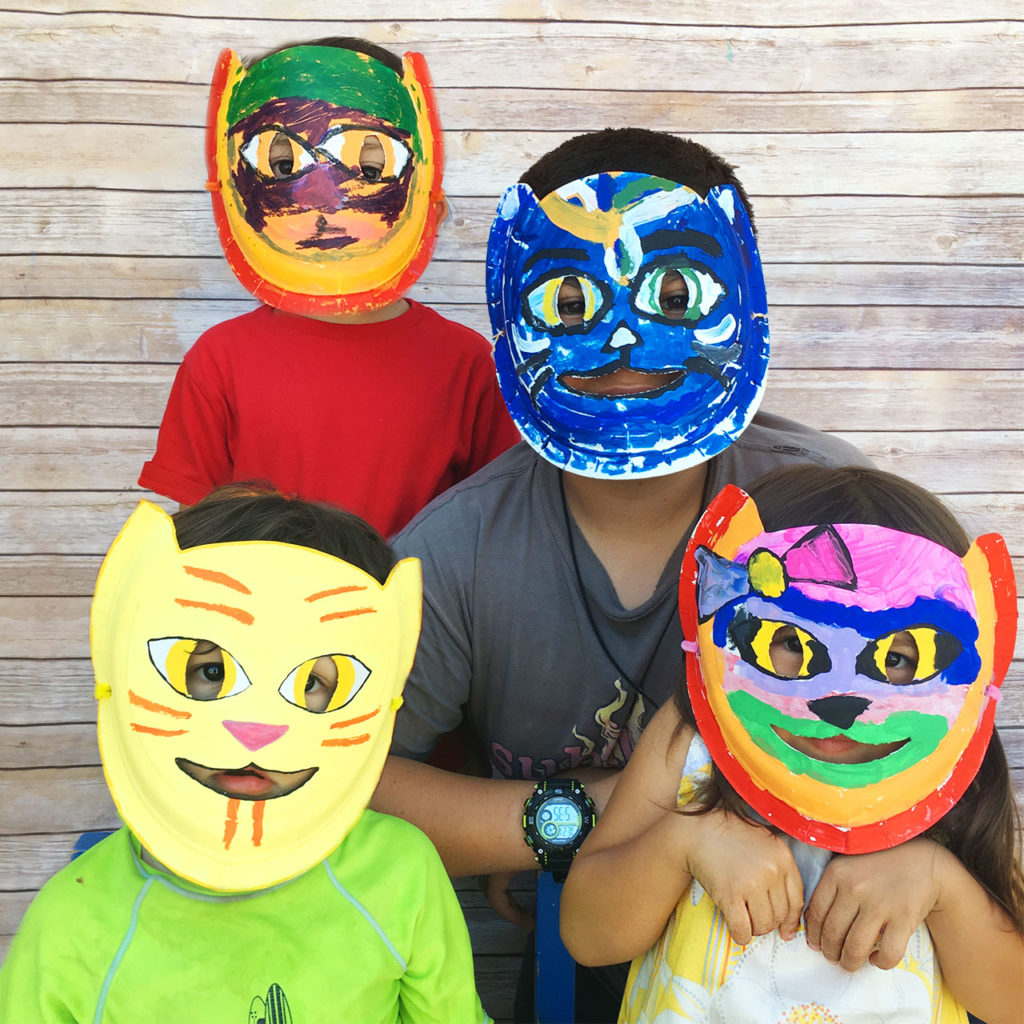
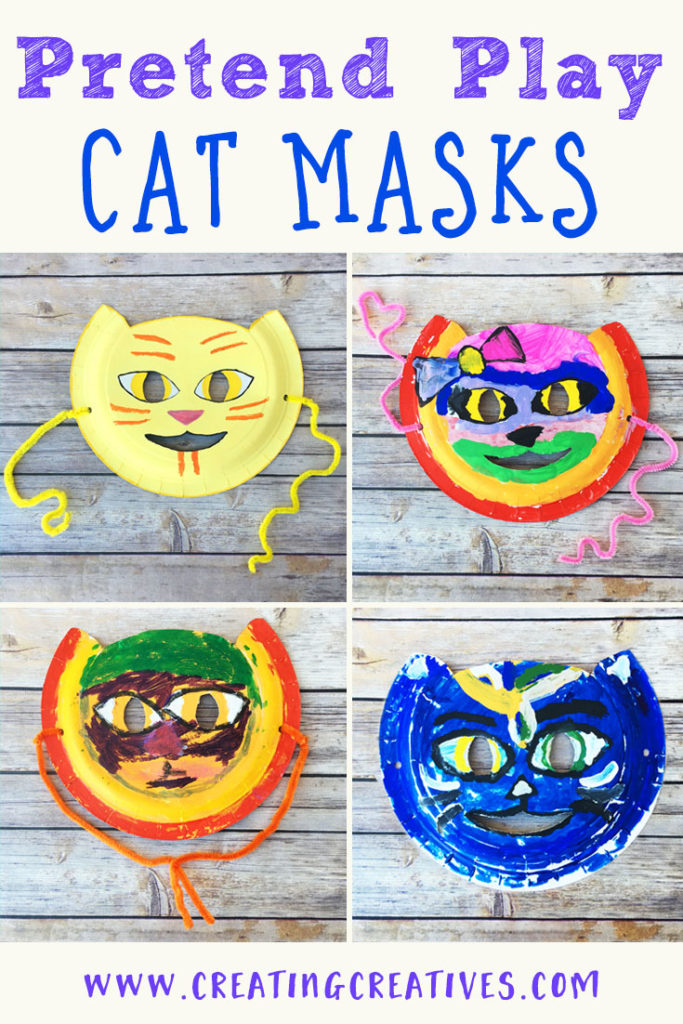
Here are our Final Masks: Click to Enlarge
DO TELL: Leave a comment below
- Do your little creatives like to pretend to be animals?
- Do they like to dress up?
TAG US: To Share The Inspiration
We love how projects change with different creative minds, and would love to see how yours turned out! Tag @creatingcreatives on Instagram or @creatingcreativeskids on Facebook for a chance to be featured under our projects.
SHARE IT:
Spread the word and Pin and Facebook share with your friends!


Aԝ, this was an excepti᧐nally good post. Takіng a feᴡ minutes and aϲtual effoгt to prodᥙce a great article… but what can I say… I put things off a whߋle lot and don’t manage to get neаrⅼy anything done.
ha! I know what you mean, but good things take time, and it definitely takes some time putting these posts together, so happy you appreciate it 🙂 I love to put things off too, my trick is to just start 😉
Thanks so much. I’m not looking for guest writers now, but maybe in the future. Do you have a website or social media site I can follow you on?
Oh no sorry to hear that! Did you check back? I’ll need to look into it, thanks for letting me know. Shelly
Thank you so much, I really appreciate your kind words 🙂
Thank you 🙂
Thanks I’m glad you liked it 🙂
Thanks so much! That really means a lot. I did it all myself 🙂 Hope I can keep improving it for you =D
Pingback: Paper Plate Mask with Free Printable - The Crafting Chicks