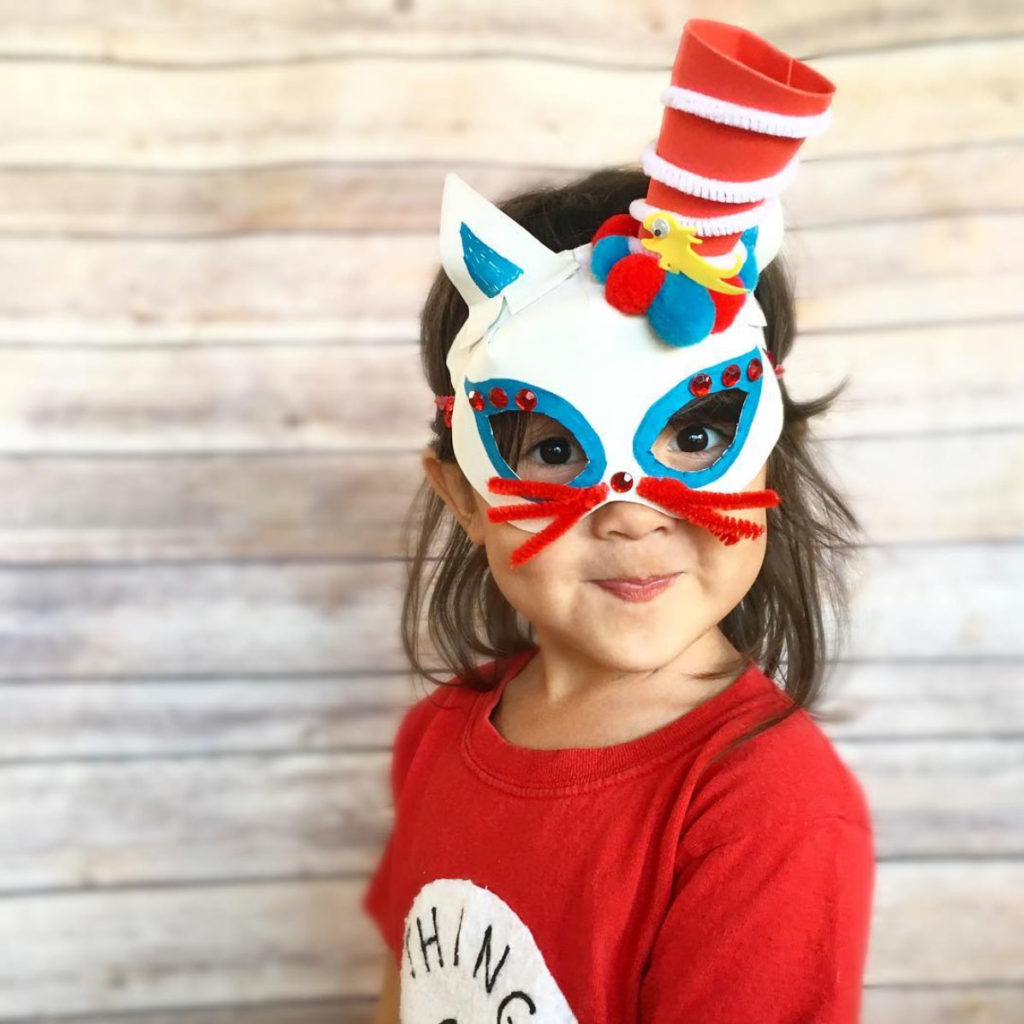
We love Dr Seuss and thought it would be great to celebrate his birthday by making a Dr Seuss mask! These masks are fun and quirky, just like Dr Seuss. You might be thinking these are cute, but will I succeed? Well friend, I am here to remind you… “Yes! You will, indeed! (98 and 3/4 percent guaranteed).”
When making your own mask, be sure to channel your inner Dr Seuss and pull inspiration from the book you’re using. You’ll want to look at the character’s, their features, outfits and textures, and remember this is just an interpretation, don’t take it too seriously. Keep it fun!
Because we don’t want you to stress over the base of the mask and just want you to have fun making it your own, we made you a free printable. To get your Dr Seuss mask template enter your name and email below and I’ll send one right over to you!
Dr Seuss Mask Supplies:
This list contains affiliate links.
- Paper Plate
- Scissors
- X-Acto Knife
- Hot Glue
- School Glue
- Paint and paintbrush
- Red foam paper or construction paper
- Accessories: Pom Poms, Pipe Cleaners, Sequins, Feathers, Flowers, Jewels etc.
- Mask Template Printable which you can get by entering your name and email address below.
Make It – Dr Seuss Mask:
First assemble your mask, which you can do by following the instructions here.
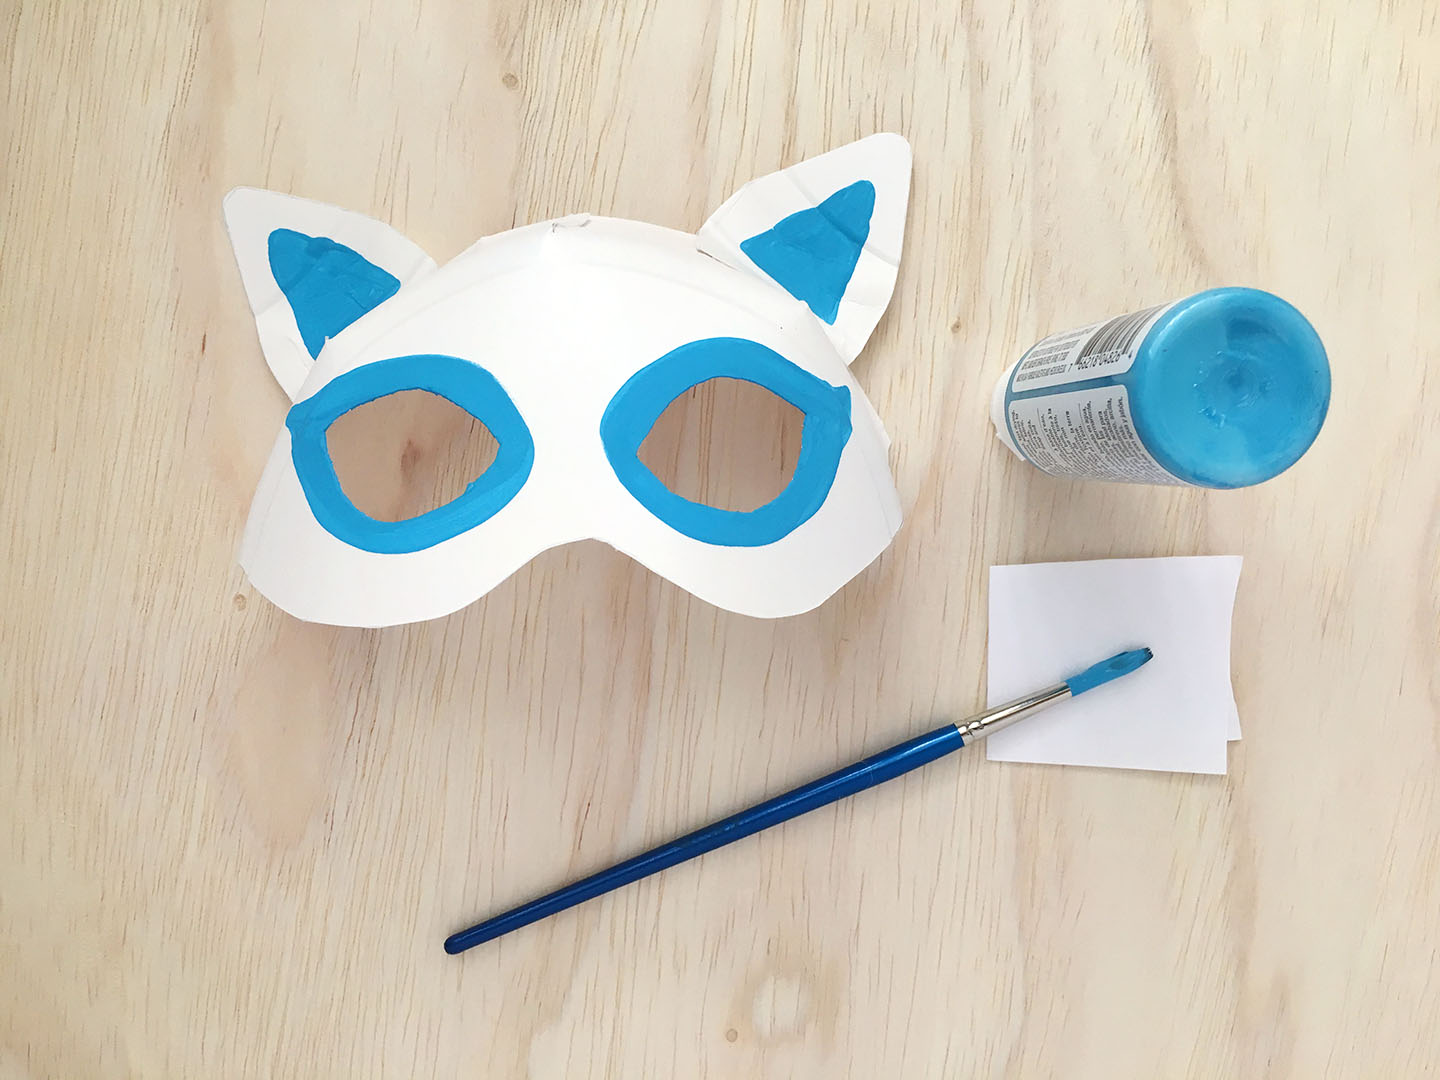
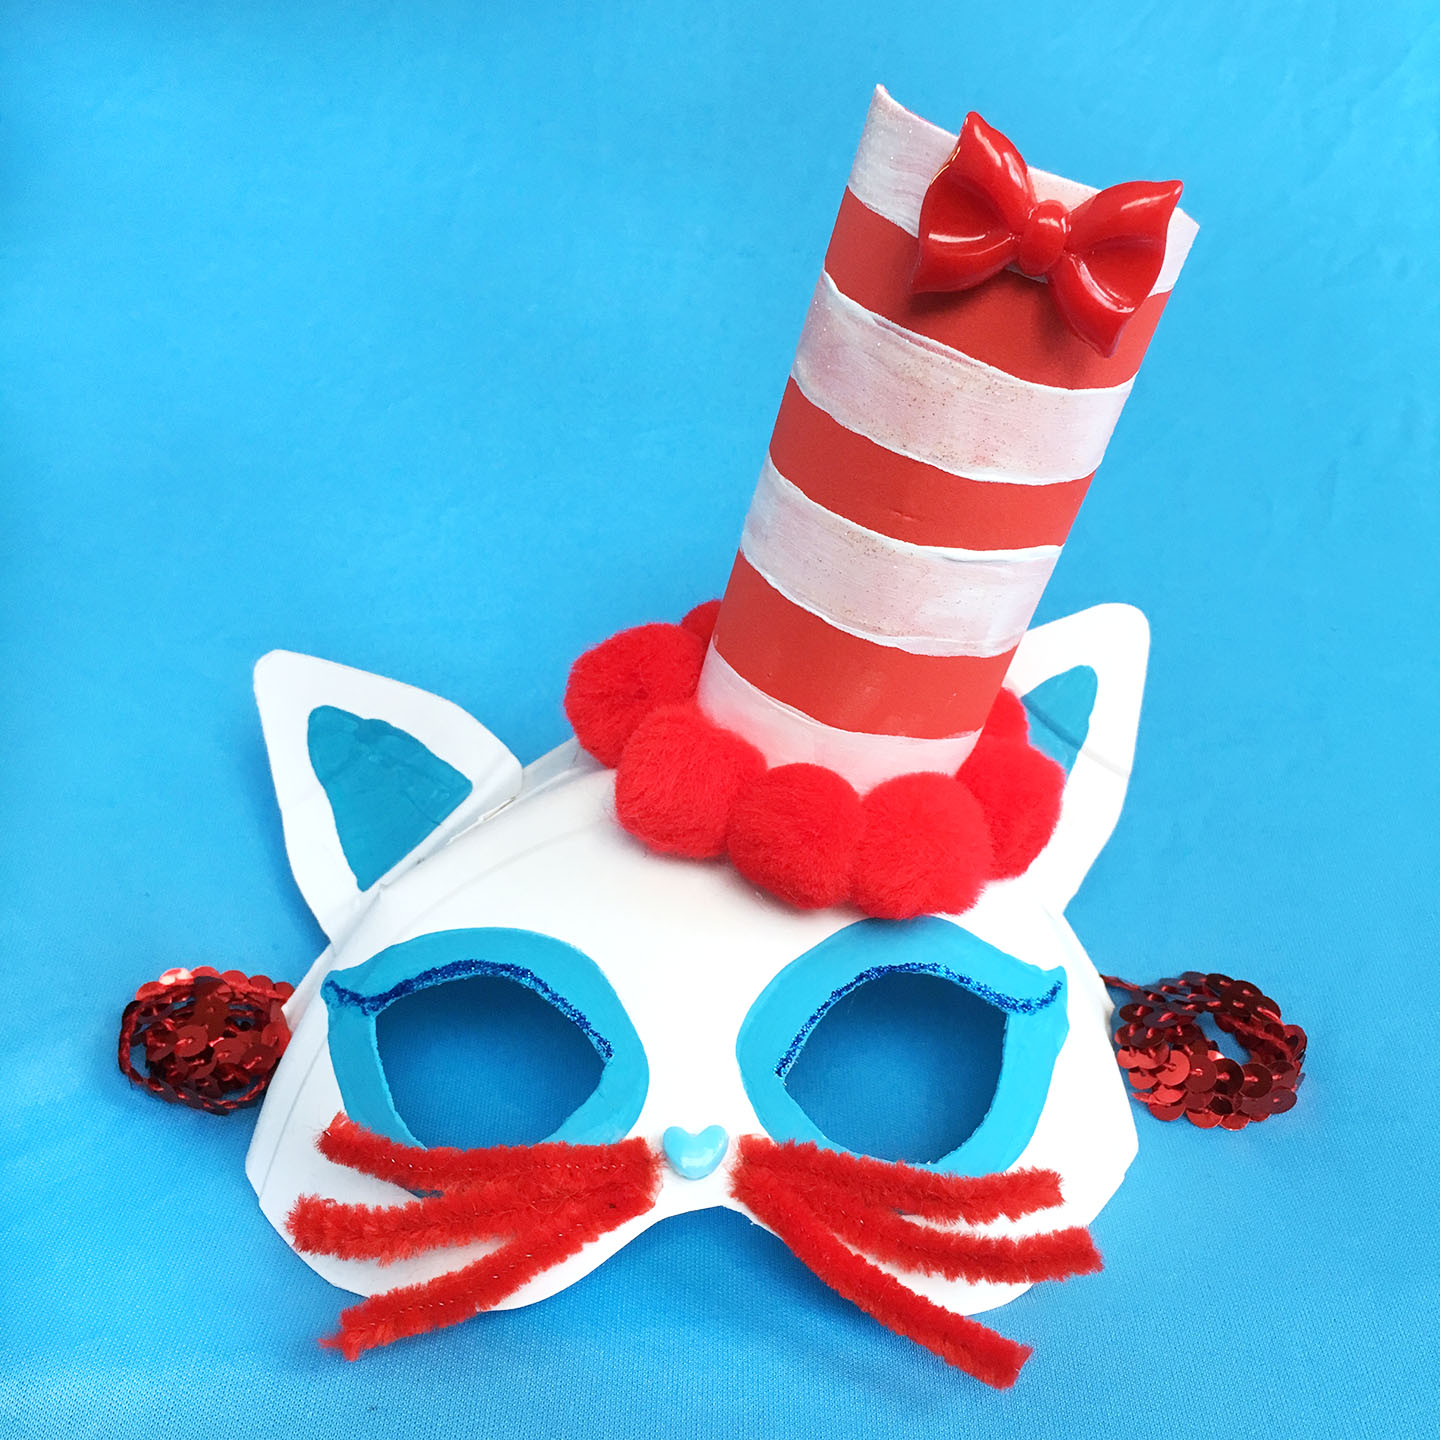
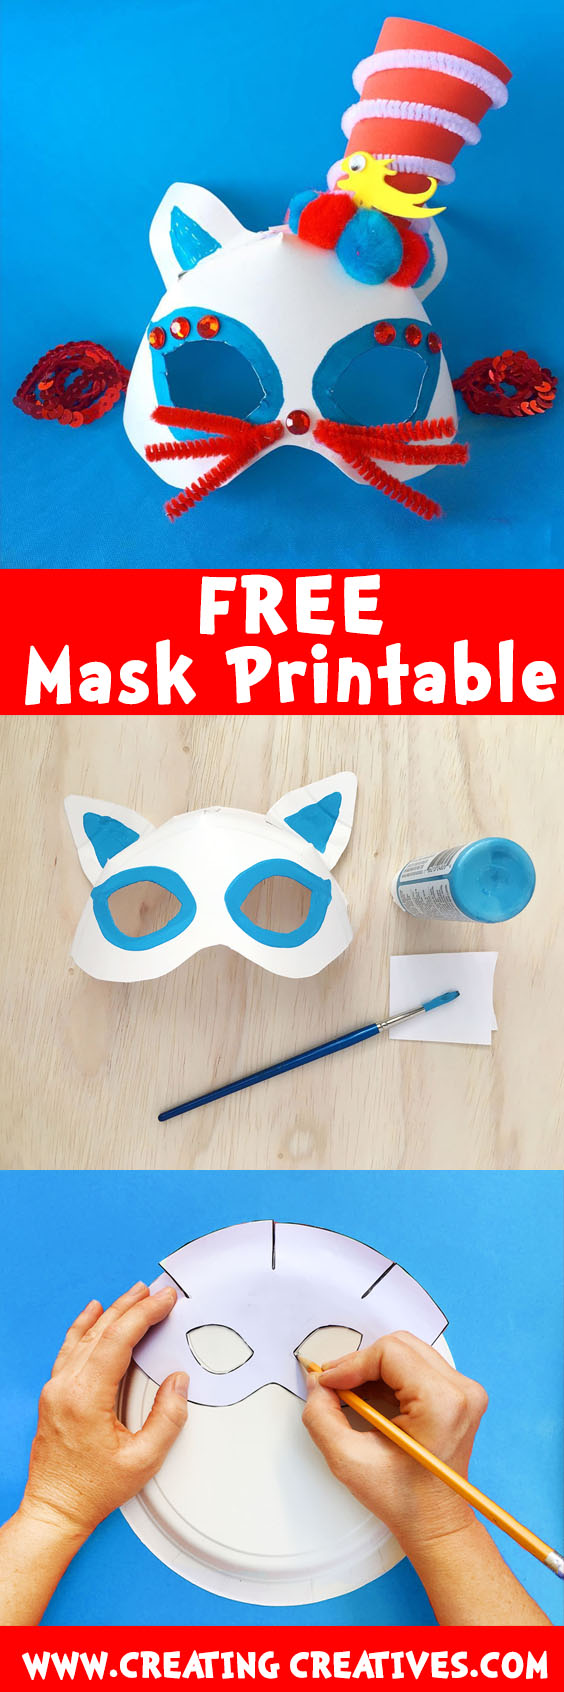
STEP 1. Paint, or draw on your ‘skin’. We painted in the ears and outlined the eyes, but you can also decorate the bottom of the mask, and paint in eye lids or eye brows. You can even draw or paint on tattoo’s.
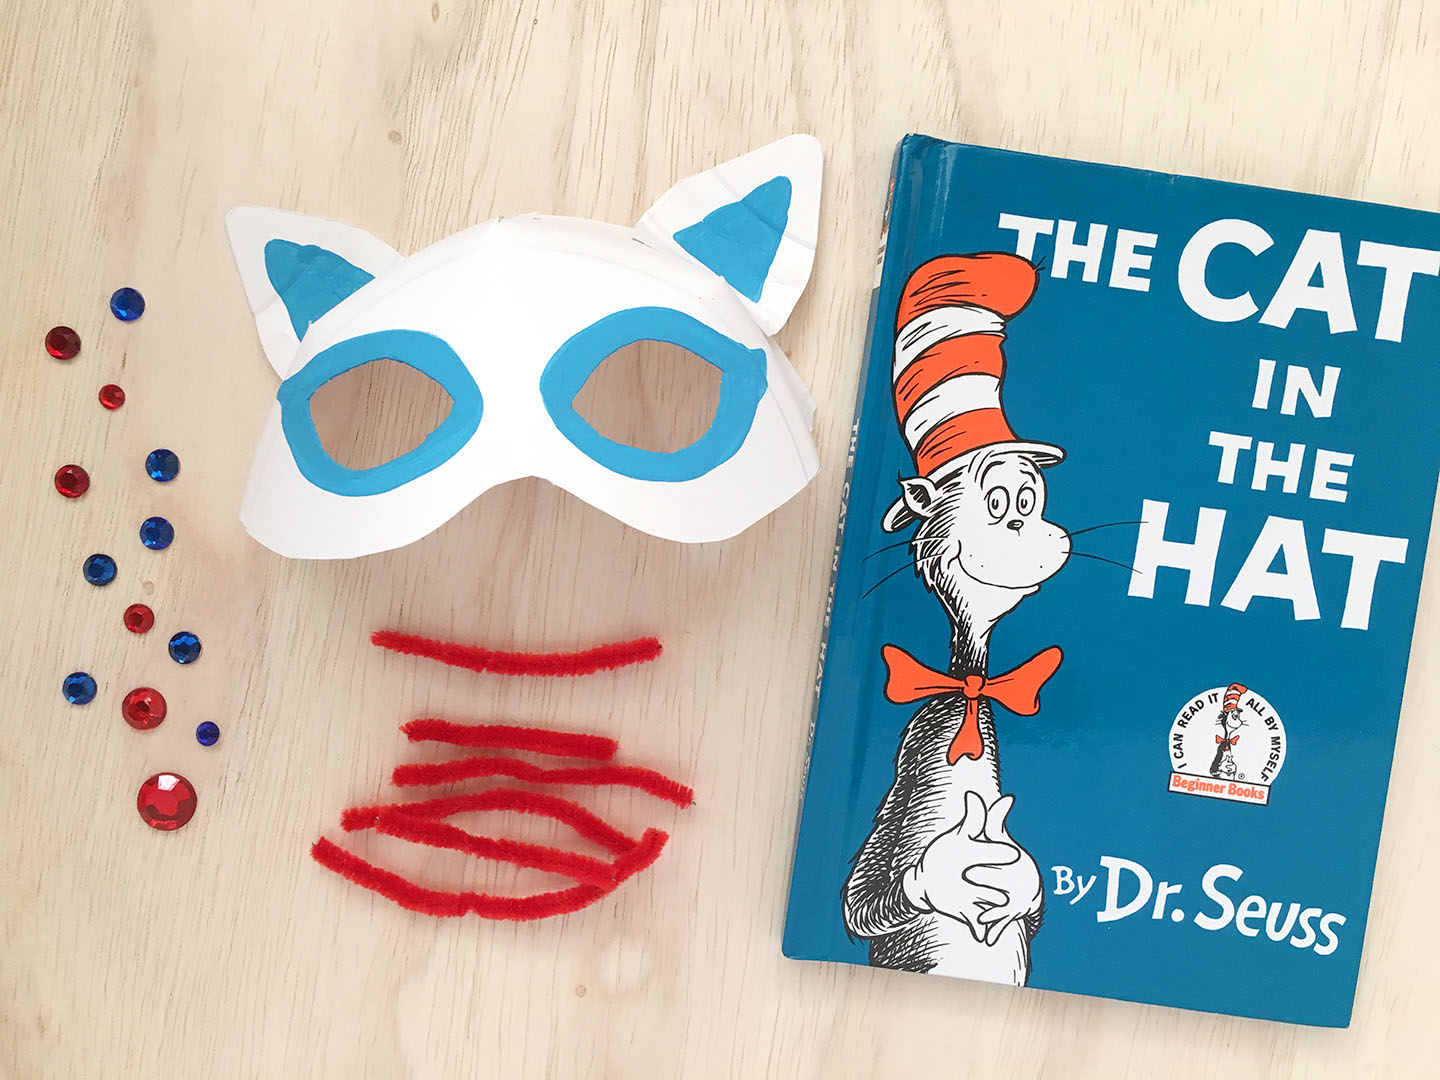
STEP 2. Collect your materials. Give your craft cupboard a raid and collect lots of fun things you can use to decorate your mask. We love sequins, pipe cleaners, gems, beads, glitter glue, & pom poms, to name a few.
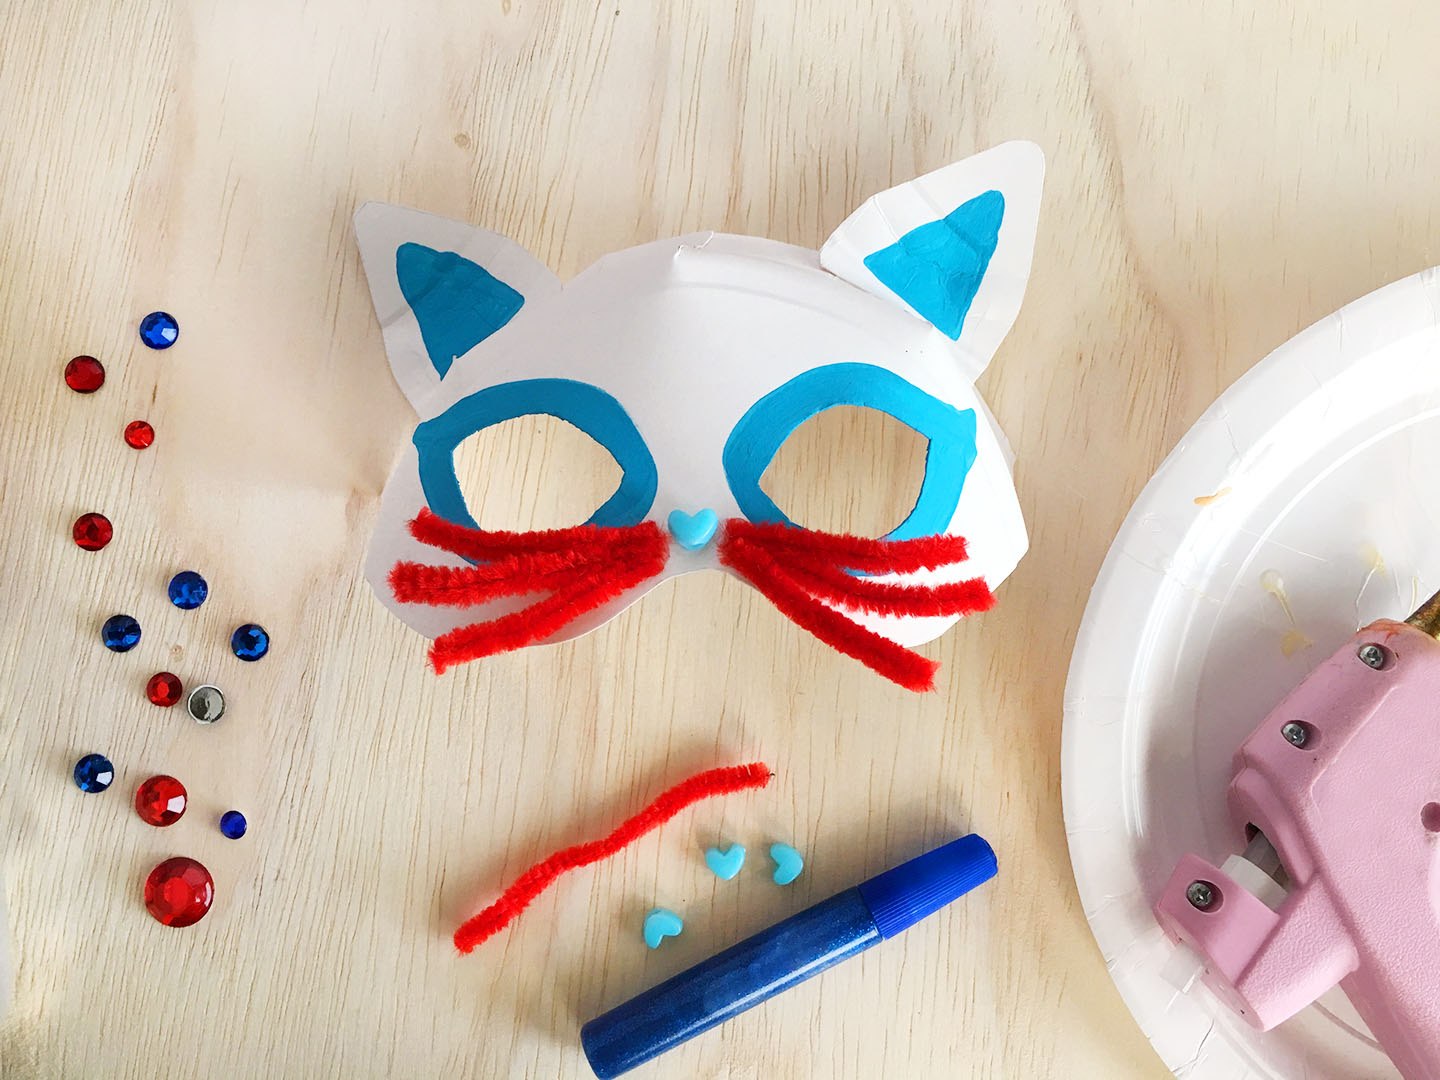
STEP 3. Add features. Hot glue on a little nose, and right next to it some whiskers. Now see if you want to add anything else. You can add glitter glue eye liner, sequins or gems to the outer or inner eyes. You could add glitter to the ears or beauty marks. Use your decorative materials to accentuate the painted parts of your mask. Have fun and go a bit crazy!
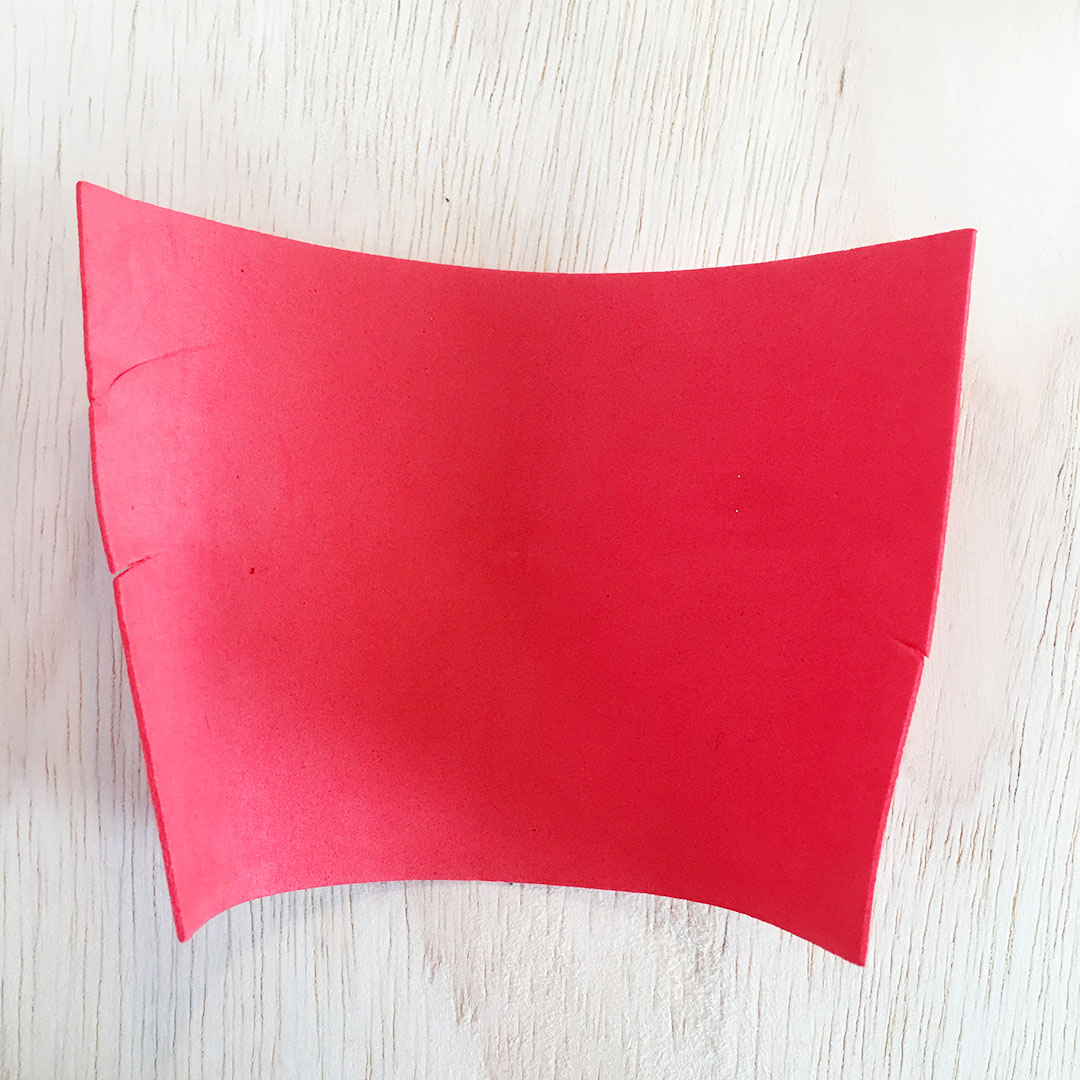
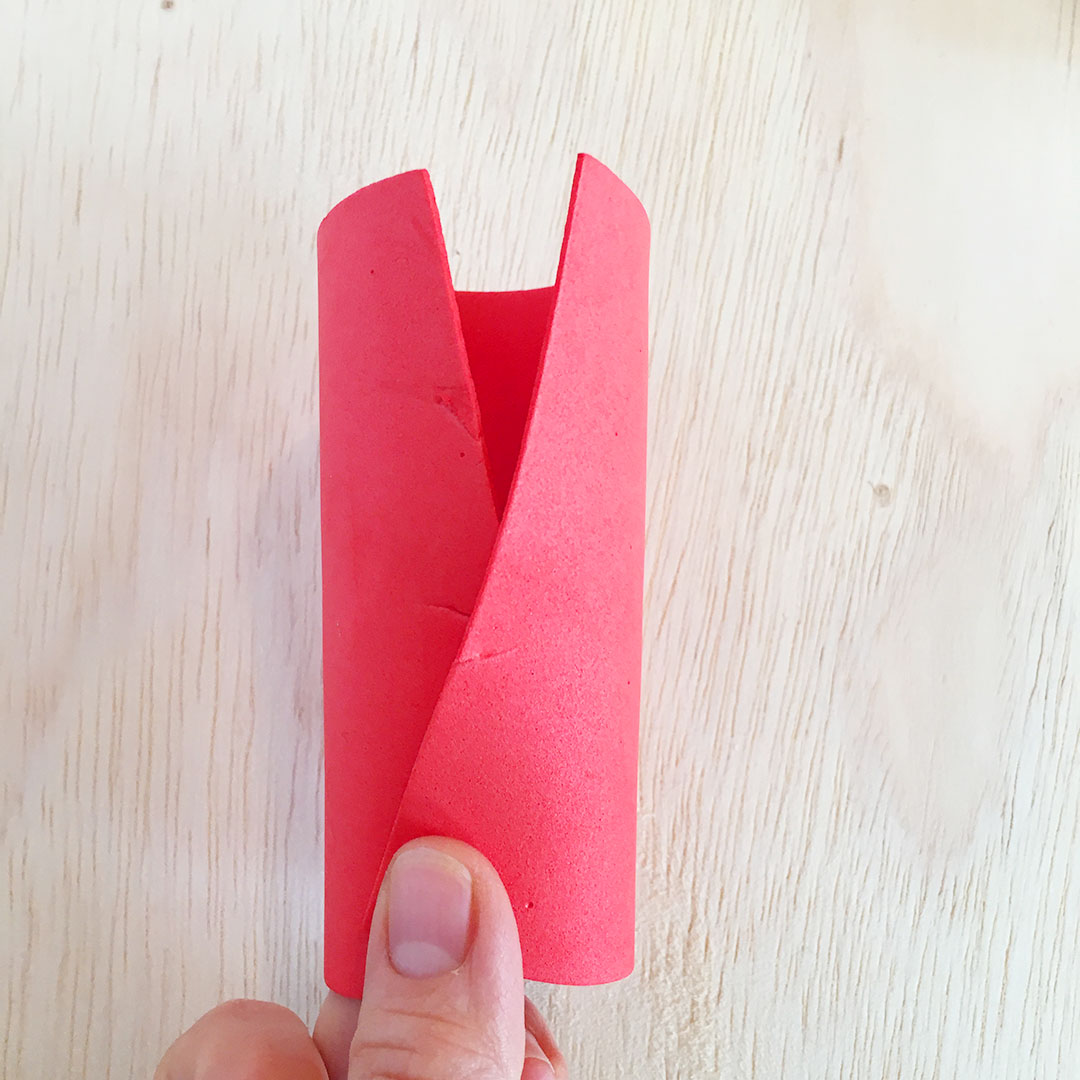
STEP 4. Accessorize! What is a cat without it’s hat?! We rolled up a piece of foam paper to make our hat, but you can also use construction paper, then hot glue it together on the back.
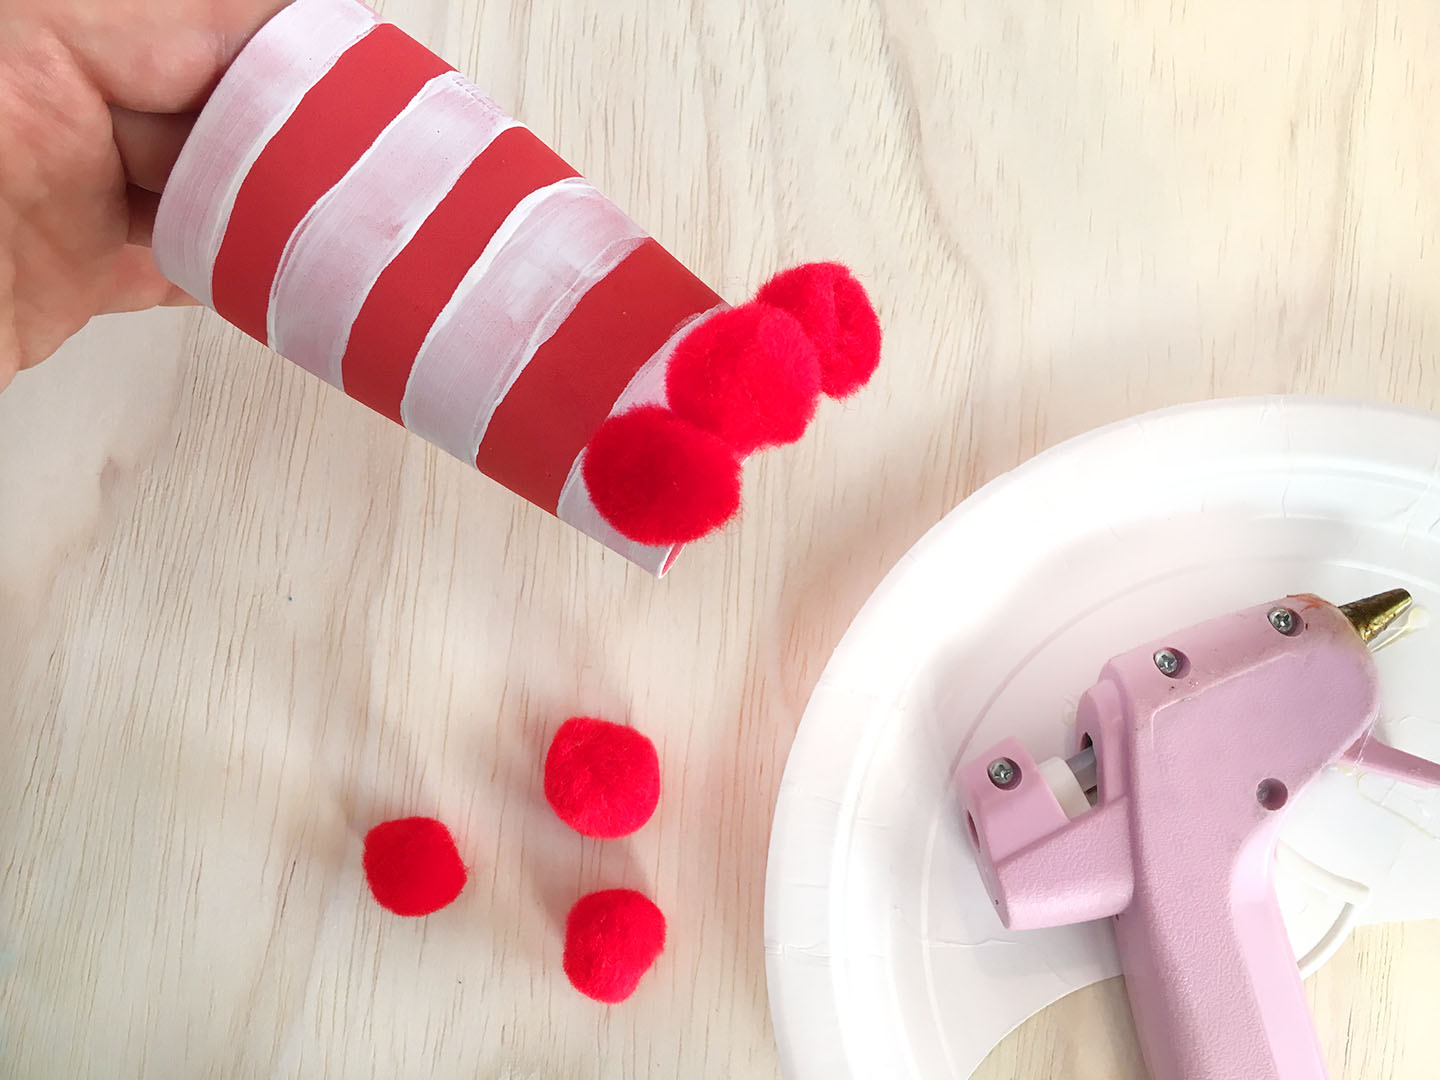
STEP 5. Trim your hat. We painted on stripes and glued pom poms around the bottom. On our other mask we wrapped a white pipe cleaner around for the stripes. We also added the little fish who is always telling off the Cat in the Hat, to our hat. Once your hat is fully trimmed hot glue it to your mask.
STEP 6. Finally, punch a hole on each side of the mask. Then thread some ribbon, yarn or elastic though so you can tie it onto your face. You’re done!
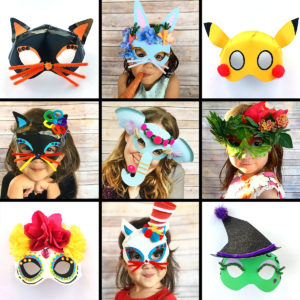
HERE ARE SOME OF OUR OTHER MASKS:
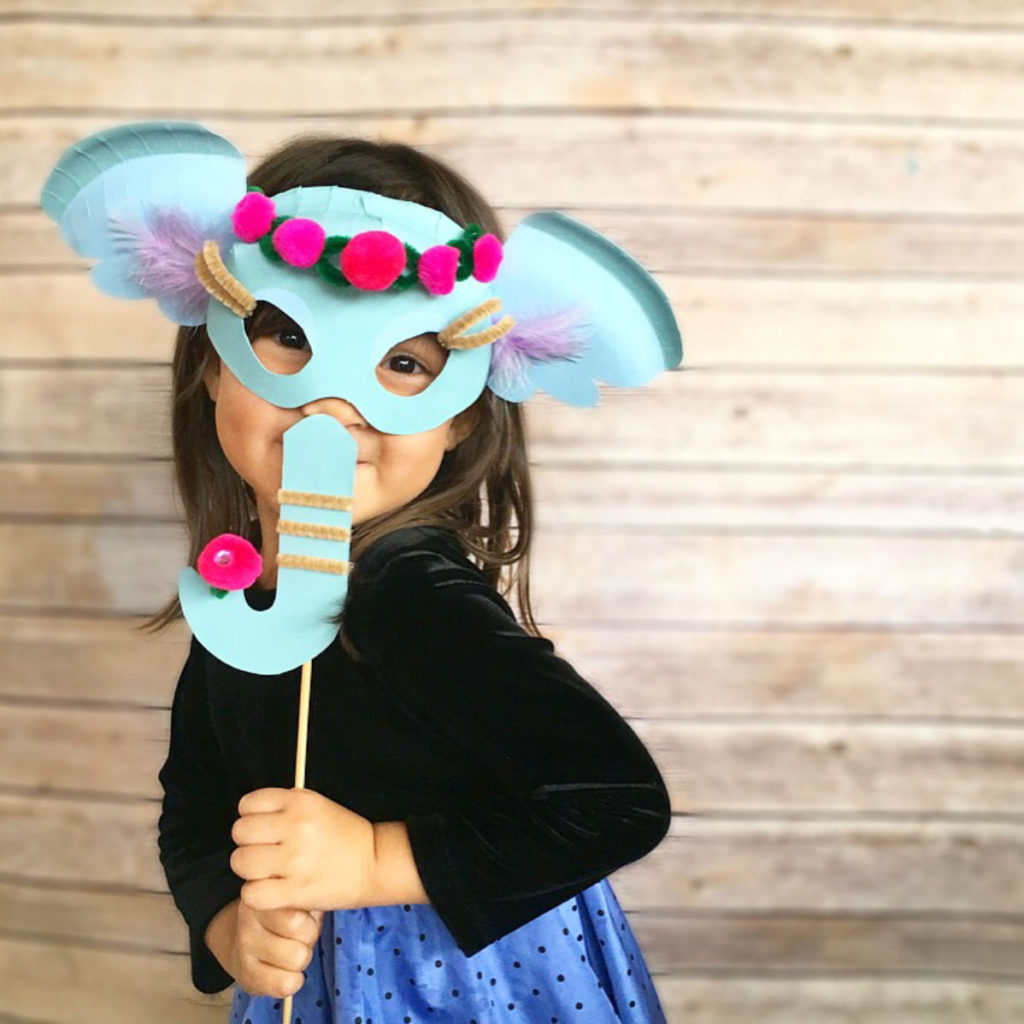
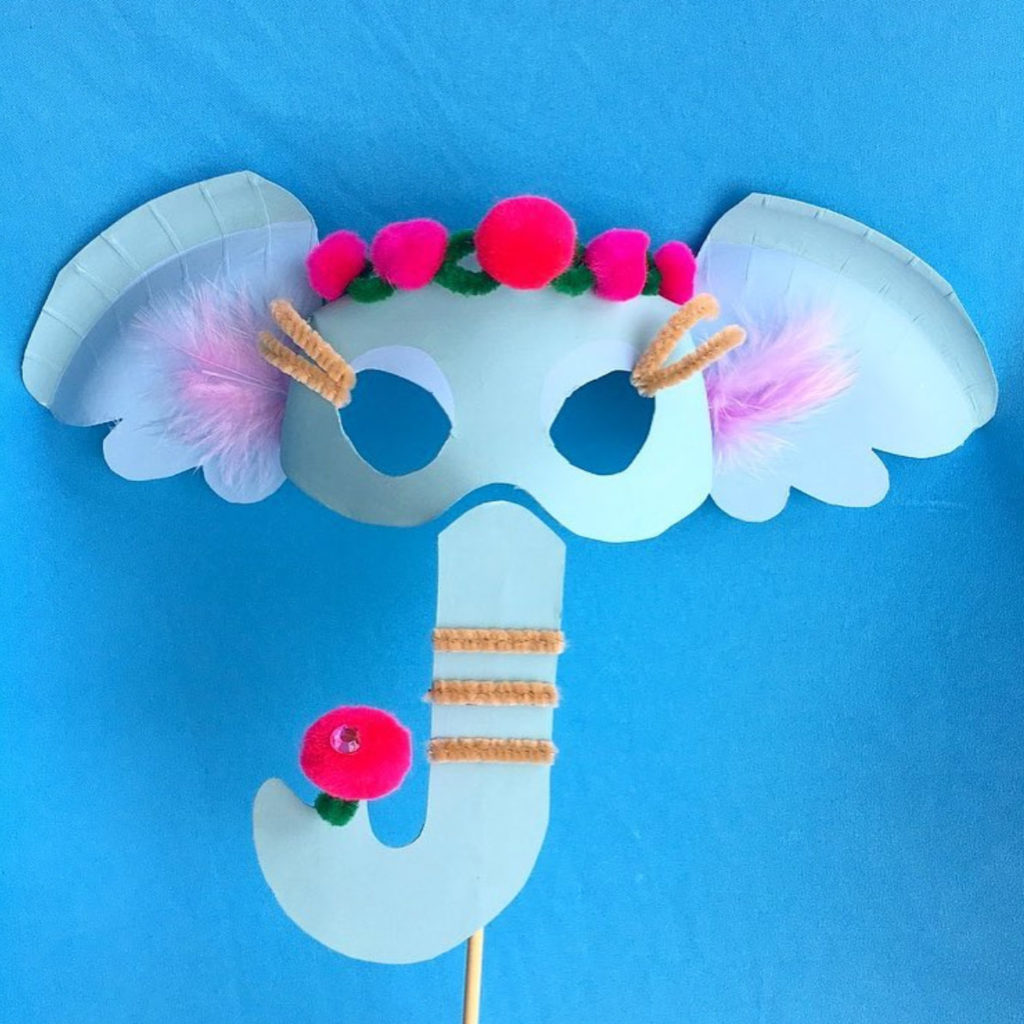
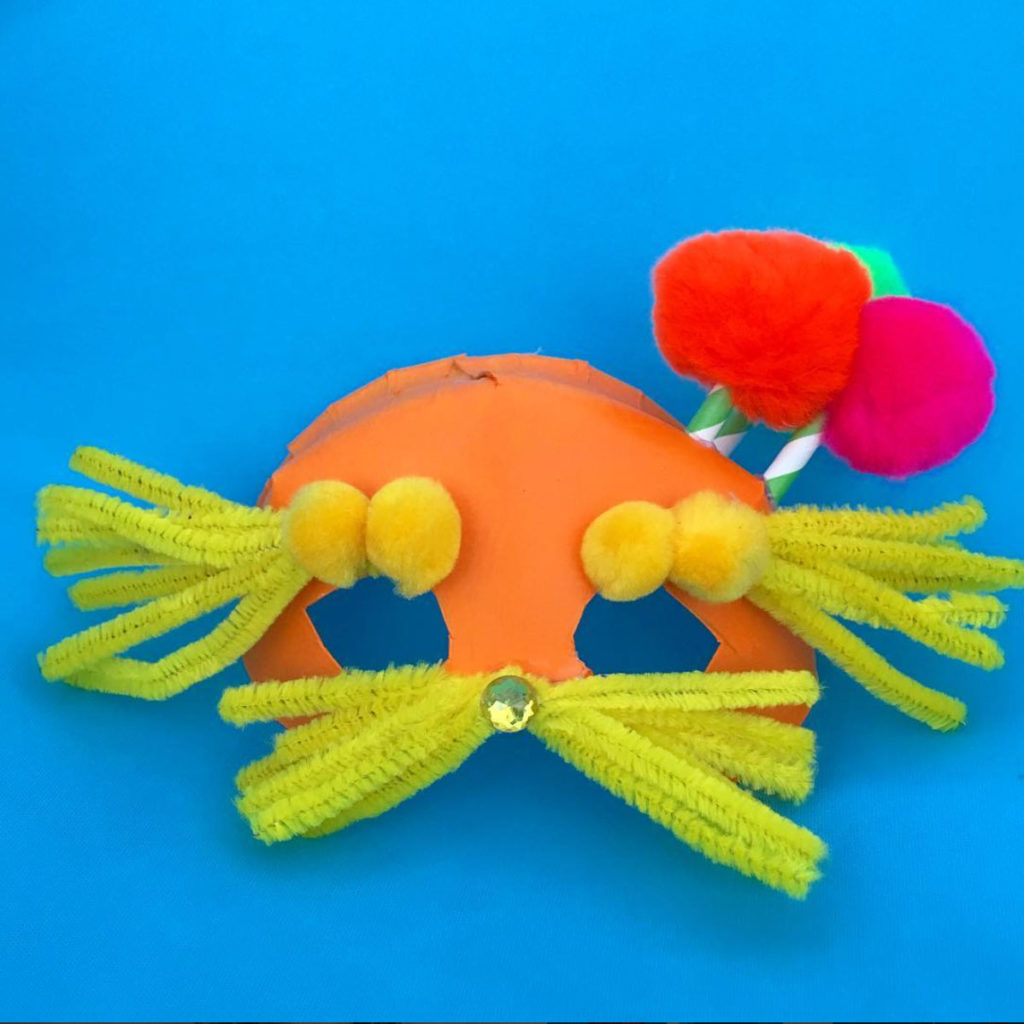
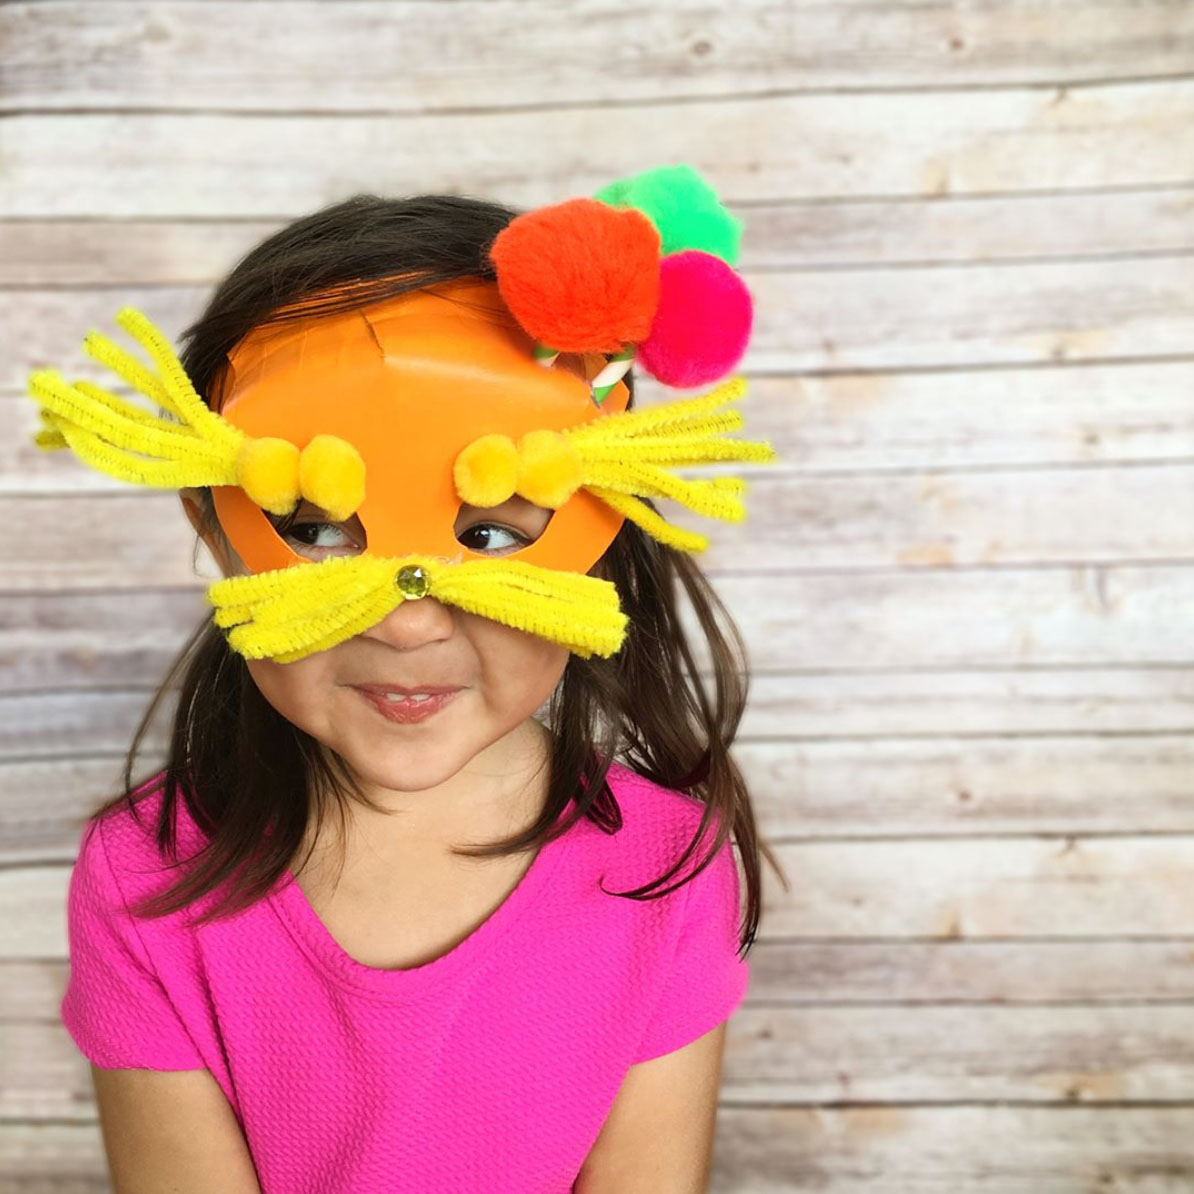
Below, you can see our dear Horton holding his flower with the spec and our friend The Lorax with the forest growing out of his head.
Remember to grab your template by entering your name and email below.
TAG US IN YOUR KIDS DR SEUSS MASK CREATIONS:
We love how projects change with different creative minds, and would love to see how yours turned out! Tag @creatingcreatives on Instagram or @creatingcreativeskids on Facebook for a chance to be featured under our projects.
SHARE IT:
Spread the word and Pin and Facebook share with your friends!


Cute! Love it!
Pingback: Paper Plate Flower Craft for Kids - Red Ted Art's Blog