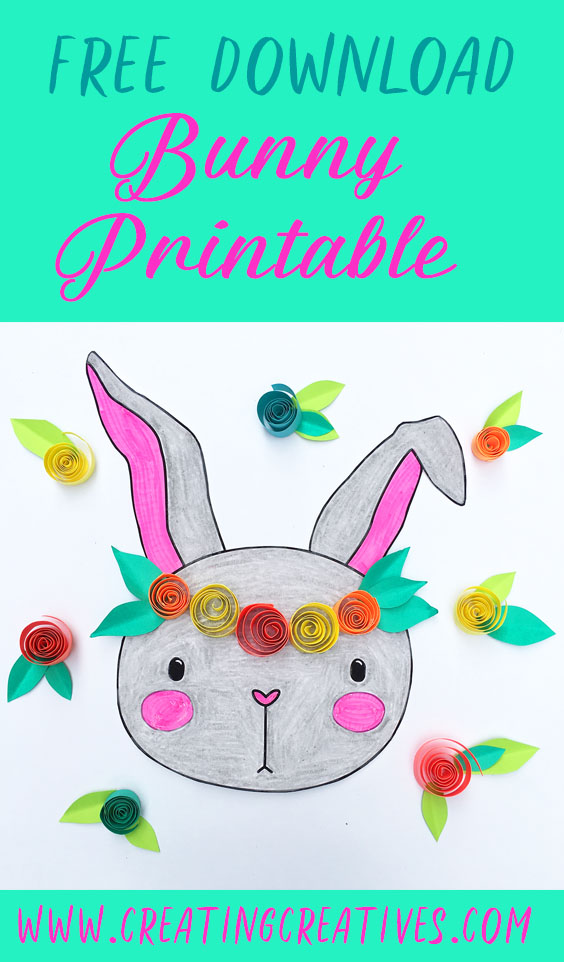
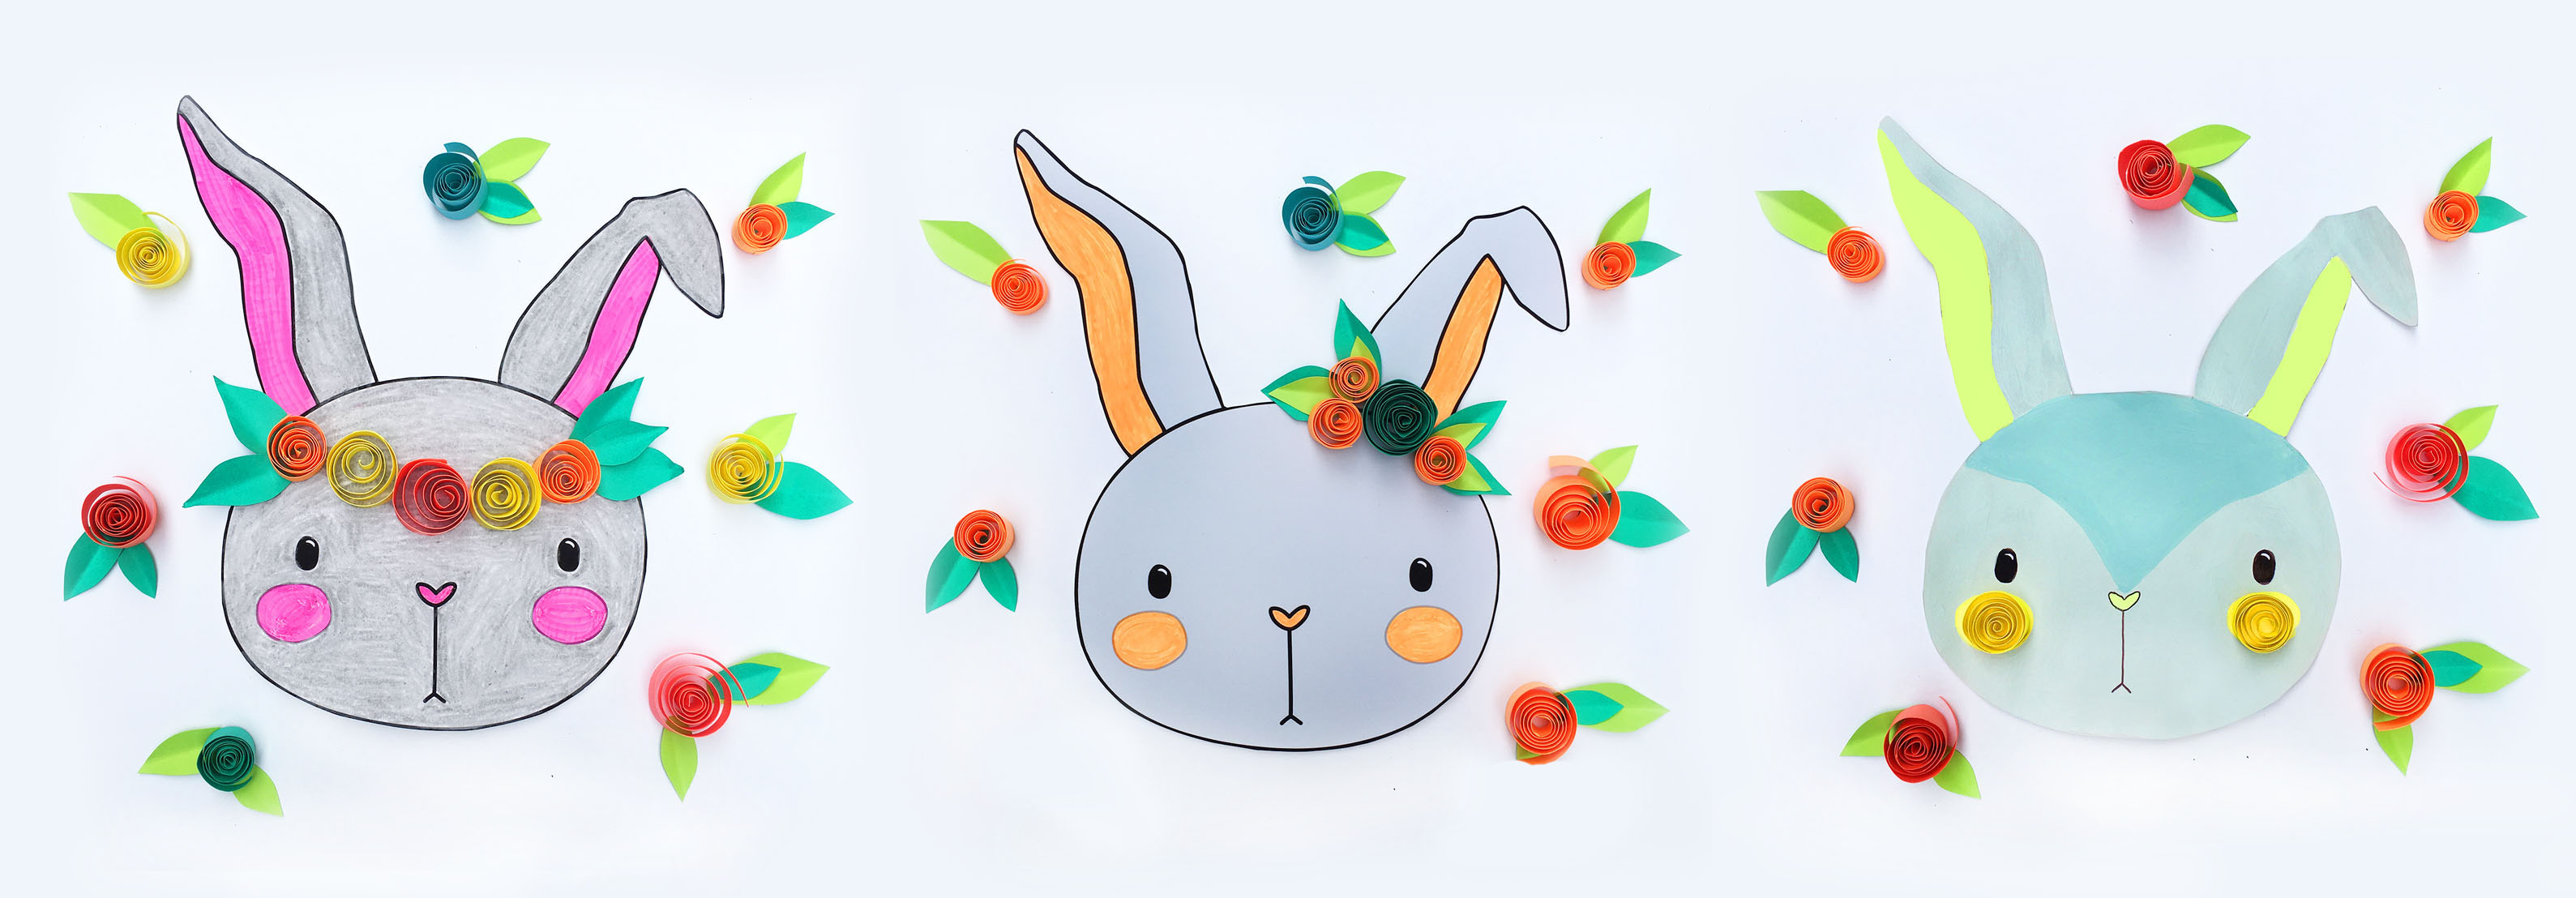
 When making this bunny printable I kept thinking of the many different ways it could be decorated. How fun would glittery ears be? or a pom pom headband, or cheeks? Fake flowers, felt flowers, pom poms, stickers, sequins, the list goes on. After much deliberation we decided to decorate ours with rolled paper flowers, a sort of quilling if you will.
Quilling, or paper rolling, is such great fine motor practice for young and old. But fine motor practice aside, it was a great excuse to cut TONS of strips of paper. My kids loved this part, and quite enjoyed the paper rolling part, as well as the unrolling part (of course). So now we have a whole container dedicated to rolled, and some unrolled, strips of paper!
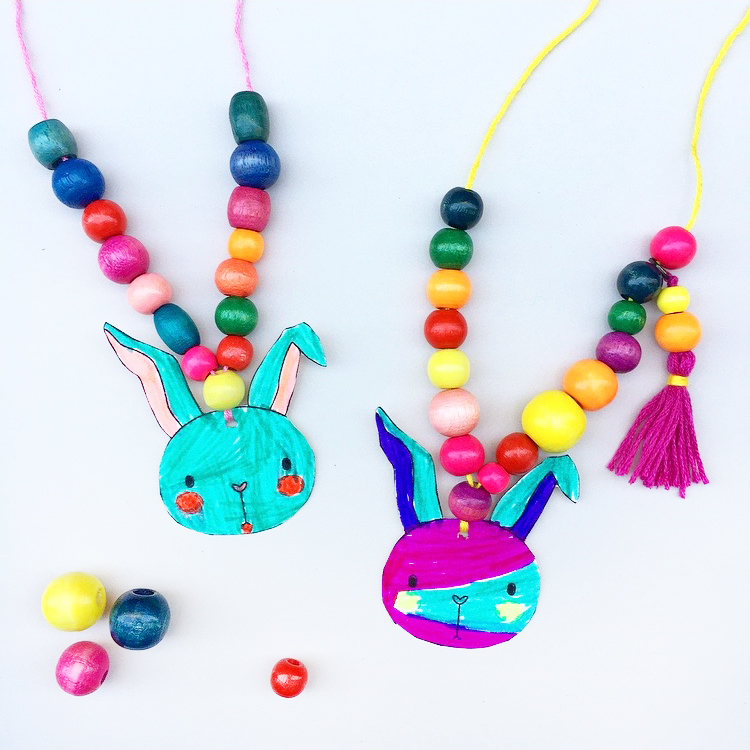
We think this cute bunny printable would look great on an Easter wreath or as bunting, or just by itself to decorate your child’s room. Oh and I almost forgot! Because I can’t help myself and my two youngest are obsessed with mini things at the moment, I added in an extra sheet with mini bunnies. The mini bunnies would make a perfect coloring page for a doll, or a super cute necklace.
To get your bunny printable just enter your name and email below and I’ll send it right over to ya!
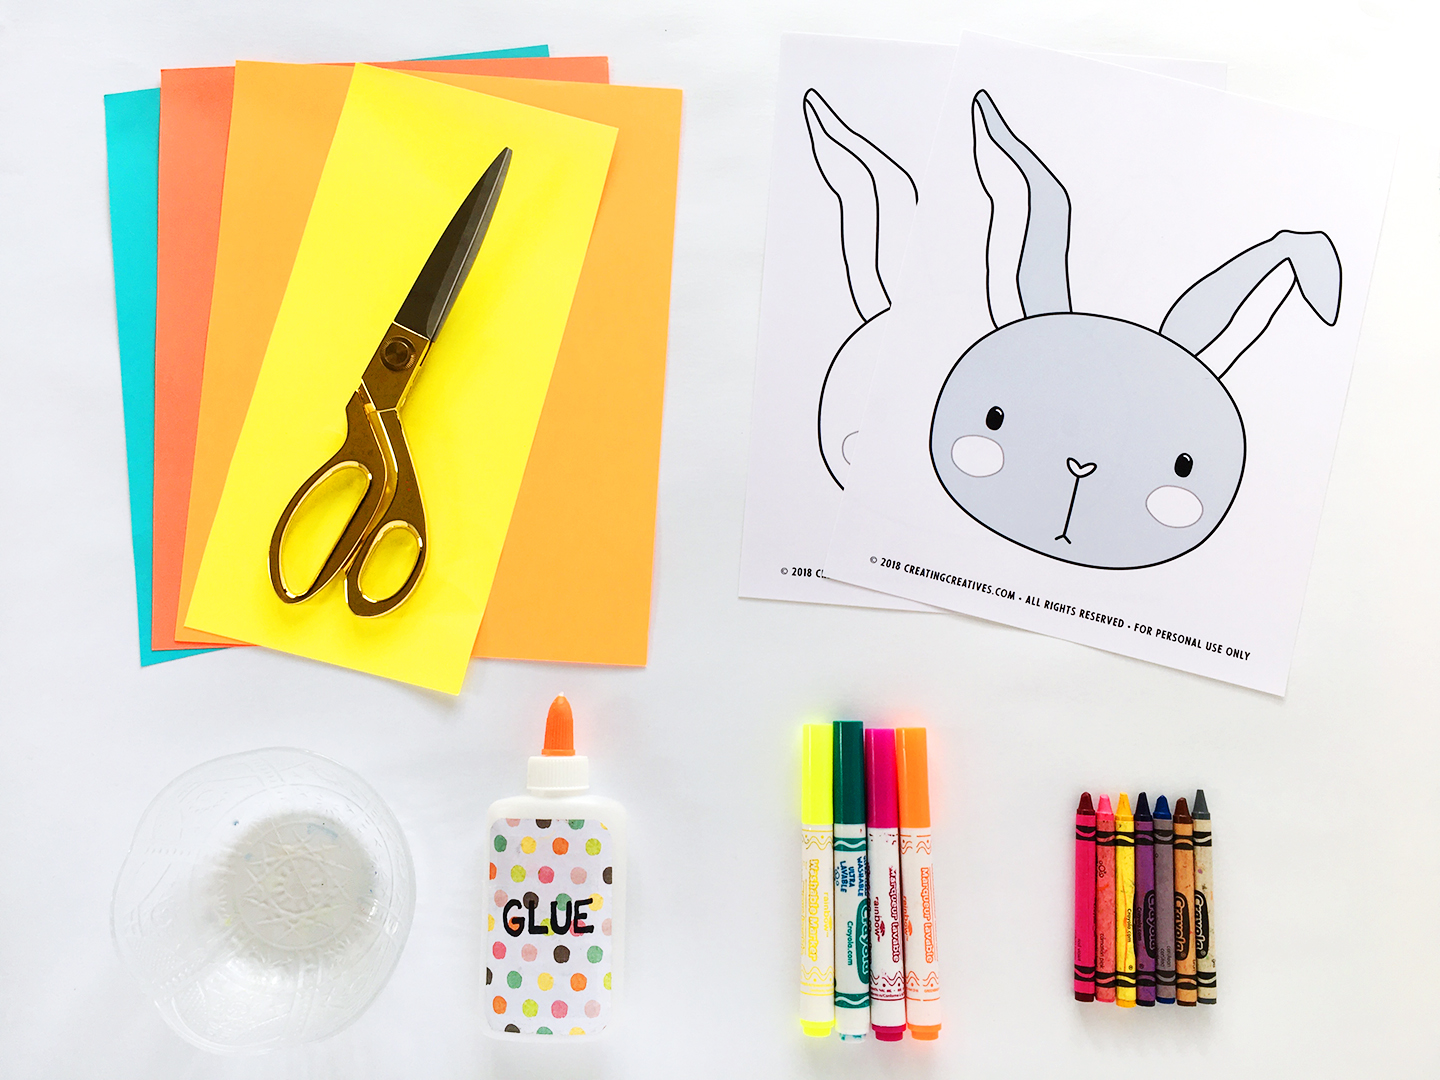
Bunny Printable Supplies:
This list contains affiliate links.
- Something to color your Printable with: Highlighters, Colored Pencils, Markers, Crayons, Tempera Paint, Watercolors
- Scissors
- Bright Colored Paper
- School Glue
- Small flat container to pour some glue in
- Toothpick or Barbecue Skewer to roll paper (optional)
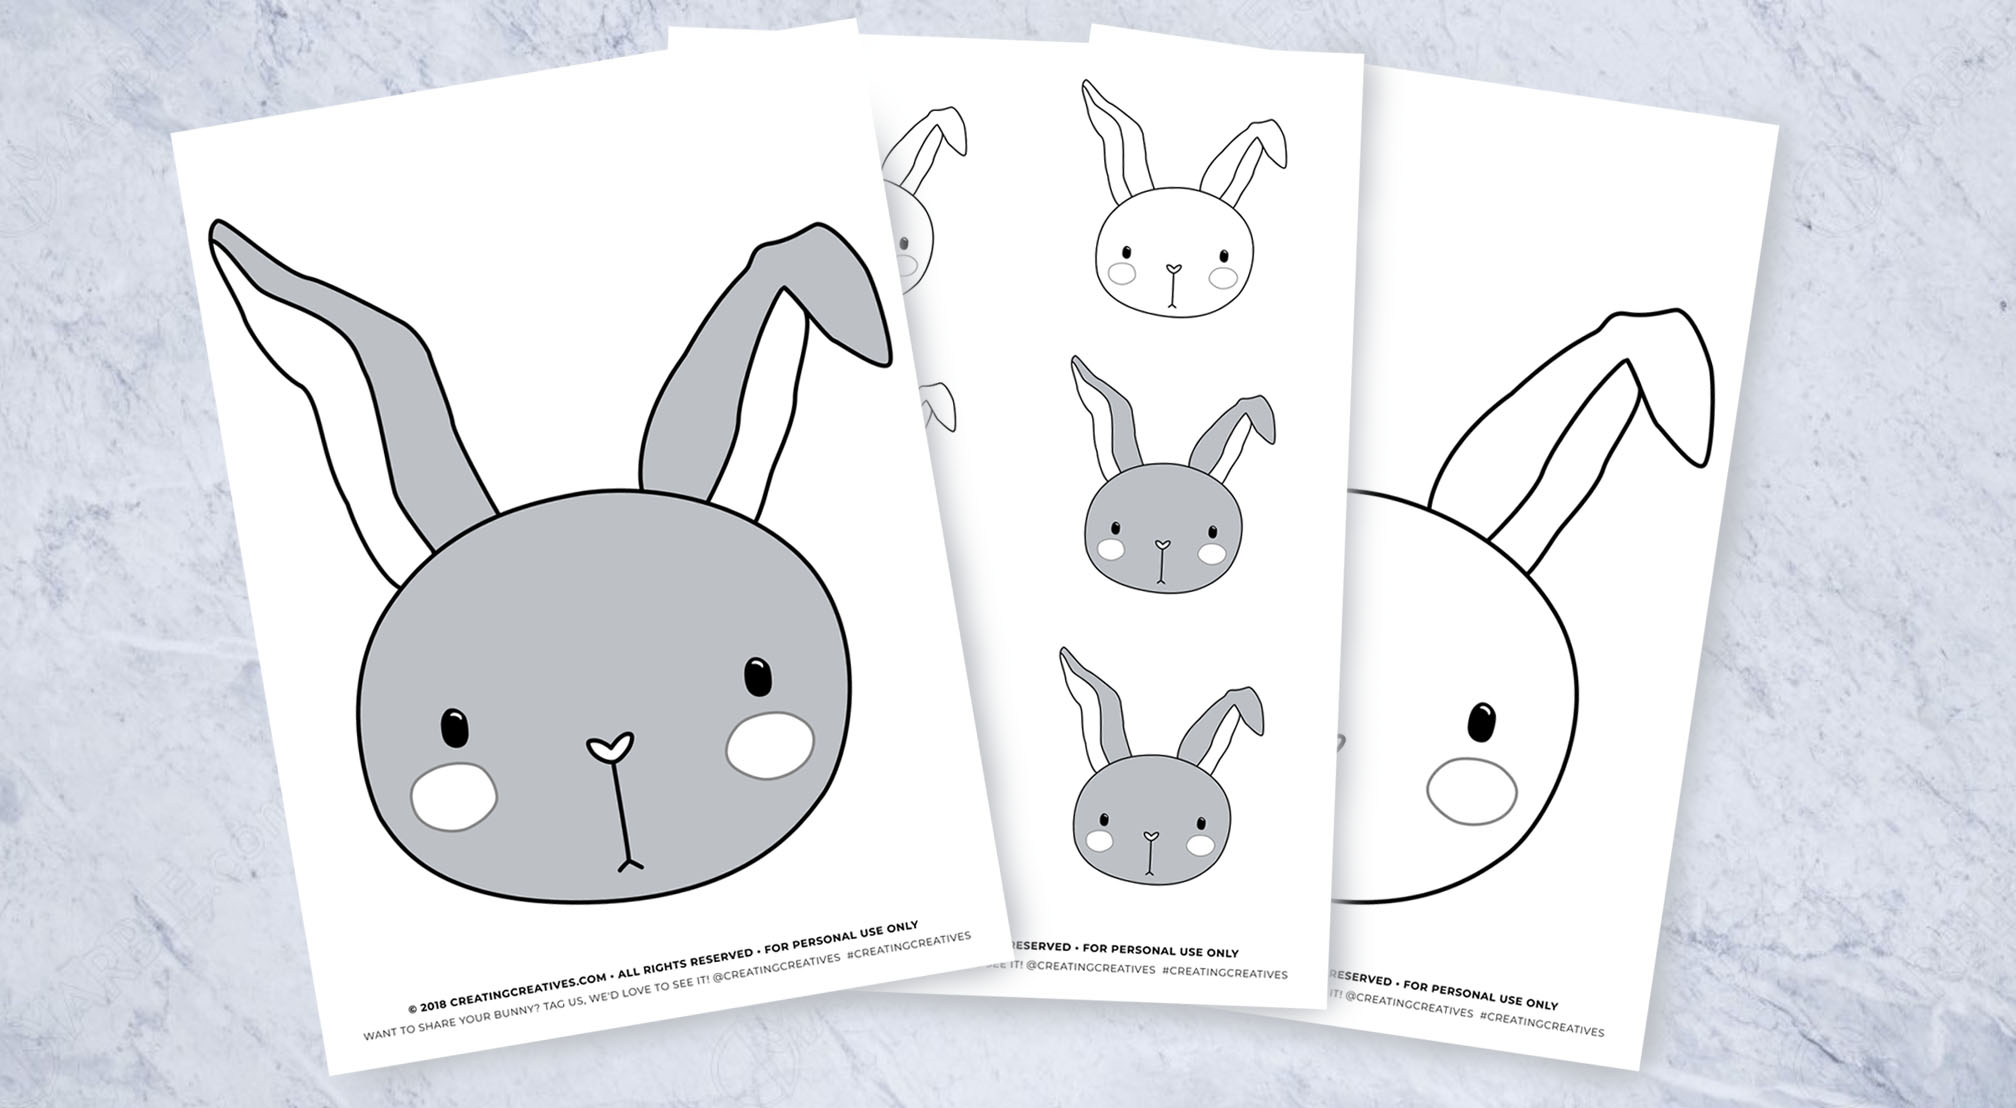
- Bunny Printable – Which we love printed on watercolor paper, if your printer works with watercolor paper you’ll never look back! This comes with 3 printables:
- A completely blank one
- A grey bunny with blank ears, nose and cheeks for those who don’t want to color a whole bunny
- A page of mini bunnies.
- Enter your name and email below and I’ll send our Bunny Printable right over to you!
Make It – Bunny Printable:
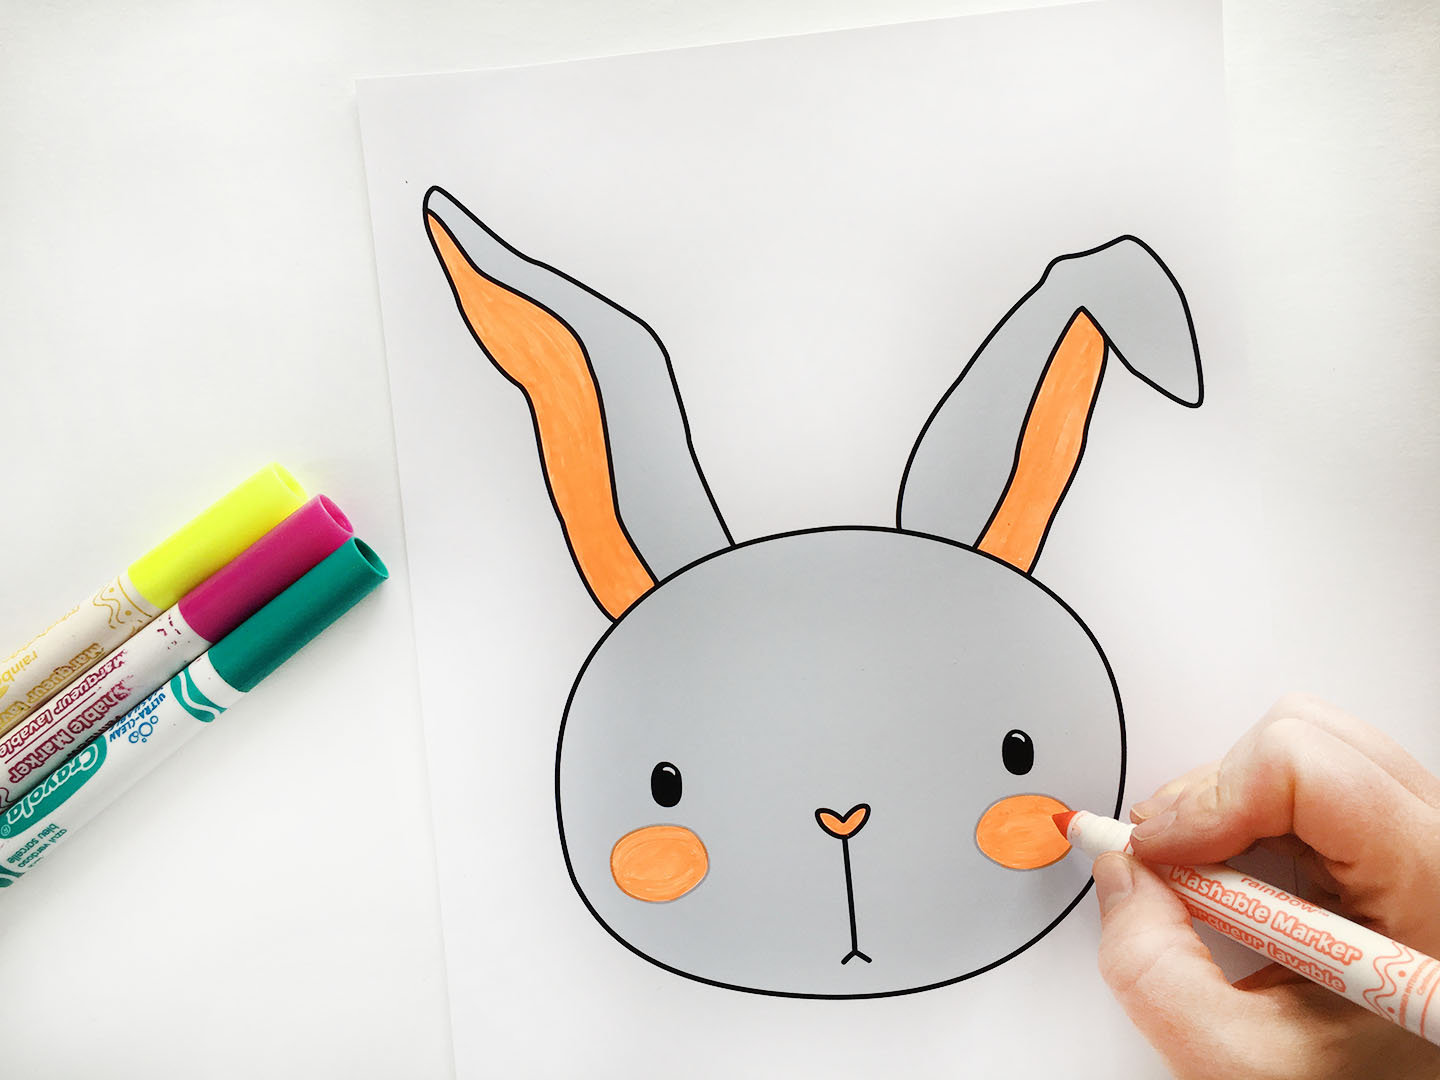
1. Print out your Bunny Printable, and color it in. We have been on a fluorescent color kick recently so we used bright colors to color in our printable, and love the contrast between the bright colors and less vibrant bunny fur.
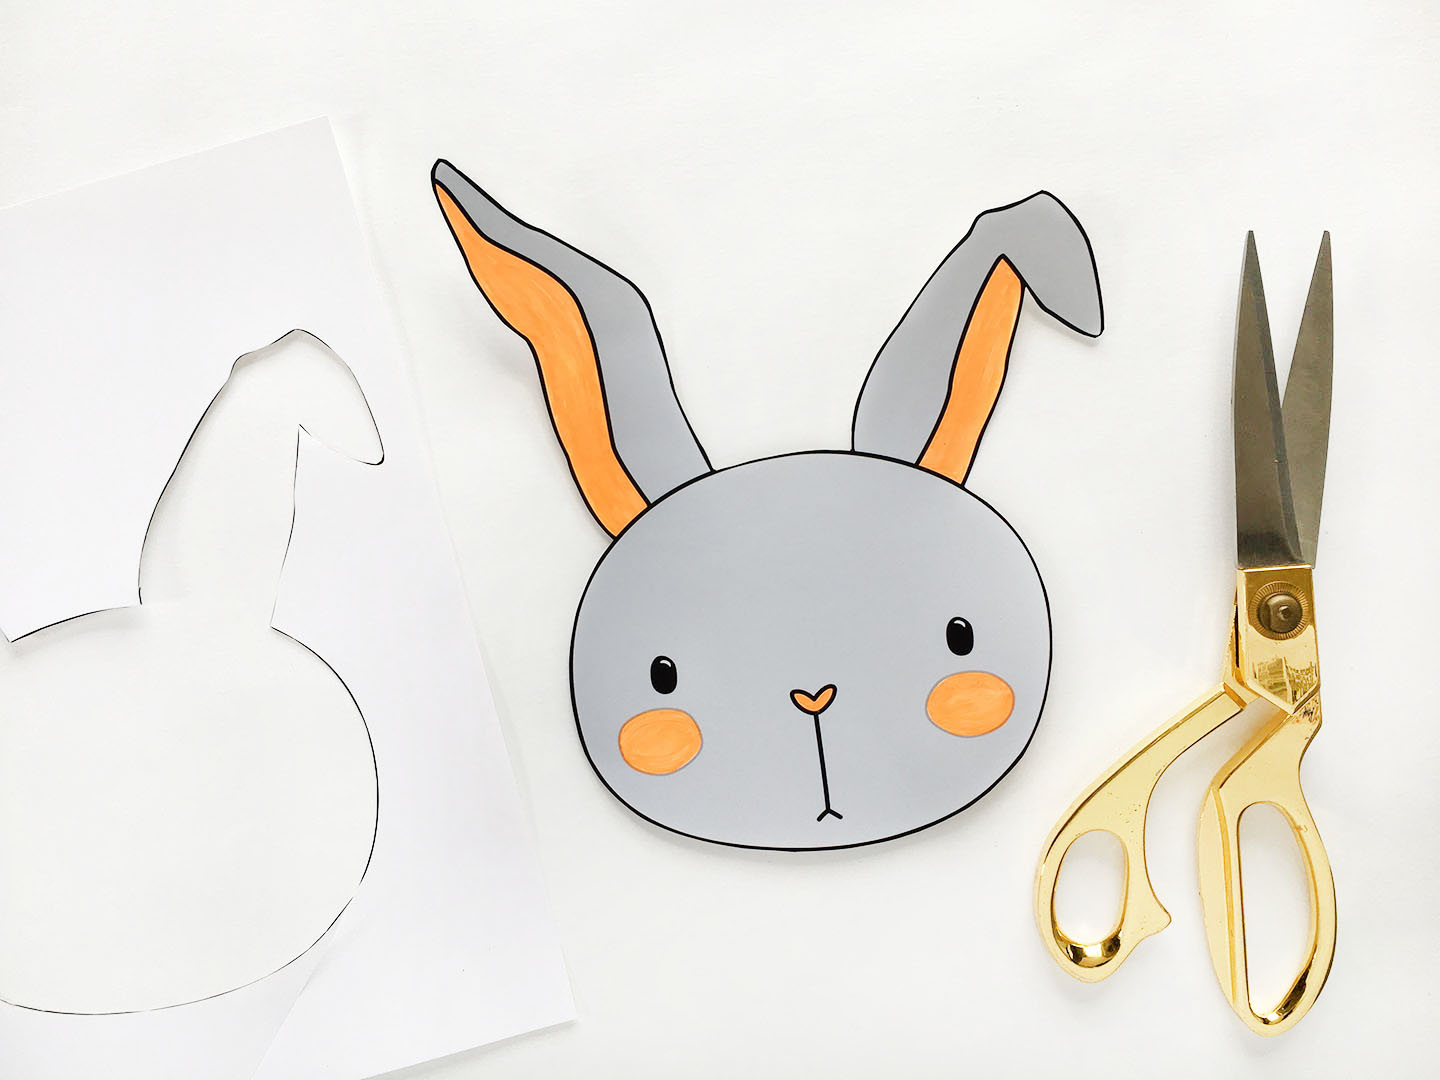
2. Next cut out your bunny. We cut the bunny after we colored it so that any coloring outside the lines can be done on the paper and not on our table.
3. Now it’s time to cut some paper strips, which is also a great activity for fine motor skills and scissor control. The great part about kids cutting the strips is that the lines don’t need to be straight. Check out the next step to see the difference between a straight paper strip and wavy one.
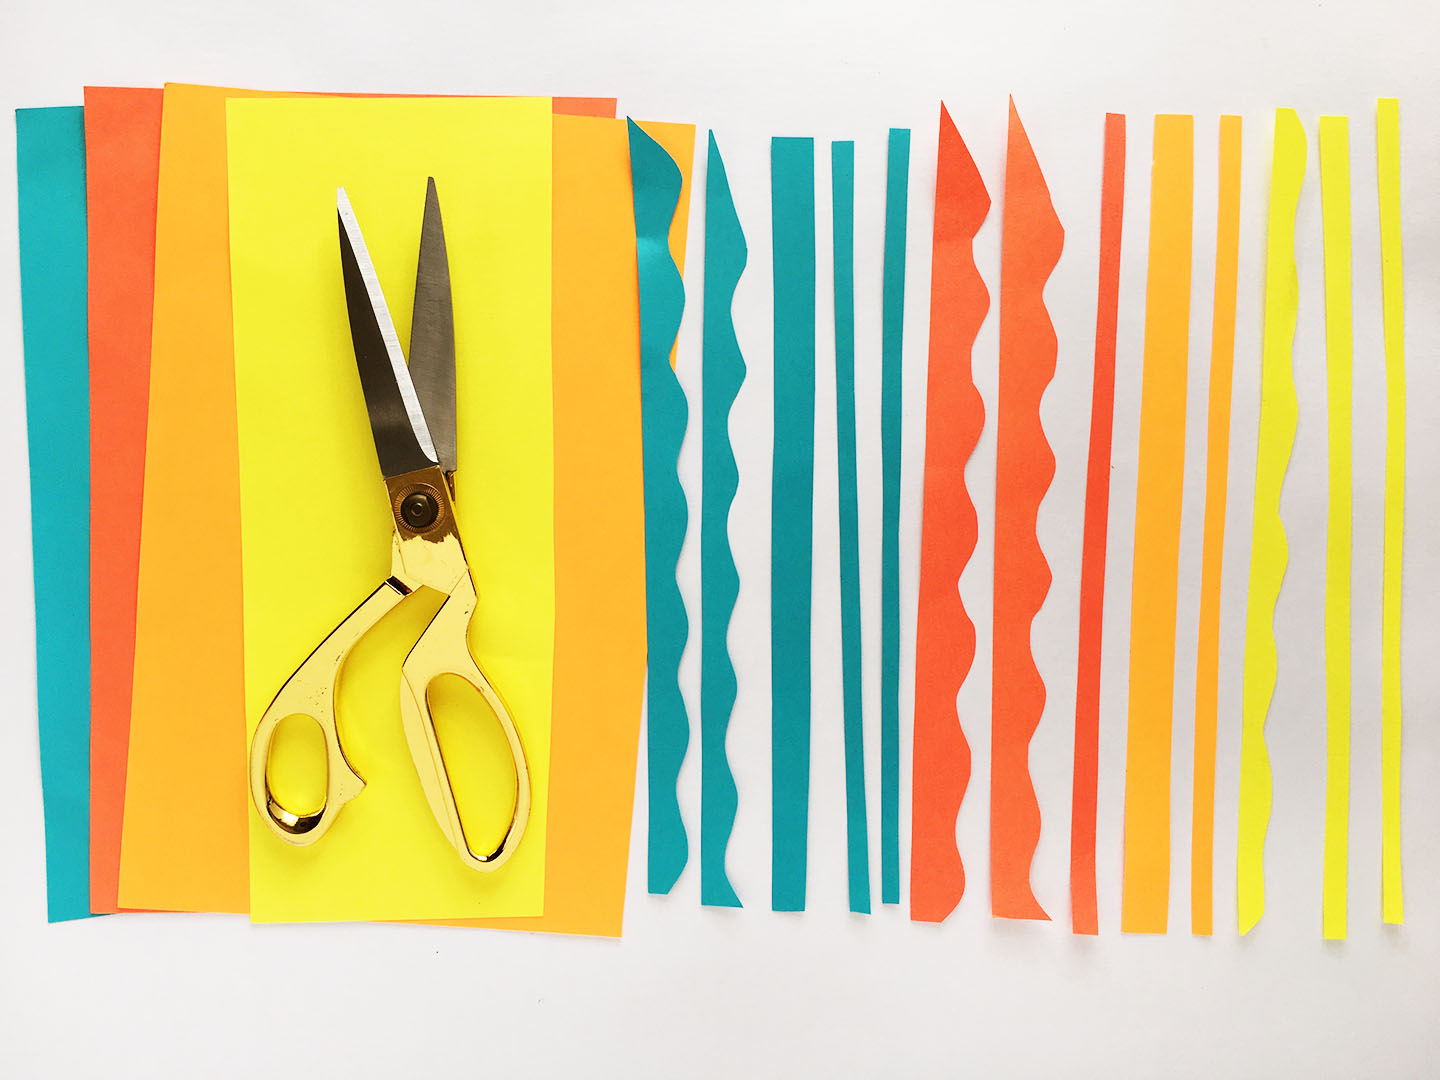
4. We found that cutting our strips a little wavy made them more rose shaped. Have fun playing around with different shaped edges!
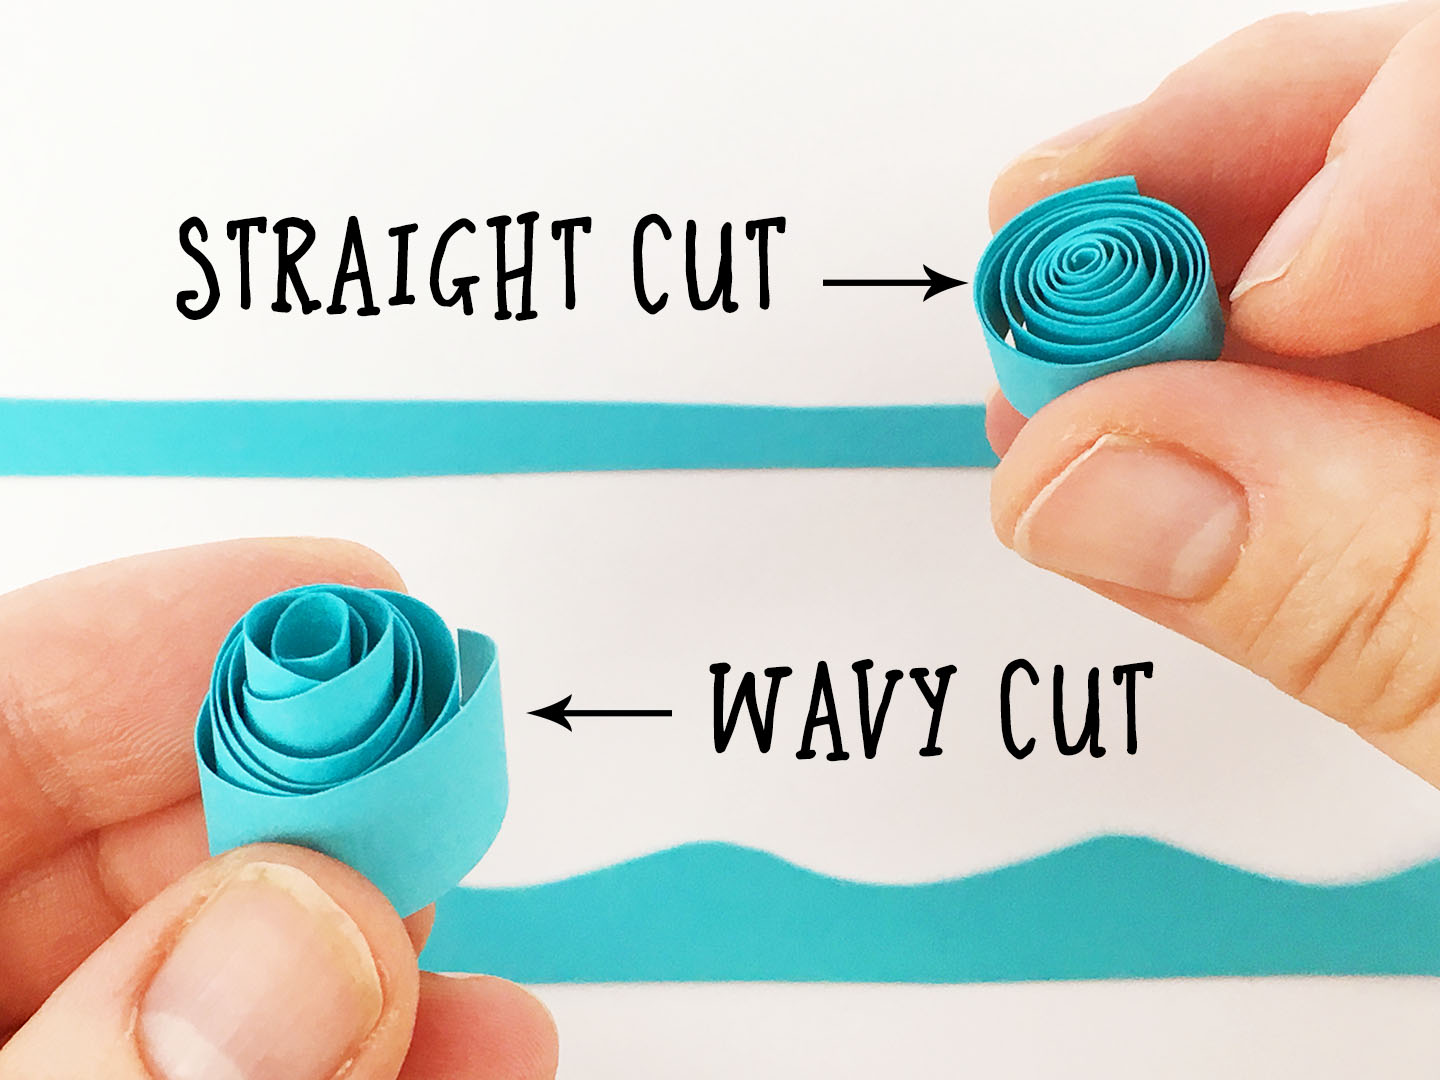
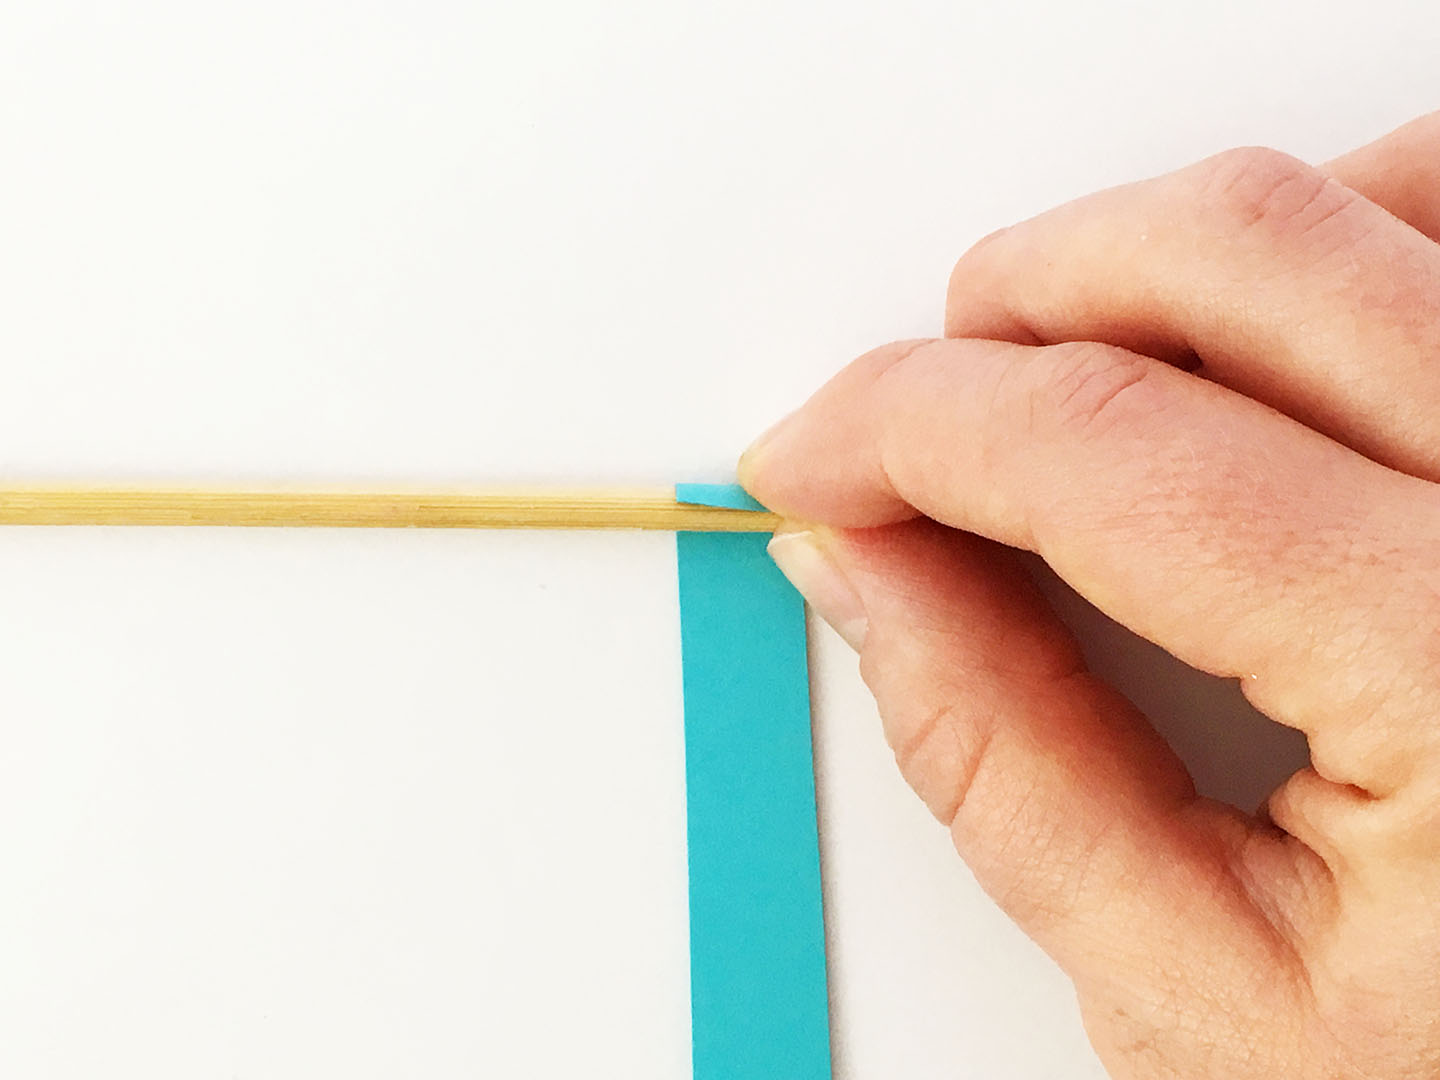
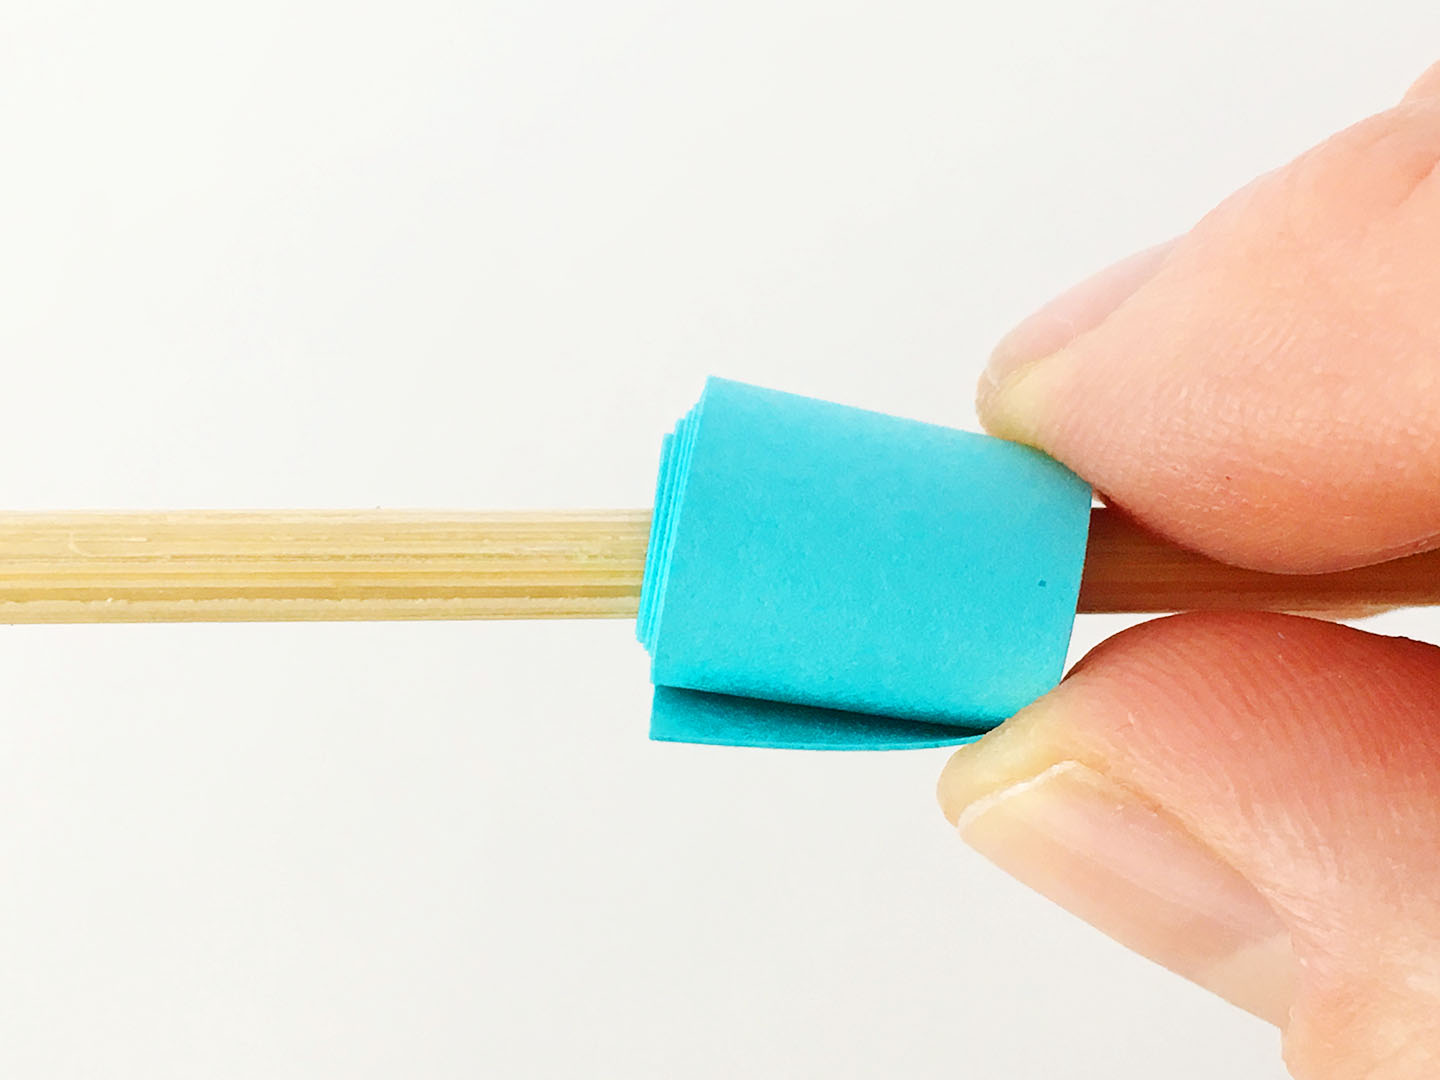
5. To roll your paper strips start by wrapping the end of your paper around a barbecue skewer or toothpick and roll it up, then slide off. Using the skewer makes it much easier to roll, but you can also just roll the paper strips with your fingers.
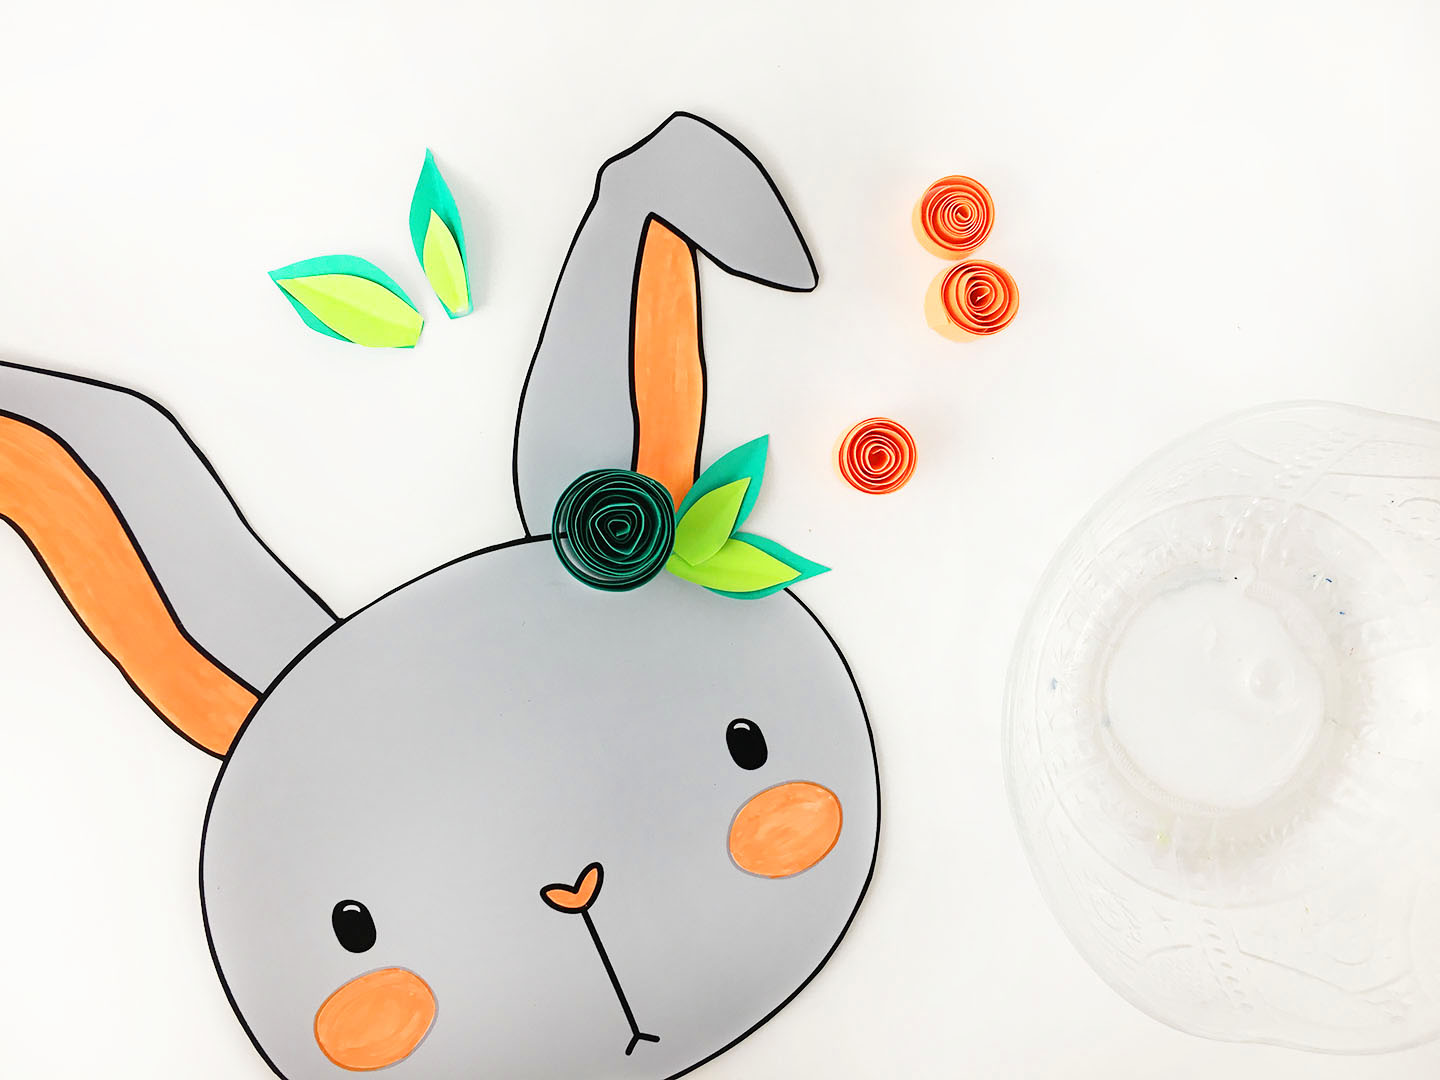
6. Once you’ve had fun rolling tons of paper strips you can arrange them on your bunny.
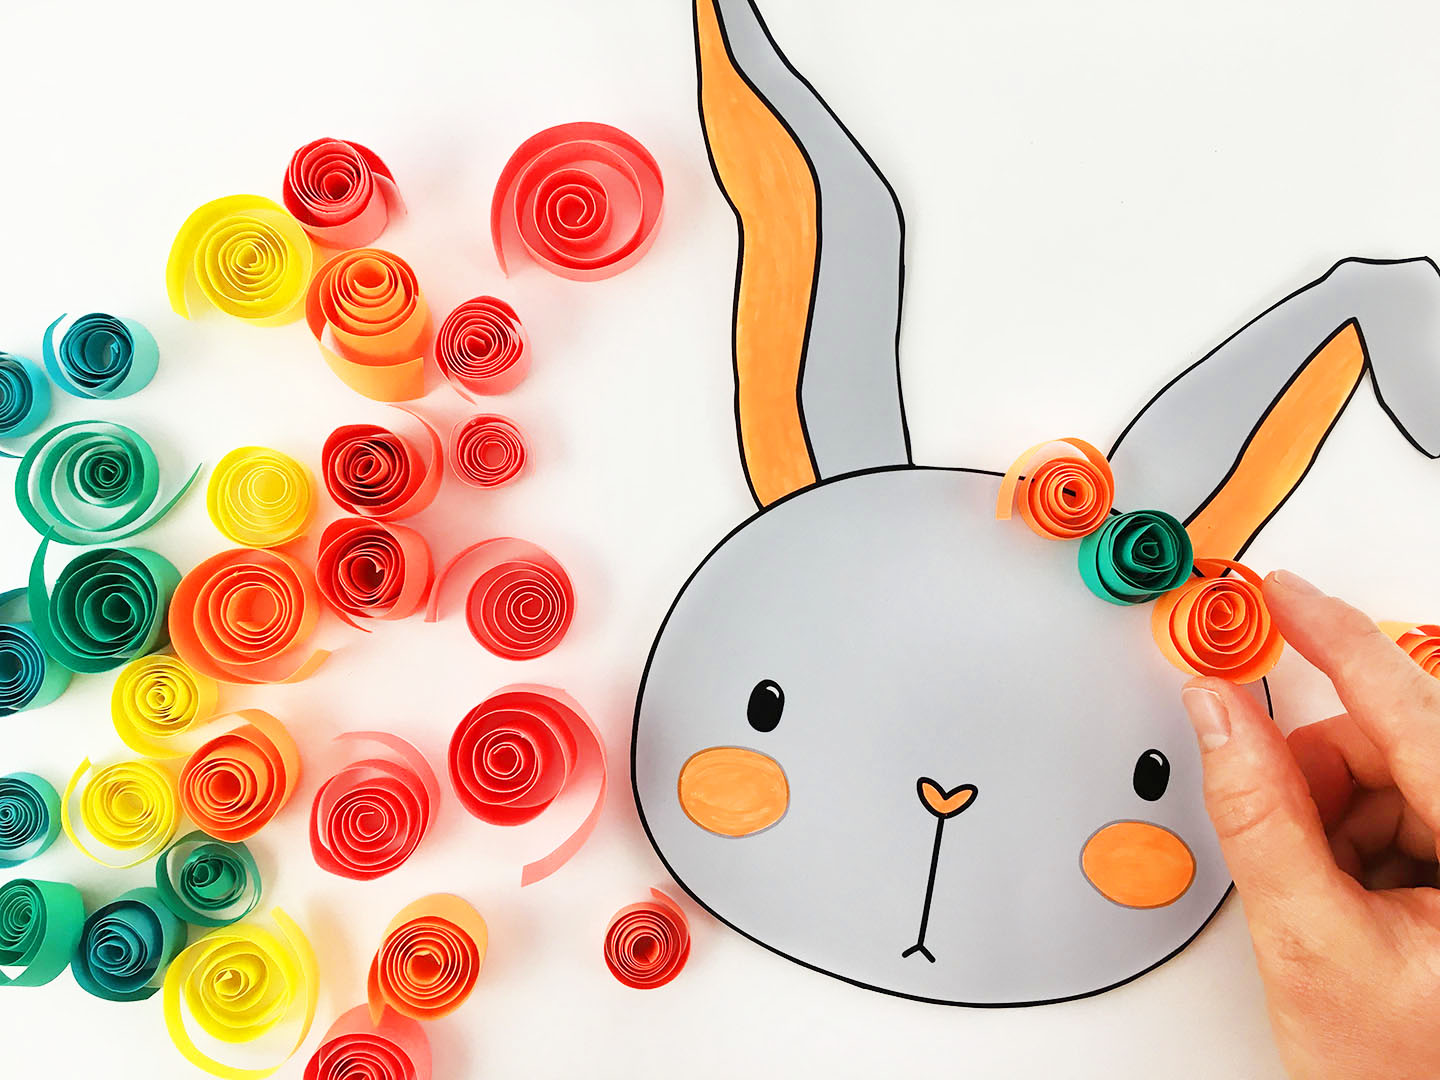
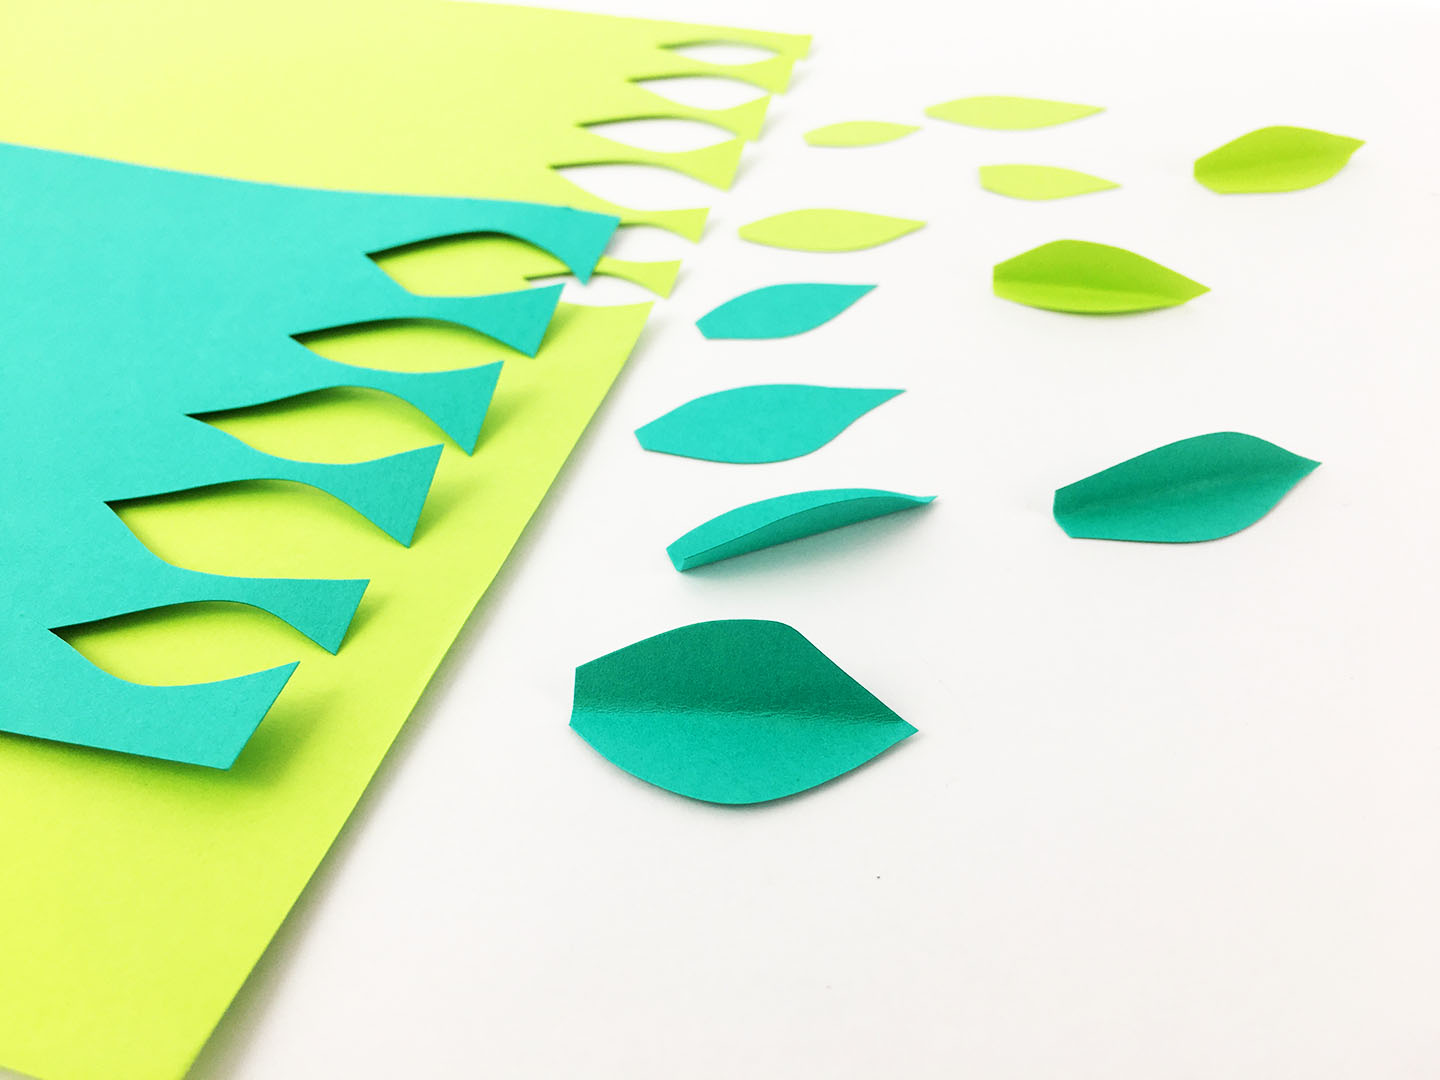
6. Now it’s time to add some leaves. To make your leaves cut out a leaf shape then fold it in half for a little dimension.
6. Time to glue, and here’s the trick. Pour out a little glue into a bowl or flat container. Next, dip the bottom of your flower in the glue, so it fully covers the bottom of the flower, lift it up and glue it to your paper. Press the top of the flower in place for a few seconds until it sticks.
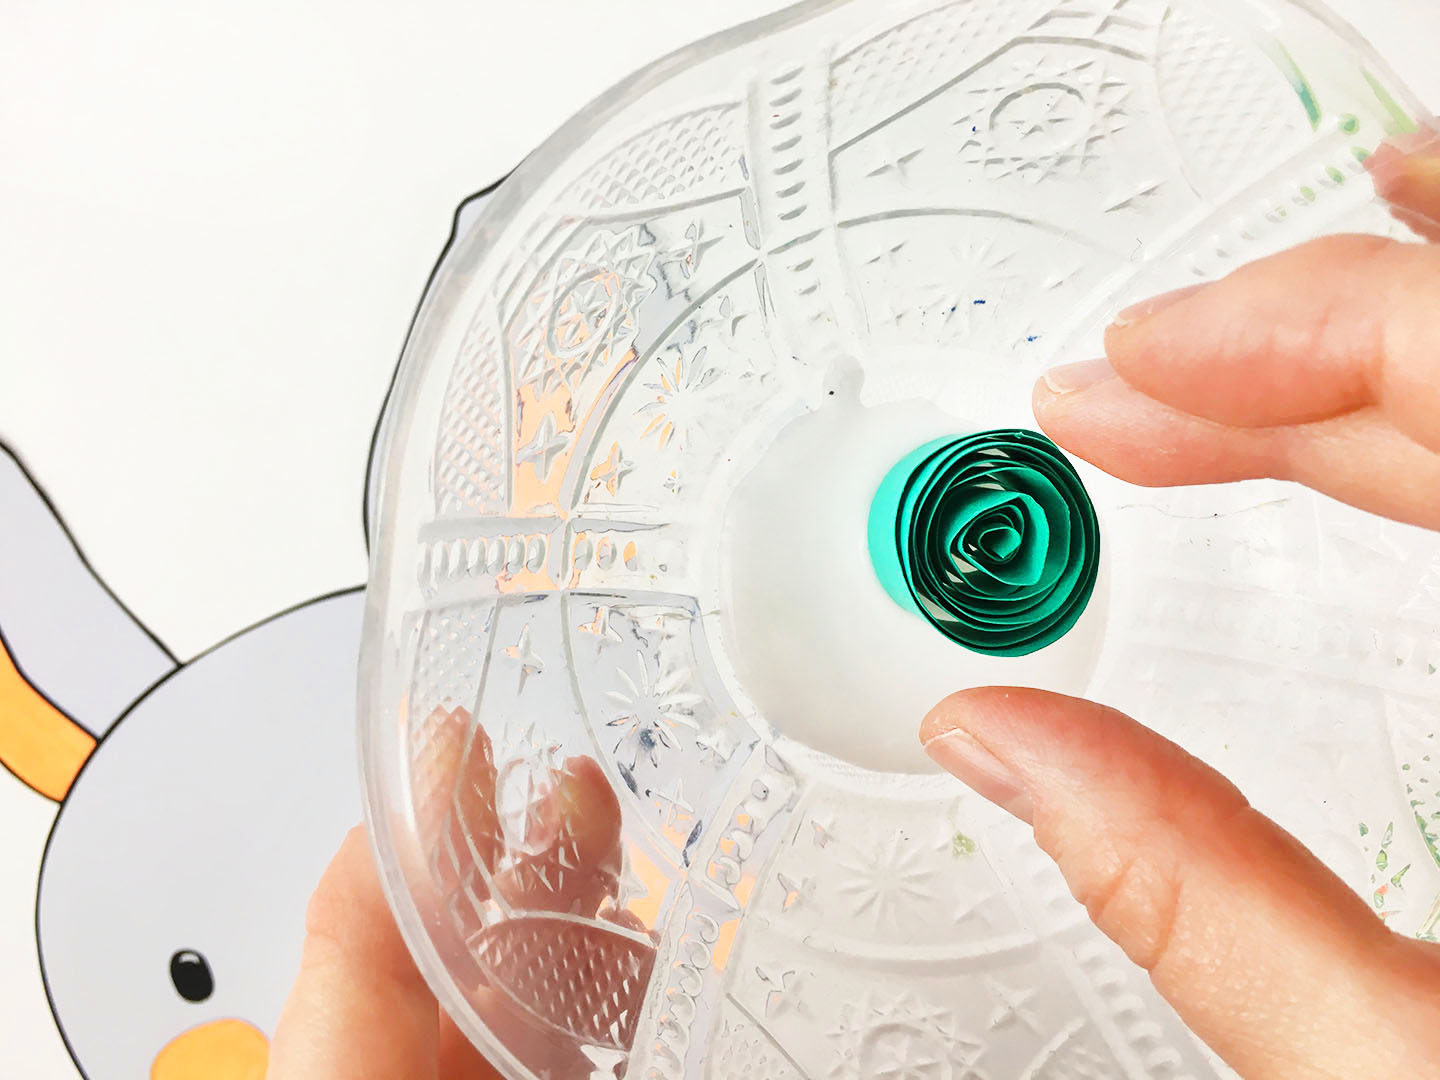
6. When gluing on your leaves you might want to glue them on first then glue the flowers on top. Just something to keep in mind.
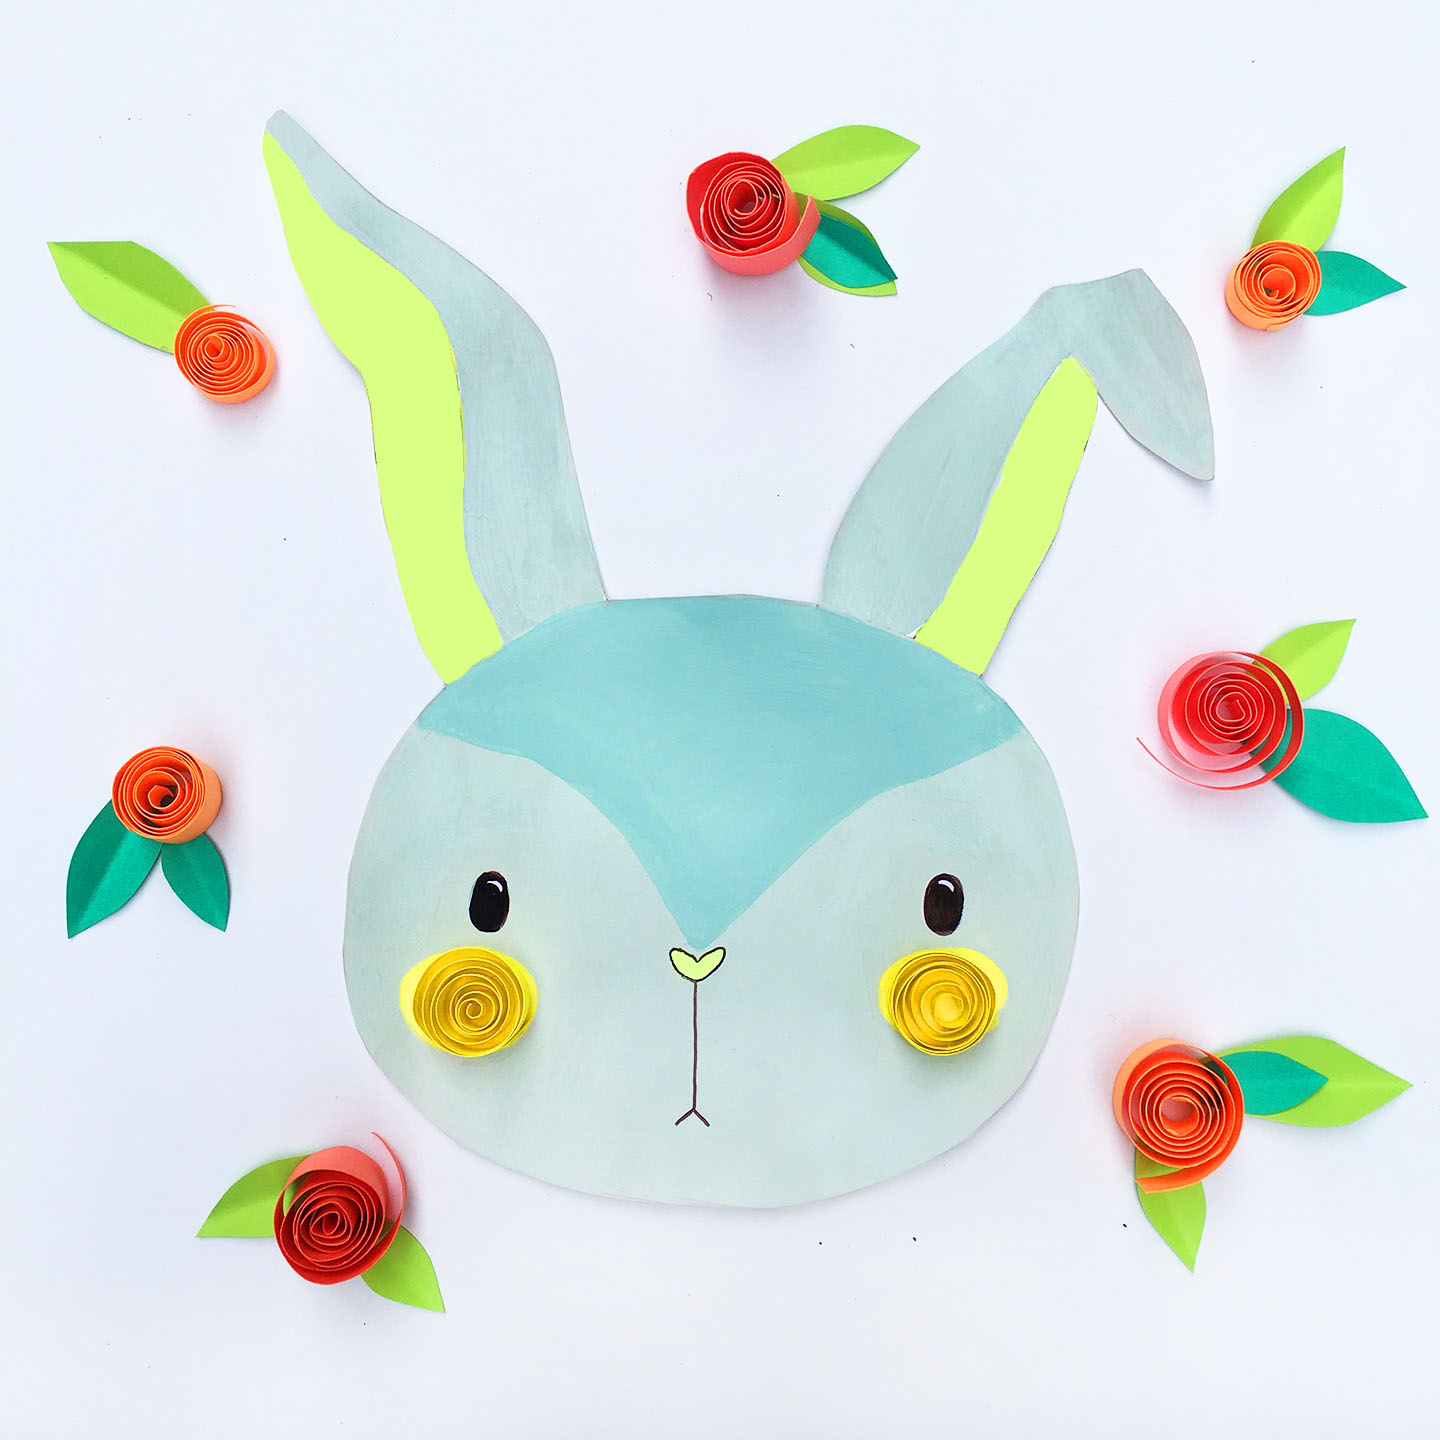
Here are some of the designs we made. We’d love to see how yours turn out!


BUNNY NECKLACE:
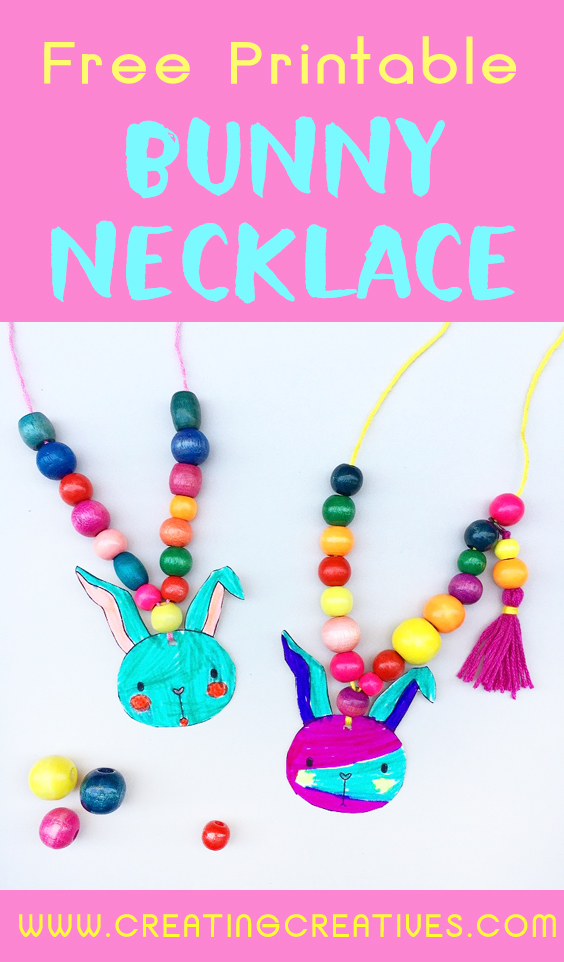
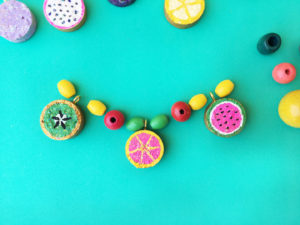
We included a mini bunny printable as well, perfect for a bunny necklace. Here are a couple of ours below.
TAG US IN YOUR BUNNY PRINTABLES:
We love how projects change with different creative minds, and would love to see how yours turned out! Tag @creatingcreatives on Instagram or @creatingcreativeskids on Facebook for a chance to be featured under our projects.
SHARE IT:
Spread the word and Pin and Facebook share with your friends! We really appreciate your support!

