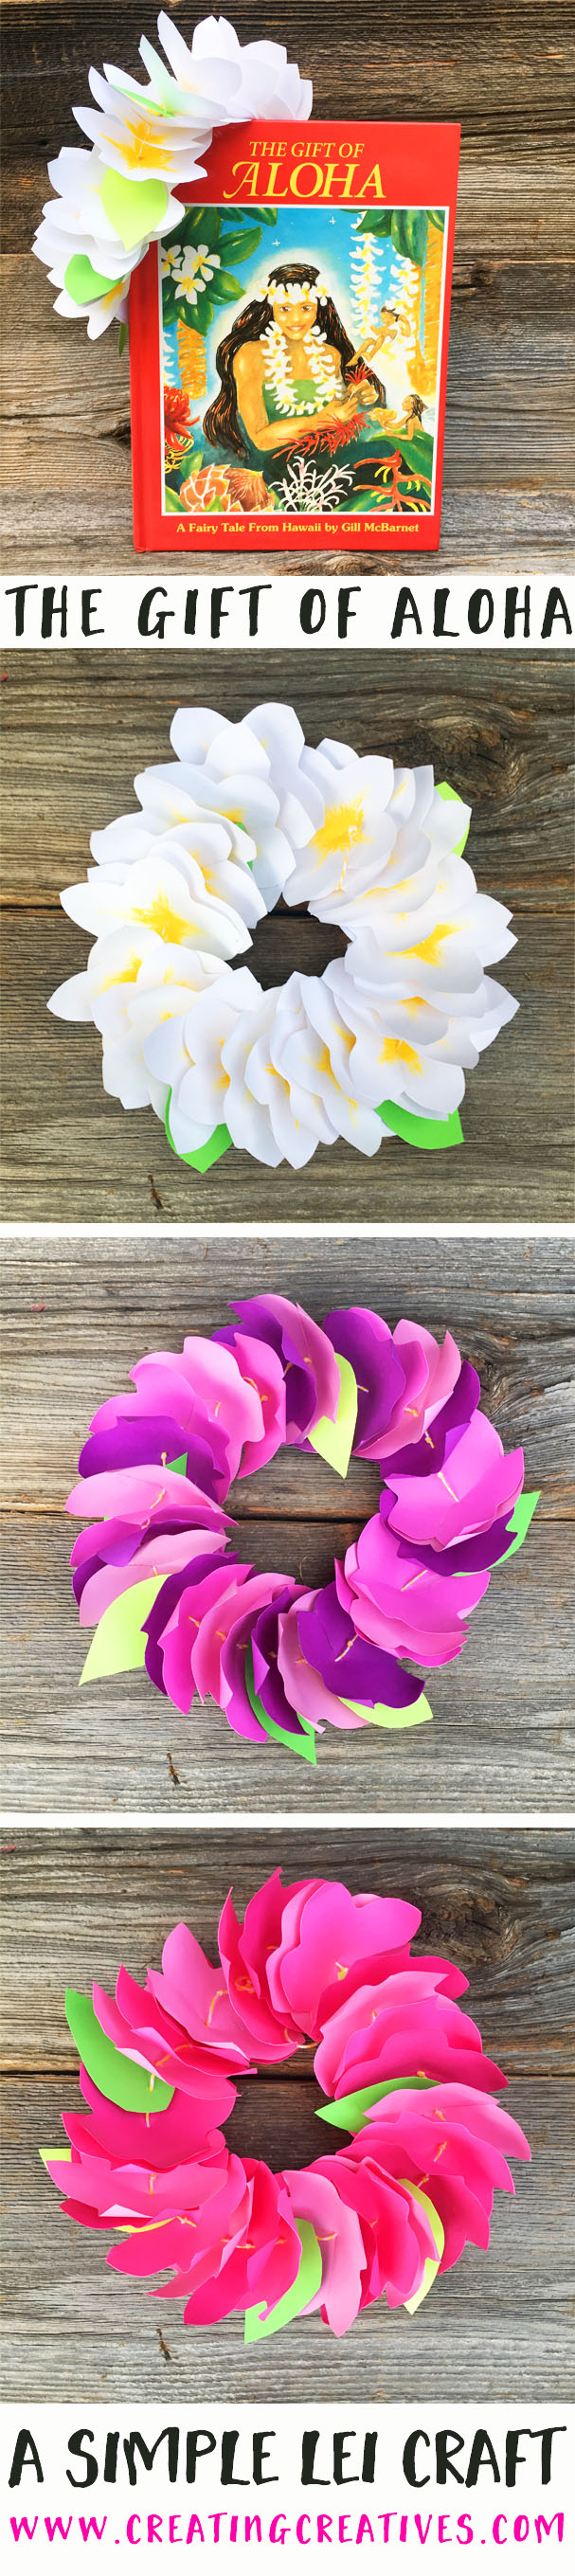
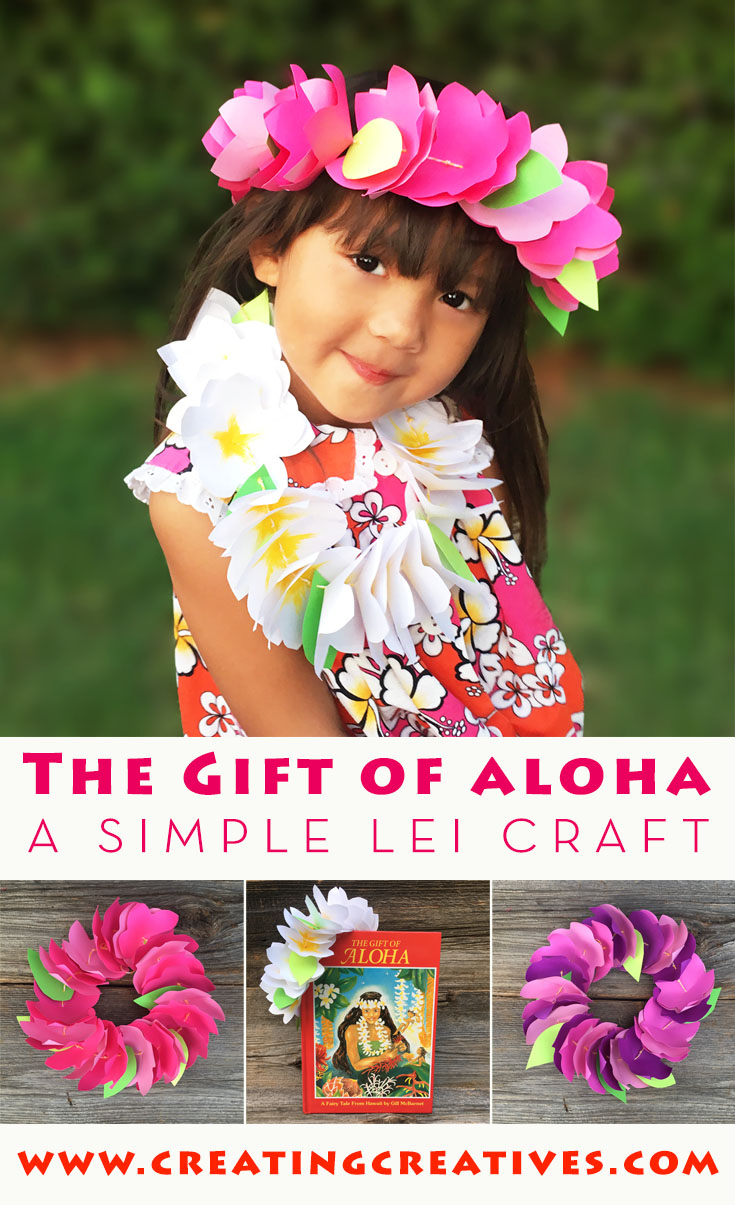
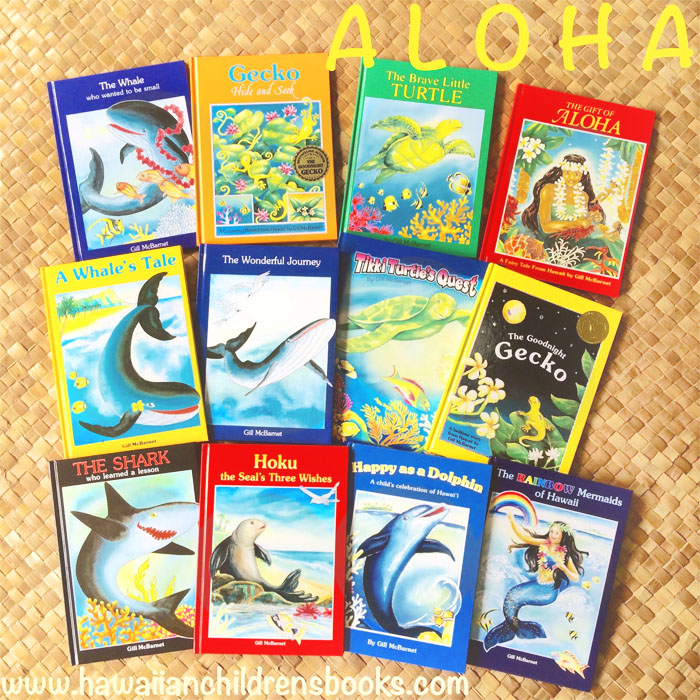
The Gift of Aloha by Gill McBarnet is a sweet story of a girl named Leilani who with her grandmother lives on one of the smallest islands of Hawaii. The island is poor in wealth, but rich in resources. Leilani gets news of an impending visit from the King and his family. As the other families prepare their beautiful gifts through their skills and given resources Leilani searches for what she can give. It’s through walking in the beautiful Hawaiian forest, and with the help of her fairy friends, she discovers what she can give… The Gift of Aloha, a lei made of beautiful flowers.
The Gift of Aloha is an enchanting book for summertime, filled with a true taste of Hawaii. The back cover also illustrates some of Hawaii’s most familiar flowers that can be found throughout the book, which is always a fun game to encourage reading.
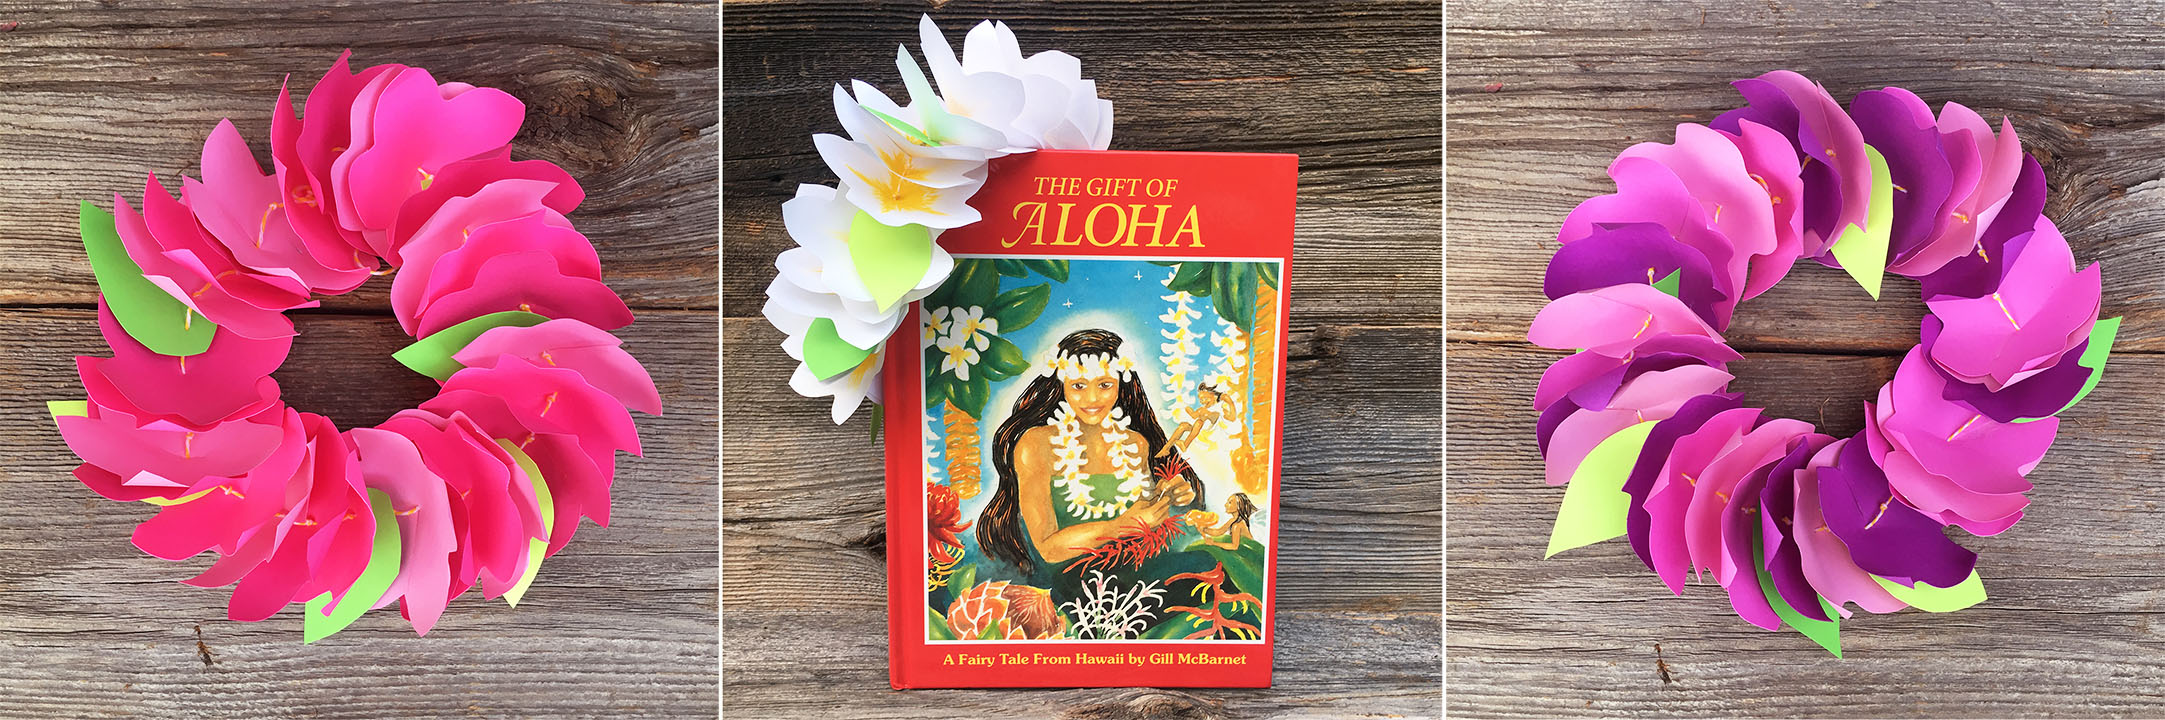
Since we all don’t have the beautiful flowers of Hawaii, I thought I’d put a Lei craft together that can be made of paper but still carry the essence of Hawaii. I have also modified the traditional paper flower templates out there to make it easier to cut and for your little ones to join in on making their own Lei!
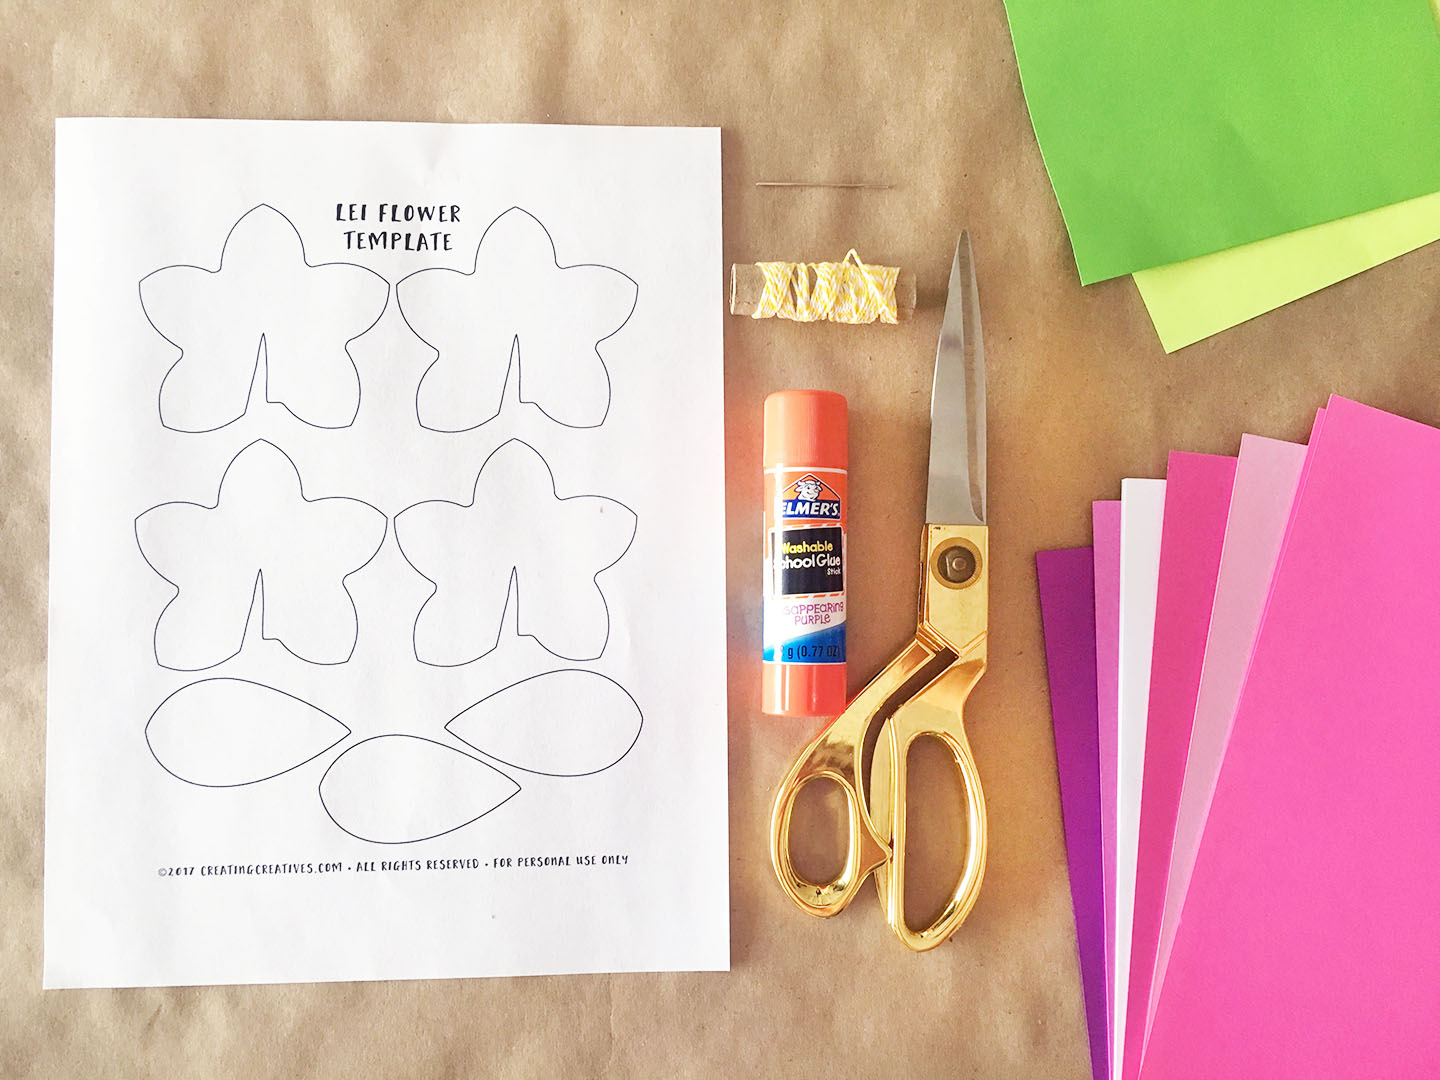
LEI SUPPLIES:
This list contains affiliate links.
- Lei Template
- Scissors
- Glue Stick
- Paper – we used this cardstock for our colored Lei’s and plain white paper for our white Lei.
- String – we used thin bakers twine
- Pencil
MAKE IT:
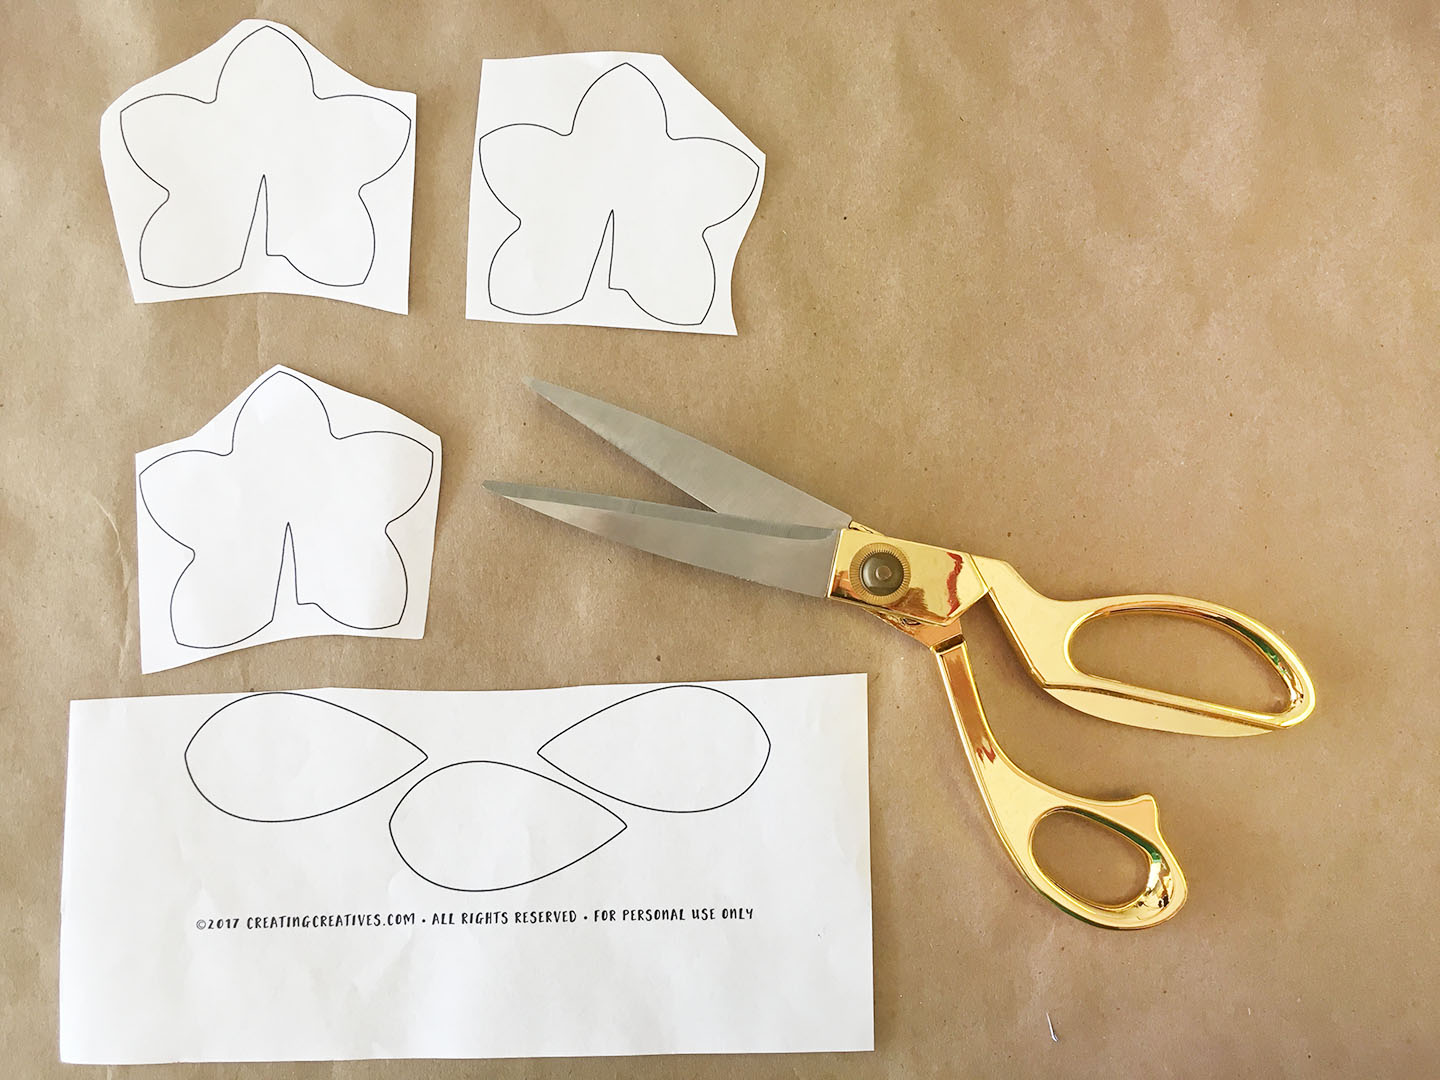
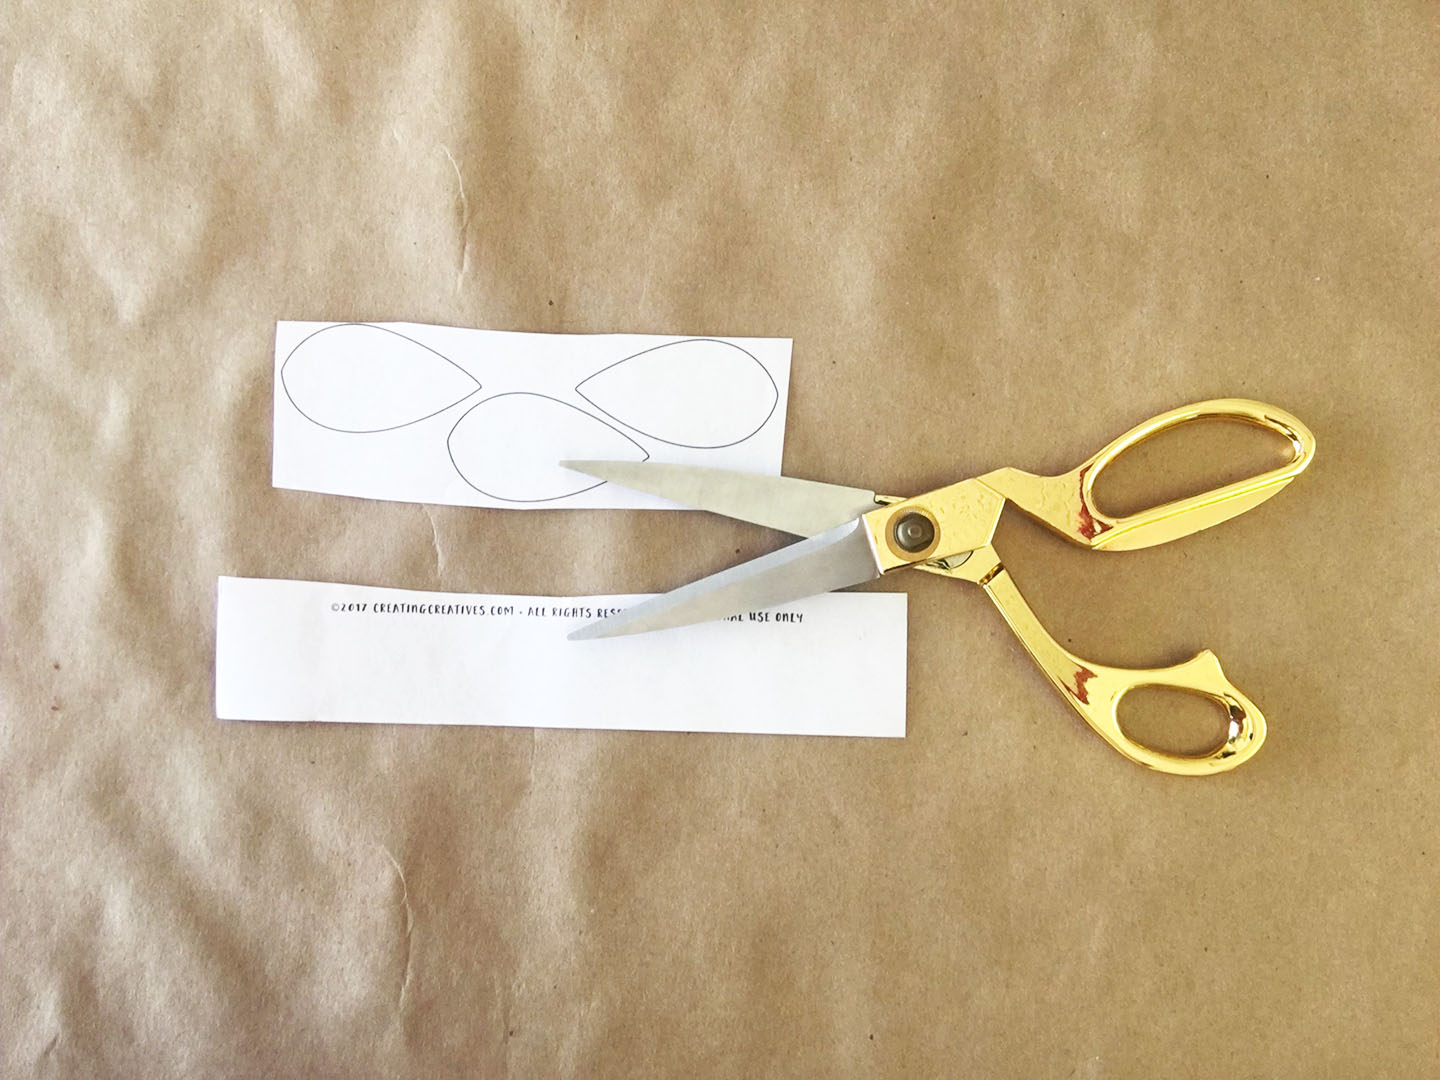
1. PRINT out your Lei Template which you can do by Clicking Here To Download
DISCUSS: What colors will your flowers be? White, pink, rainbow? What things in Hawaii might be that color? Will they be orange like molten lava? Pink like the dawn sky? Yellow like the sun? Or perhaps white like the moon?

2. CUT out the flowers on the template. Put the oval leaves to the side for a moment.
3. PLACE all the cut flowers on your paper and draw a rough square around them. Approximately 6 flowers fit on a page.
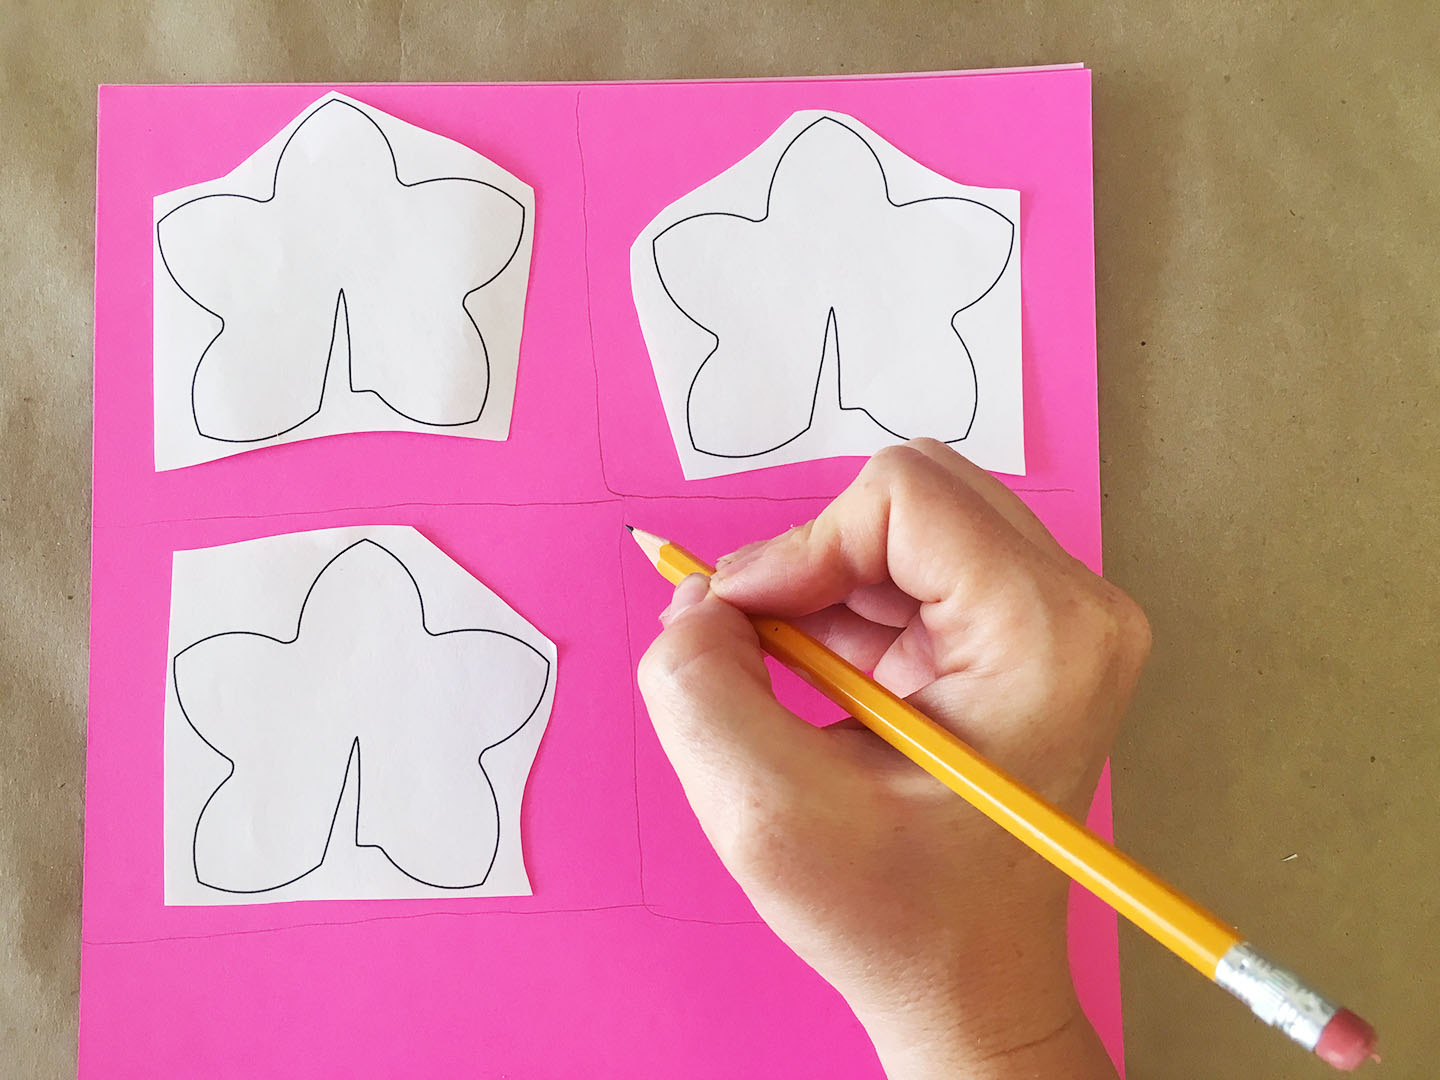
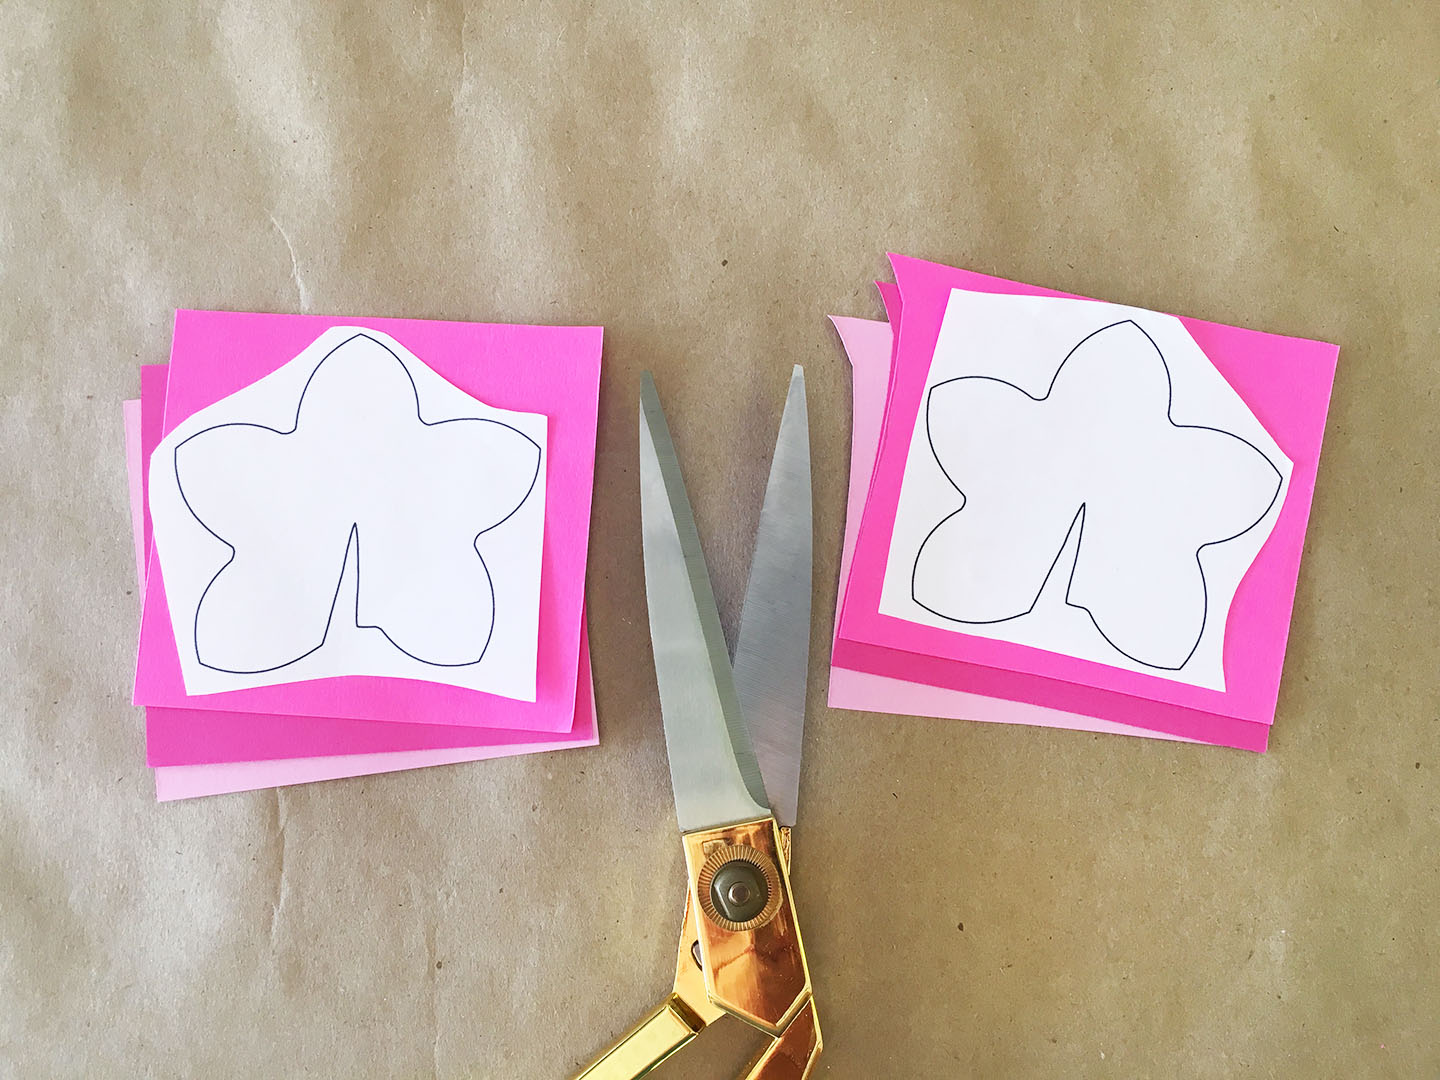
4. CUT out the flowers. It helps if you stack the paper. I stacked mine up by 3 sheets of paper. The great thing about this template is that the flowers don’t need to be cut perfectly, they’re very forgiving.
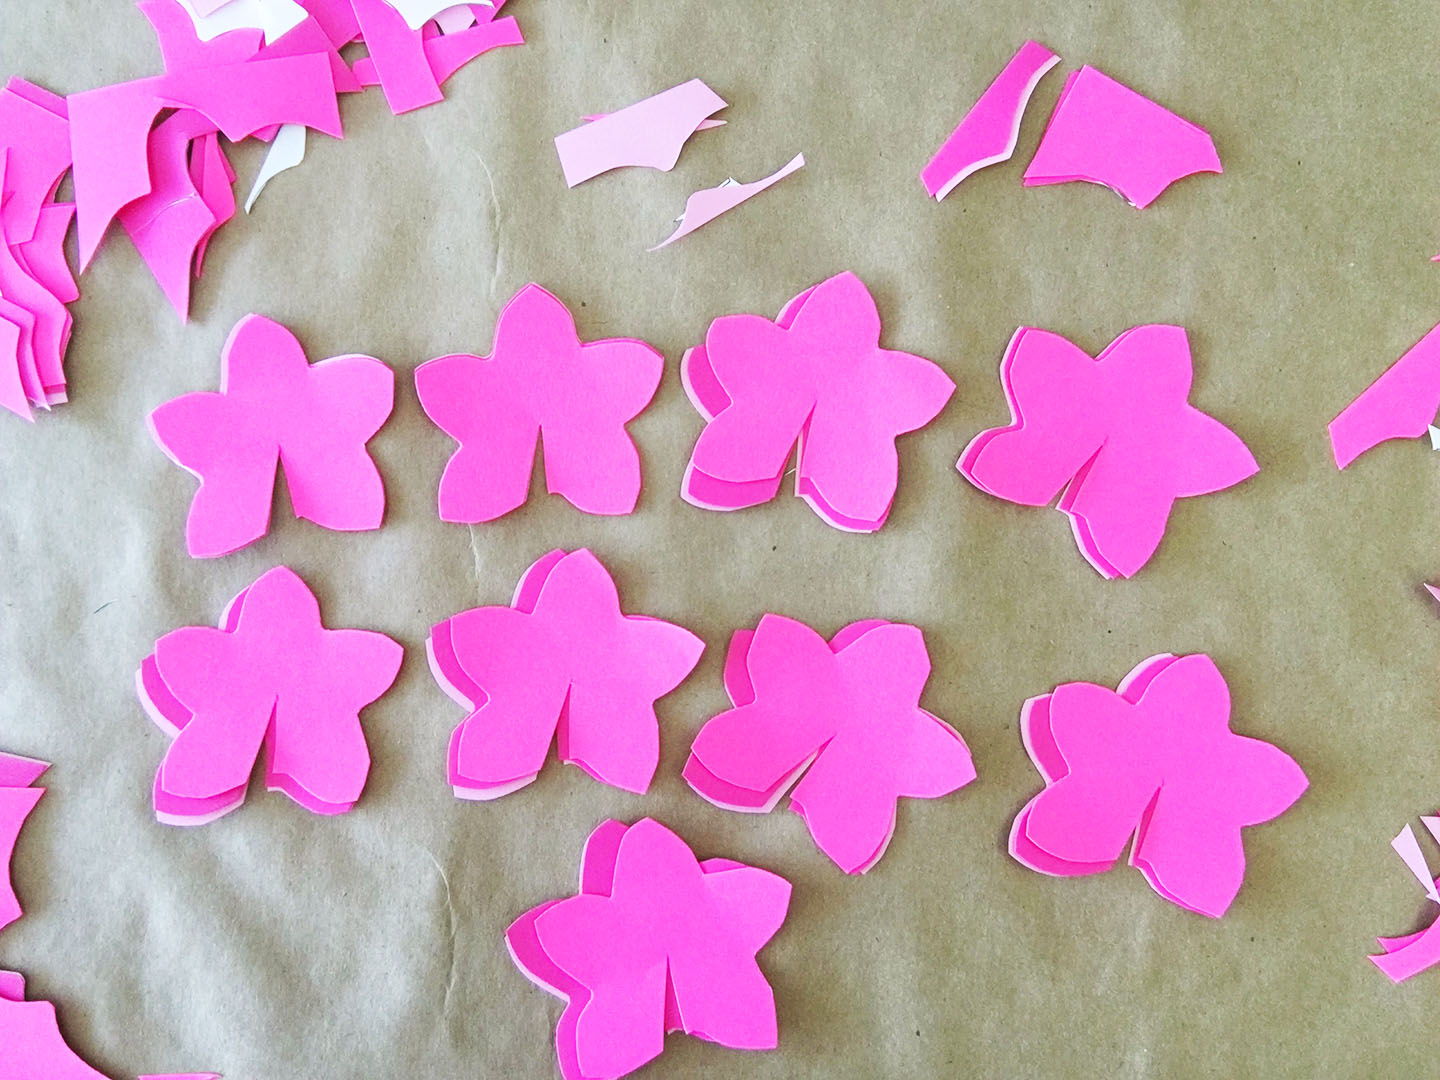
I cut out 27 flowers (9 sets of 3). This is for a child’s Lei, that didn’t go all the way around the neck.
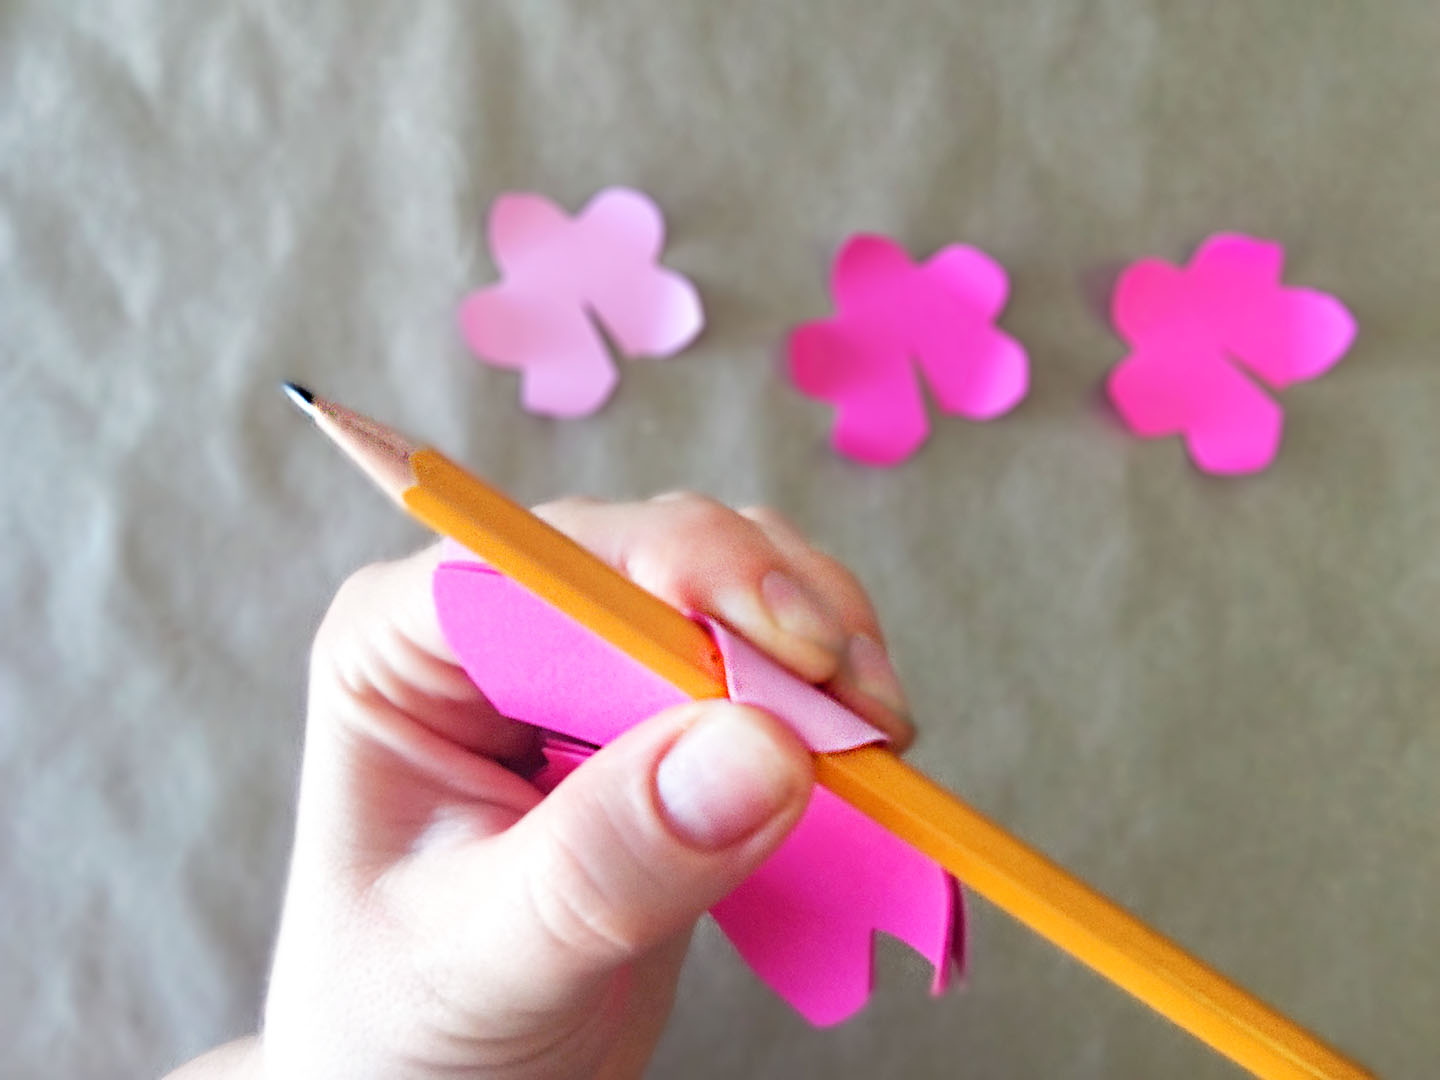
5. CURL the tips of the flowers. This is an optional step. Curl the edges by wrapping them around a pencil or pen.
ANOTHER OPTION is painting the inside of the flower. We painted the inside of our white flowers yellow, but didn’t curl them. Do which ever combo feels right for you, or just leave as is.
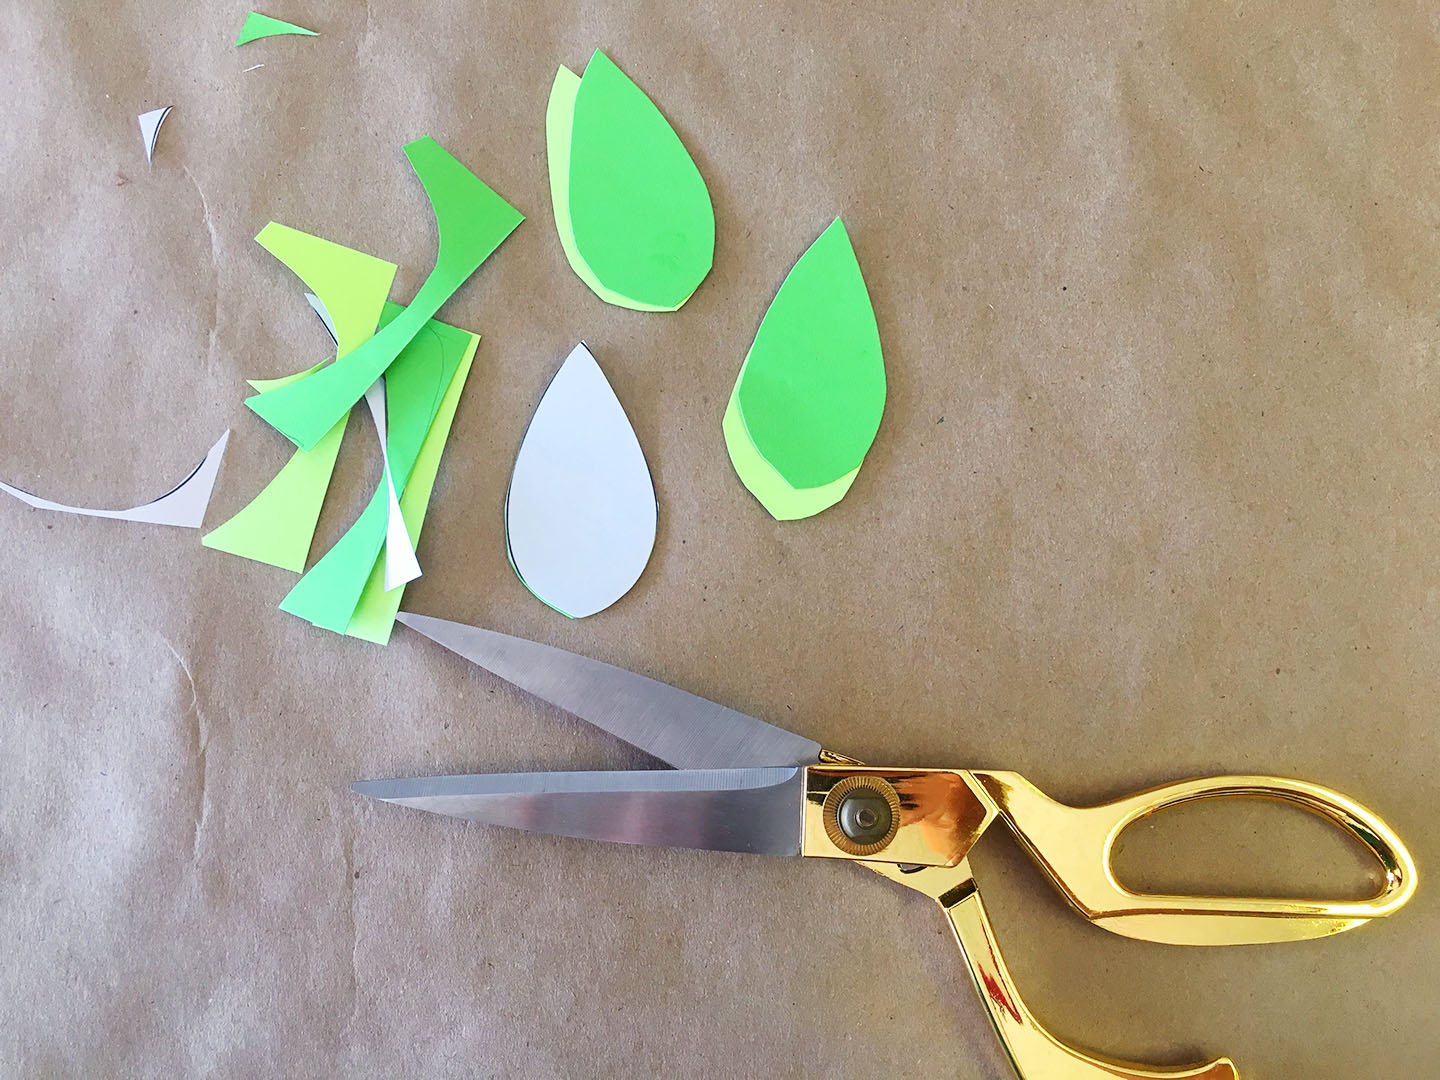
6. CUT the leaves out from the template.
7. CUT out your leaves from the green paper. Place the template over your green paper and cut around the template. For 27 flowers we used 6 leaves.
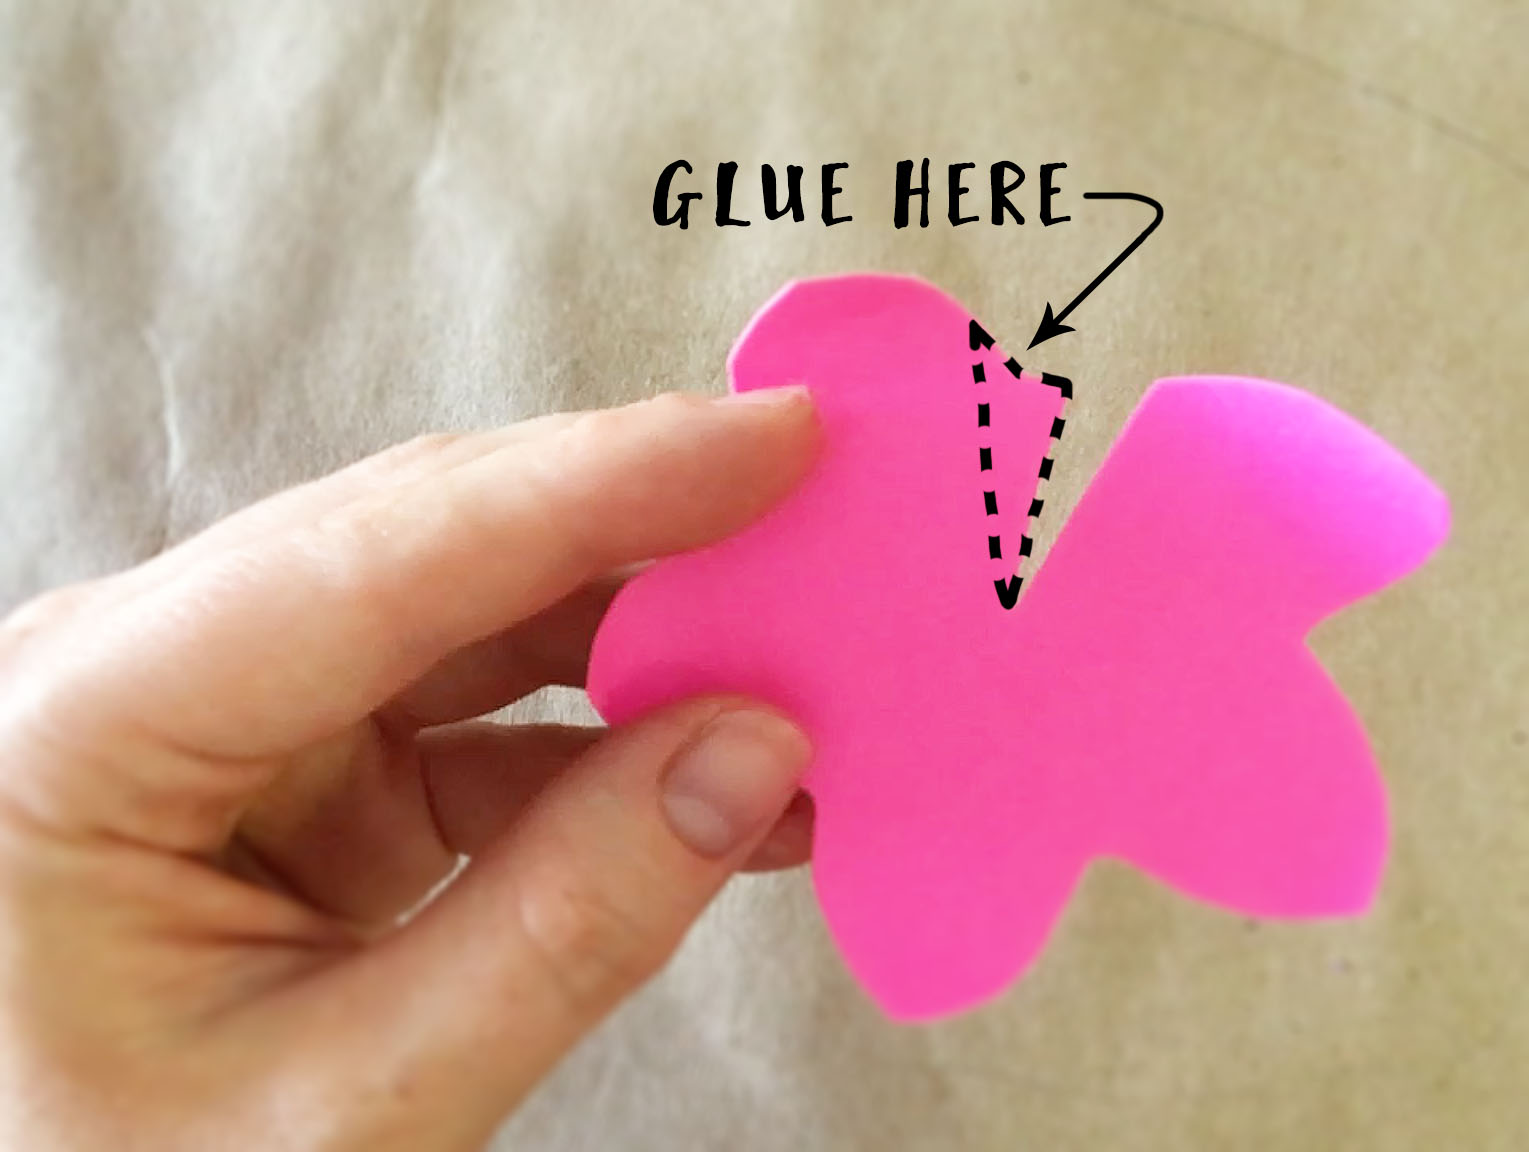
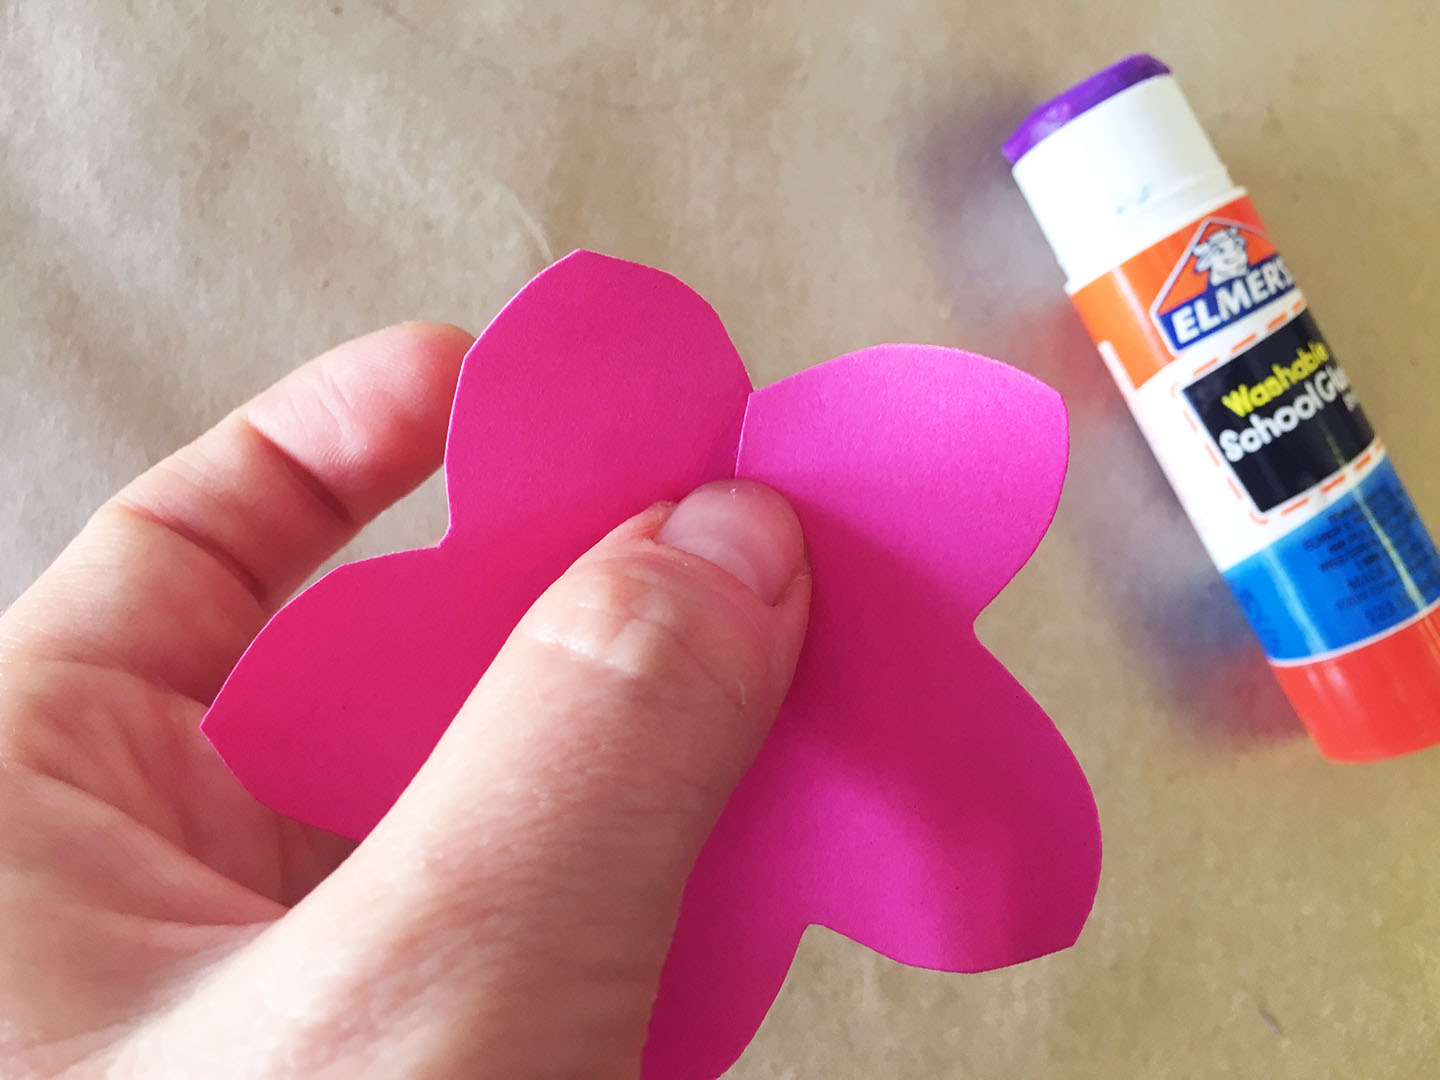
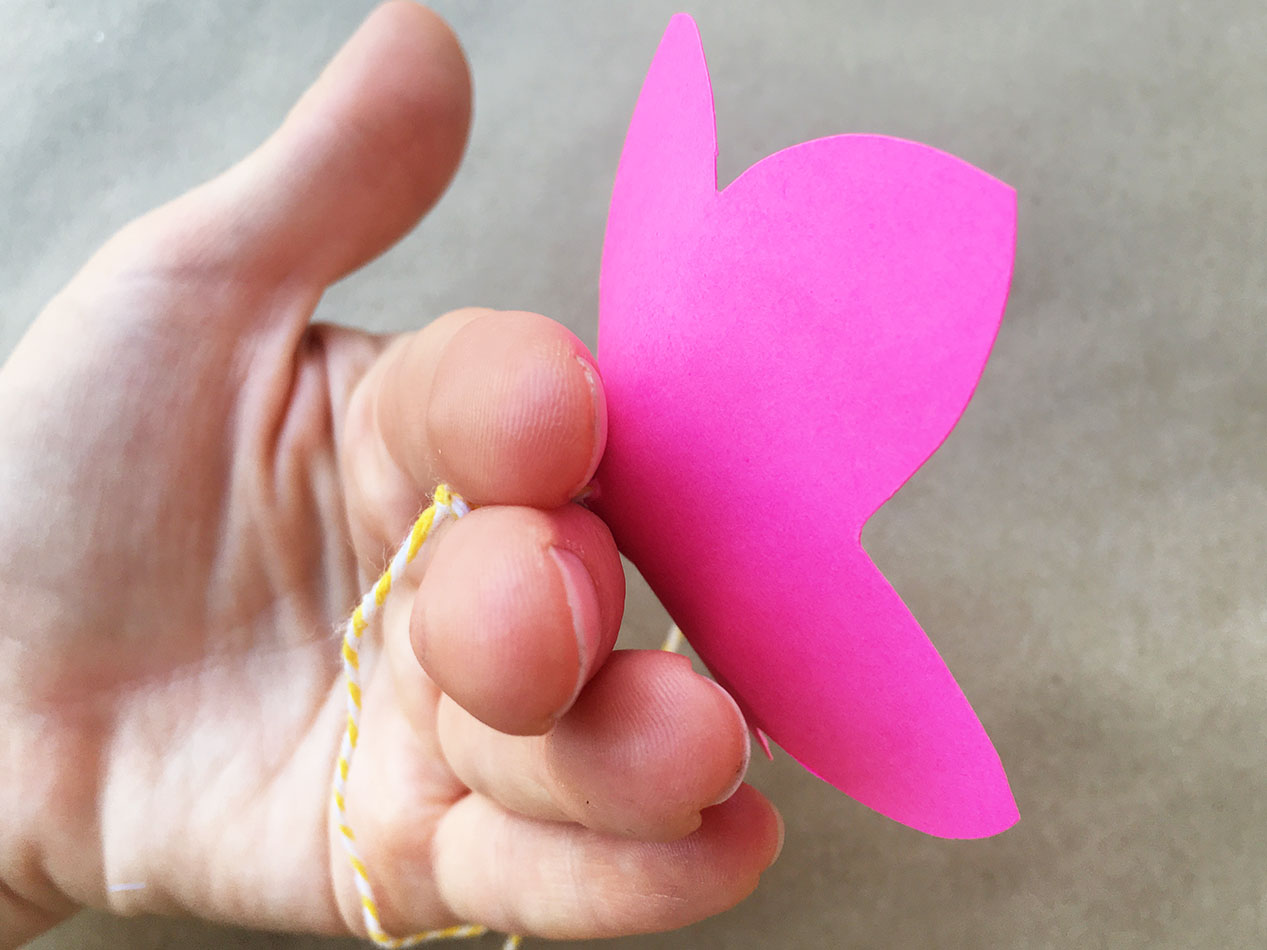
8. GLUE the individual flowers together. I found bending back the side that I wasn’t applying glue to (the right side as pictured below) helped me keep it free from sticky glue. I did end up getting some glue on the other sides, but our purple glue dries clear, which made it very unnoticeable, so don’t stress about a little extra glue showing.
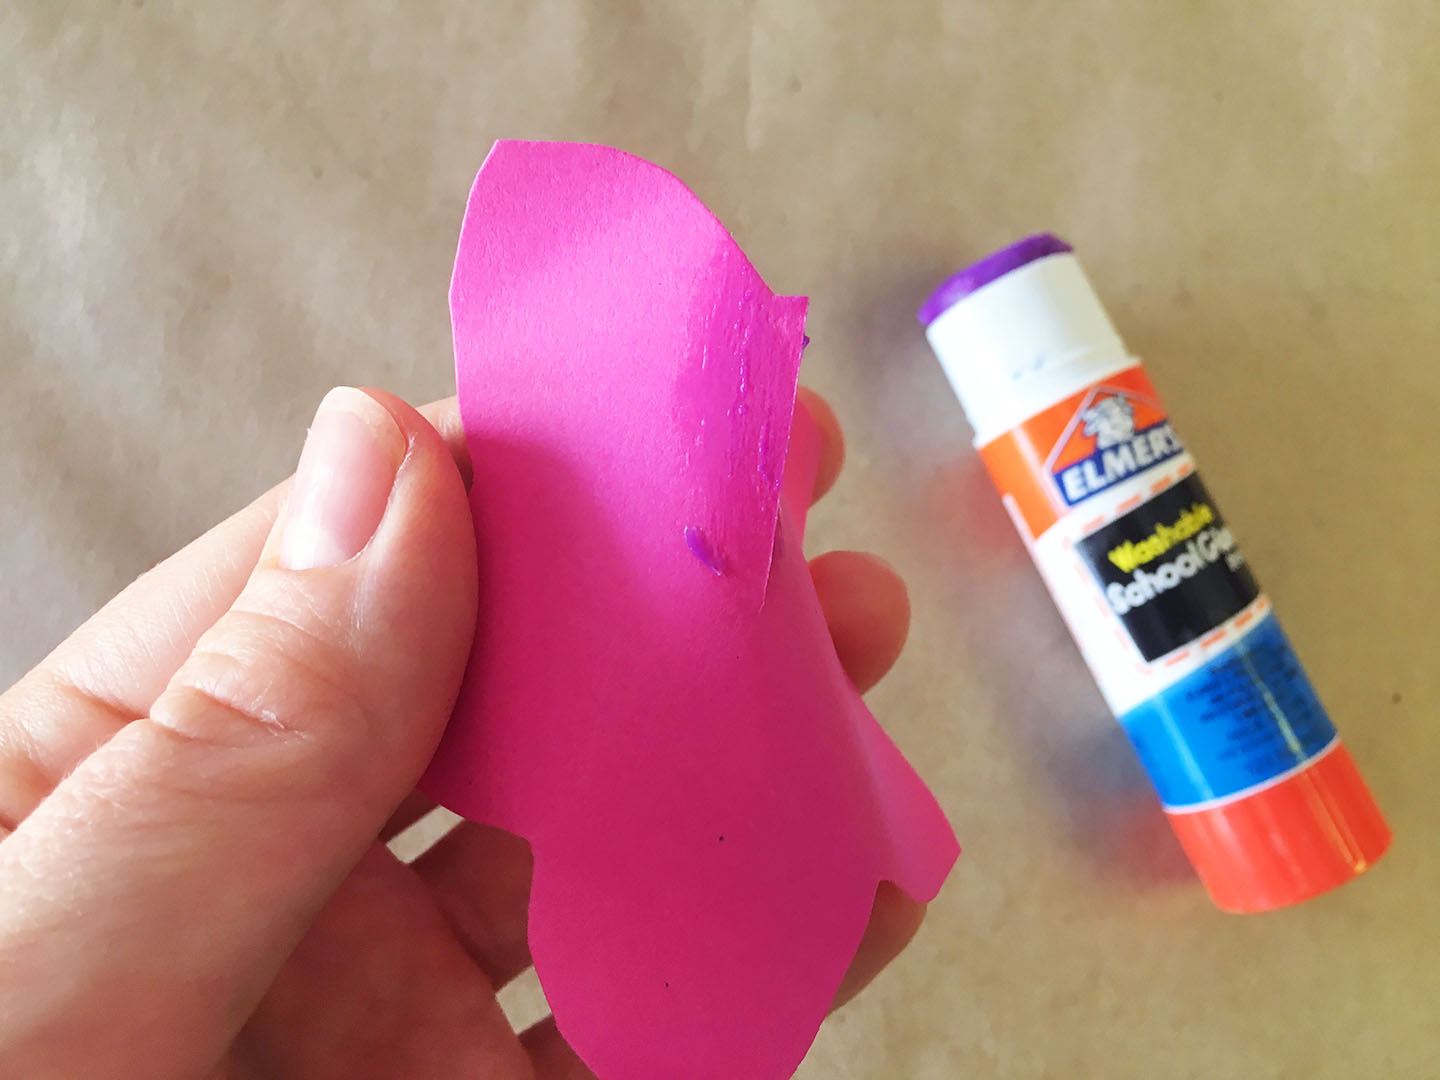
9. PRESS the flower together for a few seconds to allow the glue to stick and not come apart.
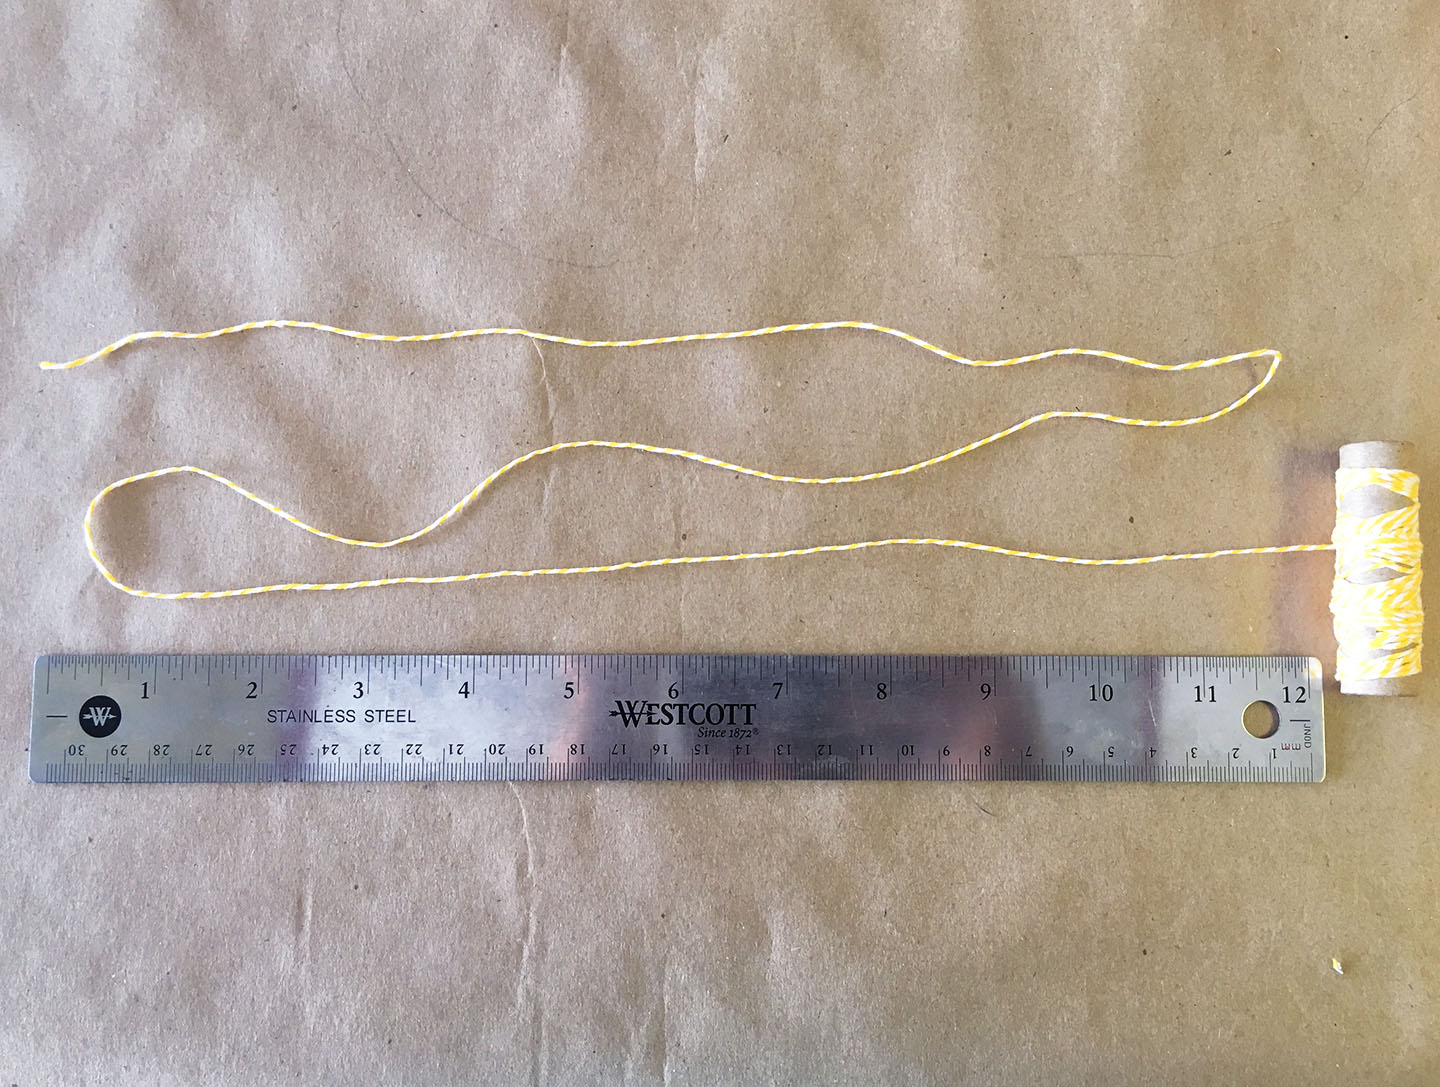
10. MEASURE out about 3-4 feet of string (for a child’s Lei). Feel free to measure it around the person the Lei is for, then add about an extra foot or 2 for tying knots and tying the Lei together in the back.
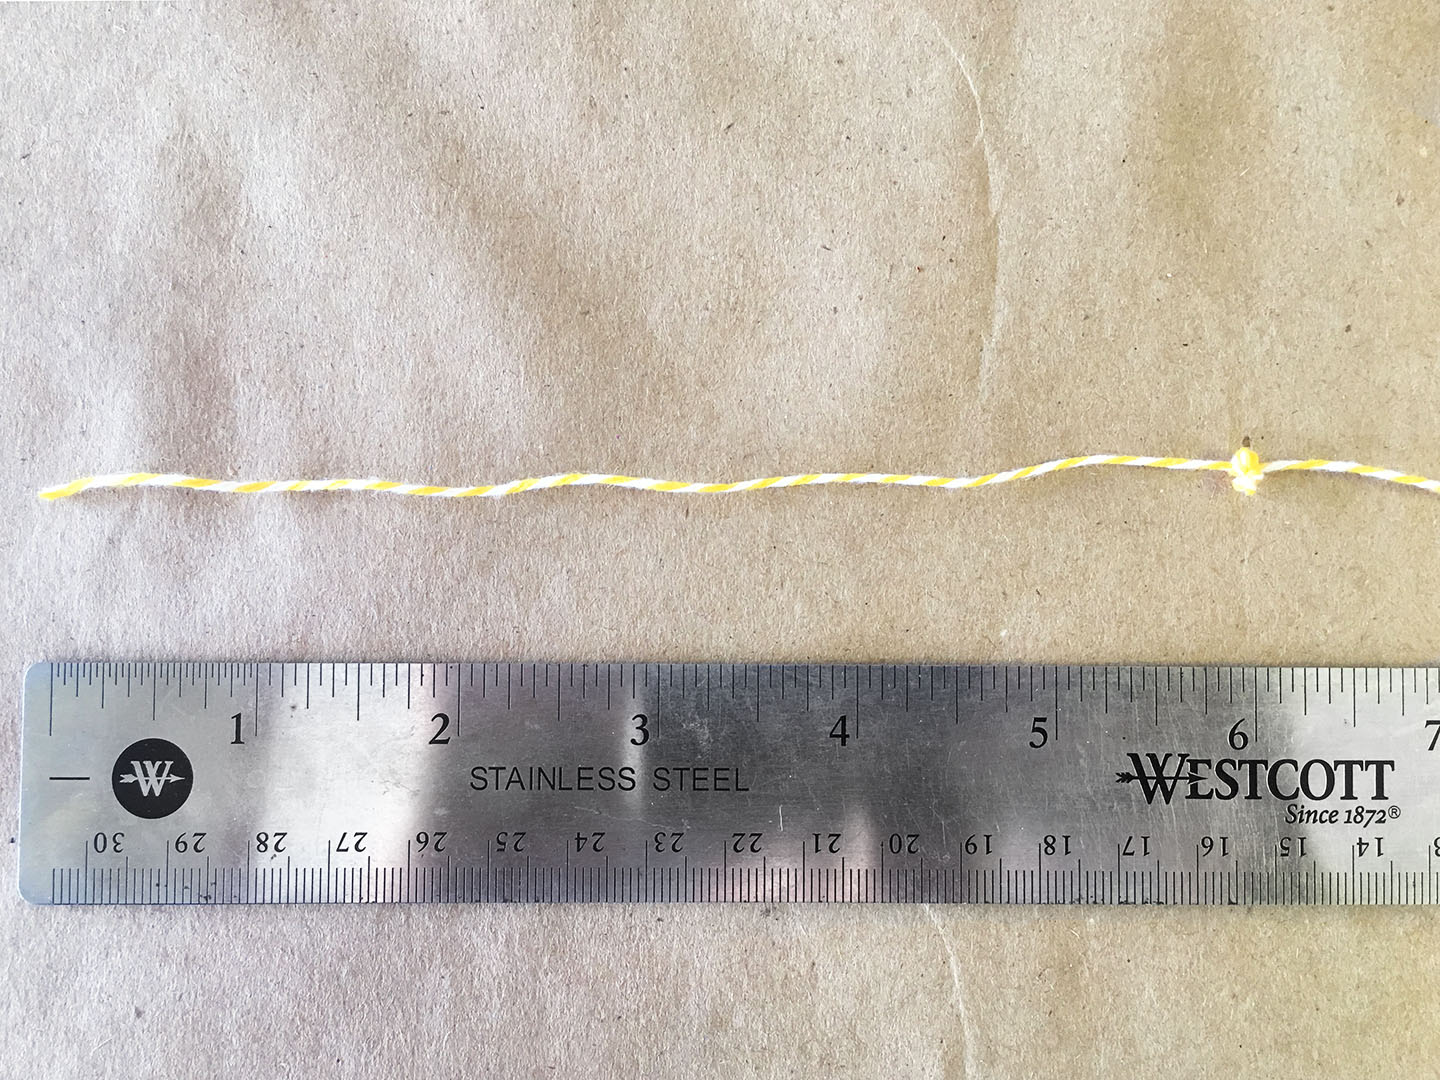
11. TIE a knot at one end of the string, approximately 6 -12 inches from the end. You want to leave enough space to be able to tie the Lei once it’s completed.
12. ARRANGE the flowers and leaves in the order and roughly the size you want your Lei to be. This is where you’ll discover if you need more flowers.

13. THREAD your needle. I just left a long piece hanging on the other side. I found if I tied it, the string was too hard to pull through the flower.

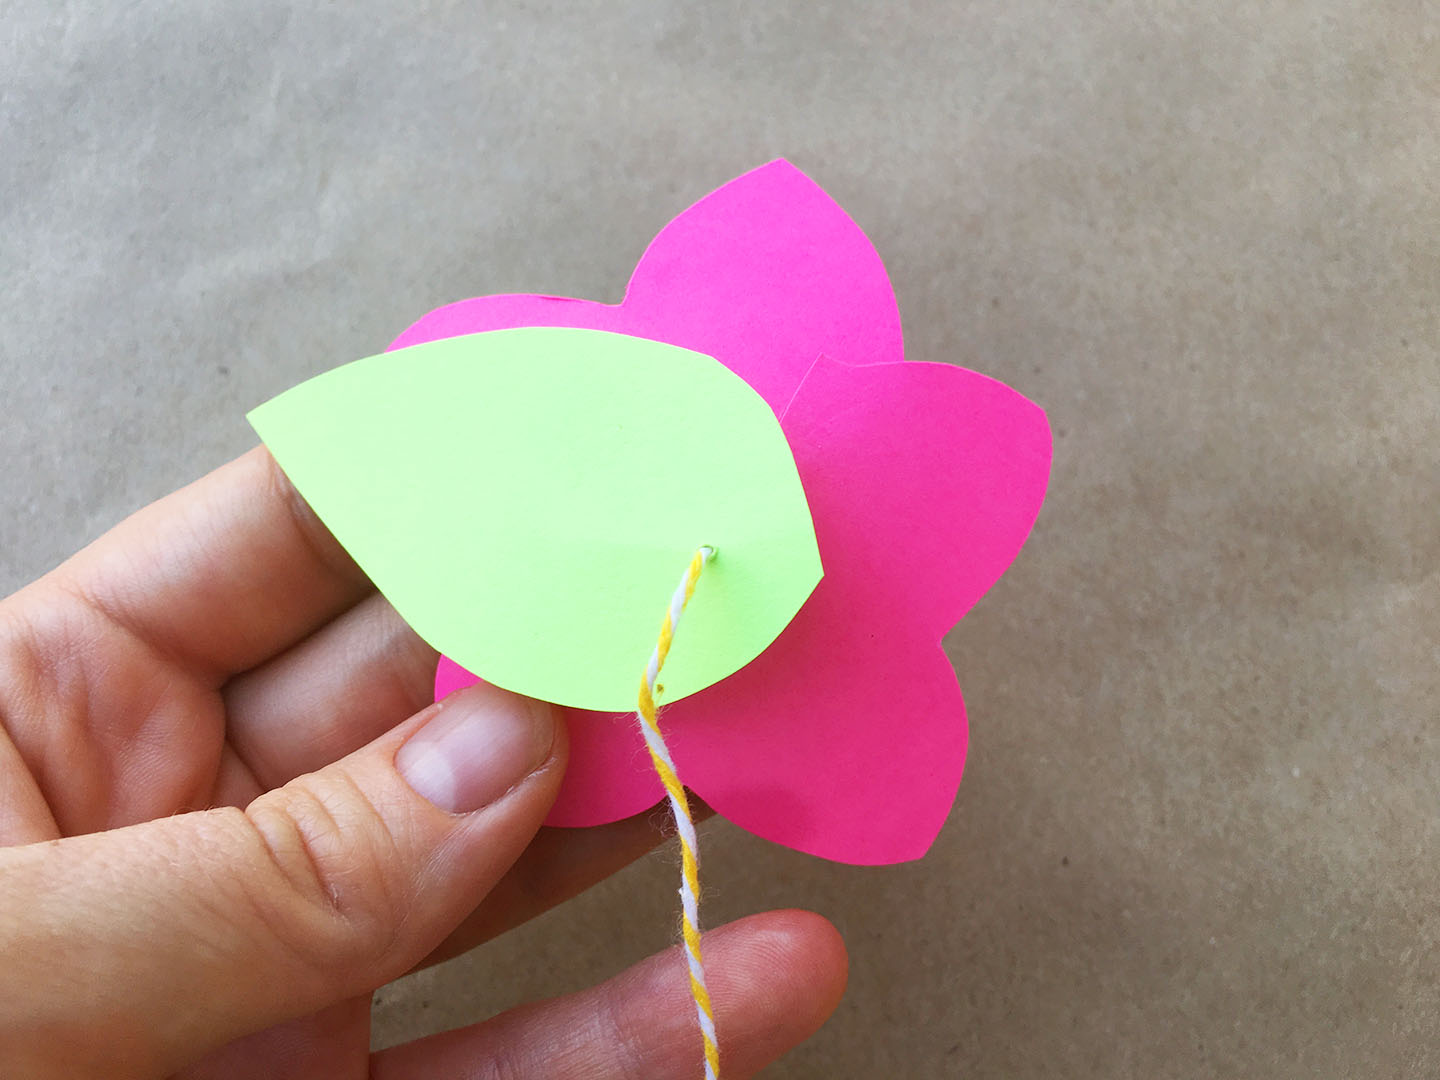
14. THREAD your flowers. I found the easiest way was to thread from the inside of the flower to the outside. Start from the back of your arranged Lei and pull flowers and leaves in the order you arranged them.
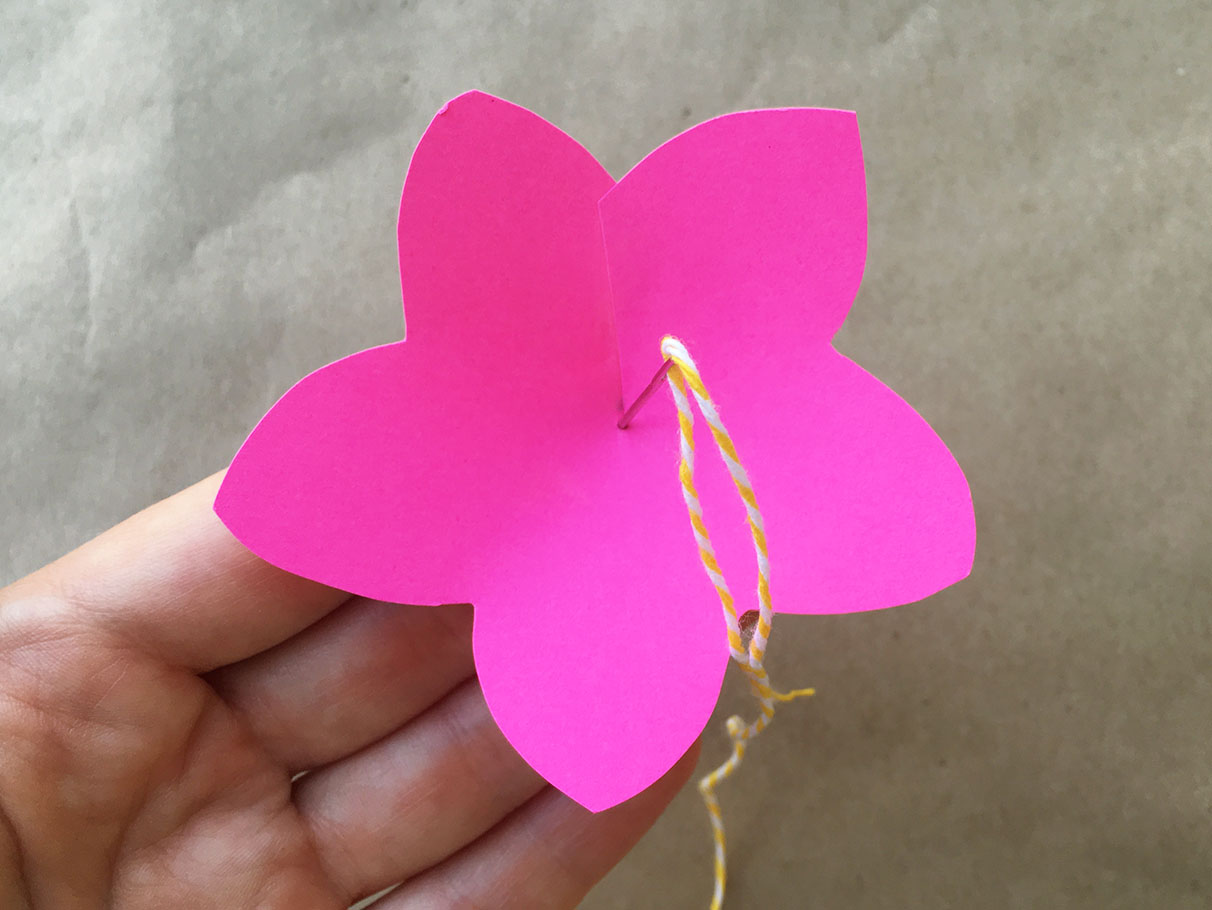
15. TIE a knot after each flower. I measured my knots as one finger width from the flower, as you can see below.

15 ALT. If you don’t want to tie, you can also cut straws or use beads as spacers instead. I’ve also seen it done where you hot glue the flower to the string, which is another option.
When you get to a leaf, just poke the needle through one end of it. You want to make sure the leaves are right behind the flowers, then knot the string behind the leaf.

16. REPEAT! Keep poking, threading and knotting until your Lei is the size you want it to be.
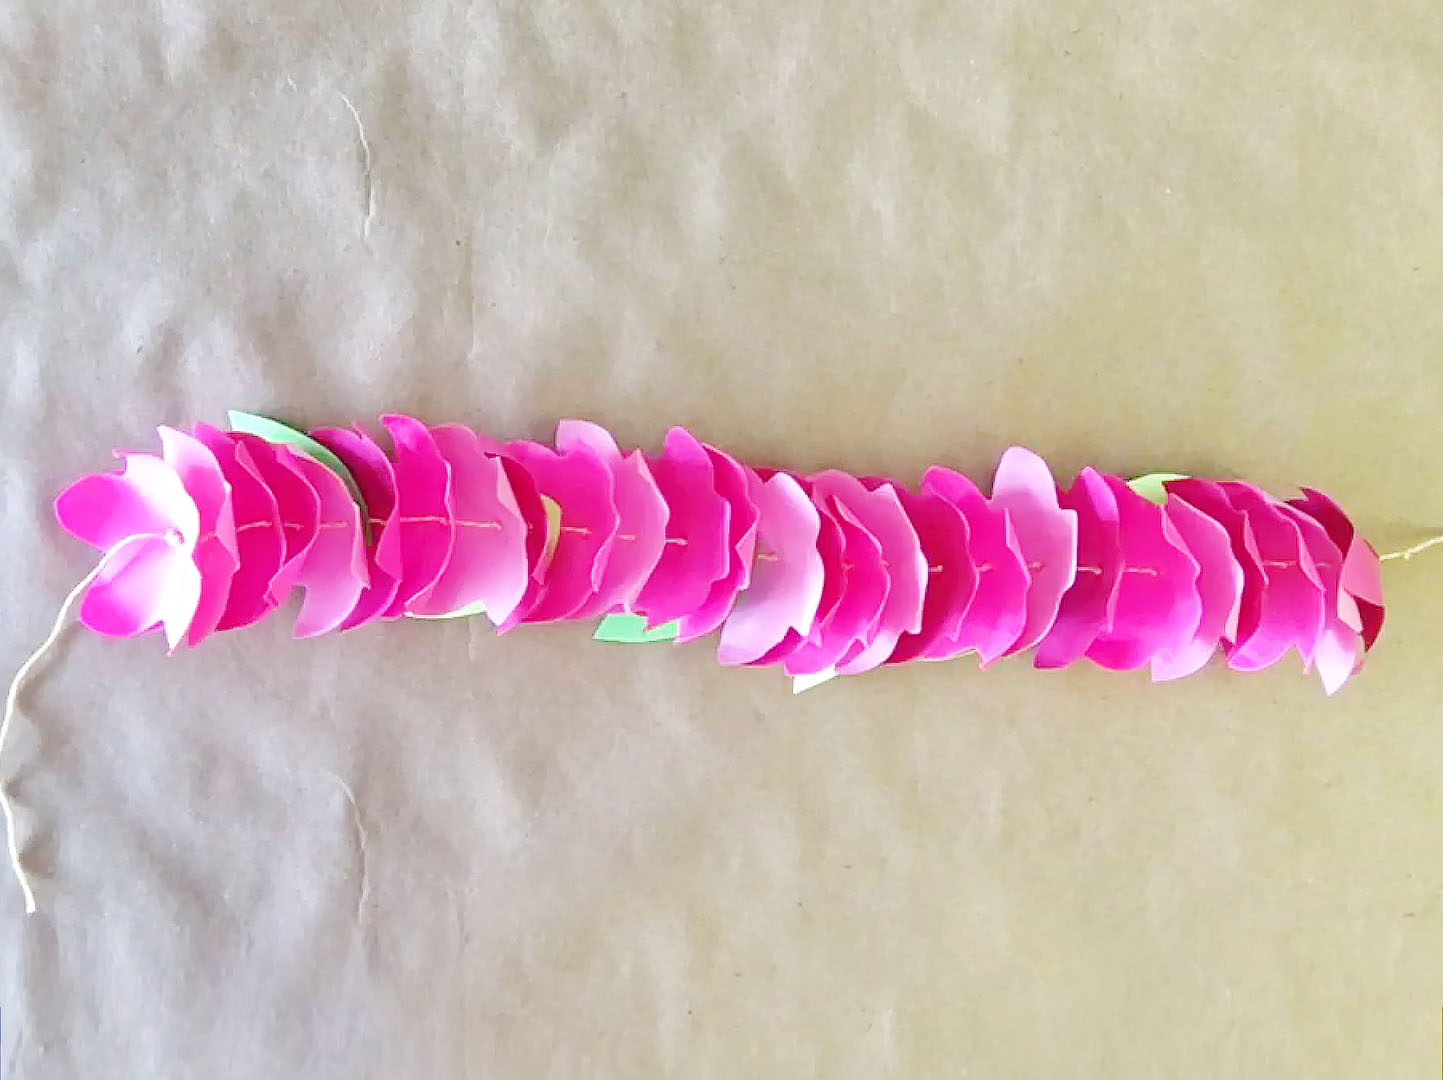
17. Tie your Lei around your neck or head and wear it proudly or give it to someone special as your Gift of Aloha.
ABOUT THE AUTHOR:
Gill (“Jill”) McBarnet was born and raised in Zimbabwe, Southern Africa. She and her Hawaii-raised husband Terry moved to Maui in 1983 where she wrote her first children’s book about whales.
With a background in both teaching and publishing in Zimbabwe, Gill has applied these skills to writing, illustrating and publishing the 14 books she has written to date. Check out more about “The Gift of Aloha” as well as Gill’s other books here.
You can find more about Gill McBarnet and her sweet children’s books below:
Website
Facebook
Instagram
Free Printable’s
DO TELL: Leave a comment below
- Have you been to Hawaii?
- What’s your favorite flower? (I’m still trying to figure out mine!)
TAG US: To Share The Inspiration
We love how projects change with different creative minds, and would love to see how yours turned out! Tag @creatingcreatives on Instagram or @creatingcreativeskids on Facebook for a chance to be featured under our projects.
SHARE IT:
Spread the word and Pin and Facebook share with your friends!