Marbled paper has always held a magical place in my heart. When I was a child and learned the process of marbling I was hooked, and definitely went through a marbling phase. I marbled paper, nature, and even marbled a few book report covers.
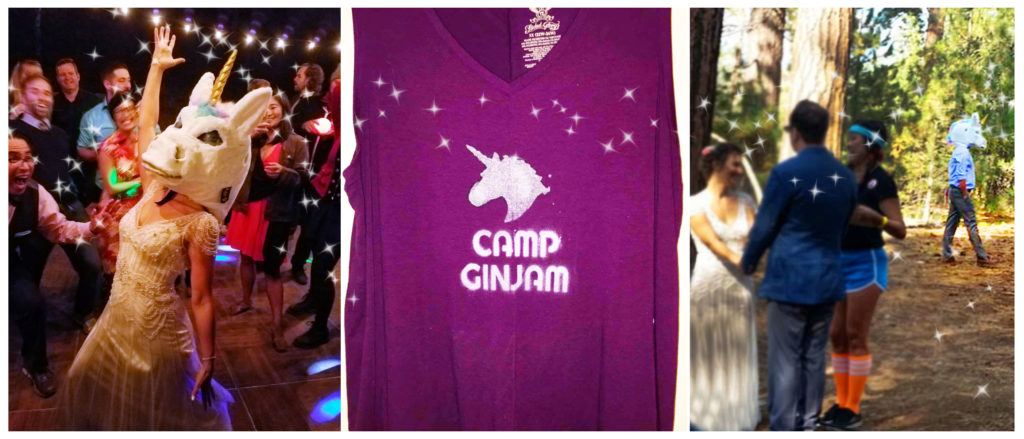
Another thing that holds a magical place in my heart is unicorns, I mean how can a unicorn not hold magic in your heart right?! I recently had the chance to go to a most magical wedding. It was nestled deep in the woods, under a glittering sky, and encompassed by wild flowers, yes my friends, it was magical. So magical, in fact, that during the ceremony the couple’s love for one another gave birth to a unicorn, for reals! Later that evening as everyone was getting down to the groovy tunes on the dance floor, the magic found it’s way to the radiant bride and ‘poofed’ her (as my son would say) into a unicorn! Hence, it was certainly a night to remember.
The next morning, as people dusted off their sleepy magic filled eyes and headed to breakfast, I noticed that our magical unicorn friend had left it’s mark across everyone’s clothing. Shirts, pants and sweaters were marked with a symbol of this magical event, a unicorn.
As a result, all of this marvelous magic filled my head with dancing visions of unicorns, thus this little project manifested itself. I hope you enjoy it and pick up your free unicorn stencil template! In addition, if you want to watch our video tutorial you can check it out over on our YouTube Channel.
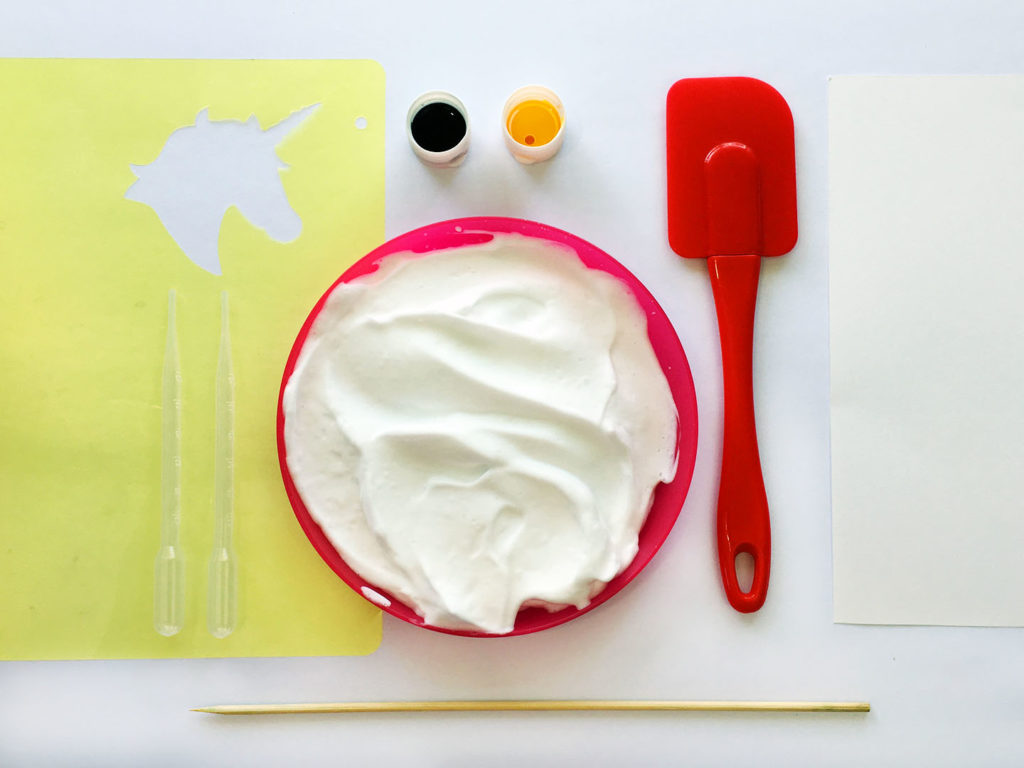
MARBLED PAPER SUPPLIES:
This list contains affiliate links.
- Shaving Cream
- Liquid Water Colors (you can also use food coloring or paint)
- Pipettes
- Plate
- Spatula
- Wooden Skewer
- Water Color Paper
- Stencil
UNICORN STENCIL SUPPLIES
- Clear Plastic Dividers or Transparencies
- X-Acto Knife
- Unicorn Template (enter your info below and I’ll send you one for free)
MAKE IT – UNICORN STENCIL
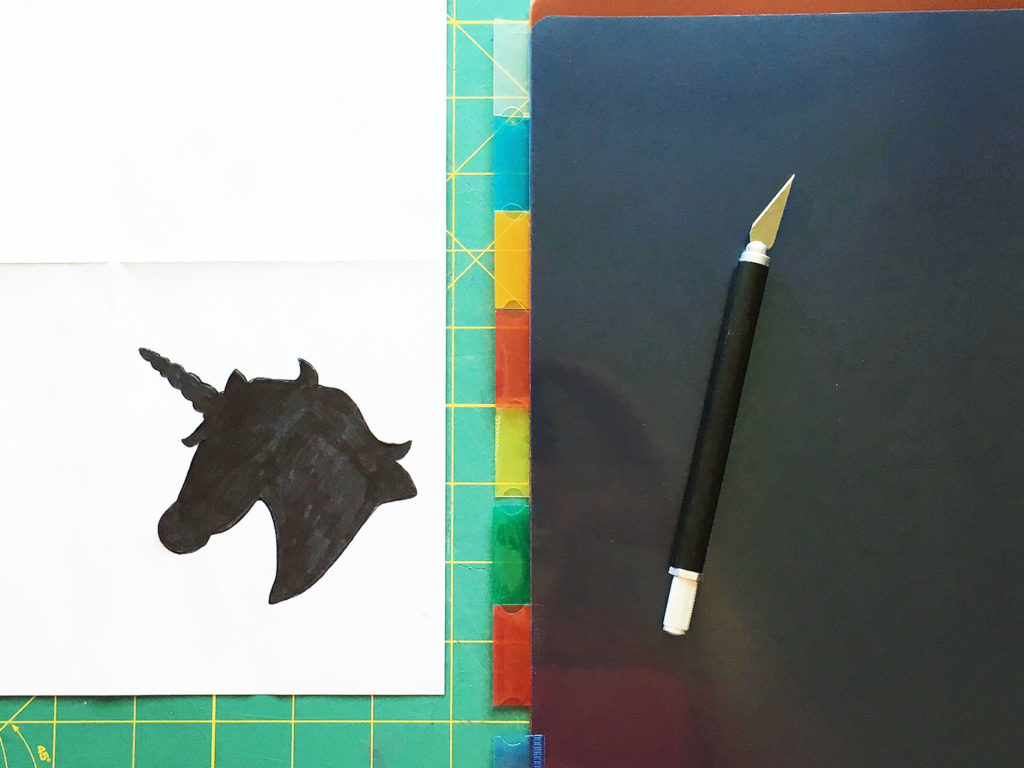
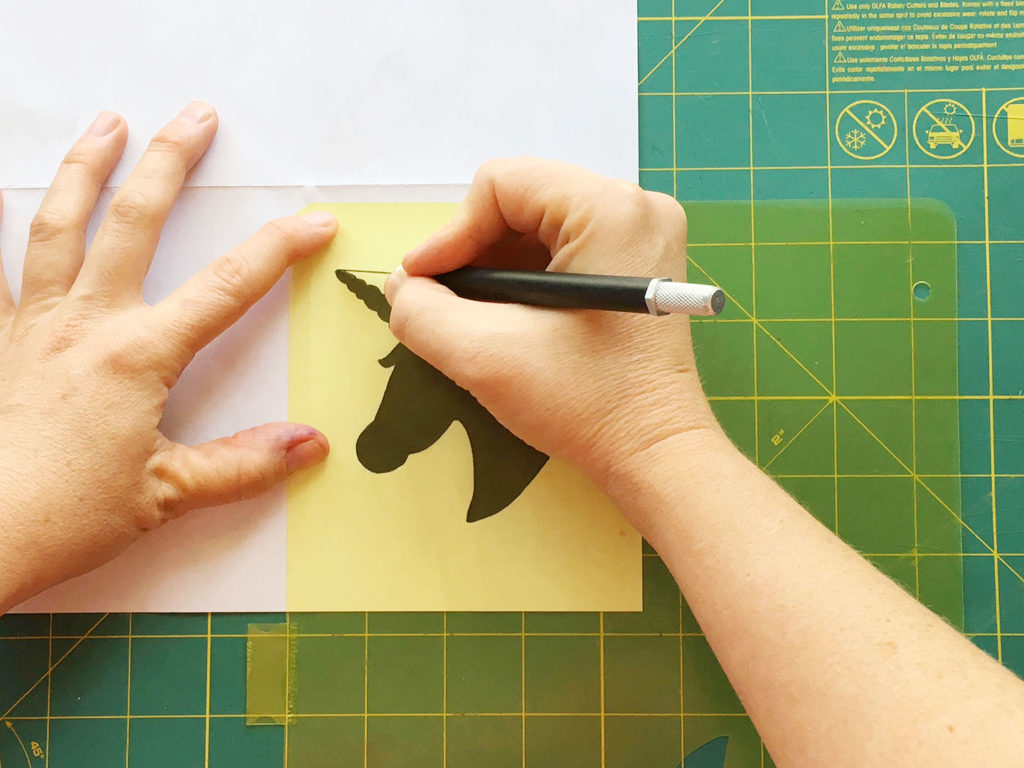
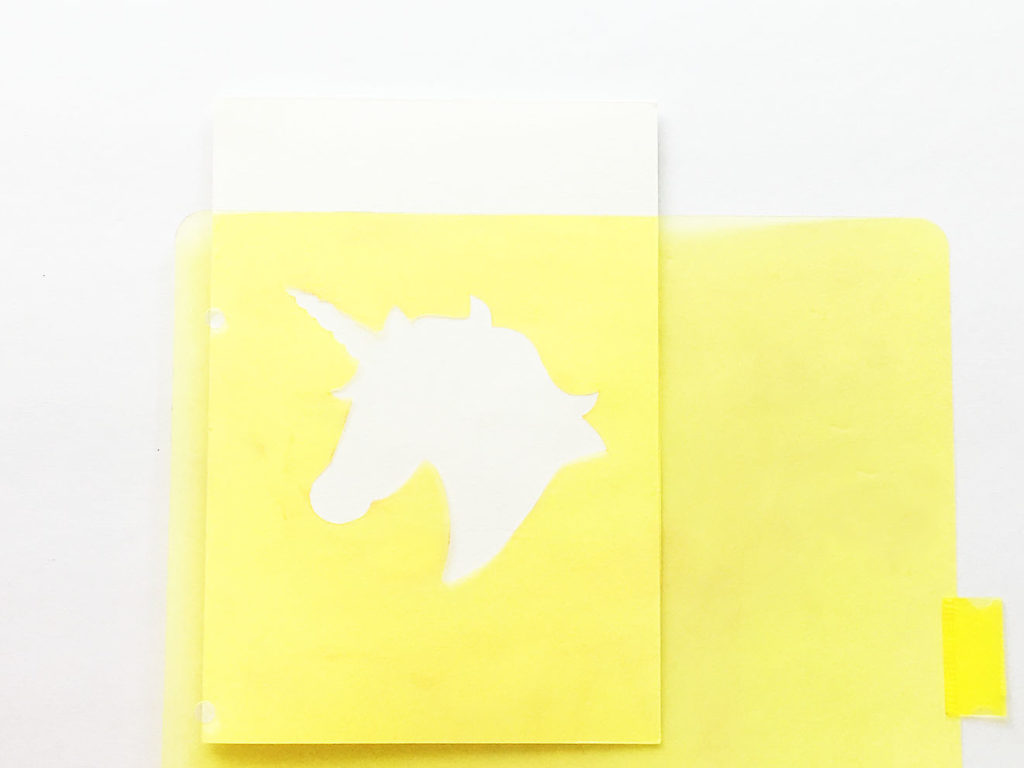
1. First, PRINT out your Unicorn Stencil Template. If you haven’t downloaded it already you can enter your email above and I’ll send it to ya! In the picture I’m using the one I drew which I turned into the free template, feel free to draw your own too!
2. Next, PLACE your divider or transparency over the unicorn silhouette.
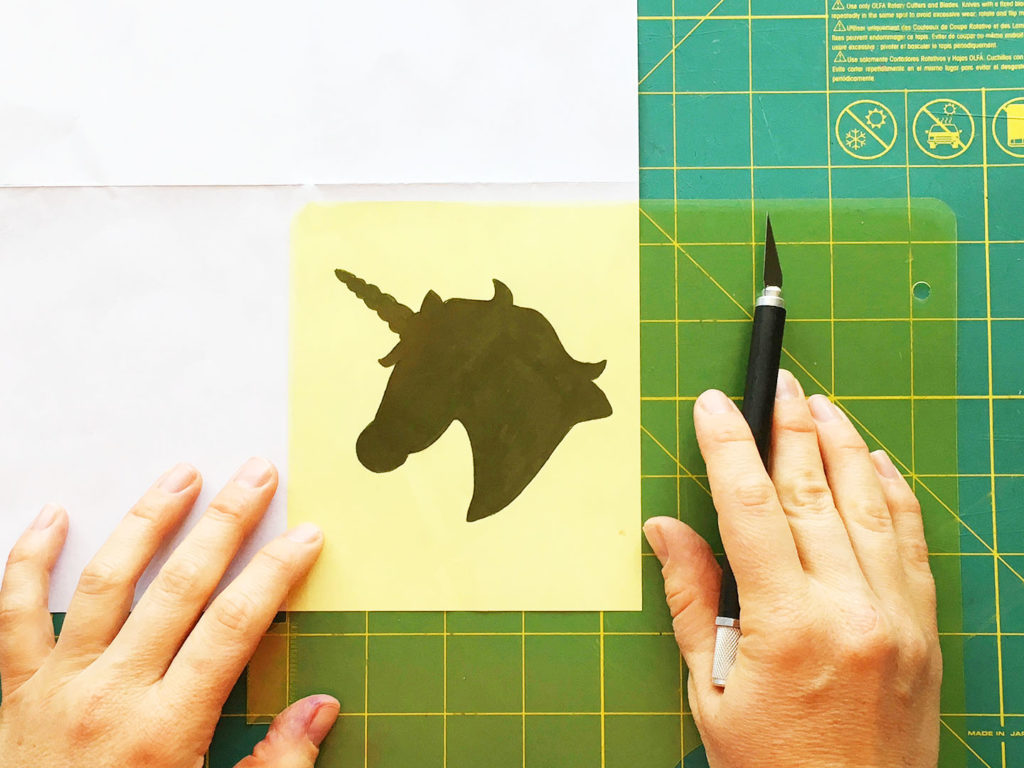
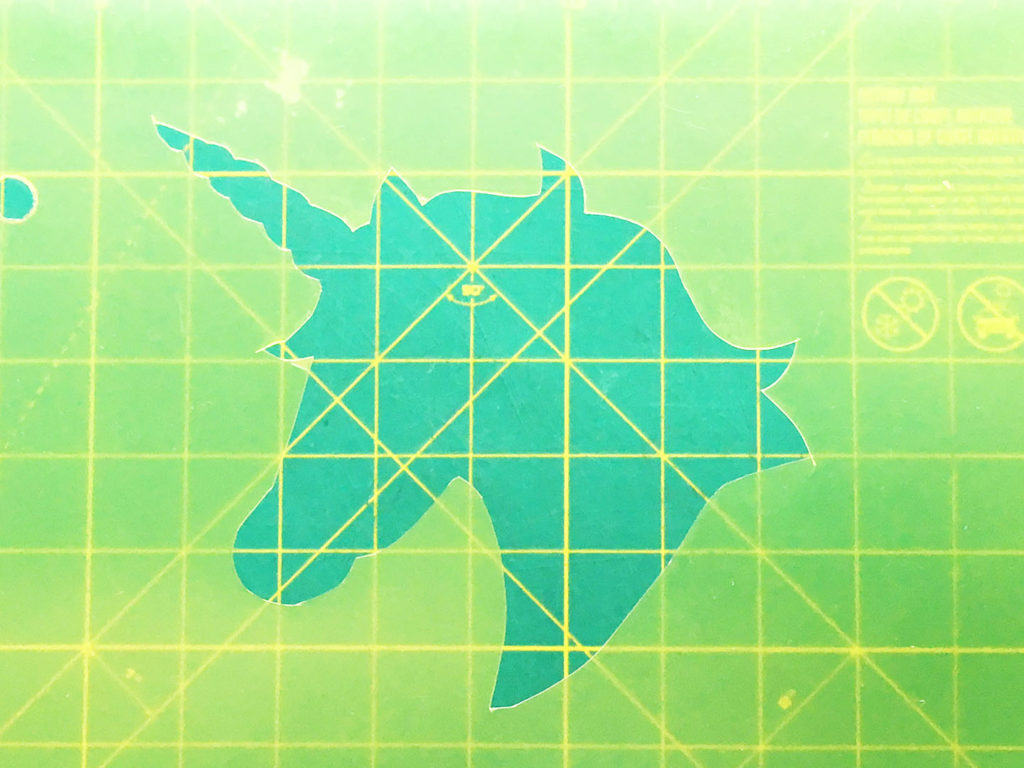
3. Then, CUT around the silhouette and firmly hold down the transparency while cutting. Also, be sure to take your time, it’s ok if you go a little outside or inside the edges.
4. Finally, BE PROUD because you just made a stencil, which you can use for so many things!
MAKE IT – MARBLED PAPER:
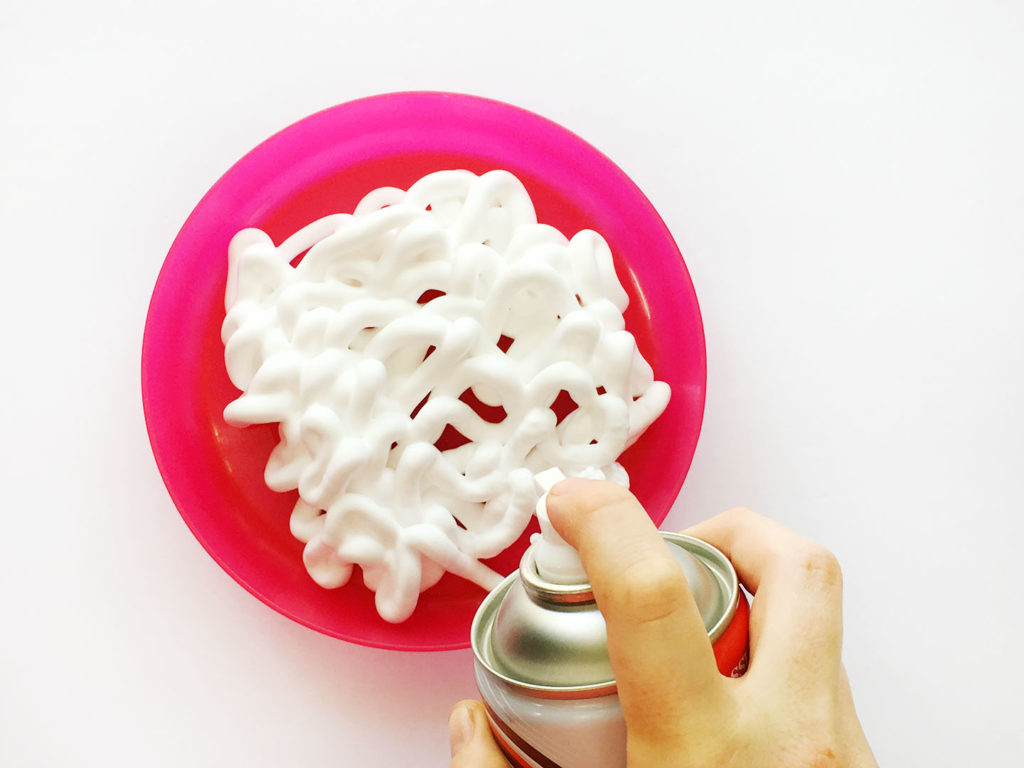
1. First SPRAY a plate with shaving cream.
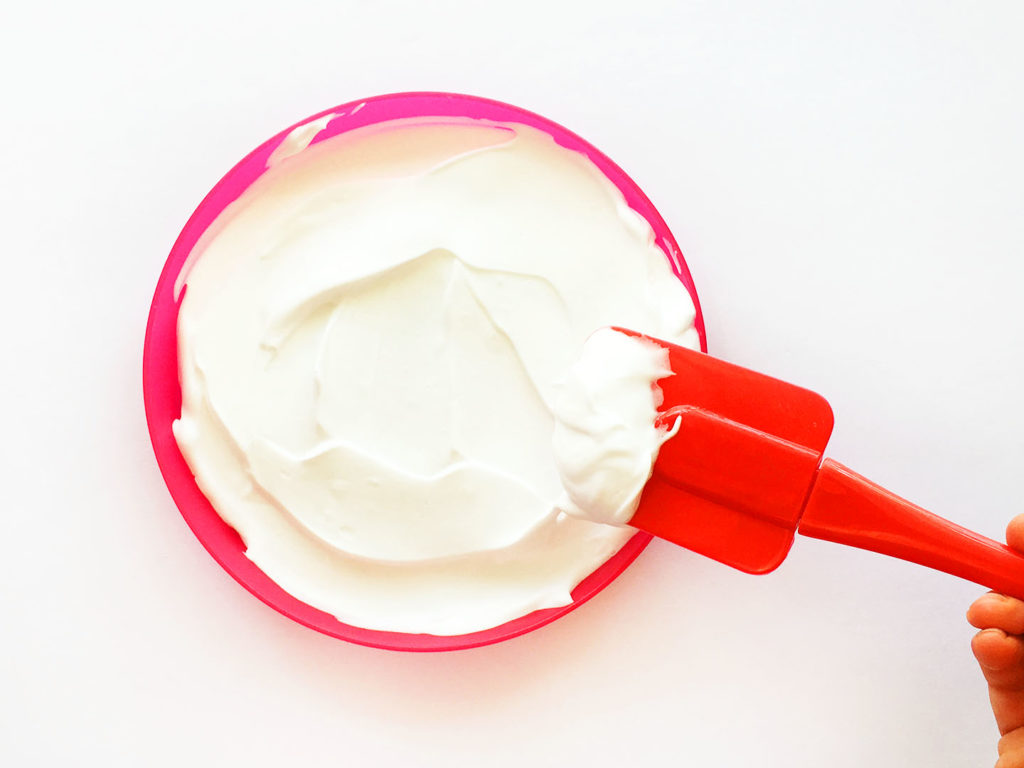
2. Next SPREAD the foam out smoothly.
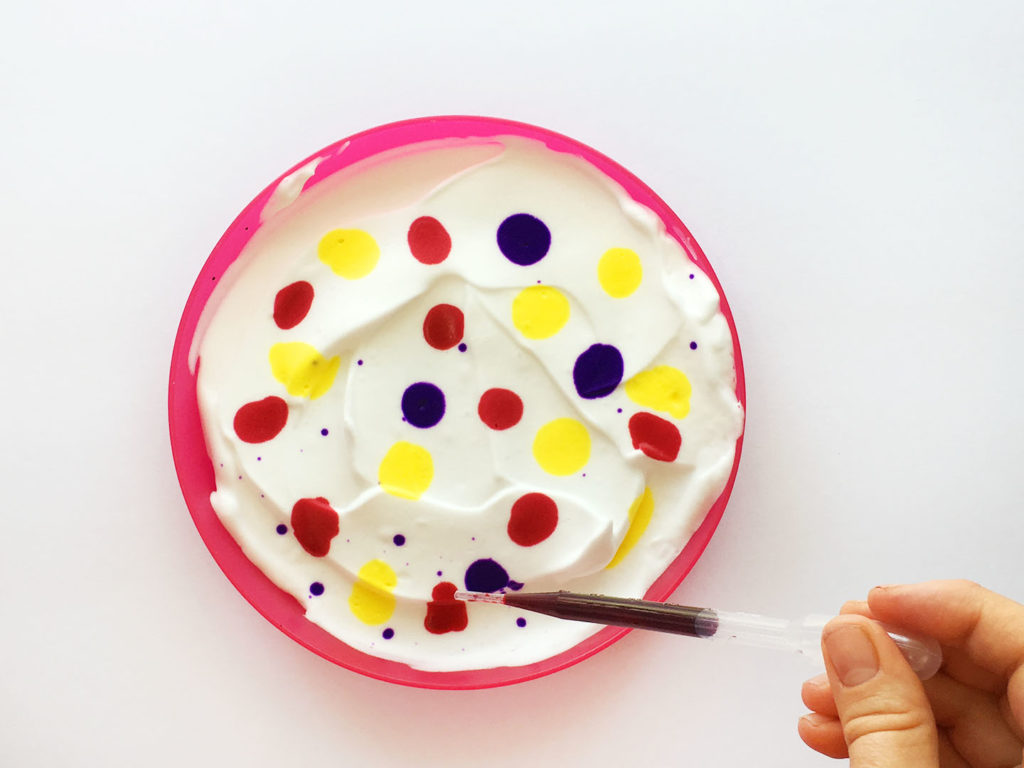
3. Then SQUEEZE drops of color onto your foam using the pipettes for liquid water color, or squeeze drops from your food coloring or paint bottles.
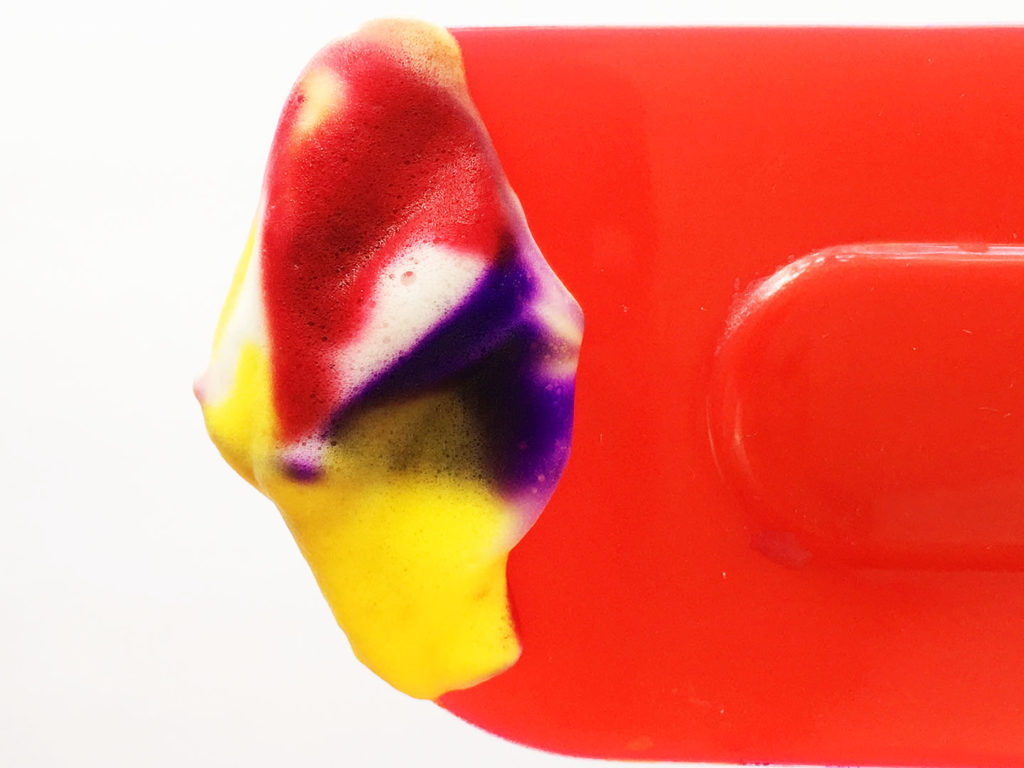
TIP: Use colors that would look nice if mixed all together, we used red, yellow and purple.
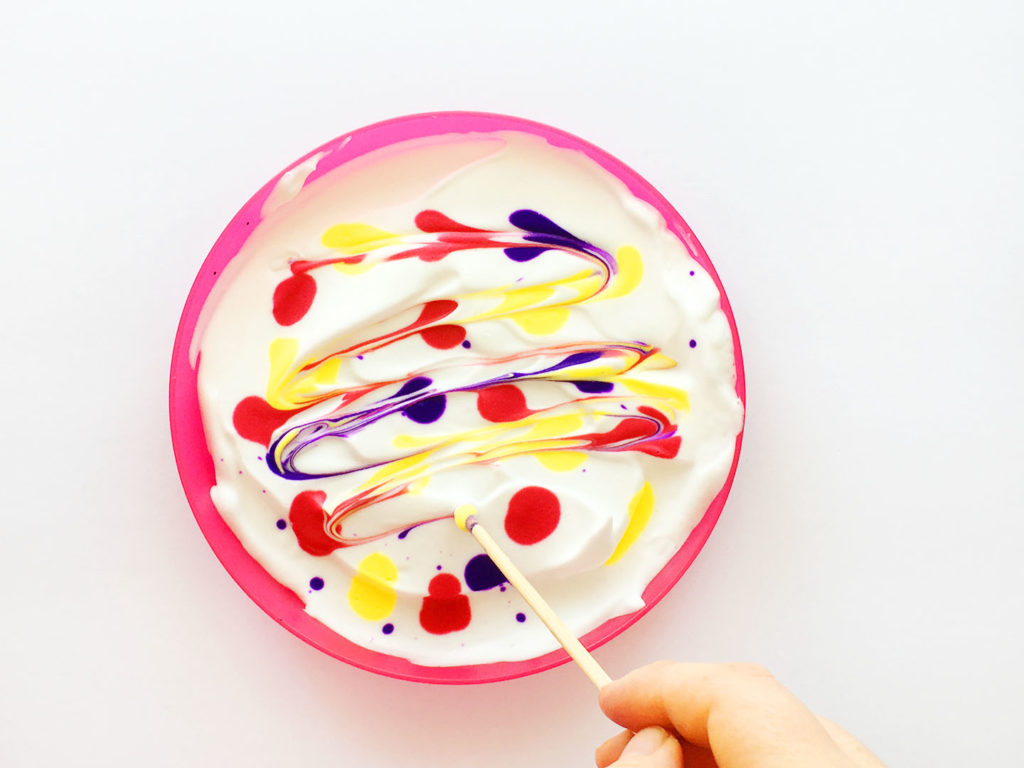
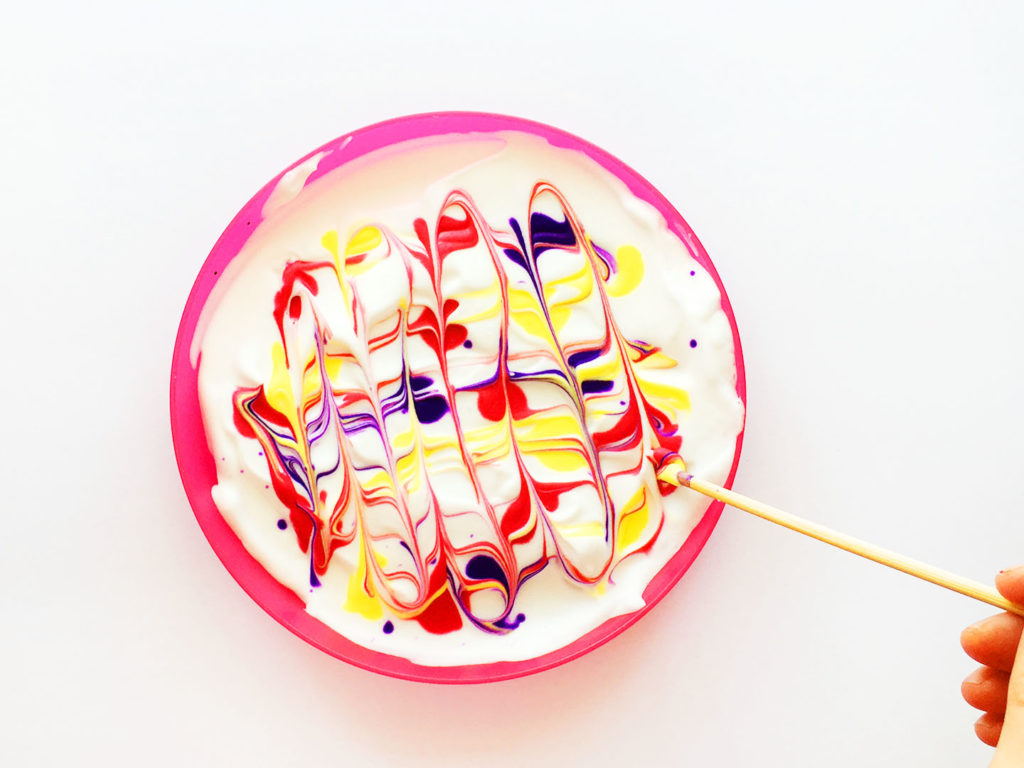
4. Then MIX the colors together. Take your skewer stick and drag it through the foam going from left to right, starting at the top of the plate and ending at the bottom of the plate. Also, go up and down, starting at the left side of the plate and ending at the right side of the plate. As a result, you should end up with a nice marbled texture like the picture below.
OPTION: If you want you can take a piece of paper and press it directly onto this marbled pattern to get some cool marbled paper.
5. Next FOLD your paper in half, if you’re making a card.
6. Then PLACE your stencil where you’d like it to be on the paper. We placed our unicorn stencil in the middle. Enter your email below and I’ll send you my free unicorn stencil template.
7. Now SCOOP out a good combo of colored foam with your spatula.
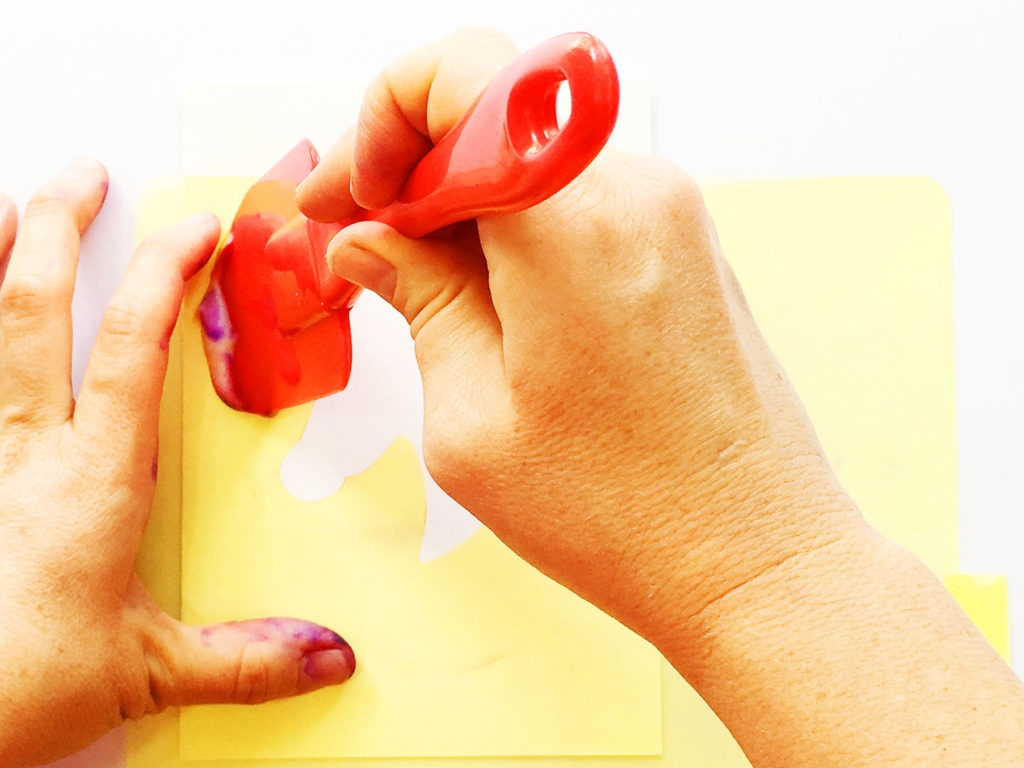
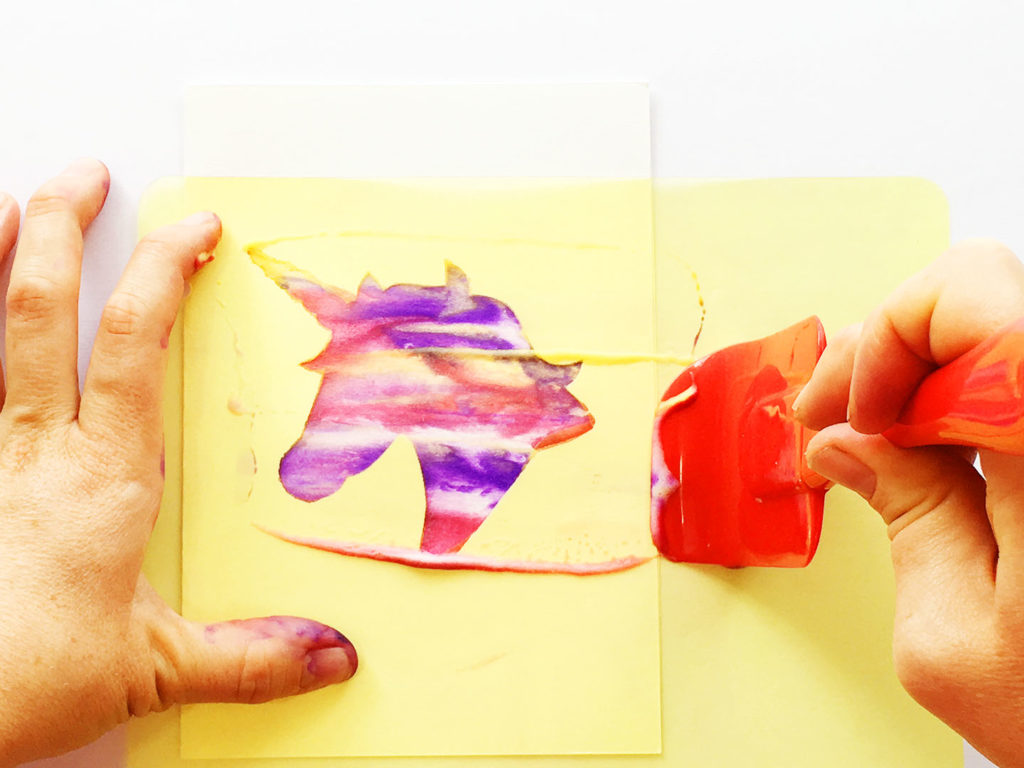
8. Finally, PULL the foamy spatula cross your stencil. To do this hold down your stencil with one hand, and firmly pull the spatula straight across. Repeat this process for any areas missed. Feel free to try this on scrap paper first.
TRY: If you have young children, let them have a go too, young children will never learn if they don’t try, so I let my 3yr old have a go, as well as my 5yr old. They both LOVED the process!
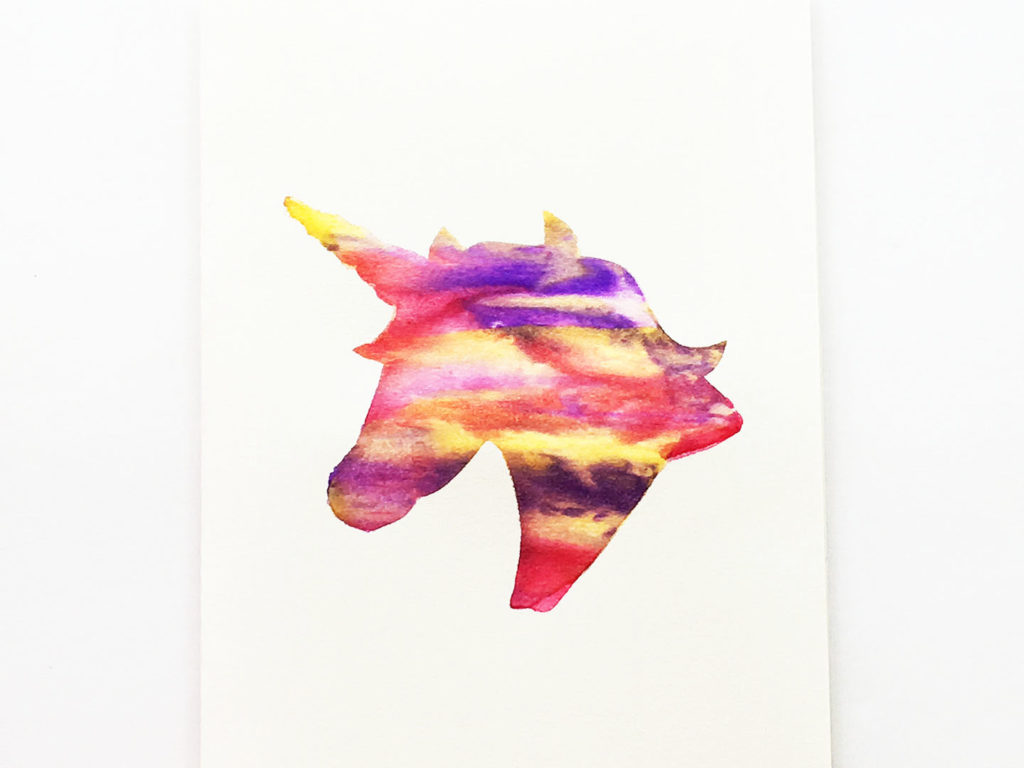
9. Next, REMOVE the stencil and reveal your beautiful stencil marbled paper!
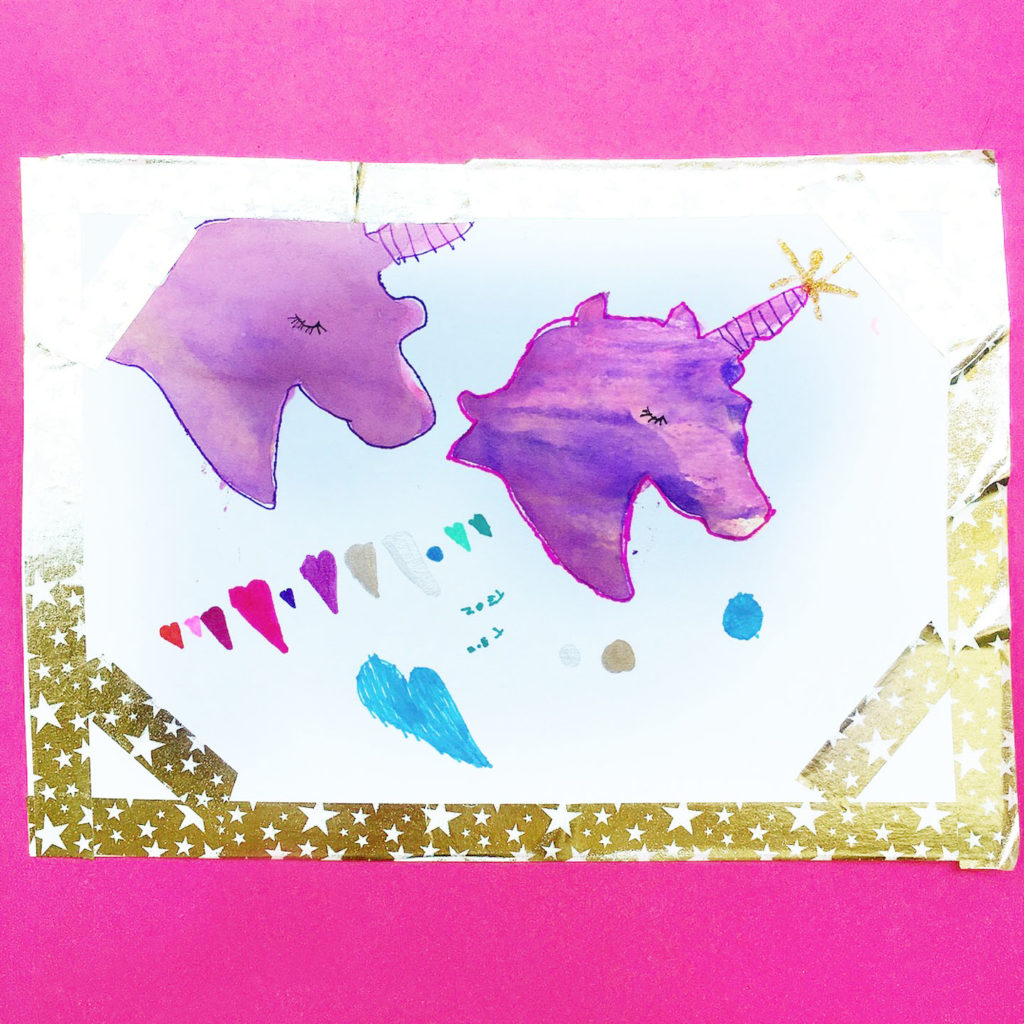
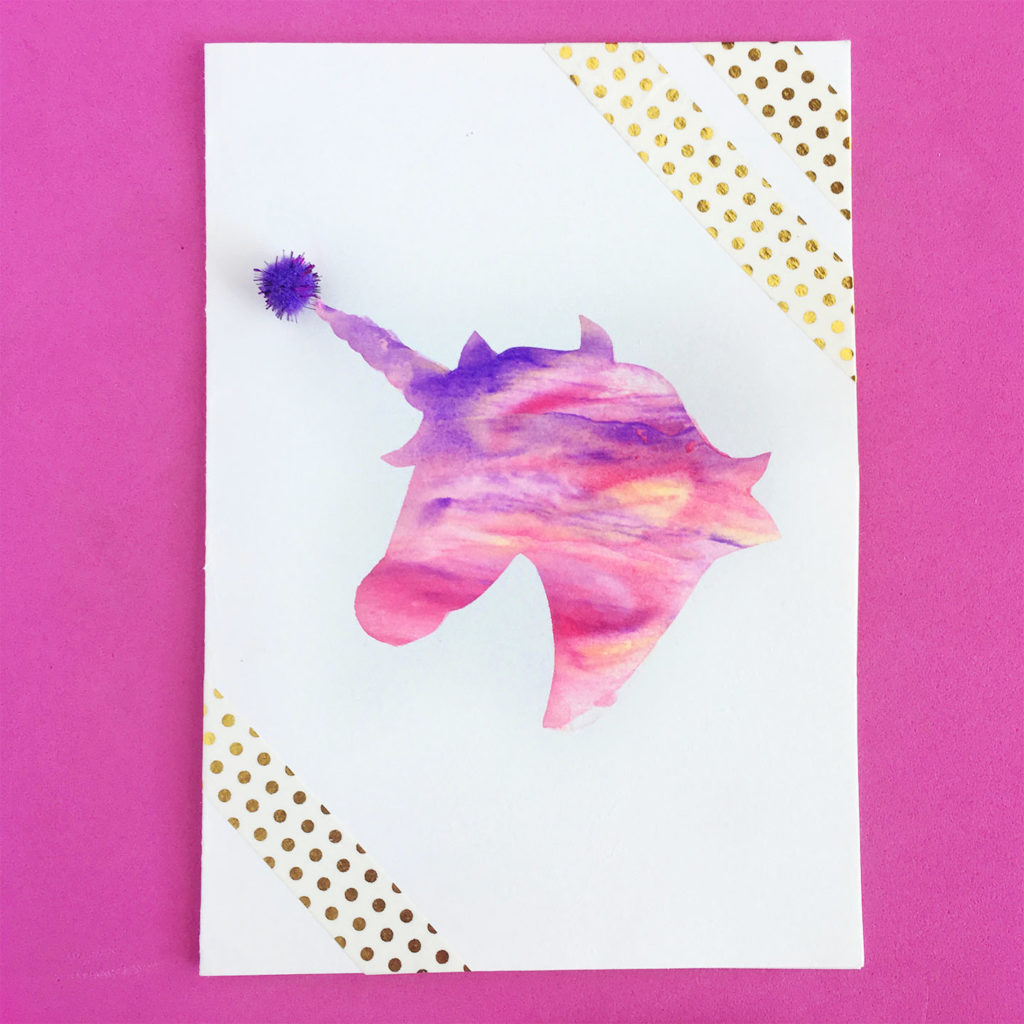
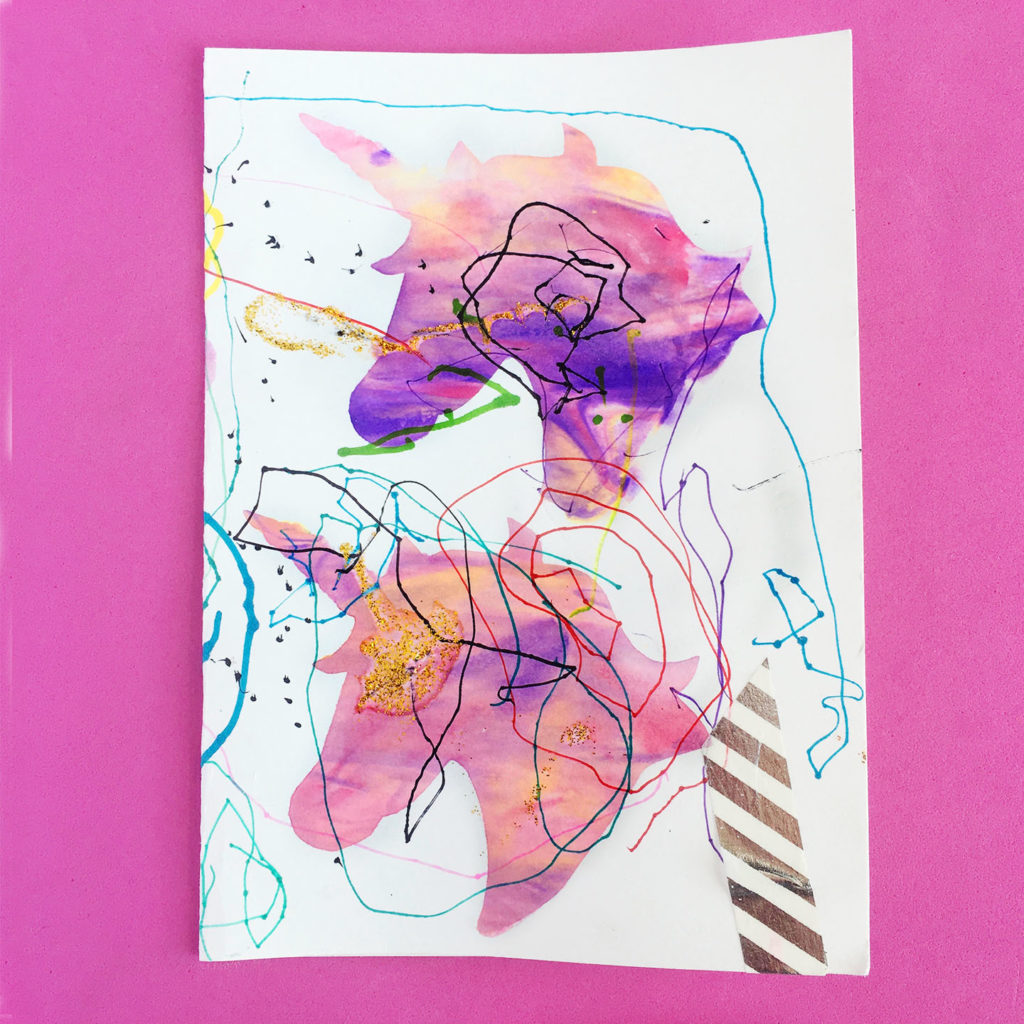
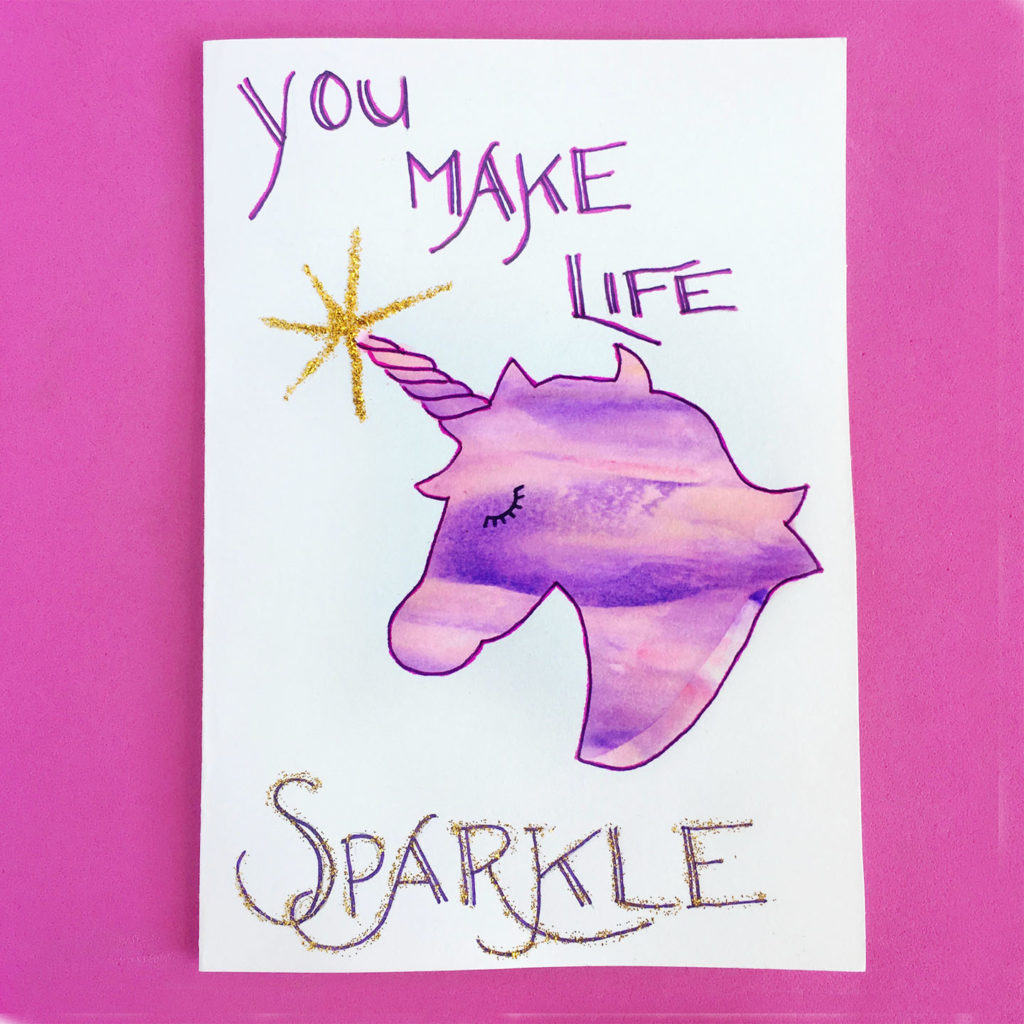
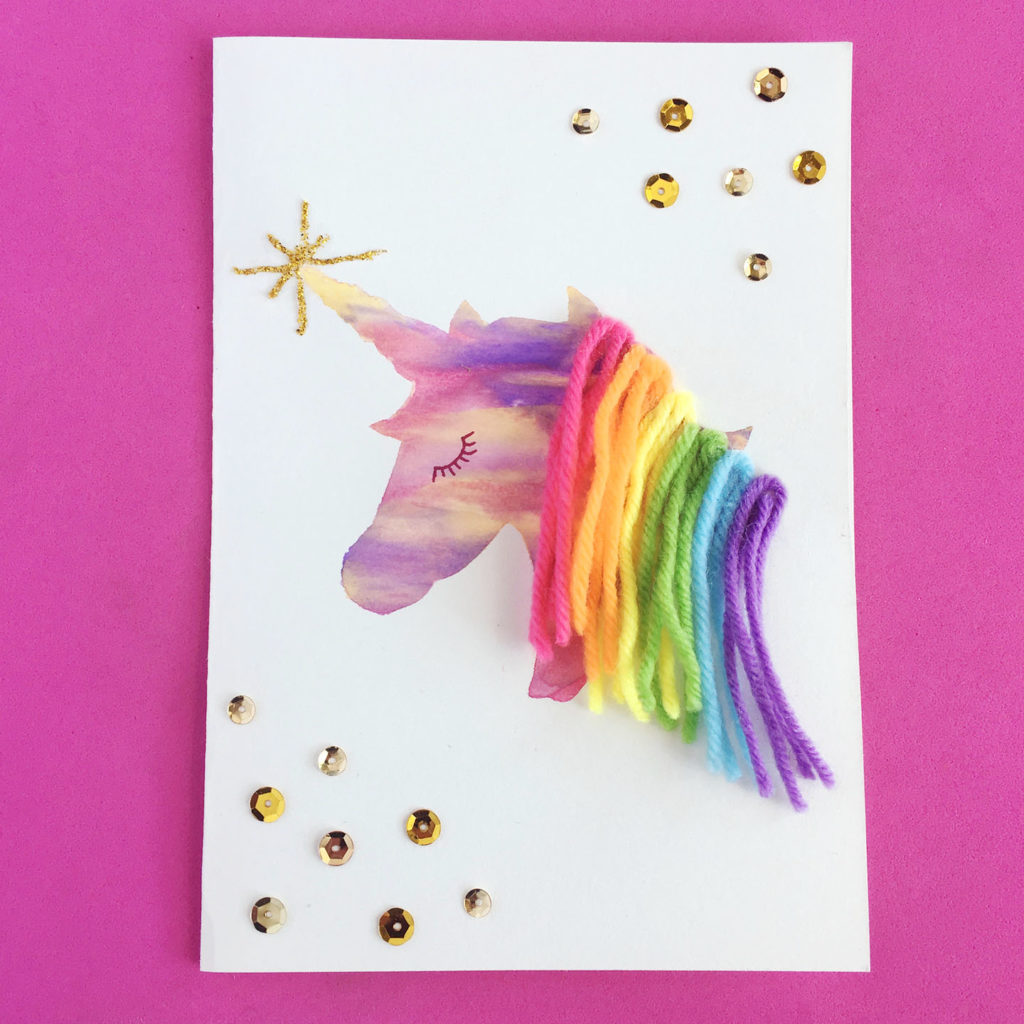
10. Then, DECORATE your unicorn by adding some words, glitter, pom poms, washi tape, yarn etc. or cut it out and stick it onto different colored paper. Below are a couple examples of what we did.
TAG US IN YOUR MARBLED PAPER CREATIONS:
We love how projects change with different creative minds, and would love to see how yours turned out! Tag @creatingcreatives on Instagram or @creatingcreativeskids on Facebook for a chance to be featured under our projects.
SHARE IT:
Spread the word and Pin and Facebook share with your friends!



Hi, please email me your unicorn stencil
I Fiona, you can get the unicorn stencil by entering your name and email on the pink button where it says: “get my free stencil” http://creatingcreatives.com/marbled-paper-unicorn/
Pingback: DIY Unicorn Birthday Party Garland Craft • Mom Collaborative
Pingback: Ten Unicorn Crafts For Kids • Mom Collaborative
Pingback: 100+ Activities and Crafts for Teens & Tweens That Won't Get Eye Rolls, Sighs, or Grunts