These ice cream cone cards came to fruition in my favorite way, surrounded by a ‘beautiful mess’ of craft supplies in a free making session with my kids. We were in our craft room making valentines and surrounded by hearts a plenty when I glanced down at a folded heart. I looked at it with my head tilted to the side and immediately saw an ice cream cone. I trimmed it up a bit and our first ice cream cone card was born. Of course I had to show off this ‘cool’ idea to my oh so inspiring children who then stared at it with drooly shaped heart eyes. After a minute had passed they realized the ice cream was also a heart! Eureka! Our ice cream card production line was in session.
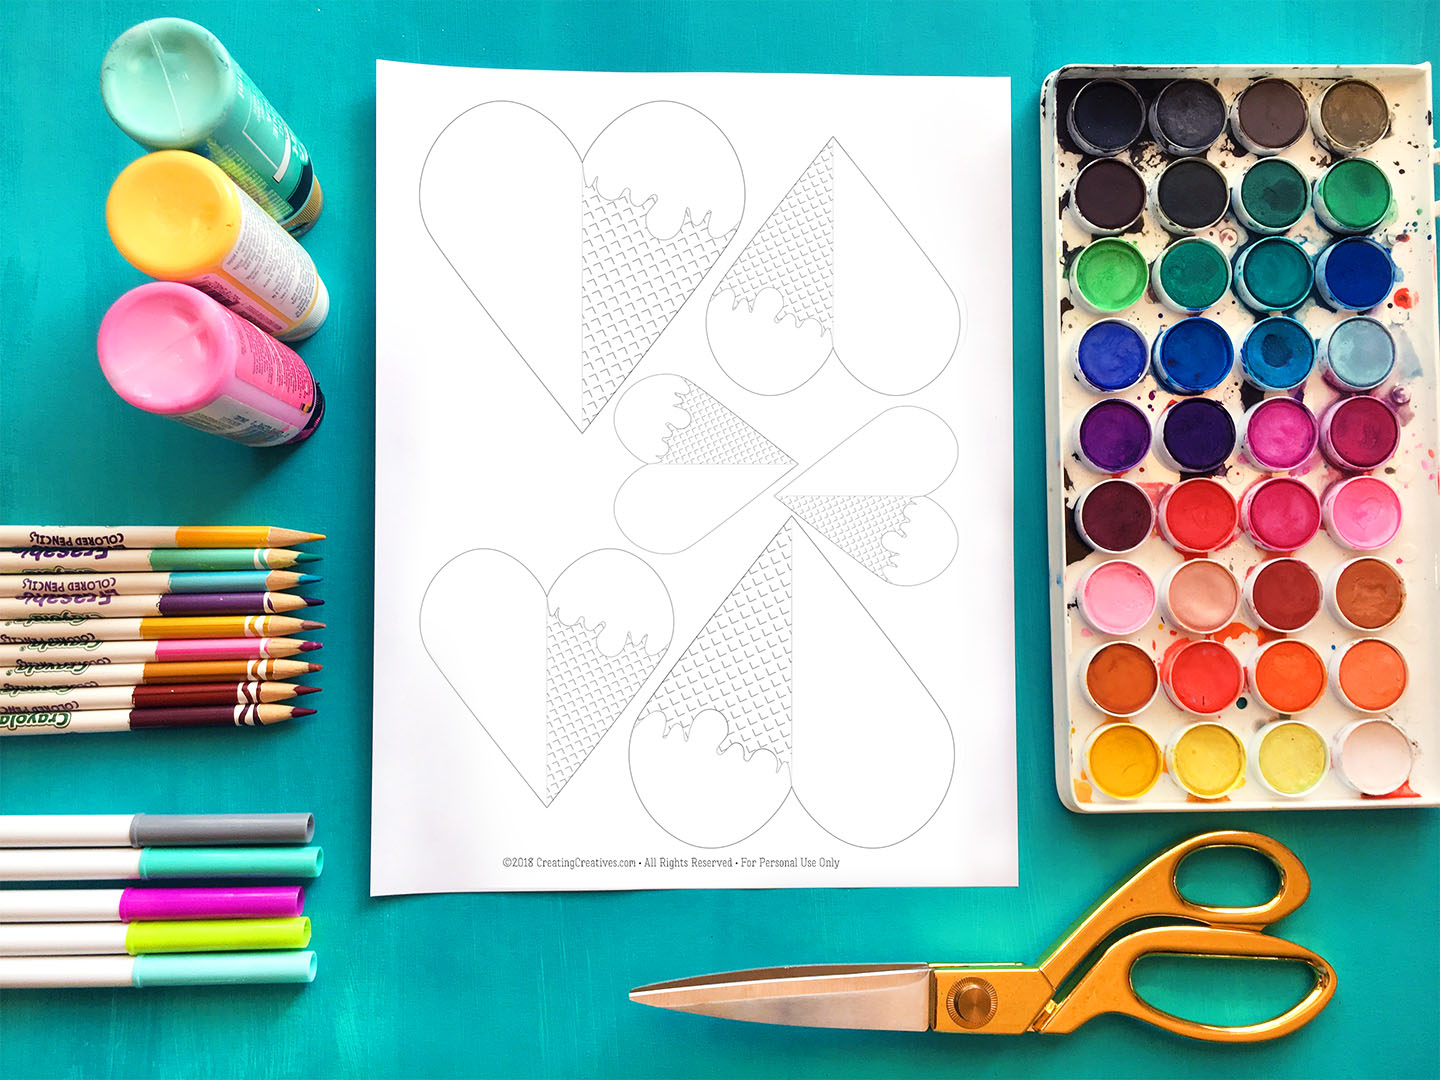
To make it easy for you I thought I’d make a printable. If you’d like to sign up to our email list, where we send fun, crafty and creative ideas, we’ll send it over as a Thank You, just enter your name and email below.
I love that there are so many different ways to color and decorate these ice cream cone cards. They are sure to deliver a sweet message to your Valentine or let someone know they’re going to have a ‘cool’ time at your party.
Ice Cream Card Supplies:
This list contains affiliate links.
- Something to color your cards: Watercolors, Colored Pencils, Markers, Crayons, Tempera Paint
- Scissors
- Ice Cream Card Template – enter your name and email below and I’ll send you one 🙂
- “Toppings” – (optional) glitter, stickers, pom poms, sequins, beads etc.
Make It – Ice Cream Card:
1. Print out your Ice Cream Card Template. If you’re going to paint your ice cream cones they’re best printed on a matte paper, but the ones below are printed on normal printer paper which works fine too, it’s just a little more flimsy.
2. Choose your weapon of coloring, for this batch we chose watercolors, but you can use whatever you’d like. Tempera or acrylic paint, crayons, colored pencils and markers are some other suggestions.
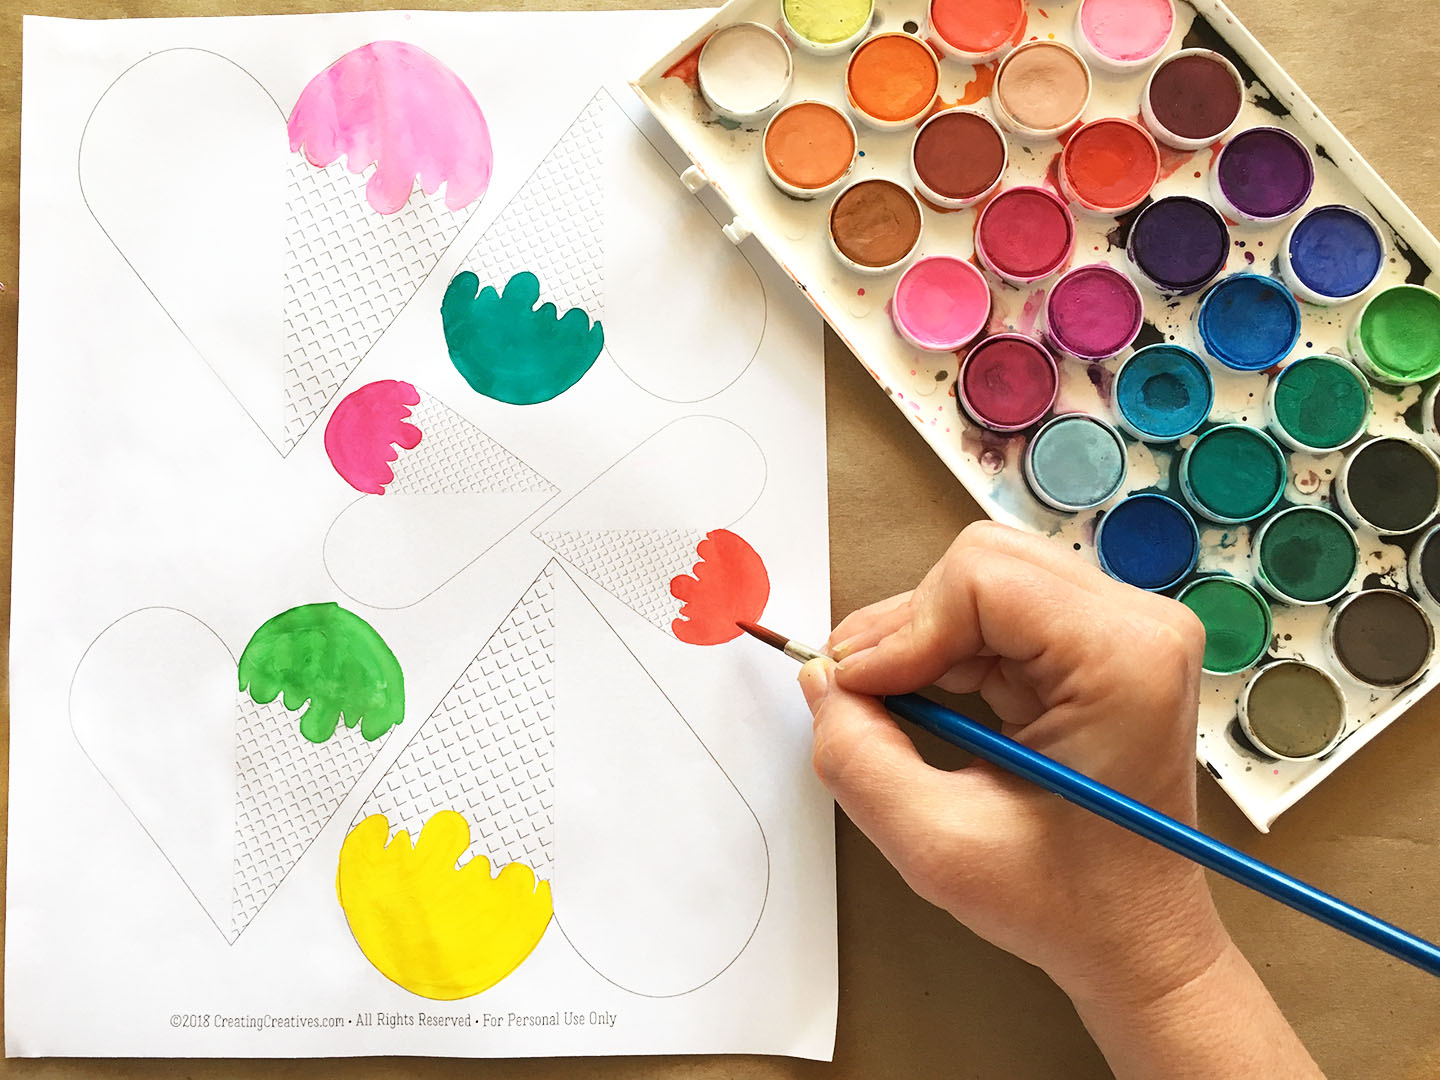
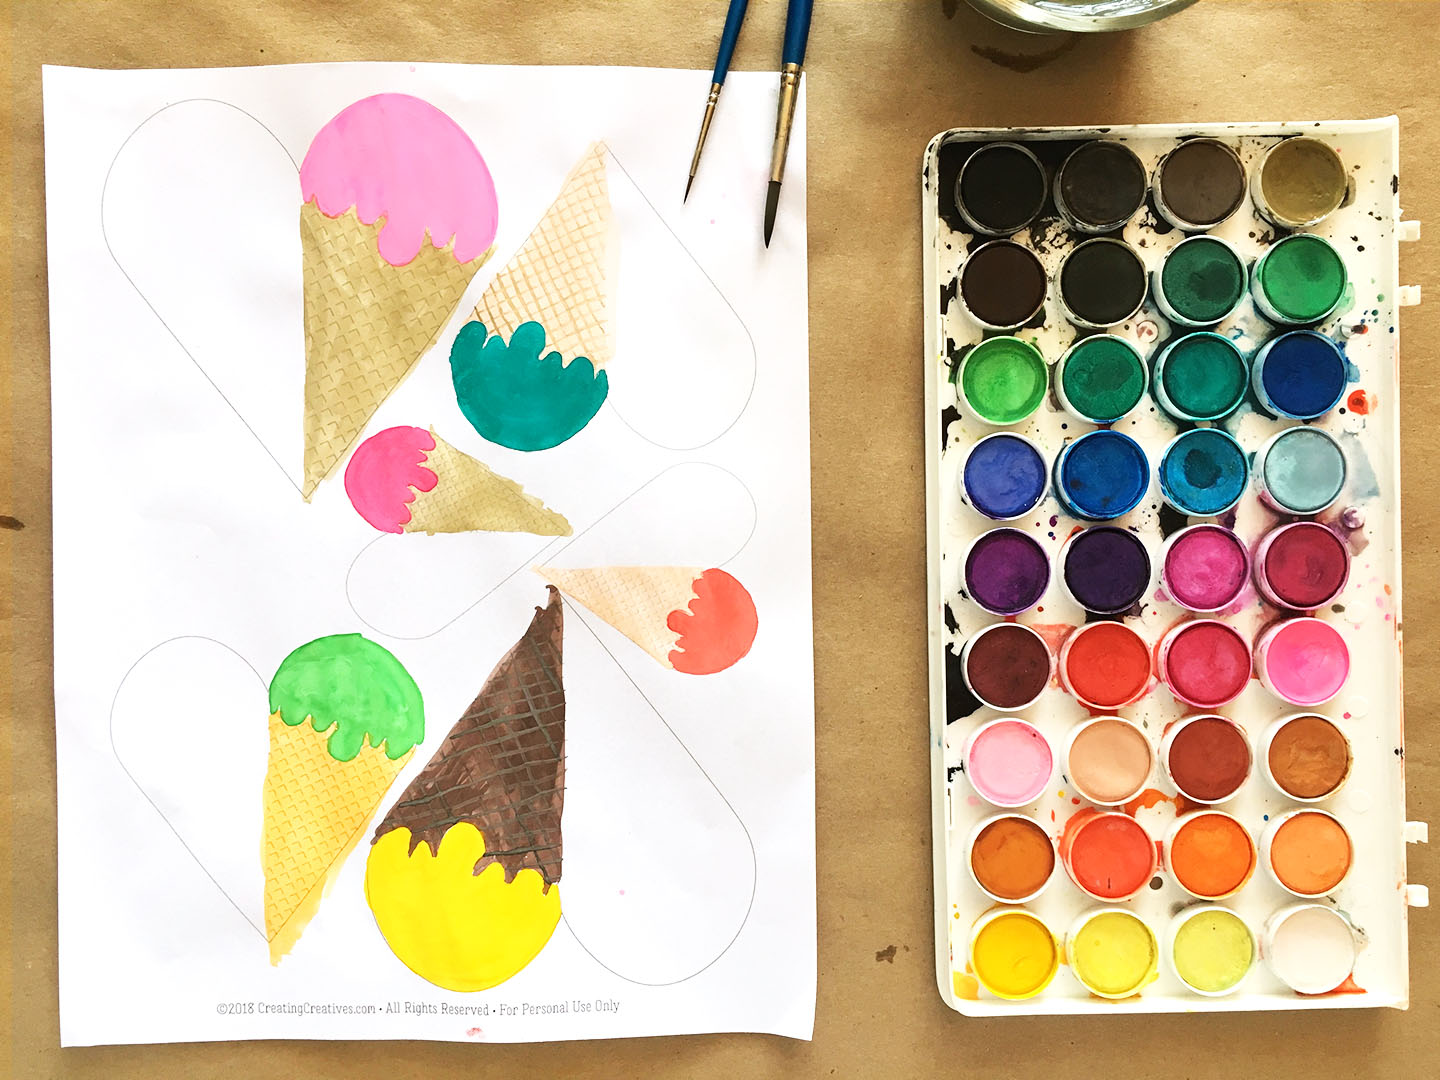
3. Roughly cut out the ice cream card hearts.

4. Now here’s the trick for getting a symmetrical heart, fold the heart in half and then cut around it cutting both sides of paper.
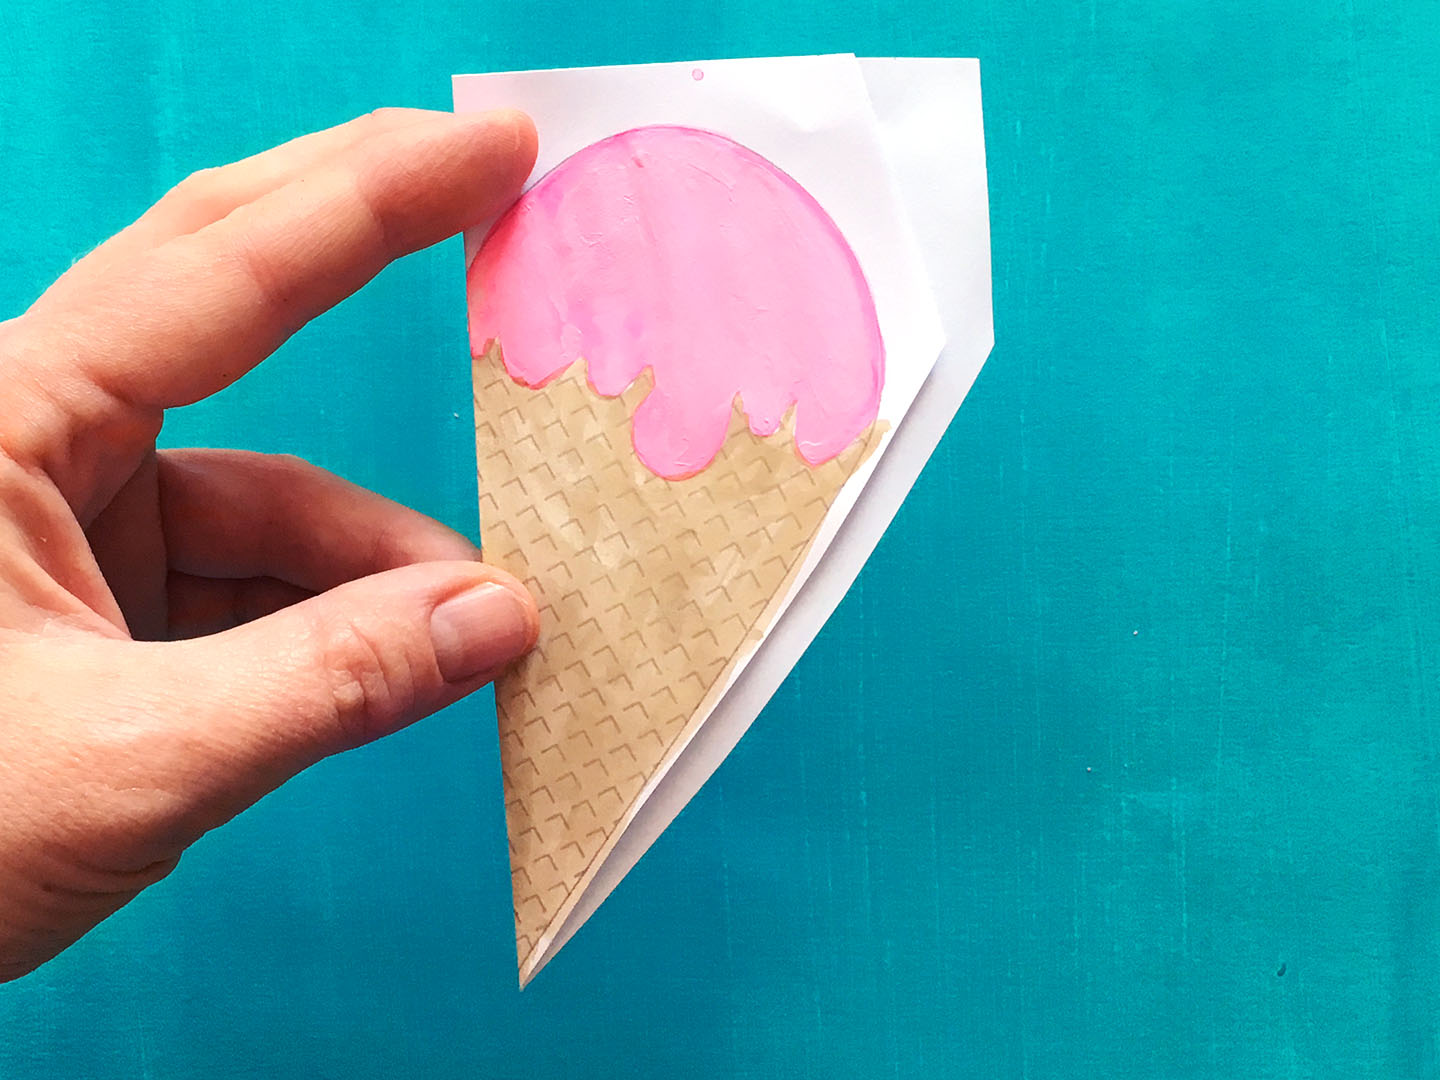
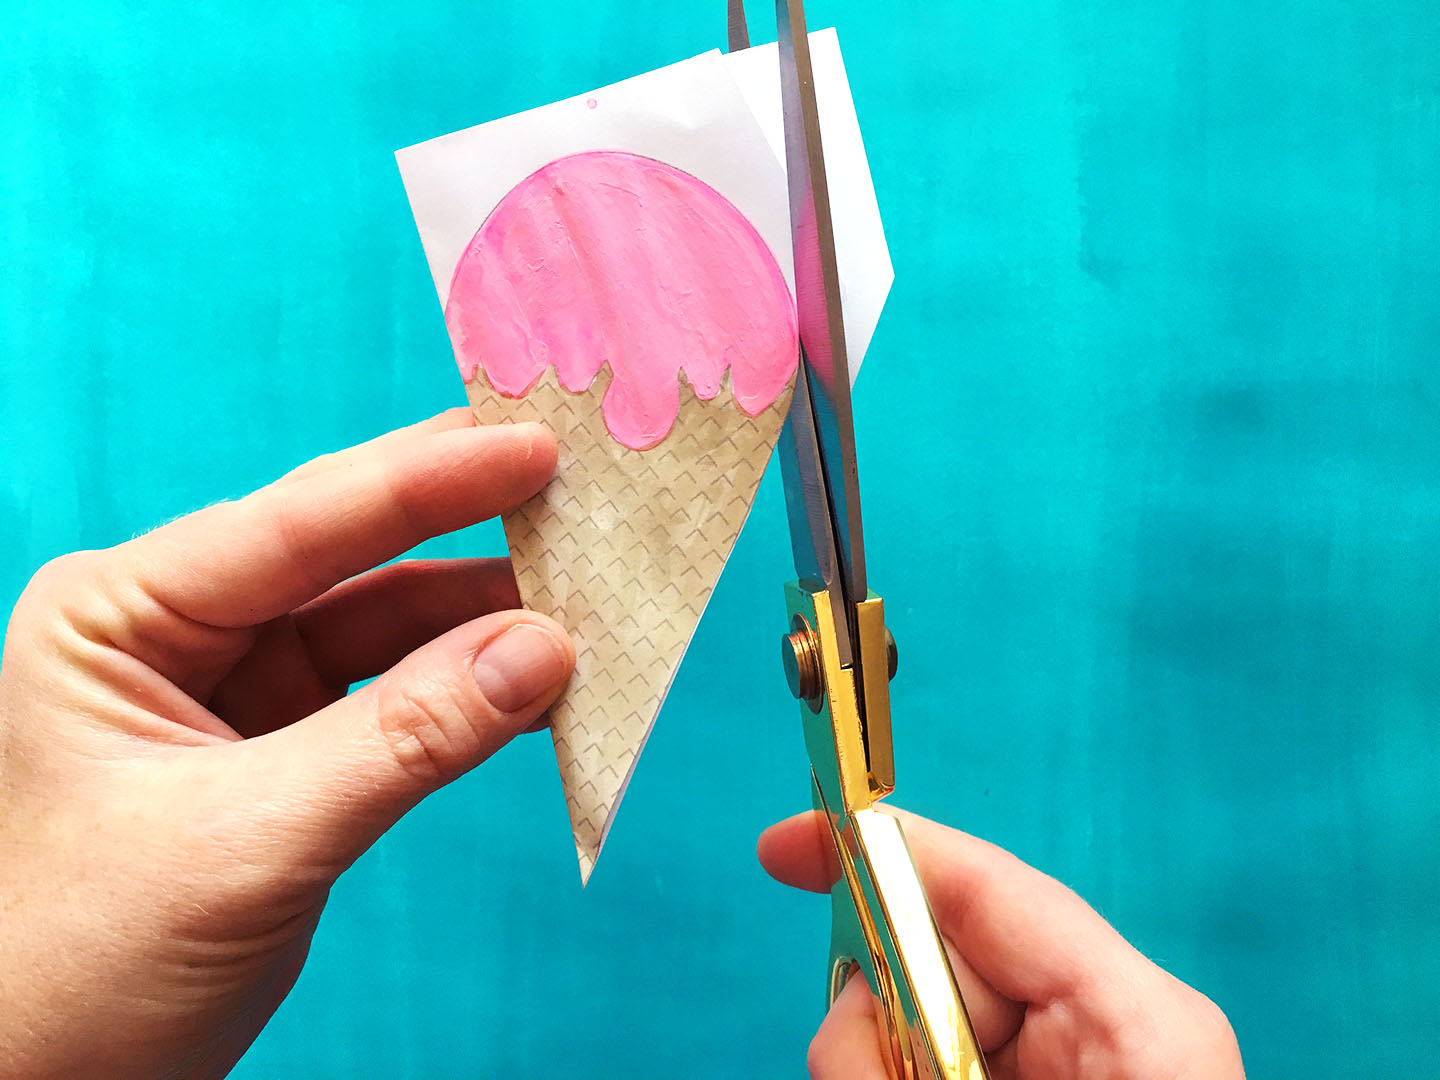
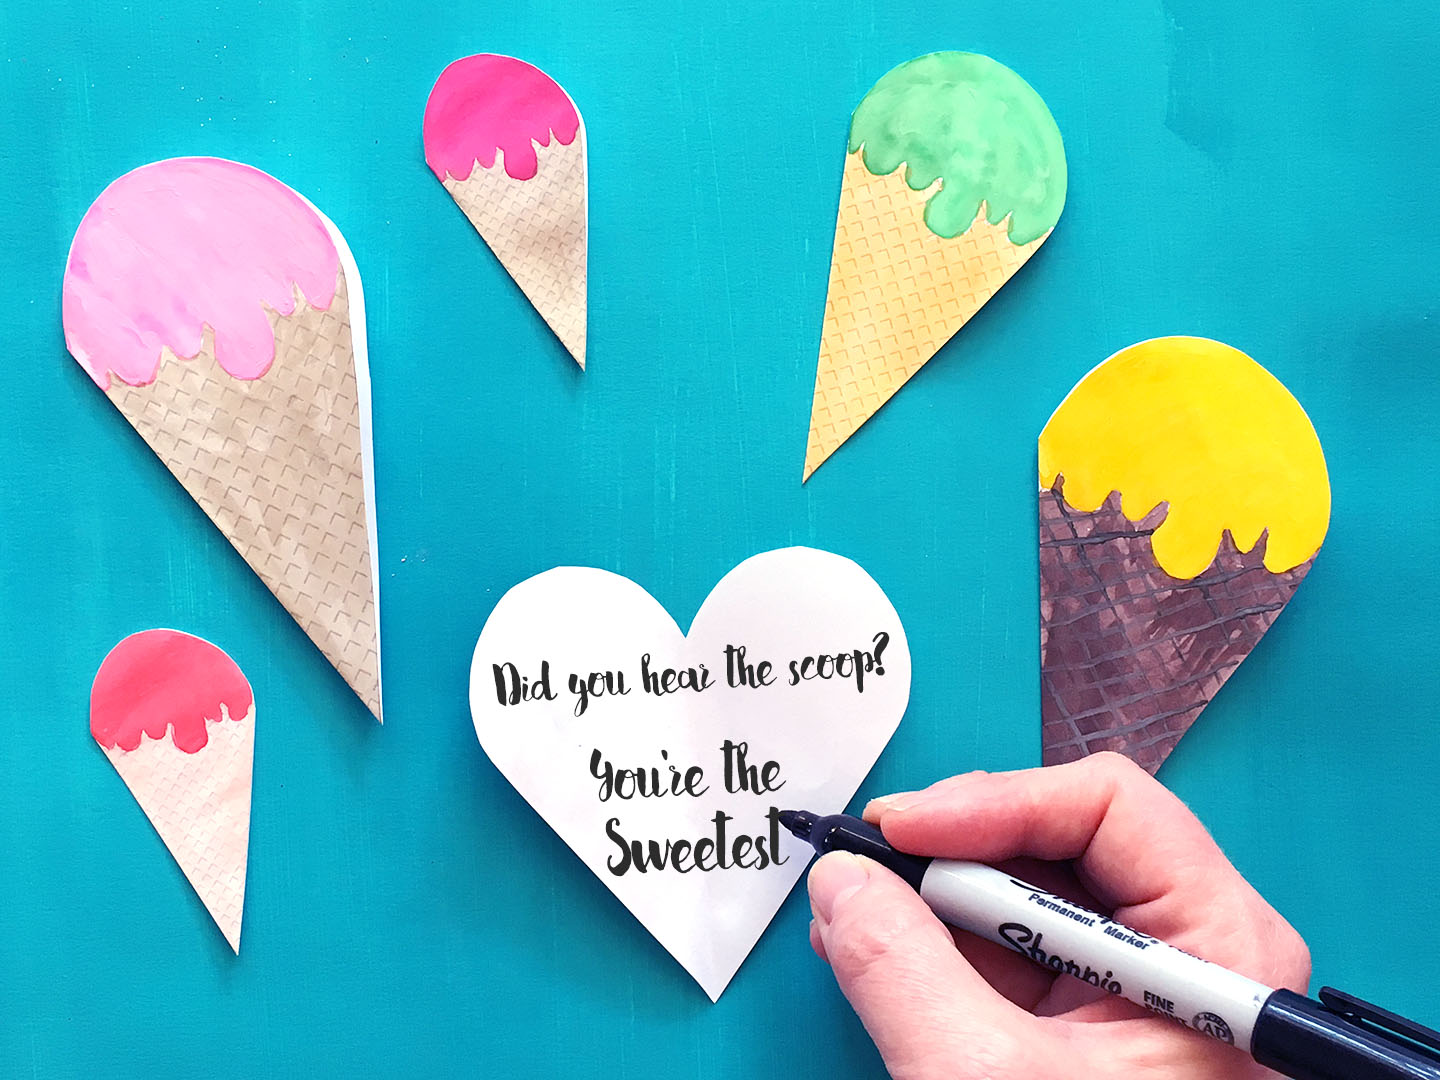
5. Time to write your sweet note inside! Included in the template are some ice cream appropriate sayings that you can cut out and stick inside your card. Otherwise get your own puns on to write a little special note inside.
If you haven’t grabbed your template yet you can enter your name and email below and I’ll send it right over to you!
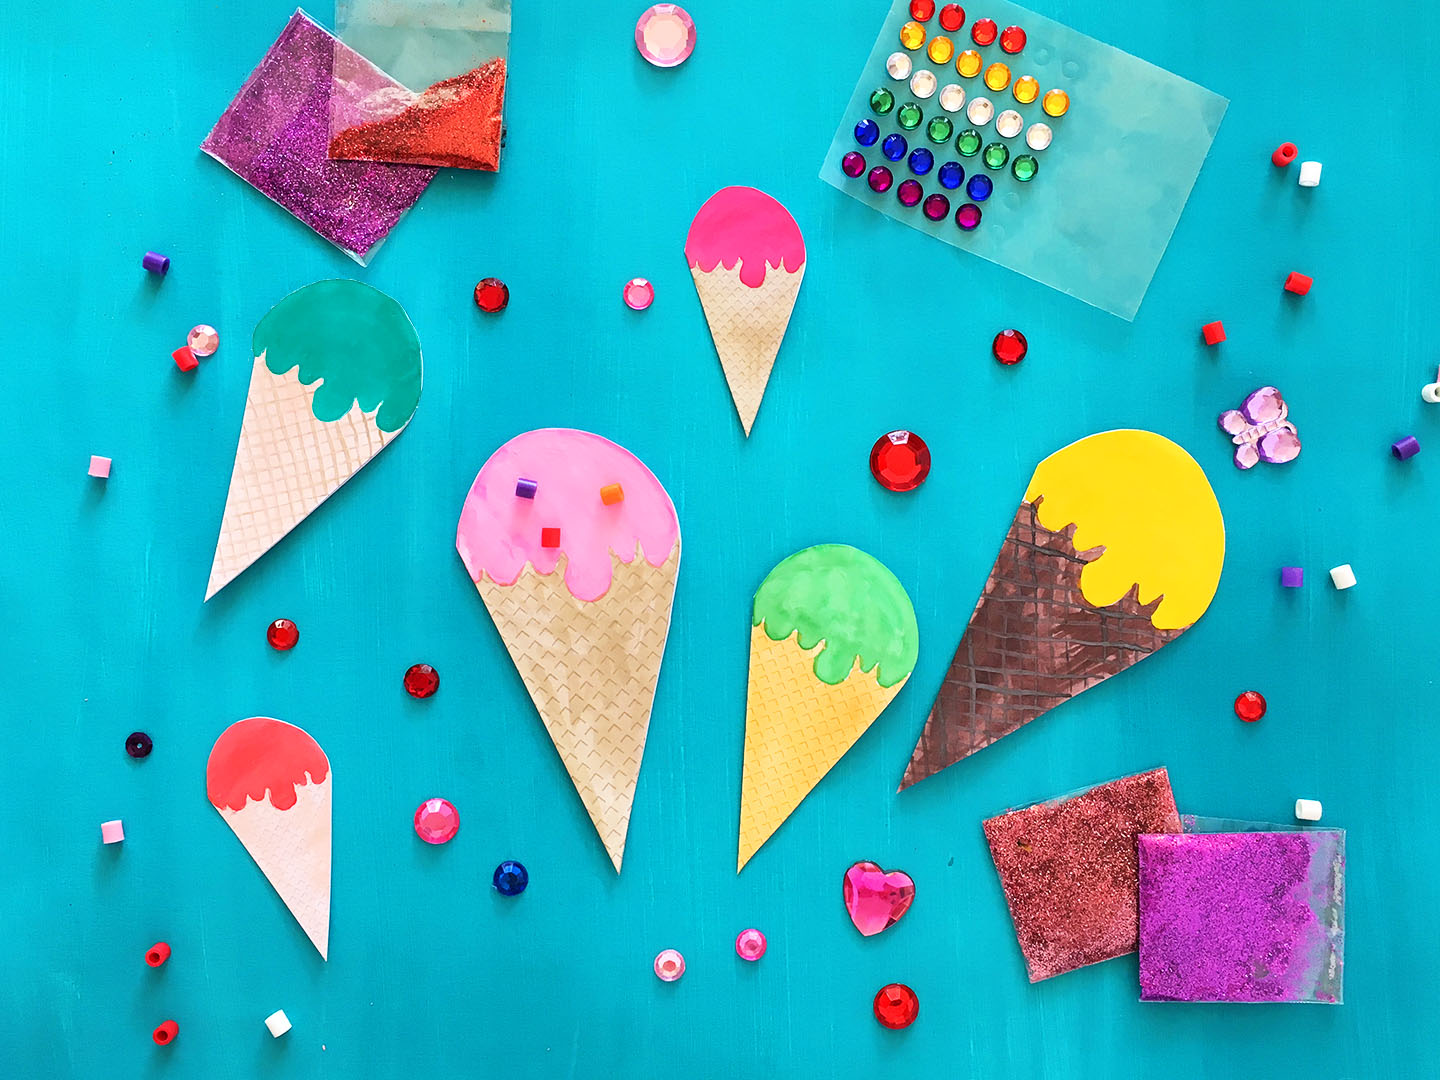
6. Finally…Topping Time! If you feel so inclined you can add a bit of bling and fun toppings to your ice cream. Play around with sticking on sequins, beads, stickers, glitter, even adding chocolate or strawberry syrup and cherries would be fun!
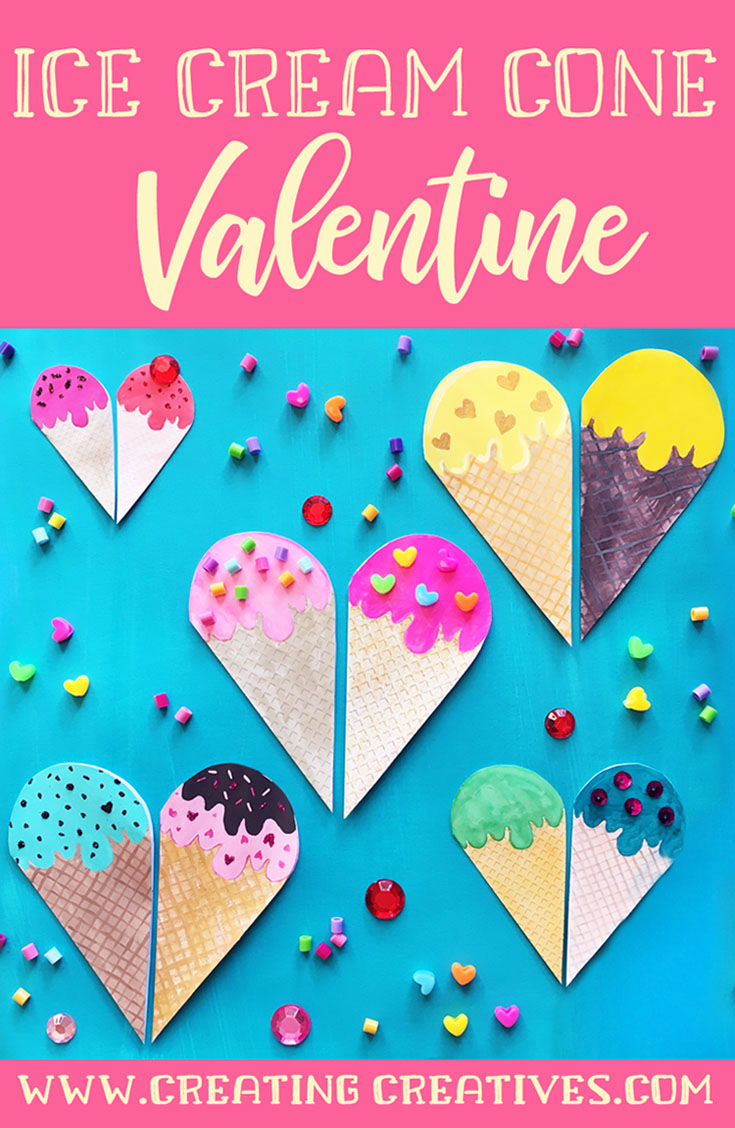
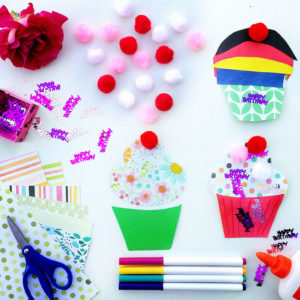
Here are some of our final ice cream cone cards. We added heart sprinkles, glitter sprinkles, beaded sprinkles, golden heart shaped nuts, some chocolate syrup and of course a cherry on top!
TAG US IN YOUR ICE CREAM CARD CREATIONS:
We love how projects change with different creative minds, and would love to see how yours turned out! Tag @creatingcreatives on Instagram or @creatingcreativeskids on Facebook for a chance to be featured under our projects.
DID YOU LIKE THIS PROJECT? IF SO YOU CAN SHARE IT:
Spread the word and Pin and Facebook share with your friends! We really appreciate your support!



Pingback: Mermaid Movie Night Printable Popcorn Holder - Red Ted Art's Blog
Pingback: Paper Plate Moon for Valentine's Day - Red Ted Art's Blog